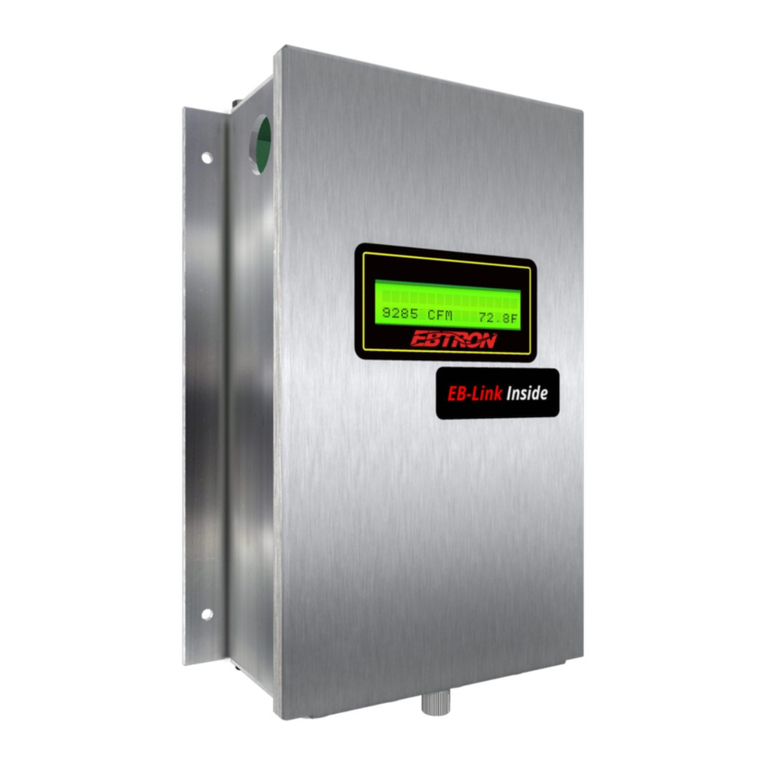
Ebtron Advantage IV HTA104-T User guide

Startup_HTA104‐T_r1aPage1of2
STARTUP INSTRUCTIONS:
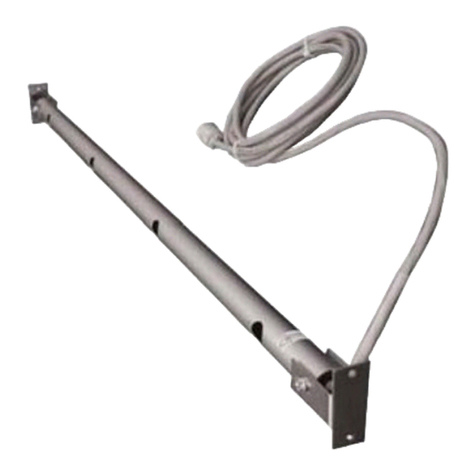
1. Verify that the sensor probe is located where they meet EBTRON published installation guides.
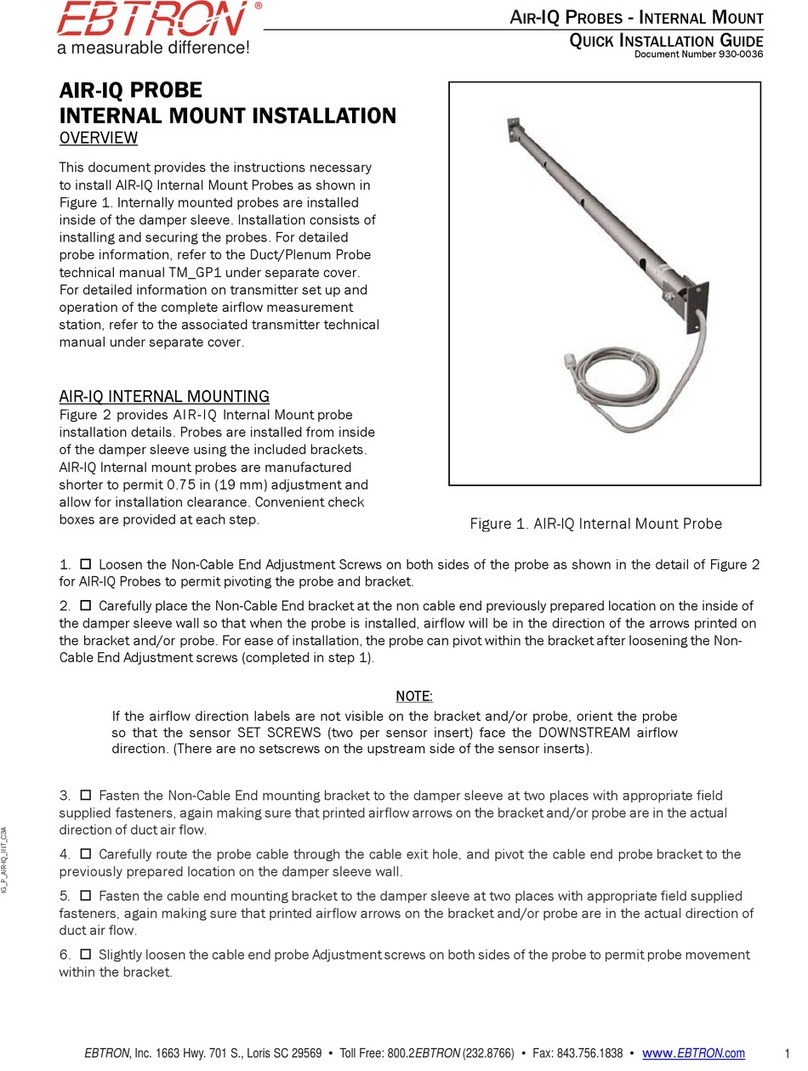
2. Verify that the probe is properly installed with the airflow arrow pointing in the direction of airflow.
Improperly installed probes will compromise the installed accuracy of the device and degrade system
performance.
3. Verify that the transmitter is installed and wired in accordance with the HTA104-T Wiring Guide
provided with the transmitter and power is provided to the transmitter.
4. Make sure the ductwork is clean and free of debris prior to fan startup.
5. Move the power switch to the “ON” position. Power-up faults, if detected, are displayed on the LCD.
If any power up faults are detected, resolve all conflicts or contact EBTRON customer service at
1-800-232-8766 before proceeding..
If extension cables have been added, the extension cable length must be entered into the transmitter.
Refer to the Operations and Maintenance Manual for more information.
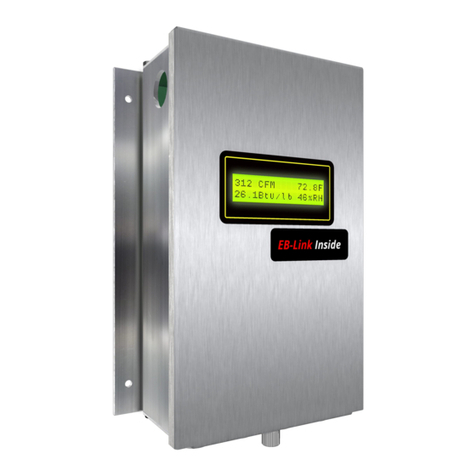
6. The transmitter is fully functional as a factory calibrated airflow and temperature measurement device
in I-P units (ft, FPM, CFM °F). Airflow (CFM) and temperature (°F) are displayed on the LCD.
If SI units are required, refer to the Operations and Maintenance Manual.
The factory default airflow output is set to actual airflow (FPM, CFM). If standard (mass) airflow
(SFPM, SCFM) is required, refer to the Operations and Maintenance Manual.
7. Verify that the area on the hang-tag matches the actual area of the duct or opening where the probes
are located (less any internal insulation). If the area is different, modify the area parameter stored in
the transmitter and use the correct area for any external conversion calculations from FPM to CFM.
Failure to use the correct area will result in volumetric airflow (CFM) measurement error and degrade
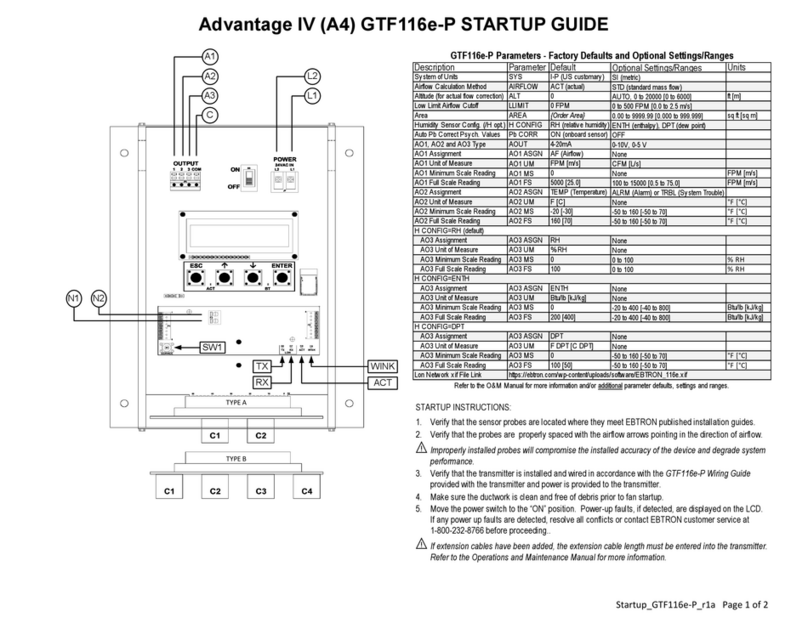
Advantage IV (A4) HTA104-T STARTUP GUIDE
Description Parameter Default Optional Settings/Ranges Units
System of Units SYS I-P (US customary) SI (metric)
Airflow Calculation Method AIRFLOW ACT (actual) STD (standard mass flow)
Altitude (for actual flow correction) ALT 0 0 to 20000 [0 to 6000] ft [m]
Low Limit Airflow C utoff LLIM I T 0 FP M 0 to 500 FPM [0.0 to 2.5 m/ s]
Area AREA {Order Area} 0.00 to 9999.99 [0.000 to 999.999] sq ft [sq m]
AO1 Type AOUT1 4-20mA 0-10V, 0-5 V
AO2 Type AOUT2 4-20mA 0-10V, 0-5 V
AO1 Assignment AO1 ASGN AF (Airflow) None
AO1 Unit of Measure AO1 UM FPM [m/s] CFM [L/s]
AO1 M inimum S cale Reading AO1 M S 0 N one FPM [m/s]
AO1 Full Scale Reading AO1 FS 3000 [15.0] 100 to 15000 [0.5 to 75.0] FPM [m/s]
AO2 Assignment AO2 ASGN TEM P (Temperature) ALRM (Alarm) or TRBL (Sy stem Trouble)
AO2 U nit of Measure AO2 U M F [C ] None °F[°C]
AO2 M inimum Scale Reading AO2 M S -20 [-30] -50 to 160 [-50 to 70] °F[°C]
AO2 Full Scale Reading AO2 FS 160 [70] -50 to 160 [-50 to 70] °F[°C]
HTA104-T Parameters - Factory Defaults and Optional Settings/Ranges
Refer to the O&M M anual for more information and/or additional parameter defaults, settings and ranges.

Startup_HTA104‐T_r1aPage2of2
system performance. If the area parameter must be changed, refer to the Operations and
Maintenance Manual.
8. If analog output signals are used continue to step 9, otherwise skip to step 14.
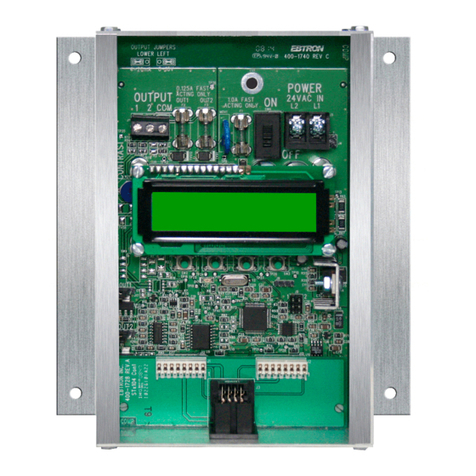
9. The output signal type and range (4-20 mA, 0-5 VDC or 0-10 VDC) of AO1 and AO2 is determined by
the AOUT parameter and the position of the output jumpers located on the left side of the PCB.
Position the jumpers (AOUT1 for AO1 and AOUT2 for AO2) to “mA” if a 4-20 mA signal is required or
“VDC” if a 0-5 or 0-10 VDC signal is required. The transmitter is factory set to 4-20mA (i.e. AOUT=4-
20mA and both jumpers are set to “mA”).
The 4-20mA is “4-wire type” and not loop powered. Do not apply any excitation voltage to the output
of the transmitter.
10. Verify that the transmitter is configured to match the analog input requirements of the host controller.
Press the ESC and ↑buttons simultaneously to display the transmitter setting for the AOUT
parameter. If the output signal type and range is not correct, use the ↑and ↓buttons to display the
proper output signal type and range and press the ENT button to execute the change.
11. Verify that jumpers AOUT1 and AOUT2 are set to “mA” if the AOUT parameter is set to “4-20mA” or
“VDC” if the AOUT parameter is set to “0-5V” or “0-10V”.
12. The analog output signal for airflow (AO1) is linear. The minimum scale reading (0% output) of the
airflow signal is fixed at 0 and the full scale reading (100% output) is factory set to 3,000 FPM.
Multiply the default full scale velocity (FPM )by the correct area of the measurement location to
determine the full-scale or span (CFM ) for the B.A.S. to avoid field configuration. EBTRON airflow
measurement device accuracy is percent-of-reading. Changing the full scale reading does not affect
measurement accuracy.
If custom airflow scaling or unit of measure are required, refer to the Operations and Maintenance
Manual.
13. The analog output signal for temperature (AO2) is linear. The minimum scale reading (0% output) is
set to –20 ºF and full scale reading (100% output) is set to 160 ºF.
If custom temperature scaling is required, refer to the Operations and Maintenance Manual.
AO2 can be configured for a high/low airflow alarm or system status alarm. Refer to the Operations
and Maintenance Manual for more information.
14. Startup is complete! If additional customization is desired, consult the Operation and Maintenance
Manual.
VERIFICATION
Many installations require third-party airflow verification. If the airflow measuring device is within the
measurement uncertainty of the verification technique, EBTRON strongly recommends that no field
adjustment correction is made. EBTRON airflow measurement devices are factory calibrated to NIST
traceable standards. Field adjustment is not recommended when installed in accordance to published
guidelines.
If field adjustment is required, refer to the Operation and Maintenance Manual.
If minimum placement guidelines cannot be achieved, installed accuracy may be compromised.
Transmitters can be field adjusted to match a third-party measurement. Adjusted field measurements
typically result in comparative readings within ±3% of the third-party measurement. Be advised that
the third-party measurement may have uncertainties greater than or equal to ±10% and should only
be used to adjust the airflow measurement device if the probes do not meet minimum placement
requirements or the discrepancy is greater than the uncertainty of the third-party source.
FOR MORE INFORMATION ….
Operations and Maintenance Manual.
The Operations and Maintenance Manual is a comprehensive reference document that contains
information on installation, startup, custom configuration, built-in tools, diagnostics, troubleshooting and
maintenance.
NEED MORE HELP?
EBTRON Customer Service
For toll-free factory support call 1-800-2EBTRON (1-800-232-8766), Monday through Thursday 8:00 AM
to 4:30 PM and Friday 8:00 AM to 2:00 PM eastern time.
Your Local EBTRON Representative
Visit EBTRON.com for the name and contact information of your local representative.
Other Ebtron Measuring Instrument manuals
Popular Measuring Instrument manuals by other brands
Digi Sport Instruments
Digi Sport Instruments DW-2005 instruction manual
GREISINGER
GREISINGER GMH 3611 operating manual
Sloan
Sloan G2 Optima Plus Repair Parts and Maintenance Guide
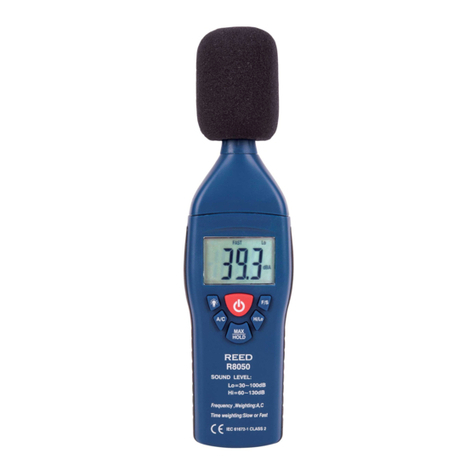
REED
REED R8050 instruction manual

LOVATO ELECTRIC
LOVATO ELECTRIC DMED301MID instruction manual

Vemer
Vemer ADR-D 230 D22 SPOT user manual
