3
Operator’s Instructions
Important
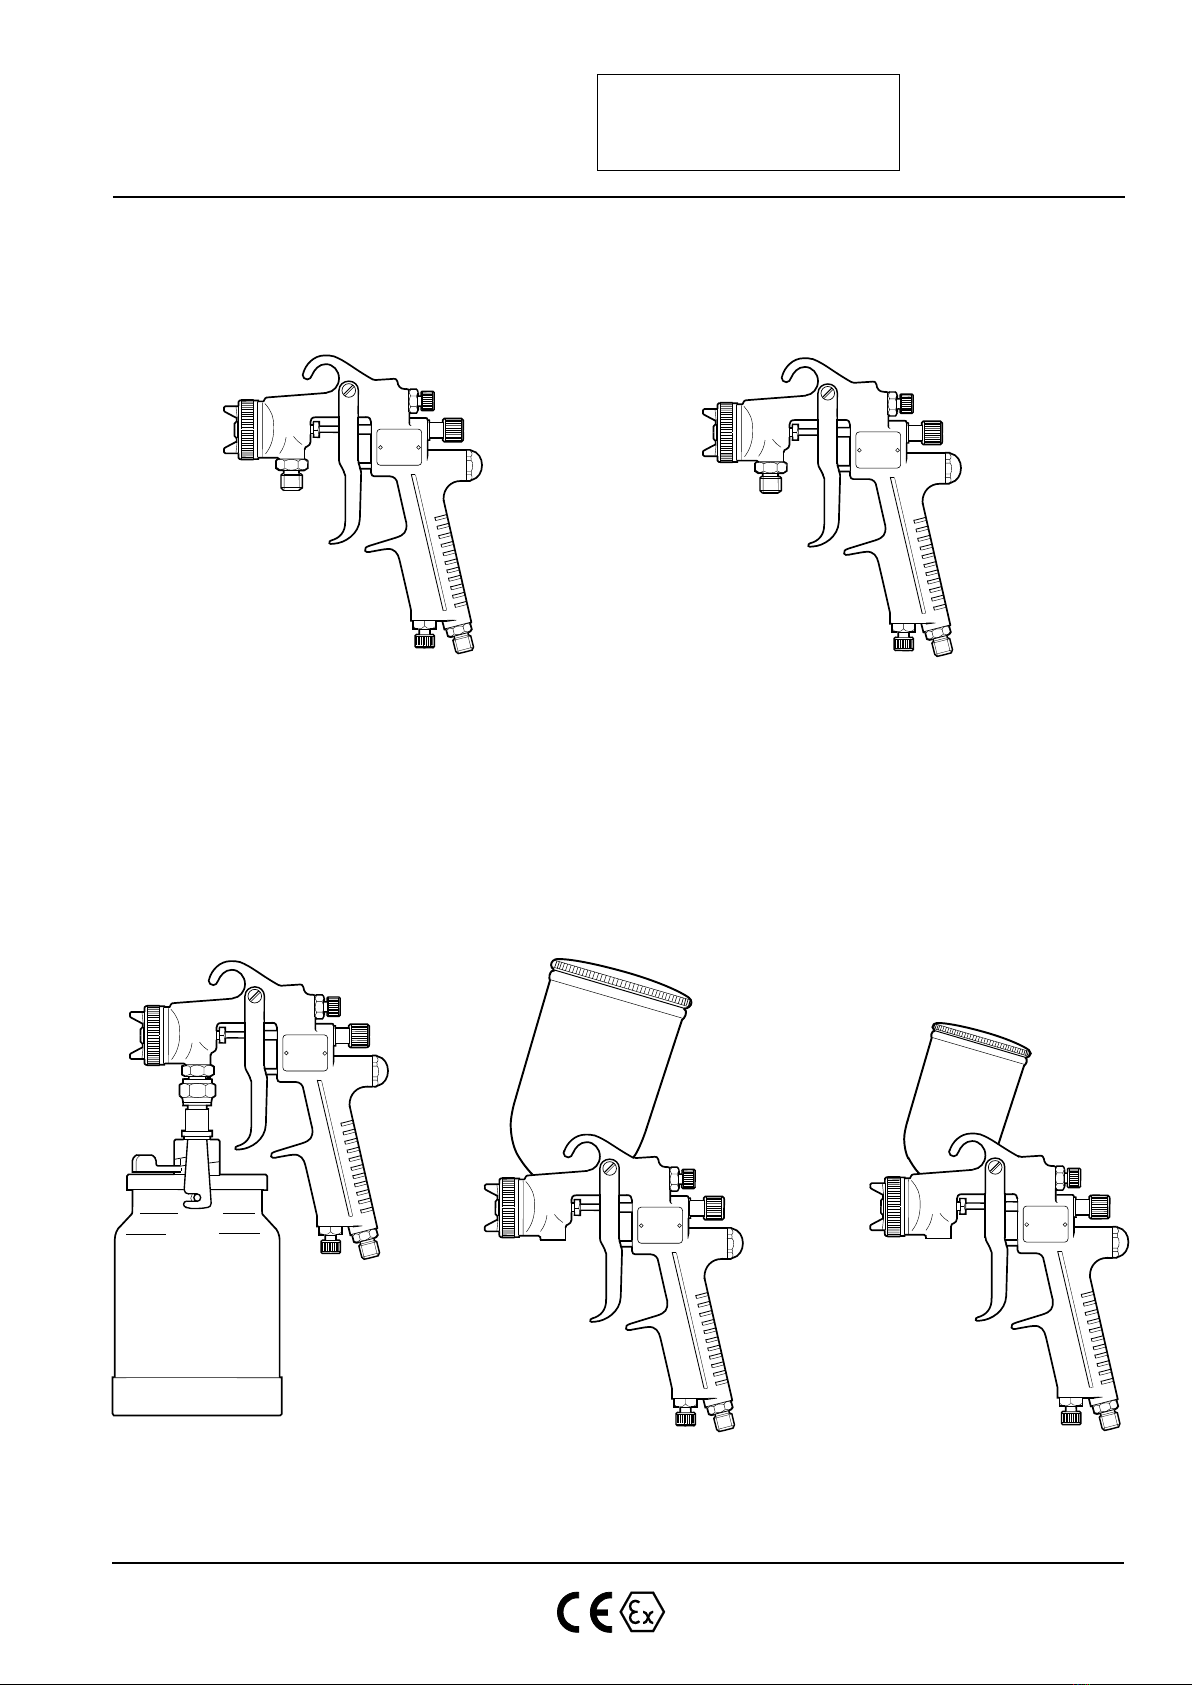
Principal data
Type Max. working Paint cup
pressure volume
Ecco bar l
30 7 -
301 7 1
302 7 0.5
303 7 0.25
Use Ecco genuine parts and accessories only for best
function and safety.
Before starting, read through all instructions carefully.
Do not use halogenated hydrocarbons in coating application
equipment where aluminium or galvanized parts come
in contact with the solvent or coating material.
Halogenated hydrocarbons e.g. 1,1,1-thrichloroethane and
methylene chloride react, violently with such parts, causing
corrosion and danger for explosion.
WARNING
The high velocity flow of air and liquids through hoses and
nozzles may develop static electricity. Be sure that the
equipment, object being sprayed, spraybooth, paint and waste
container are properly grounded to prevent static discharge
or sparks.
WARNING
Operation
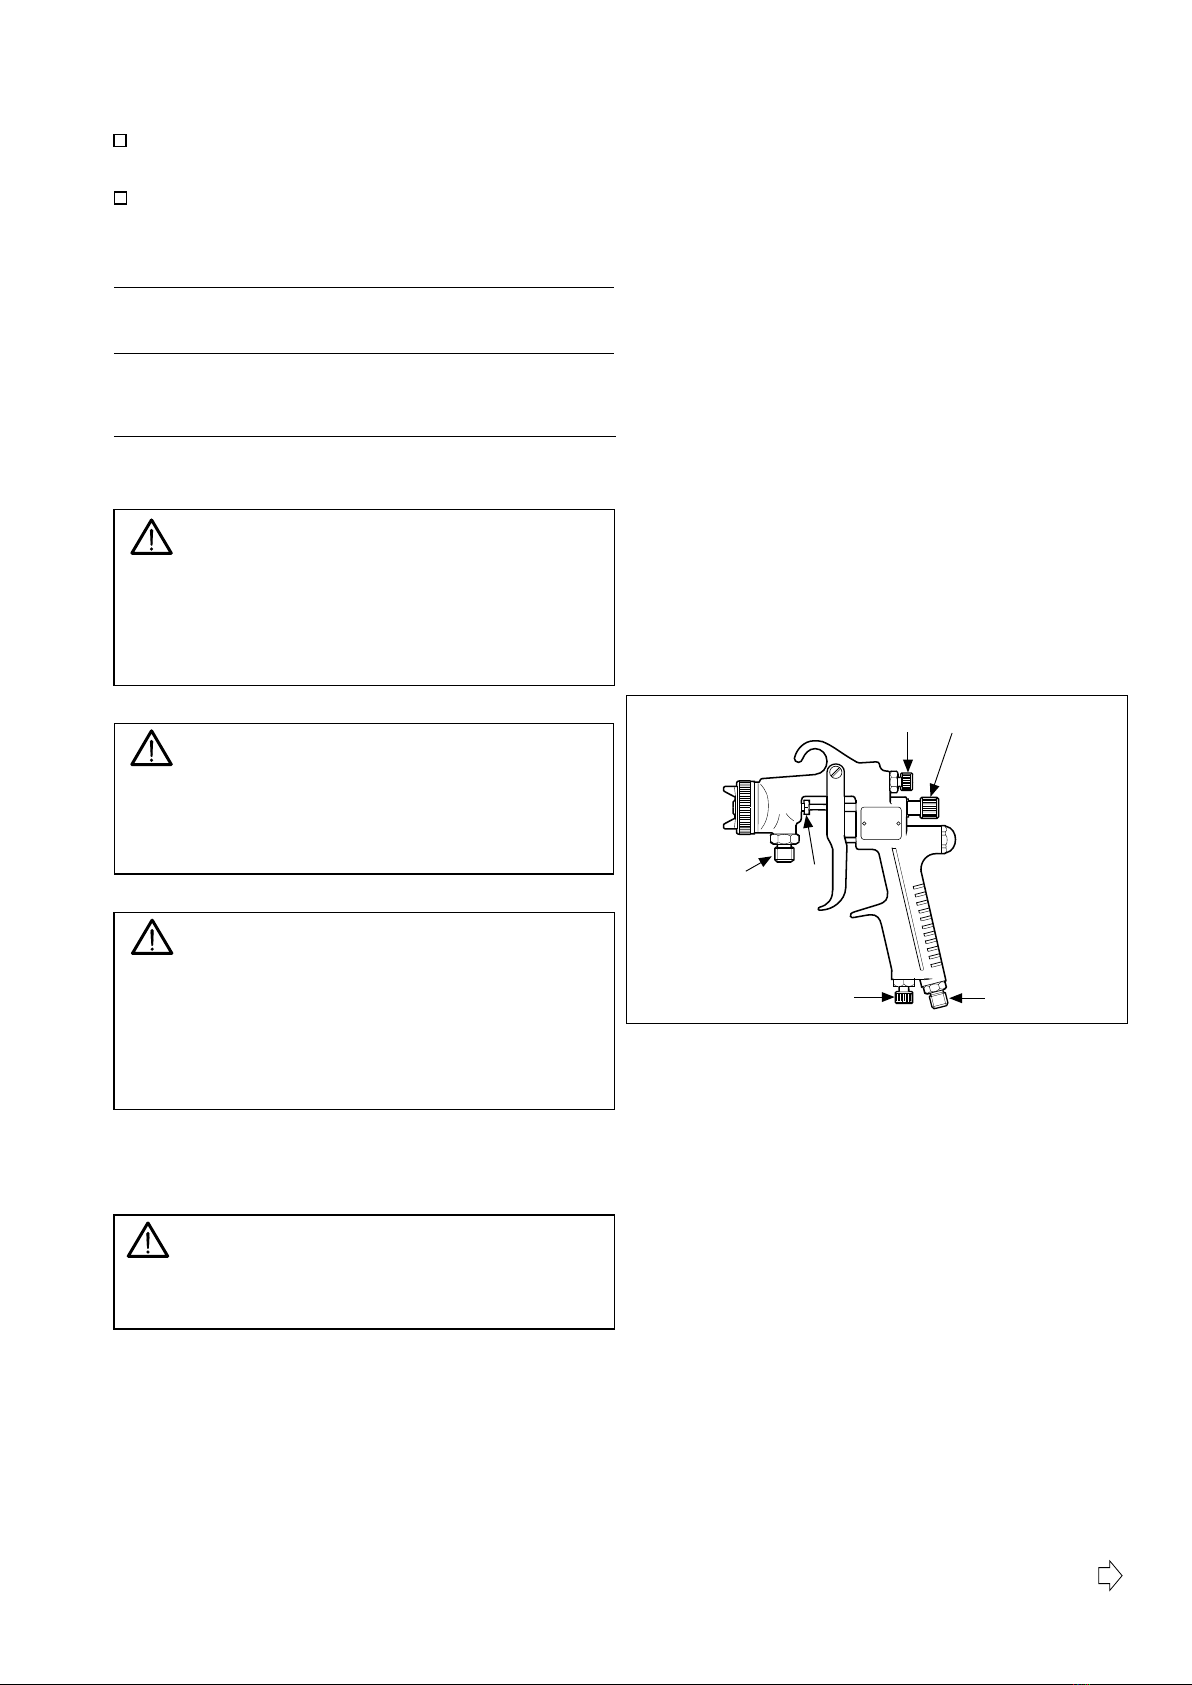
•Install and operate the spray gun according to Fig. 1.
•Blow the paint and air hoses clean before connection.
•Check that all connections are tight (pay particular attention to the
connection between paint cup and spray gun).
•Keep the spray gun clean and lubricate moving parts at regular
intervals.
•Lubricants for surface-treatment equipment must not contain
silicon.
Connections and controls (see Fig. 1)
A Atomizing air hose connection G 1/4.
Hose: Inside dia. 6.3 mm (1/4”).
B Paint hose connection G 3/8.
Hose: Inside dia. 6.3 mm (1/4”) or 9.5 mm (3/8”).
F Paint needle packing adjusting screws.
D Fan width adjusting. If the knob is screwed all the way in a rounfan will
be obtained other positions give broad fans.
E Paint flow adjusting. Clockwise turning result in a smaller paint flow
and counter-clockwise turning increases the flow. The fluid flow is
regulated in the first instance by the choice of paint nozzle and paint
pressure.
Paint spraying
How to operate
Recommended paint viscosity differs according to paint properties and
painting conditions. 15 to 23 sec./Ford cup 4 is recommendable.
The gun is operate at low air pressure, high transfer efficiency will not be
obtained if the spray distance is to far.
Set the spray distance from the gun to the work piece as near as possible
within the range of 150-300 mm.
Air caps
The air caps are tested and certified according to the SEAVA metod.
This gives a ”finger print” of the spray pattern on each air cap.
For further information please contact your supplier.
The retaining ring for the air cap shall only be tightened with hand force.
No tools are required. Especially important when a capcleaner is used.
Air caps can be sent back for checking and comparity the performance.
For further interesting please contact your supplier.
•In the event of leakage around the paint needle, tightening the packing
screws (see F Fig. 1). After tightening, check that fluid needle is pushed
forward by the spring force.
• For short standstill periods, for instance over a night, it will
suffice to clean the air and paint nozzles on the outside. If a
two-component paint is used, however, the gun must be flushed
through immediately with solvent. This must also be done if the
gun is to remain unused for a longer period of time.
•When cleaning the air cap and the paint nozzle, use a soft brush
or rag dipped in solvent. Do not place the entire gun in solvent,
as the oil on the lubricated parts would be dissolved. Blow the air
cap dry with compressed air from both sides.
•Never use iron or steel wire to clean air holes and ducts in the
nozzles.
As the equipment works under pressure the utmost care must
be observed during the work. Bearing this in mind, never aim
the spray gun at a person or towards any part of the body In
the event of personal injury caused by the spraying pressure,
immediate medical attention is essential. Before carrying out
any adjustment or repair, the equipment must be switched off
and the paint pressure relieved.
WARNING
Inhalation of paint, paint dust and solvent is not healthy. Make
sure an approved spraybooth is used. The operator must use
personal protection-breathing mask or fresh air hood.
CAUTION
ECCO 30
65130 F205
Fig.1