EcoSeb DD1EA SIMPLE User manual

DD1EA SIMPLE
(Formerly DD122EA SIMPLE)
US CA
FOR MORE LANGUAGES, PLEASE VISIT:
www.ecoseb.com/userguide

English
© 2016 EcoSeb, Inc. 2 All rights reserved
WELCOME
Thank you and congratulaons for choosing an EcoSeb dehumidier to help you improve the air
quality within your home. Inside you will nd many helpful ps on how to use and maintain your
dehumidier eciently. Just a lile preventave care can save you money and prolong the life of
your dehumidier.
The purpose of the dehumidier is to remove the excess moisture in the air by detecng the humidity
level in the room. By keeping humidity within recommended levels, a dehumidier combats
household damp, mould and mildew. Dehumidiers can help to reduce the symptoms of asthma,
allergies, and other respiratory health condions. They can also be used to help dry laundry quicker
and control moisture-based damage (such as the aermath of ooding, leaks or rising damp) to
valuable belongings and furniture.
HUMIDITY GUIDE
There will always be water vapour in the air. The water vapour (or commonly known as moisture) in
the air is measured in % Relave Humidity (RH). RH is the rao of the actual amount of water vapour
in the air to the amount it could hold when saturated expressed as a percentage. Too much or too
lile moisture in our homes can be unhealthy and uncomfortable. The opmum humidity level is
between 40% and 60% (RH) where we feel most comfortable.
LOW HUMIDITY
Low humidity indoors causes excess drying which can trigger skin irritaons such as eczema, chapped
skin and dry nose. It can also damage possessions, such as wooden furniture, musical instruments
and artwork by drying it out too much.
HIGH HUMIDITY
High humidity indoors causes damp and condensaon. The damp le by condensaon can damage
plaster, wall paper, furniture, vehicles, mber windows, doors and clothes. It can be harmful to our
health when bacteria thrives, causing mould and fungus.
MAINTAINING SAFE LEVELS OF HUMIDITY
It is important to maintain a consistent humidity range to preserve furniture, painngs, door and
window frames. High humidity causes swelling, corrosion, soening of glues and paint. Low
humidity causes shrinking, cracking, warping of wood surfaces and gaps in joints, doors and windows.
Frequent changes in humidity levels can accelerate damages to property and belongings.
CONDENSATION
The warmer the air, the more moisture the air can hold than colder air. So, when the air inside the
house becomes colder, the moisture contents in the air becomes saturated, and gets heavier
resulng in moisture concentraon on the coldest parts of the house parcularly on the windows,
bathroom mirrors and walls. This is condensaon, caused by a sudden increase in humidity, cooking,
showers, drying clothes, inadequate venlaon and poor thermal insulaon.
Condensaon does not disappear instantly even with the dehumidier on. Where excessive
condensaon appears for example, on your windows, you may want to open your windows to expel
the excess humidity for several minutes. It will take a while for the condensaon to generally
increase the humidity in the room. Once the humidity level in the room around the dehumidier is
increased above the level you have set on the dehumidier, it will then begin the dehumidicaon
process.
TOO DRY COMFORTABLE TOO WET

English
© 2016 EcoSeb, Inc. 3 All rights reserved
KEY FEATURES
1. Water Full/Check Indicator - Indicator lights up when the water tank is full or
incorrectly installed.
2. Power ON Indicator - Indicates when the unit is ON.
3. Humidistat Dial - Select from
POWER OFF
LOW
MEDIUM
HIGH
LAUNDRY / CONTINUOUS MODE sengs.
4. Economy Turbo Switch - Select TURBO or ECONOMY sengs.
CONTROL PANEL
1
2
3 4
BACK
FRONT

English
© 2016 EcoSeb, Inc. 4 All rights reserved
QUICK START UP
STEP 1 - WHERE TO POSITION YOUR
DEHUMIDIFIER?
Ensure the unit is a safe distance away from a
wall or furniture, away from direct sunlight.
TIP: Posion the dehumidier in the dampest
room or somewhere central like a landing or a
hallway. As long as the internal doors are open
the excess moisture from all of the rooms in
the house will migrate naturally towards the
dehumidier and be processed.
STEP 2 - CAUTION - AVOID USING IN
Small conned area i.e. broom cupboard,
boiler room, unvenlated rooms etc.
Close proximity to a heat source such as
heater, tumble dryer, cooker.
Dusty or building sites or an industrial
environment where parcles can clog up the
lter or internal components. This will cause
the unit to malfuncon, voiding your
guarantee.
STEP 3 - ON/OFF
TO
OPERATE
UNIT
Place the unit in an upright
posion on an even level surface.
Plug the unit into the mains
socket.
Turn the humidity stat dial
clockwise to select desired
mode. (Power ON indicator
lights up)
Turn an-clockwise to switch the
unit OFF.
STEP 4 - DRY/LAUNDRY MODE
Low
Select to keep the room at a
comfortable level
Dries the air to approximately
70% RH and stops dehumidifying.
Medium
Select to run in Medium mode
Dries the air to approximately
50% RH and stops dehumidifying.
Important: Once you reach desired
RH, switch from MEDIUM to LOW
for energy savings.
High
Select High mode to quickly control
high levels of humidity
Dries the air to approximately
40% RH and stops dehumidifying.
Important: Once you reach desired
RH, switch from HIGH to MEDIUM
for energy savings.
Laundry
Use for drying clothes. The
dehumidier will connuously dry
the air unl the sengs are
changed manually. It typically
takes 2 – 4 hours to dry your
laundry.

English
© 2016 EcoSeb, Inc. 5 All rights reserved
QUICK START UP
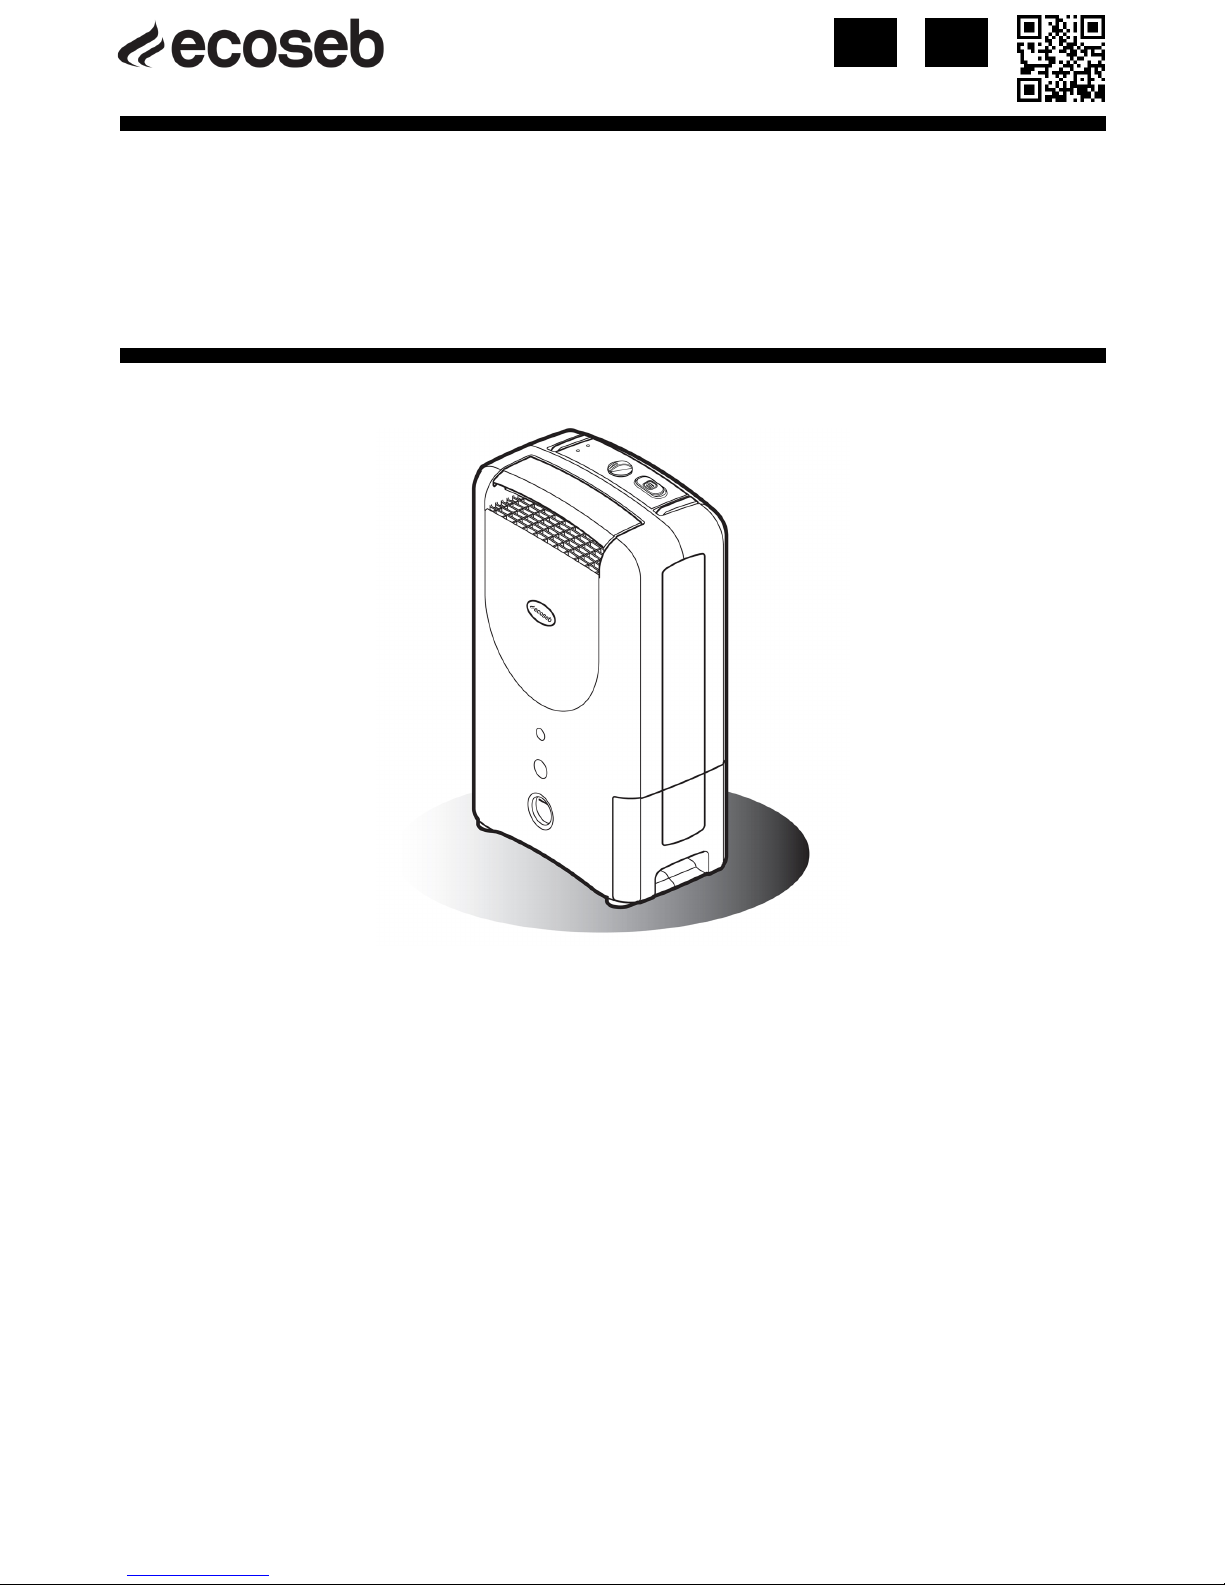
STEP 5 - ECONOMY/TURBO MODES
Economy
Select this mode for maximum
energy saving and quiet operaon.
Use this mode for normal daily
use.
Highly recommended for night
Turbo
Select this mode for rapid
dehumidicaon.
For quick drying, turn humidistat
clockwise to the end and slide
switch to TURBO.
Tip: Once you reach desired RH,
switch from TURBO to ECONOMY for
energy savings.
TIP: Avoid using the Turbo mode for normal
daily use. You may use to dry very damp rooms
over 2 – 3 days and then switch to the
recommended Economy mode.
STEP 6 - CHECK LIGHT
Lights up when water tank is full
or not properly inserted.
Water
Full/Check
Indicator
Filter needs cleaning.
Dehumidier needs to cool
down. Switch OFF and leave for
30 minutes and turn on again.
This is normal.
In low humidity or temperature
condions.
In high temperature condion
over 95°F or low temperature
below 34°F
TIP: When the check light comes on, remove
the plug from the socket. Move the
dehumidier to another room aer it cools
down or when condions allows, follow Steps 1
and 3.
USEFUL INFORMATION
Aer turning the dehumidier OFF, DO NOT
remove the power plug from the power
socket immediately; allow the unit to cool
down for a minimum 5 minutes to help
protect the internal components.
When you rst use your dehumidier it will
work harder to reduce the room humidity to
it's target. This is the me when it will
produce the most water and need emptying
most frequently. As the room becomes drier
the dehumidier collects less water.
Once the power is restored aer a power
failure, the dehumidier will connue to
operate at the selected sengs prior to the
power failure.
USEFUL INFORMATION
When you rst use the dehumidier and
periodically thereaer you may noce a
smell coming from the dehumidier. This is
caused by the Zeolite desiccant material and
is NOT a sign that the dehumidier is faulty,
nor is it harmful to humans or pets.
The Zeolite absorbs odours from items such
as cigarees, cosmecs, hair sprays, building
materials and new furniture and then when
the desiccant is heated the smell is
discharged into the room. (This smell has
been described as being like a burning smell
or a sour smell). This is normal and will NOT
last long, nor is it a sign of a fault.

English
© 2016 EcoSeb, Inc. 6 All rights reserved
EMPTY WATER TANK
The Water Full Indicator lights up when the water tank is full and the unit stops operang in a
few minutes.
Do not move the unit or remove the water tank when the dehumidier is sll running, as
water may leak; causing damages to the dehumidier or an electric shock.
Before removing the water tank leave the unit to stand for approximately 10 minutes to
ensure all water collected drips into the water tank.
To remove the water tank, pull it out gently by gripping the boom of the water tank, and li
carefully by the handle.
Remove the cover of the water tank, then pour the water away. Clean the water tank, restore
the cover and handle.
Insert the water tank back into to the correct posion.
NOTE :
Clean the water tank with clean water if needed. Do not use detergent, solvent, abrasive
or hot water to avoid damaging the dehumidier.
Do not remove or damage the oat in the water tank or the unit will not operate properly.
The Water Full light indicator illuminates if the water tank is not correctly in posion.
Do not lt the dehumidier when removing the water tank.
You may use a hose with an inner diameter of 7/16” for connuous drainage:
Use a screwdriver to remove the knockout at the back. Aach the hose to the connector
through the hole.
The hose must lead to an appropriate drain at a downward slope with no sharp bends.
NOTE:
Ensure the water tank is well ed in posion before inserng the hose.
Before removing the water tank, ensure that the hose is disconnected.
CONTINUOUS DRAINAGE
Pull water tank out Li by the handle Remove the cover
Pour the water away Restore the cover and
the handle Insert the water tank
STEP 1 STEP 2 STEP 3
STEP 4 STEP 5 STEP 6
STEP 1
Knockout
STEP 2
Hose
STEP 3
Hose

English
© 2016 EcoSeb, Inc. 7 All rights reserved
MAINTENANCE
STEP 1 - CLEANING YOUR FILTER
Turn OFF the dehumidier and remove the
lter from the unit.
Clean the lter with a brush or vacuum
cleaner. (Washing will weaken the
germicidal eect of the lter).
Replace the lter back into posion.
If the lter is covered with dust, the airow
and the performance of the dehumidier
will be aected. Check the lter periodically
to ensure all dust is removed.
Tip: Clean your lter every 2 weeks to keep
your air clean and prolong the life of your
dehumidier. The frequency will depend on
condions of operaon.
STEP 2 - REPLACING YOUR FILTER
It is recommended that the lter is replaced
every 1 - 2 years for opmal performance and
hygiene standards. The frequency depends on
the duraon and condions of operaon. To
purchase a replacement lter please visit:
www.ecoseb.com
STEP 3- CLEANING YOUR DEHUMIDIFIER
Turn the dehumidier OFF, wait for the fan
to stop and unplug the unit from the socket.
2. Clean the surface with a so damp cloth.
3. Dry thoroughly with a towel aer cleaning.
4. Empty the water tank by sliding out from the
side. Allow water tank to drip dry or dry with
a cloth.
Cauon:
Do not wash the unit or immerse in water.
Do not let water drip into the air inlet or
outlet.
STEP 4 - STORING YOUR DEHUMIDIFIER
Turn OFF the dehumidier , wait for the fan
to stop and unplug the dehumidier from
the power socket.
Leave the dehumidier to drain for
approximately one day. Clean and dry the
water tank.
Clean the lter and the dehumidier. Cover
the unit to prevent it from gathering dust.
Store upright in a cool dry place.
Do not expose to direct sunlight.

English
© 2016 EcoSeb, Inc. 8 All rights reserved
IMPORTANT SAFETY INSTRUCTIONS
PLEASE READ ALL INSTRUCTIONS CAREFULLY BEFORE OPERATING.
WARNING! This dehumidier is intended for domesc and light oce use only. Any other
use is not recommended by the manufacturer and may cause re, electrical shocks or other
injuries to person or property.
When using electrical appliances, basic safety precauons should always be followed:
1. Do not operate the dehumidier where there is a damaged cord or plug or aer it malfuncons
or it has been dropped or damaged in any way. Arrange for the dehumidier to be examined
or repaired by an authorised technician.
2. Always keep the dehumidier in an upright posion to avoid any damage. Place the
dehumidier on an even level surface during operaon.
3. Ensure the household voltage matches the rated specicaon for the dehumidier before use.
4. Operate this dehumidier in an ambient temperature between 34°F and 95°F.
5. Ensure that the air inlets and outlets are not blocked or covered. Do not insert ngers or any
objects into the air inlet or outlet openings.
6. Do not place the unit too close to curtains or other objects, keep minimum distance of 8”.
7. When using the "LAUNDRY" mode to dry wet clothes eciently, keep the laundry at a safe
distance from the dehumidier to prevent water from dripping onto the dehumidier.
8. Never place anything on top of the dehumidier and do not cover while in use or before it
cools down.
9. To protect against electrical shocks, do not immerse or spray the dehumidier or any of its
parts in water.
10. Never unplug the power cord without switching OFF the dehumidier rst.
11. Always unplug the dehumidier when not in use or when moving locaon. To disconnect the
dehumidier from the power supply, grip the plug and pull from the power socket. Never pull
by the cord.
12. Always empty the water tank before storing the unit away.
13. Close supervision is necessary when the dehumidier is used in the presence of children and
pets.
14. Do not run power cord under carpeng, or cover with rugs or runners. Arrange the cord away
from areas where it may become a tripping hazard.
15. Never operate or store the dehumidier in direct sunlight.
16. Repairs must be carried out by an authorised technician, failure to do so may cause
damage to the dehumidier or injury to persons or property and void the warranty. Always
insist on original spare parts.
17. Avoid the using of an extension cable as they may overheat and cause a risk of re.
18. Do not use the dehumidier without the air lter. Clean or replace the air lter regularly.
19. Dispose of the water collected from the dehumidier, this water is not drinkable.
20. Do not leave the dehumidier unaended in connuous drainage over a long period of me.
21. At the end of its working life dispose the dehumidier responsibly, in accordance with local by
laws.
22. Do not remove the water tank when running, this may cause water to leak.
23. This dehumidier is equipped with a safety p-over technology switch. If the dehumidier is
pped over it will automacally switch o.
This dehumidier is not intended for use by persons (including children) with reduced physical,
sensory or mental capabilies, unless they have been given supervision or instrucon concerning
use of the dehumidier by a person responsible for their safety. Children should be supervised to
ensure that they do not play with the dehumidier.
READ & SAVE THESE IMPORTANT SAFETY INSTRUCTIONS FOR FUTURE REFERENCE

English
© 2016 EcoSeb, Inc. 9 All rights reserved
CHECK THE FOLLOWING POINTS BEFORE CONTACTING TECHNICAL SUPPORT.
SPECIFICATIONS
MODEL DD1EA SIMPLE
Temperature Range 34°F ~ 95°F
Dehumidicaon Extracon Rate 15 pints/day (7 litres) (68°F, 60%RH)
Water Tank Capacity 4.2 pints
Voltage 110 - 120V~60Hz
Net Weight 13.2 lbs
Gross Weight 15.4 lbs
Net Dimension (W x H x D) 11.4” x 19.1” x 6.9”
Gross Dimension (W x H x D) 13.8” x 21.7”x 9.1”
TROUBLESHOOTING
PROBLEM REASON SOLUTION
No Power Dehumidier is not plugged in
or there is no power supply Plug the dehumidier into mains and switch
plug ON. Check the main power supply
Water Full/
Check Light On
Filter clogged Check and clean or replace the lter
The air inlet or outlet is blocked
or covered Remove obstrucons
Low humidity condion Switch o unit and move to another room
Water tank is full or installed
incorrectly Empty water tank or re-install correctly
Water oat out of posion Restore water oat back into posion
Water
Leaking
Dehumidier on uneven surface
or water tank ed incorrectly
Ensure the dehumidier is on a at, even
surface, use a spirit level to check, remove
tank and replace correctly
Filter clogged Clean or replace lter
Damaged water tank Remove the water tank, ll with water and
place on a hard even surface to test for
leakage
The connuous drainage is
clogged or loose Check the connuous drainage hose and its
connecon
Not Collecng
Water
Set humidity is reached Readjust the humidity sengs
Room is very cold or very dry for
the current sengs
Readjust the humidity seng or increase the
room temperature
Check room temperature and humidity levels
Filter dusty Clean the air lter or replace it
Dehumidier set up incorrectly Ensure unit is set up correctly (Quick Start Up)
Room Temperature is too hot
Room Temperature is too cold Open the window or door to venlate
Increase heat in the room
Noisy Water tank or lter ed incor-
rectly Check and ret the water tank or lter
Check unit is on an even level surface
In the unlikely event of a problem with your product, please refer in the rst instance to:
ECOSEB TECHNICAL SUPPORT
www.ecoseb.com/support

English
© 2016 EcoSeb, Inc. 10 All rights reserved
SERVICE & GUARANTEE
This guarantee is in addion to, and does not aect, your Statutory Rights.
We recommend that you note the details of your purchase below and retain your original proof of
purchase receipt with this user guide. Keep these documents safe in the event of a guarantee
claim.
____________________________________________________________________________________________________
Date of purchase:
____________________________________________________________________________________________________
Retailer Name:
____________________________________________________________________________________________________
Serial number:
This limited guarantee only applies in the USA and Canada. Where the product has been taken from
the country it was purchased to another country, the guarantee may be invalidated. However, we
will always do our best to assist you in your new country of residence. EcoSeb, Inc. authorizes no
person to change or add to any obligaons under this guarantee. Obligaons for service and parts
under this guarantee must be performed by EcoSeb, Inc. or an authorized service company. Product
features or specicaon described may be subject to change without noce.
Disclaimer of implied guarantees; limitaon of remedies
Customer's sole and exclusive remedy under this limited guarantee shall be product repair or replacement as provided
herein. Claims based on implied guarantees, including guarantees of merchantability or tness for a parcular purpose,
are limited to two years or the shortest period allowed by law, but not less than two years. EcoSeb shall not be liable for
consequenal or incidental damages such as property damage and incidental expenses resulng from any breach of this
wrien limited guarantee or any implied guarantee. Some States and provinces do not allow the exclusion or limitaon
of incidental or consequenal damages, or limitaons on the duraon of implied guarantees, so these limitaons or
exclusions may not apply to you. This wrien guarantee gives you specic legal rights. You may also have other rights
that vary from state to state.
www.ecoseb.com C282
TWO (2) YEAR LIMITED GUARANTEE
SAVE THIS GUARANTEE INFORMATION
EcoSeb Inc. guarantees this product free from defects in materials and workmanship for a
period of Two (2) years from the date of purchase. Coverage is valid only with proof of purchase.
Exclusions: This guarantee does not cover:-
Products used in the condions other than the sengs recommended and at the voltage
indicated.
Products used in a commercial seng or dusty environment.
Service which do not involve malfuncon or defects in materials or workmanship or those
used other than in accordance with provided instrucons.
Appliance acquired second hand.
Surcharges including, but not limited to, any aer hour, weekend or holiday service calls and
delivery charges.
Damages caused by services performed by unauthorized service companies or use of parts
other than genuine EcoSeb parts or external causes; such as abuse, incorrect power supply,
accidents, res or acts of God.
Replacement accessories such as lters.

© 2016 EcoSeb, Inc. All rights reserved
www.ecoseb.com

© 2016 EcoSeb, Inc. All rights reserved
www.ecoseb.com
This manual suits for next models
1
Table of contents