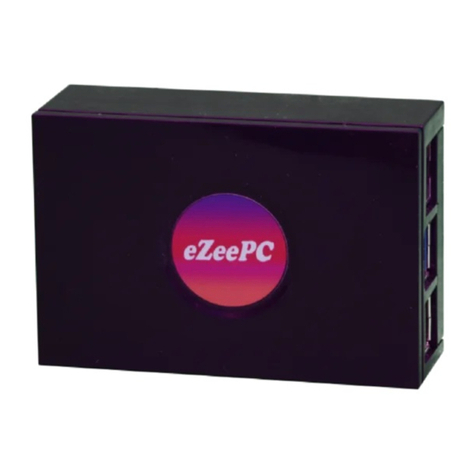
EDA CM4MEDIA User manual

User Manual of CM4 Media
EDA Technology Co.,LTD– Electronics Development Accelerator
CM4MEDIA USER MANUAL
Shanghai EDA Technology Co.,Ltd
2023-07-11

User Manual of CM4 Media
EDA Technology Co.,LTD– Electronics Development Accelerator
Copyright Statement
ED-CM4MEDIA and its related intellectual property rights are owned by Shanghai EDA Technology Co.,
Ltd.
Shanghai EDA Technology Co., Ltd. owns the copyright of this document and reserves all rights. Without
the written permission of Shanghai EDA Technology Co., Ltd, no part of this document may be modified,
distributed or copied in any way or form.
Disclaimers
Shanghai EDA Technology Co., Ltd does not guarantee that the information in this manual is up to date,
correct, complete or of high quality. Shanghai EDA Technology Co., Ltd also does not guarantee the further
use of this information. If the material or non-material related losses are caused by using or not using the
information in this manual, or by using incorrect or incomplete information, as long as it is not proved that
it is the intention or negligence of Shanghai EDA Technology Co., Ltd, the liability claim for Shanghai EDA
Technology Co., Ltd can be exempted. Shanghai EDA Technology Co., Ltd expressly reserves the right to
modify or supplement the contents or part of this manual without special notice.

User Manual of CM4 Media
EDA Technology Co.,LTD– Electronics Development Accelerator
Contents
1Product Overview............................................................................................................................... 5
1.1 Target Application .................................................................................................................... 5
1.2 Specifications and Parameters ................................................................................................ 5
1.3 System Diagram ...................................................................................................................... 6
1.4 Functional Layout .................................................................................................................... 7
1.5 Packing List ............................................................................................................................. 8
1.6 Order Code.............................................................................................................................. 8
2Quick Start ......................................................................................................................................... 9
2.1 Equipment List......................................................................................................................... 9
2.2 Hardware Connection.............................................................................................................. 9
2.3 First Start............................................................................................................................... 10
2.3.1 Raspberry Pi OS (Desktop) ........................................................................................ 10
2.3.2 Raspberry Pi OS (Lite)................................................................................................ 13
3Wiring Guide .................................................................................................................................... 14
3.1 Panel I/O ............................................................................................................................... 14
3.1.1 micro-SD Card ............................................................................................................ 14
4Software Operation Guide................................................................................................................ 15
4.1 USB 2.0 & USB 3.0 ............................................................................................................... 15
4.1.1 Check USB Device Information .................................................................................. 15
4.1.2 USB Storage Device Mounting ................................................................................... 15
4.2 Ethernet Configuration........................................................................................................... 16
4.2.1 Gigabit Ethernet.......................................................................................................... 16
4.2.2 Using The Network Manager Tool To Configure.......................................................... 16
4.2.3 Configuration With dhcpcd Tool .................................................................................. 18
4.3 WiFi ....................................................................................................................................... 19
4.3.1 Enable WiFi ................................................................................................................ 19
4.3.2 External antenna/Internal PCB antenna ..................................................................... 20
4.3.3 AP and bridge mode ................................................................................................... 20
4.4 Bluetooth ............................................................................................................................... 20
4.4.1 Usage ......................................................................................................................... 20
4.4.2 Example...................................................................................................................... 21
4.5 RTC ....................................................................................................................................... 22
4.6 Multimedia Interface .............................................................................................................. 23
4.6.1 Microphone ................................................................................................................. 23
4.6.2 Camera ....................................................................................................................... 24
4.6.3 Check The Sound Card .............................................................................................. 24
4.6.4 Recording ................................................................................................................... 24
4.6.5 Playback ..................................................................................................................... 24
5Operating System Installation .......................................................................................................... 25
5.1 Image Download ................................................................................................................... 25
5.2 SSD Burning Image............................................................................................................... 25
5.2.1 Tool Download ............................................................................................................ 25

User Manual of CM4 Media
EDA Technology Co.,LTD– Electronics Development Accelerator
5.2.2 Burn ............................................................................................................................ 25
6FAQ .................................................................................................................................................. 26
6.1 Default Username and Password.......................................................................................... 26
7About us ........................................................................................................................................... 26
7.1 About EDATEC...................................................................................................................... 26
7.2 Contact us ............................................................................................................................. 26

User Manual of CM4 Media
EDA Technology Co.,LTD– Electronics Development Accelerator
1 Product Overview
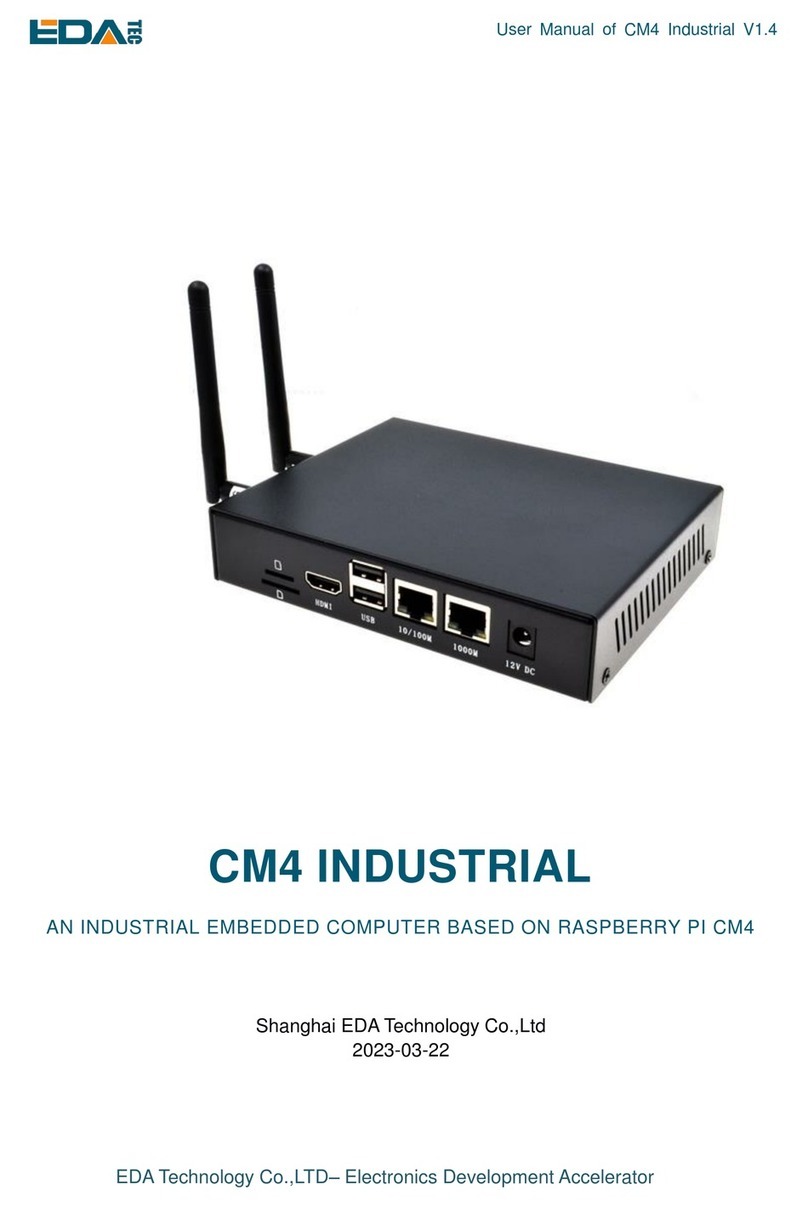
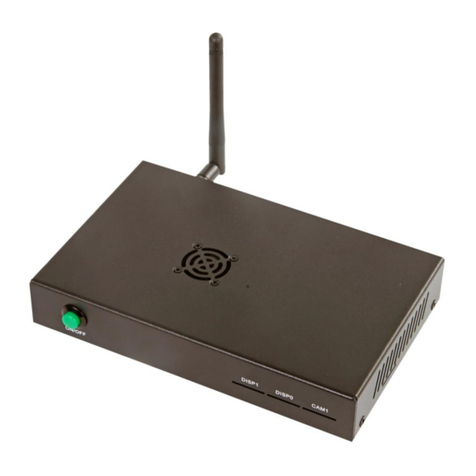
ED-CM4MEDIA is a multimedia computer based on Raspberry Pi Compute Module 4 (CM4 for short). It
makes full use of CM4' s structural flexibility to solve the heat dissipation problem of CPU, wireless module
and PMU, improves the reliability of wireless communication through external WIFI/BT antenna, adds
WM8960 chip, supports dual speaker playback, has microphone, 3.5mm headphone jack and is equipped
with SONY IMX219 eight-megapixel sensor to meet the daily photo requirements.
1.1 Target Application
Multimedia entertainment
AI development
Intelligent instrument
Panoramic display
Intelligent life
1.2 Specifications and Parameters
Function
Parameters
CPU BCM2711 4 core, ARM Cortex-A72(ARM v8), 1.5GHz, 64bit CPU
Memory 1GB / 2GB / 4GB / 8GB option
eMMC flash 8GB / 16GB / 32GB option
SD card 8GB / 16GB / 32GB option
SSD 128GB / 256GB option
Ethernet 1x Gigabit Ethernet
WiFi / Bluetooth 2.4G / 5.8G Dual band WiFi, bluetooth5.0
HDMI 1x standard HDMI
Micro-HDMI 1x Micro-HDMI
USB Host 2x USB 3.0 Type A, 1x USB 2.0
Mini PCIe 1-lane PCIe 2.0, Highest support 5Gbps(default use SSD)
Real time clock 1x RTC
Speaker 2x Speaker
Microphone 1x Microphone
LED indicator Blue LED as power indicator and status indicator.
Power input 5V@3A
Dimensions 100(length) x 100(wide) x 19(high) mm
Case CNC cutting aluminum alloy shell

User Manual of CM4 Media
EDA Technology Co.,LTD– Electronics Development Accelerator
Function Parameters
Antenna accessory
Support optional WiFi/BT external antenna, which has passed wireless
authentication together with Raspberry Pi CM4, and optional 4G external
antenna.
Working
environment temperature Run at full speed at 0 ~ 60 ℃ambient temperature.
Operation system compatible with official Raspberry Pi OS, provides BSP software support
package, and supports online installation and update of APT.
1.3 System Diagram

User Manual of CM4 Media
EDA Technology Co.,LTD– Electronics Development Accelerator
1.4 Functional Layout
Item
Function Description
Item
Function Description
A1 Standard 3.5mm headphone jack A2 RJ45 Gigabit network port
A3 USB 3.0 A4 USB 2.0
A5
Micro-SD card slot
A6
Micro-HDMI port
A7
Standard HDMI port
A8
Type-C power port
A9
CM4 slot
A10
Power button

User Manual of CM4 Media
EDA Technology Co.,LTD– Electronics Development Accelerator
Item Function Description Item Function Description
B1 Onboard microphone B2 5W speaker
B3 5W speaker B4 CR1220 button cell, powered for RTC.
B5 Mini PCIe B6 Micro SIM card slot
1.5 Packing List
1x CM4 Media
1x WIFI/BT antenna
[option] 1x 4G antenna
1.6 Order Code

User Manual of CM4 Media
EDA Technology Co.,LTD– Electronics Development Accelerator
2 Quick Start
This chapter introduces the startup of CM4 Media and some startup settings.
2.1 Equipment List
- 1x CM4 Media
- 1x WIFI/BT antenna
- 1x mouse
- 1x keyboard
- 1x HDMI display
- 1x HDMI connect cable
- 1x Network cable
- 1x 5V@3A Type-C power supply
2.2 Hardware Connection
1. Install the antenna to the antenna connector at the top of the equipment.
2. Insert the network cable, keyboard and mouse.
3. Plug in HDMI and connect the other end to the monitor.
4. Power on the monitor
5. Plug in the power cord, press the power switch button, and the system will start.
6. The power switch LED lights up, which means that the power supply is normal.

User Manual of CM4 Media
EDA Technology Co.,LTD– Electronics Development Accelerator
7. Wait for the Raspberry logo to appear in the upper left corner of the screen.
8. After the system is started, enter Desktop. If prompted to log in, please enter the user name: pi and
the default password: raspberry.
2.3 First Start
CM4 Media plugs into the power cord and presses the power switch, and the system will start up.
2.3.1 Raspberry Pi OS (Desktop)
After the Desktop version of the system is started, directly enter the desktop.
If you use the official system image, and the image is not configured before burning, the Welcome to
Raspberry Pi application will pop up and guide you to complete the initialization setting when you start it
for the first time.

User Manual of CM4 Media
EDA Technology Co.,LTD– Electronics Development Accelerator
Click Next to start the setup.
Setting Country, Language and Timezone, click Next。
NOTE: You need to select a country region, otherwise the default keyboard layout of the system
is the English keyboard layout (our domestic keyboards are generally the American keyboard
layout), and some special symbols may not be typed.
Input a new password for the default account pi, and click Next.
NOTE: Default password is raspberry

User Manual of CM4 Media
EDA Technology Co.,LTD– Electronics Development Accelerator
Select the wireless network you need to connect to, enter the password, and then click Next.
NOTE: If your CM4 module does not have a WIFI module, there will be no such step.
NOTE: Before upgrading the system, you need to wait for the wifi connection to be normal (the
wifi icon appears in the upper right corner).
Click Next, and the wizard will automatically check and update Raspberry Pi OS.
Click Restart to complete the system update.

User Manual of CM4 Media
EDA Technology Co.,LTD– Electronics Development Accelerator
2.3.2 Raspberry Pi OS (Lite)
If you use the system image provided by us, after the system starts, you will automatically log in with the
user name pi, and the default password is raspberry.
If you use the official system image, and the image is not configured before burning, the configuration
window will appear when you start it for the first time. You need to configure the keyboard layout, set the
user name and the corresponding password.
Set the configuration keyboard layout

User Manual of CM4 Media
EDA Technology Co.,LTD– Electronics Development Accelerator
Creat new user name
Then set the password corresponding to the user according to the prompt, and enter the password again
for confirmation. At this point, you can log in with the user name and password you just set.
3 Wiring Guide
3.1 Panel I/O
3.1.1 micro-SD Card
There is a micro SD card slot on CM4 Media. Please insert the micro SD card face up into the micro SD
card slot.

User Manual of CM4 Media
EDA Technology Co.,LTD– Electronics Development Accelerator
4 Software Operation Guide
4.1 USB 2.0 & USB 3.0
4.1.1 Check USB Device Information
List USB device
lsusb
The information displayed is as follows:
Bus 002 Device 001: ID 1d6b:0003 Linux Foundation 3.0 root hub
Bus 001 Device 005: ID 1a2c:2d23 China Resource Semico Co., Ltd Keyboard
Bus 001 Device 004: ID 30fa:0300 USB OPTICAL MOUSE
Bus 001 Device 003: ID 0424:9e00 Microchip Technology, Inc. (formerly SMSC)
LAN9500A/LAN9500Ai
Bus 001 Device 002: ID 1a40:0201 Terminus Technology Inc. FE 2.1 7-port Hub
Bus 001 Device 001: ID 1d6b:0002 Linux Foundation 2.0 root hub
4.1.2 USB Storage Device Mounting
You can connect an external hard disk, SSD or USB stick to any USB port on Raspberry Pi and mount
the file system to access the data stored on it.
By default, your Raspberry Pi will automatically mount some popular file systems, such as FAT, NTFS
and HFS+, in the location of /media/pi/HARD-DRIVE-LABEL.
In general, you can directly use the following commands to mount or unmount external storage devices.
lsblk

User Manual of CM4 Media
EDA Technology Co.,LTD– Electronics Development Accelerator
NAME MAJ:MIN RM SIZE RO TYPE MOUNTPOINT
sda 8:0 1 29.1G 0 disk
└─sda1 8:1 1 29.1G 0 part
mmcblk0 179:0 0 59.5G 0 disk
├─mmcblk0p1 179:1 0 256M 0 part /boot
└─
mmcblk0p2 179:2 0 59.2G 0 part /
Use the mount command to mount sda1 to the /mnt directory. After the mount is completed, users can
directly operate storage devices in the /mnt directory.
sudo mount /dev/sda1 /mnt
After using, use the command umount to uninstall the storage device.
sudo umount /mnt
4.1.2.1 Mount
CM4 Media uses the desktop version of the system, and the system will automatically mount the storage
device in the /media directory. If users need to modify the hanging location, they need to manually
uninstall it and then remount it.
4.1.2.2 Unmount
When the device is turned off, the system will unmount the storage device so that it can be pulled out
safely. If you want to uninstall the device manually, you can use the following command:
sudo umount /mnt/mydisk
If you receive a "destination busy" error, it means that the storage device has not been unmounted. If no
error is displayed, you can safely unplug the device now.
4.2 Ethernet Configuration
4.2.1 Gigabit Ethernet
There is an adaptive 10/100/1000Mbsp Ethernet interface on CM4 Media, which is adjacent to the DC
power supply socket. It is recommended to use Cat6 (Category 6) network cable to cooperate with it. By
default, the system uses DHCP to automatically obtain IP.
4.2.2 Using The Network Manager Tool To Configure
If you use the desktop image, it is recommended to install the NetworkManager plug-in network-

User Manual of CM4 Media
EDA Technology Co.,LTD– Electronics Development Accelerator
manager-gnome. After installation, you can directly configure the network through the desktop icon.
sudo apt update
sudo apt install network-manager-gnome
sudo reboot
NOTE: If use our factory image, the network-manager tool and the network-manager-gnome
plug-in are installed by default.
NOTE: If use our factory image, the NetworkManager service is automatically started and the
dhcpcd service is disabled by default.
After the installation is completed, you will see the NetworkManager icon in the status bar of the system
desktop. 。
Right-click the NetworkManager icon and select Edit Connections。
Select the connection name to modify, and then click the gear below.
Switch to the configuration page of IPv4 Settings. If you want to set static IP, the Method selects Manual,
and Addresses the IP you want to configure. If you want to set it as dynamic IP acquisition, just configure
the Method as Automatic(DHCP) and restart the device.

User Manual of CM4 Media
EDA Technology Co.,LTD– Electronics Development Accelerator
If you use the Lite version of the system, you can configure it through the command line.
If you want to use the command to set the static IP for the device, you can refer to the following methods.
Set the static IP
sudo nmcli connection modify <name> ipv4.addresses 192.168.1.101/24 ipv4.method manual
Set the gateway
sudo nmcli connection modify <name> ipv4.gateway 192.168.1.1
Set dynamic IP acquisition
sudo nmcli connection modify <name> ipv4.method auto
4.2.3 Configuration With dhcpcd Tool
The official system of Raspberry Pi uses dhcpcd as the network management tool by default.
If you use the factory image provided by us and want to switch from NetworkManager to dhcpcd network
management tool, you need to stop and disable NetworkManager service and enable dhcpcd service
first.
sudo systemctl stop NetworkManager
sudo systemctl disable NetworkManager
sudo systemctl enable dhcpcd
sudo reboot

User Manual of CM4 Media
EDA Technology Co.,LTD– Electronics Development Accelerator
The dhcpcd tool can be used after the system is restarted.
Static IP can be set by modifying/etc/dhcpcd.conf. For example, eth0 can be set, and users can set
wlan0 and other network interfaces according to their different needs.
interface eth0
static ip_address=192.168.0.10/24
static routers=192.168.0.1
static domain_name_servers=192.168.0.1 8.8.8.8 fd51:42f8:caae:d92e::1
4.3 WiFi
Customers can purchase CM4 Media with WiFi version, which supports 2.4 GHz and 5.0 GHz IEEE
802.11 b/g/n/ac dual-band WiFi. We provide dual-band external antenna, which has passed wireless
authentication together with Raspberry Pi CM4.
4.3.1 Enable WiFi
The WiFi function is blocked by default, so you need to set the country region before you can use it. If
you use the desktop version of the system, please refer to the chapter: Initialization Settings Configure
WiFi. If you use the Lite version of the system, please use raspi-config to set the WiFi country area.
Please refer to the documentation "Raspberry Pi official documents - Using the Command Line"
4.3.1.1 Configure Using The Network Manager Tool.
After installing the desktop plug-in, you can directly connect to the WIFI network through the desktop
icon.
You can also use the command line to execute the following commands:
Scan WIFI
sudo nmcli device wifi
Connect WIFI with password.
sudo nmcli device wifi connect <SSID> password <password>
Set up WIFI automatic connection
sudo nmcli connection modify <name> connection.autoconnect yes
4.3.1.2 Configure Using The dhcpcd Tool
The official system of Raspberry Pi uses dhcpcd as the network management tool by default.
sudo raspi-config

User Manual of CM4 Media
EDA Technology Co.,LTD– Electronics Development Accelerator
1. Choose 1 System Options
2. Choose S1 Wireless LAN
3. Choose your country in Select the country in which the Pi is to be used ,than choose OK,This
prompt only appears when setting up WIFI for the first time.
4. Please enter SSID,input WIFI SSID
5. Please enter passphrase. Leave it empty if none,input password than restart the device
4.3.2 External antenna/Internal PCB antenna
You can switch whether to use an external antenna or a built-in PCB antenna through software
configuration. Considering compatibility and widest support, the factory default system is the built-in PCB
antenna. If the customer chooses a complete machine with a shell and is equipped with an external
antenna, you can switch by the following operations:
Edit /boot/config.txt
sudo nano /boot/config.txt
Choose external add
dtparam=ant2
Than reboot the device to take effect.
4.3.3 AP and bridge mode
WiFi on CM4 Media also supports configuration in AP router mode, bridge mode or mixed mode.
Please refer to the open source project github: garywill/linux-router to learn how to configure it.
4.4 Bluetooth
CM4 Media can choose whether the Bluetooth function is integrated or not. If it has Bluetooth, this
function is turned on by default.
Bluetoothctl can be used to scan, pair and connect Bluetooth devices. Please refer to the ArchLinux-
Wiki-Bluetooth guide to configure and use Bluetooth.
4.4.1 Usage
Scan:
Table of contents
Other EDA Desktop manuals
