manuals.online logo
Brands
  1. Home
  2. •
  3. Brands
  4. •
  5. Edelbrock
  6. •
  7. Automobile Part
  8. •
  9. Edelbrock 65912 (Ceramic-Coated) User manual

Edelbrock 65912 (Ceramic-Coated) User manual

©2005 Edelbrock Corporation
Rev. 1/05 Catalog #65912 &65913
DA/mc
Page 1of 3
EDELBROCK HEADERS
CATALOG #65912 (Ceramic-Coated) & 65913 (Ti-Tech Coated)
for 1972-1991 Jeep, Full Size Cherokee, Wagoneer & J-Series Pick-Up,
1972-1981 Jeep CJ5, CJ7, &CJ8
1970-1979 AMC, AMX, Javelin, Rebel, Matador
with 304, 360, 390, or 401 without A.I.R.
INSTALLATION INSTRUCTIONS
PLEASE study these instructions carefully before installing your Headers. If you have any questions or problems, please
call our Technical Hotline at: 1-800-416-8628 from 7:00 am - 5:00 pm, Monday-Friday, Pacific Standard Time or
e-mail us at [email protected]. Please fill out and mail your warranty card.
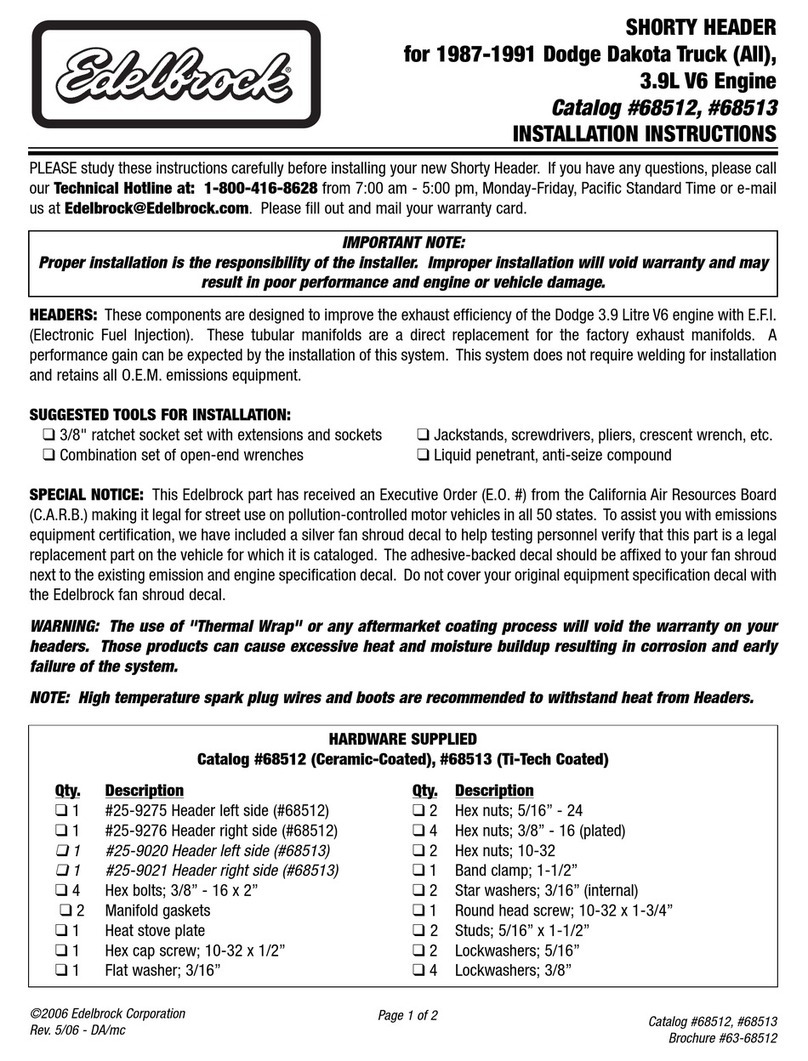
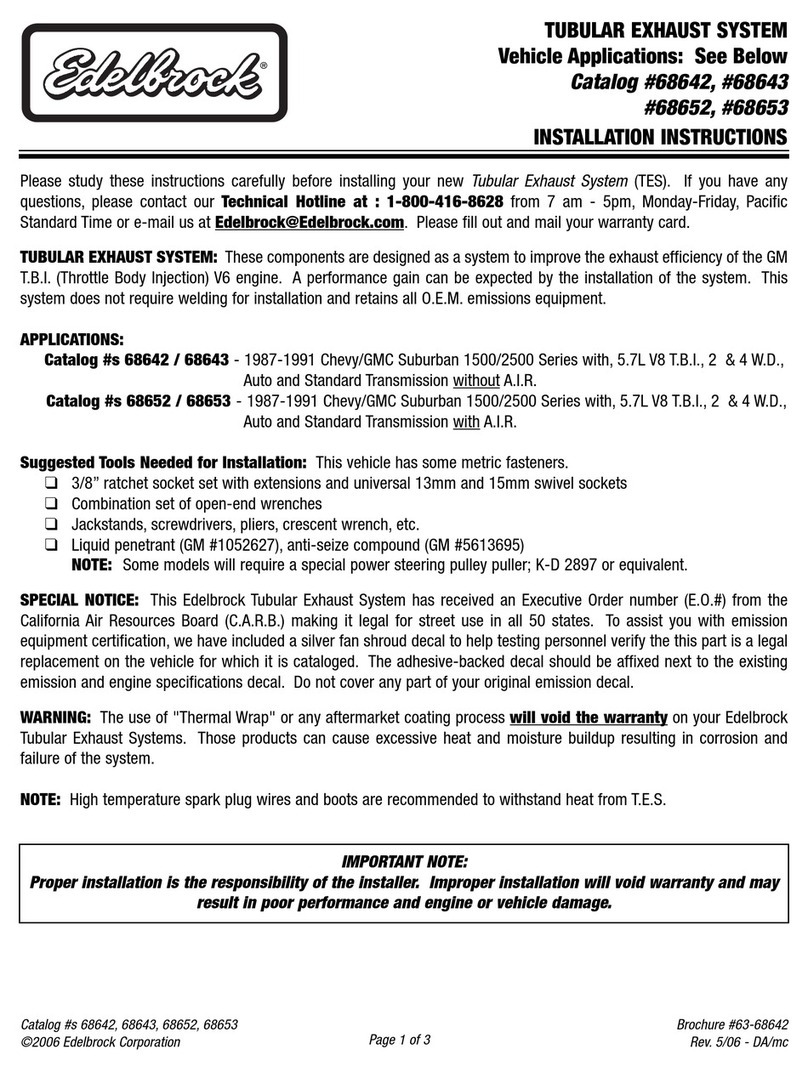
HEADERS: These components are designed to improve the exhaust efficiency of the AMC/Jeep 304, 360, 390, &401 cu.
in. V8. Most applications do not require welding for installation and retains all O.E.M. emissions equipment.
NOTE: These headers will not work on early rectangular port heads.
SUGGESTED TOOLS FOR INSTALLATION:
❑3/8" ratchet socket set with extensions and universal
❑Combination set of open-end wrenches
❑Jackstands, screwdrivers, pliers, crescent wrench, etc.
❑Liquid penetrant, (GM #1052627) anti-seize compound (GM #5613695)
SPECIAL NOTICE: This Edelbrock part has received an Executive Order (E.O. #) from the California Air Resources Board
(C.A.R.B.)making it legalfor streetuse on pollution-controlledmotor vehiclesin all 50states. To assistyou with emissions
equipment certification, we have included a silver fan shroud decal to help testing personnel verify that this part is a legal
replacement part on the vehicle for which it is cataloged. The adhesive-backed decal should be affixed to your fan shroud
next to the existing emission and engine specification decal. Do not cover your original equipment specification decal with
the Edelbrock fan shroud decal.
Notes on Specific Applications: These shorty headers are designed to be a direct replacement for OEM cast iron
manifolds, known as high flow manifolds used on many AMC cars and Jeep vehicles. Some of the vehicles listed above
came with different exhaust manifolds on one side and will require modification to exhaust down pipe on one side (see
below).
Jeep Application Note: When installing this system on some 1981-1991 Jeep Grand Wagoneer, 1981-1983
Cherokee,or 1981-1988Jseries pick-up,check thelocation oftheoutlet ofthe leftside exhaustmanifold. Ifthe outlet
is located under the 3rd spark plug, no modification will be needed. If the outlet is directly under the 4th spark plug,
the stock down pipe will require modification.
AMC Car Application Note: When installing this system on 1970-1979 AMC cars with (Type 1) right side manifold,
no modification is needed. If your car has (Type 2) right side manifold, modification to stock down pipe is required.
TYPE 1 TYPE 2
©2005 Edelbrock Corporation
Rev. 1/05 Catalog #65912 &65913
DA/mc
Page 2of 3
4. With wire ties, route any hoses, wires or lines
away from headers as necessary.
5. Re-install your factory heat riser valve using the
supplied flat gasket along with the factory
exhaust pipe and supplied 3/8 x 3 Hex bolts,
lockwashers and flatwashers. Do not
overtighten!
NOTE: If your vehicle has an early style heat
riser valve, without the tapered flange to seal
against the flare of the exhaust pipe, use the
donut gasket with the smallest I.D. steel ring on
the outlet of the heat riser, or you can purchase
the updated later model heat riser valve
#J3238998 from a Jeep dealer or Napa #600-
1828.
6. Install factory exhaust pipe onto left header
using supplied graphite donut gasket, 3/8 x 2
hex bolts, lockwashers, and flatwashers. Do
not overtighten!
FINAL INSPECTION
1. Check all lines (hydraulic, vacuum, air
conditioning and fuel) to ensure there is
adequate clearance to headers. Use wire ties as
needed.
2. Re-connect battery.
3. At this point, it is a good idea to look everything
over and make sure that nothing was missed in
assembly.
4. Start vehicle and bring up to normal operating
temperature. Check for possible leaks.
5. Turn engine off and let cool. Tighten all bolts
again. Flange bolts should be tightened starting
with the center bolts working out.
ASSEMBLY
1. Install flange gaskets and headers from top.
Install header bolts, lock washers, and thick flat
washers supplied (NOTE: Thick washers are to
be used on slotted holes of port flange.), ensure
proper alignment and tighten bolts starting with
the center working out towards ends of flange.
2. Re-install spark plug wires and dipstick tube
retainer bracket.
NOTE: The installation kit includes a 2-piece
clamp on heat stove assembly. Using the two
supplied hose clamps, it can be clamped to the
first primary tube on the passengerside header,
if needed.
3. Re-installair cleanerand coldair tubeand install
supplied heat stove flex tube. Use supplied
adapter with clamp on air cleaner housing, if
needed.
DISASSEMBLY
1. Disconnect negative battery cable.
2. Raise vehicle and disconnect 02 sensor, if
equipped.
3. Unbolt stock exhaust pipes from manifolds.
4. Remove heat riser valve, clean and check for
proper operation. Replace, if necessary.
5. Remove cold air tube and heat stove hot air
tube, if equipped and remove air cleaner
assembly.
6. Disconnect and move spark plug wires out of
the way.
7. Remove dipstick tube retainer bracket attached
to valve cover bolt.
8. Unbolt and remove manifolds.
9. Cleanexhaustflangegasketsurfacesofcylinder
head thoroughly.
WARNING: The use of "Thermal Wrap" or any aftermarket coating process will void the warranty on your
headers. Those products can cause excessive heat and moisture buildup resulting in corrosion and early
failure of the system.
NOTE: High temperature spark plug wires and boots are recommended to withstand heat from Headers.
©2005 Edelbrock Corporation
Rev. 1/05 Catalog #65912 &65913
DA/mc
Page 3of 3
Edelbrock Corporation
2700 California St.
Torrance, CA 90503
Tech Line: (800) 416-8628
Office: (310) 781-2222
E-Mail: [email protected]
HARDWARE SUPPLIED
Qty. Description Qty. Description
❑1#25-9367 Header left side (Painted) ❑43/8” Flat washers (Standard)
❑1#25-9368 Header right side (Painted) ❑85/16” Lockwashers
❑1#25-9369 Header left side (Ceramic-Coated) ❑1Heat riser gasket
❑1#25-9370 Header right side (Ceramic-Coated) ❑4Hardened washers (for header flange slotted holes)
❑12 Hex header bolts 3/8” ❑1Heat stove flex tube 2”
❑2Port gaskets ❑ 8Hex header bolts 5/16” (late model)
❑23/8” x 2” Hex bolts ❑1Donut gasket (left)
❑23/8” x 3” Hex bolts ❑1Donut gasket (right) (early AMC)
❑16 3/8” Lock washers ❑4Wire tires 11”
❑22” dia. Hose clamps (heat stove) ❑1Heat stove stack assembly
❑1Heat stove adapter clamp ❑1Heat stove (lower half)
❑1Heat stove adapter

This manual suits for next models

1

Other Edelbrock Automobile Part manuals

Edelbrock 5282 User manual

Edelbrock

Edelbrock 5282 User manual

Edelbrock 73802 User manual

Edelbrock

Edelbrock 73802 User manual

Edelbrock 72000 User manual

Edelbrock

Edelbrock 72000 User manual

Edelbrock 15005 User manual

Edelbrock

Edelbrock 15005 User manual

Edelbrock 5670 User manual

Edelbrock

Edelbrock 5670 User manual

Edelbrock 25-9492 User manual

Edelbrock

Edelbrock 25-9492 User manual

Edelbrock Intake Manifolds Application guide

Edelbrock

Edelbrock Intake Manifolds Application guide

Edelbrock 75284 User manual

Edelbrock

Edelbrock 75284 User manual

Edelbrock Russell 694300 User manual

Edelbrock

Edelbrock Russell 694300 User manual

Edelbrock Honda TRX300EX Owner's manual

Edelbrock

Edelbrock Honda TRX300EX Owner's manual

Edelbrock 7501 User manual

Edelbrock

Edelbrock 7501 User manual

Edelbrock 1483 User manual

Edelbrock

Edelbrock 1483 User manual

Edelbrock Torker II 5081 User manual

Edelbrock

Edelbrock Torker II 5081 User manual

Edelbrock 70403 User manual

Edelbrock

Edelbrock 70403 User manual

Edelbrock Russell R09320 User manual

Edelbrock

Edelbrock Russell R09320 User manual

Edelbrock Honda 4743 User manual

Edelbrock

Edelbrock Honda 4743 User manual

Edelbrock 15022 User manual

Edelbrock

Edelbrock 15022 User manual

Edelbrock 7577 User manual

Edelbrock

Edelbrock 7577 User manual

Edelbrock 3714 User manual

Edelbrock

Edelbrock 3714 User manual

Edelbrock 5222 User manual

Edelbrock

Edelbrock 5222 User manual

Edelbrock 17932 User manual

Edelbrock

Edelbrock 17932 User manual

Edelbrock 71836 User manual

Edelbrock

Edelbrock 71836 User manual

Edelbrock 65692 User manual

Edelbrock

Edelbrock 65692 User manual

Edelbrock 5724 User manual

Edelbrock

Edelbrock 5724 User manual

Popular Automobile Part manuals by other brands

Subaru H001SSG800 installation manual

Subaru

Subaru H001SSG800 installation manual

Dodge 2000 DURANGO Service manual

Dodge

Dodge 2000 DURANGO Service manual

FILTRON PS 974/1 Installation instruction

FILTRON

FILTRON PS 974/1 Installation instruction

Dodge Para-Flex GT instruction manual

Dodge

Dodge Para-Flex GT instruction manual

AUTOTECH 10.430.301K 401K installation instructions

AUTOTECH

AUTOTECH 10.430.301K 401K installation instructions

Flowmaster 817518 installation instructions

Flowmaster

Flowmaster 817518 installation instructions

Guidosimplex 907P user guide

Guidosimplex

Guidosimplex 907P user guide

AEM 21-704 installation instructions

AEM

AEM 21-704 installation instructions

BENDIX A2LS HYD DRUM BRAKES W-PARKING manual

BENDIX

BENDIX A2LS HYD DRUM BRAKES W-PARKING manual

FILTRON K 1266 Installation instruction

FILTRON

FILTRON K 1266 Installation instruction

injen technology RD6061 quick start guide

injen technology

injen technology RD6061 quick start guide

K&N Engineering KS-F160 instruction manual

K&N Engineering

K&N Engineering KS-F160 instruction manual

ICON 51200 instructions

ICON

ICON 51200 instructions

Toyota TUNDRA 2004 Technical service bulletin

Toyota

Toyota TUNDRA 2004 Technical service bulletin

Doug's Headers D3300 installation instructions

Doug's Headers

Doug's Headers D3300 installation instructions

Gibson 617000 instruction manual

Gibson

Gibson 617000 instruction manual

Curtis Cab Installation & owner's manual

Curtis

Curtis Cab Installation & owner's manual

Tecnosystemi PICO HP2 55 user manual

Tecnosystemi

Tecnosystemi PICO HP2 55 user manual

manuals.online logo
manuals.online logoBrands
  • About & Mission
  • Contact us
  • Privacy Policy
  • Terms and Conditions

Copyright 2025 Manuals.Online. All Rights Reserved.