Q-JET ELECTRIC CHOKE CONVERSION KIT
For Converting Hot-Air Choke to Electric Choke
Catalog #1932
INSTALLATION INSTRUCTIONS
®
PLEASE study these instructions carefully before beginning this installation. If you have any questions, please call our Technical Hotline at:1-800-416-8628, 7:00 am - 5:00 pm,
•DESCRIPTION: Kit converts Q-Jet hot-air choke to electric choke. Use in applications where an intake manifold that does not accept hot-air choke is being used with the original
hot-air choke Q-Jet carburetor, to repair a damaged hot-air choke, or when aftermarket cylinder heads (such as Edelbrock Performer) that do not have a large enough exhaust
crossover passage to accept the hot-air choke tube are used.
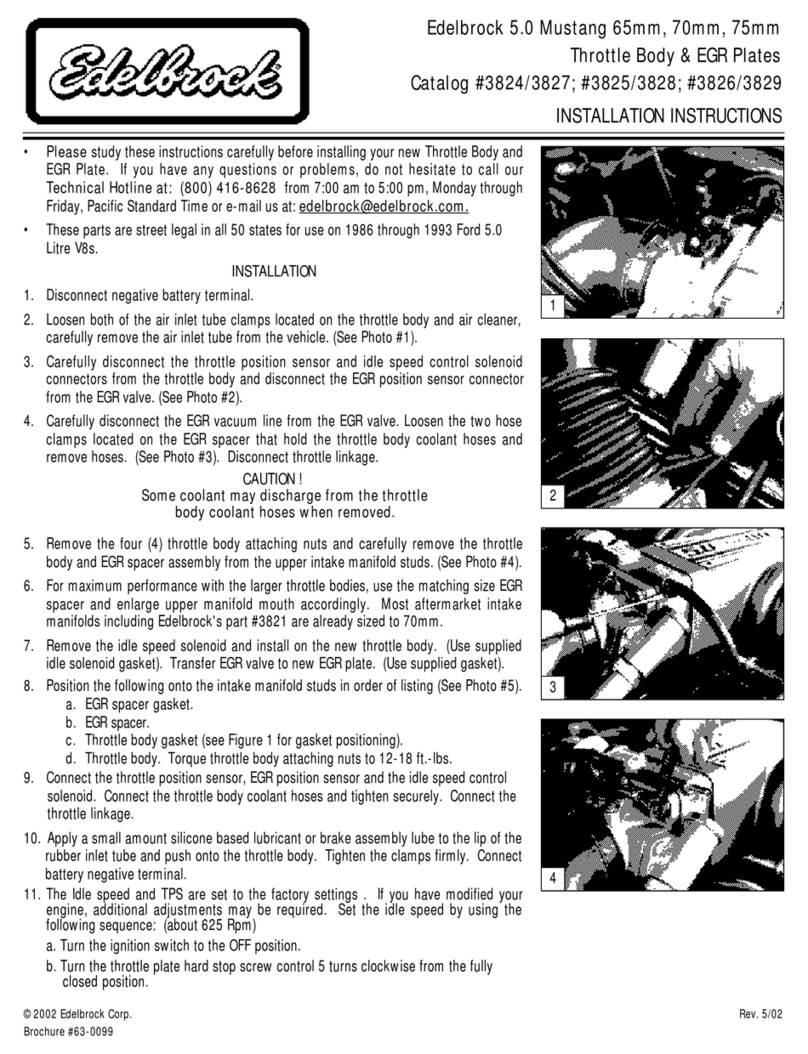
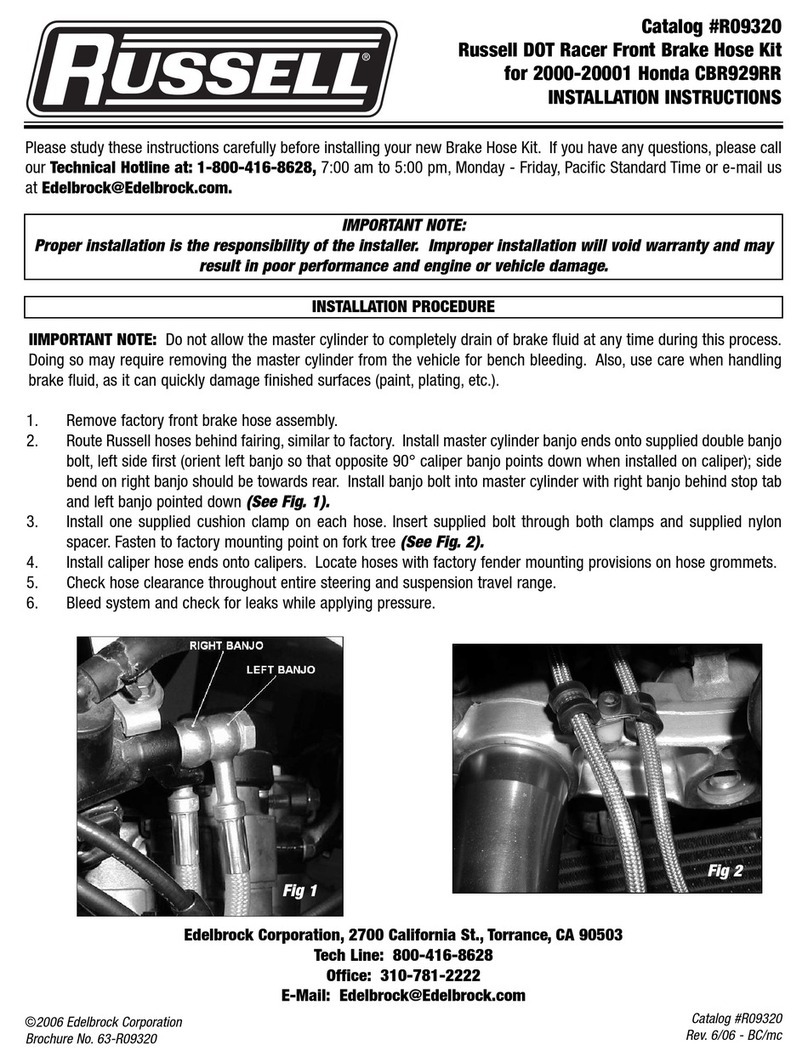
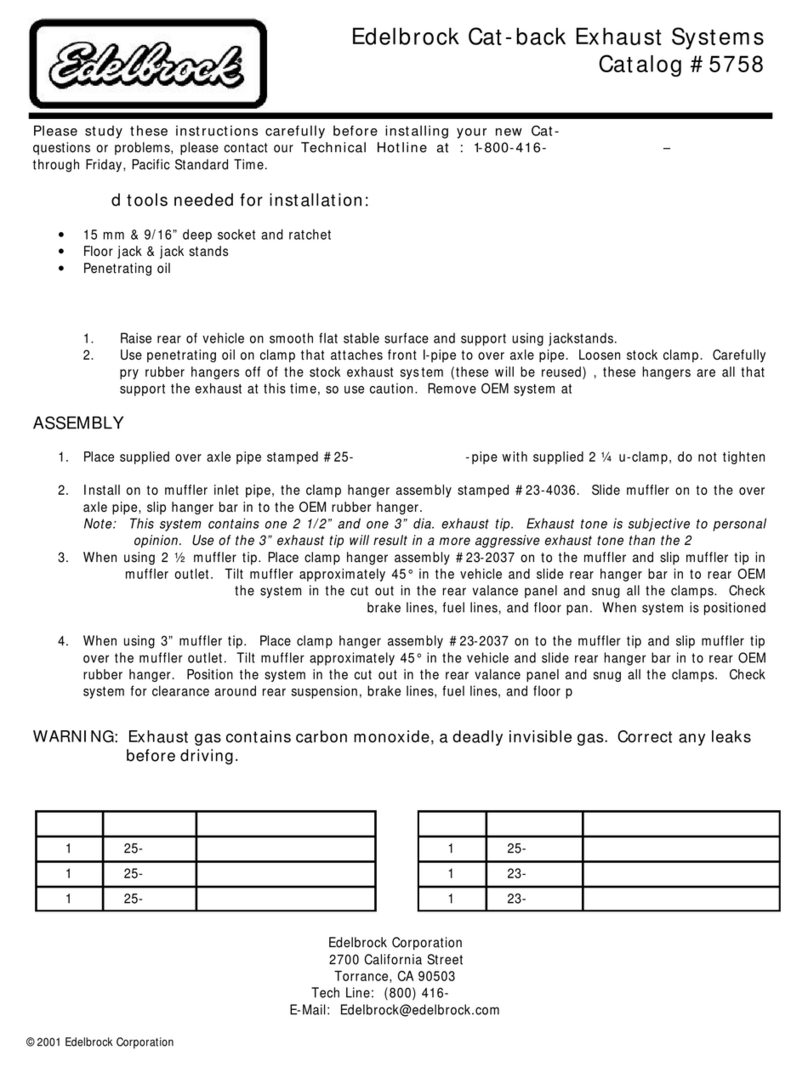
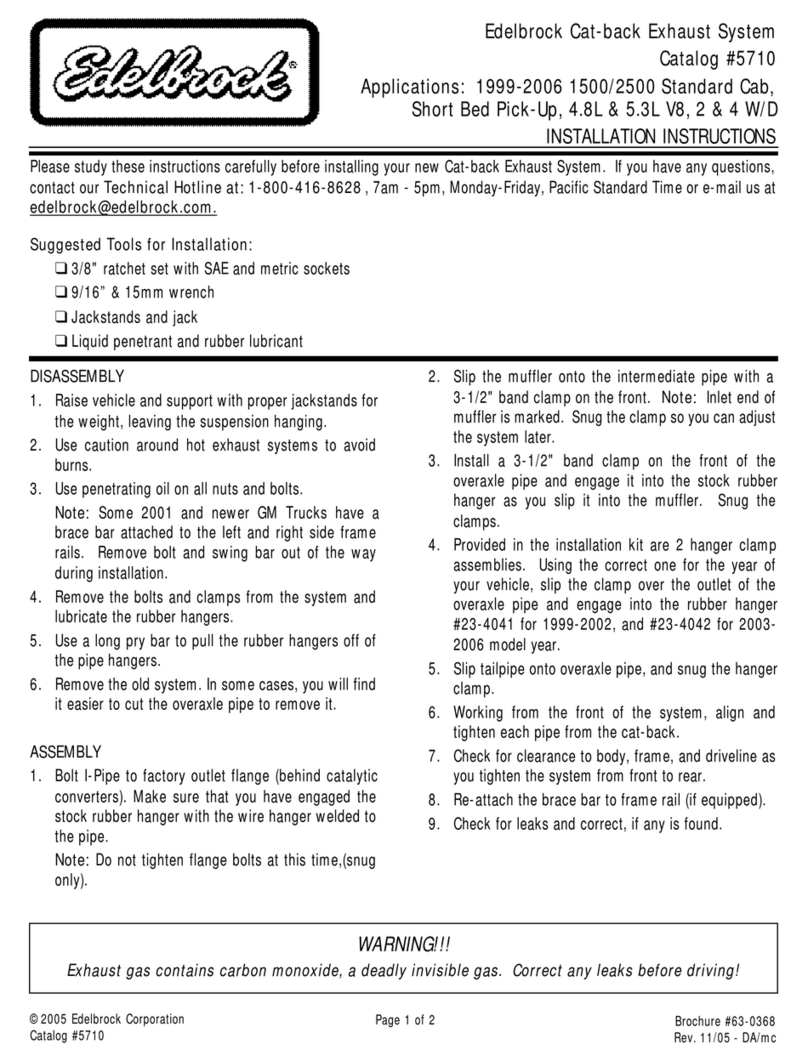
NOTE: In applications where an intake manifold that accepts hot-air choke will be retained, a
block-off plate will be required. Edelbrock Intake manifolds include a block off plate. On stock
manifolds, a plate will need to be fabricated, or the choke tubes may be cut close to the intake
manifold and remain installed to prevent exhaust leaks.
•INSTALLATION:
1. In order to properly remove the choke thermostat from the choke housing, an 11/64” drill
bit must be used to drill out the rivets attaching the choke cover to the choke housing
(See Figure 1)
. Drill through choke housing to provide clearance for self-tapping screws
provided.
2. Attach the electric choke thermostat to the housing using the supplied self-tapping
screws and retaining clips.
3. Connect the supplied choke wire to a 12 volt key-on switched source (Power is on ONLY
when ignition key is in the “ON” position), and attach the connector end of the wire to the
choke thermostat.
NOTE: Always disconnect the battery before making any electrical
connections.
4. Using the supplied 1/4” vacuum cap, block off the open vacuum tube on the carburetors choke housing
(See Figure 1)
.
Trim Choke Tubes
Here, or Install
Block-Off Plate
After Disconnecting
Choke Tubes, Install
Vacuum Cap Here
FIGURE 1
Drill Out Rivets Using
11/64” Drill Bit
©2007 Edelbrock Corporation
Brochure #63-0422
Catalog #1932
Rev. 10/07 - AJ/mc
Edelbrock
Corporation
•
2700
California
St.
•
T
orrance,
CA
90503
•
T
ech-Line:
800-416-8628
•
E-Mail:
[email protected]Q-JET ELECTRIC CHOKE CONVERSION KIT
For Converting Hot-Air Choke to Electric Choke
Catalog #1932
INSTALLATION INSTRUCTIONS
®
PLEASE study these instructions carefully before beginning this installation. If you have any questions, please call our Technical Hotline at:1-800-416-8628, 7:00 am - 5:00 pm,
•DESCRIPTION: Kit converts Q-Jet hot-air choke to electric choke. Use in applications where an intake manifold that does not accept hot-air choke is being used with the original
hot-air choke Q-Jet carburetor, to repair a damaged hot-air choke, or when aftermarket cylinder heads (such as Edelbrock Performer) that do not have a large enough exhaust
crossover passage to accept the hot-air choke tube are used.
NOTE: In applications where an intake manifold that accepts hot-air choke will be retained, a
block-off plate will be required. Edelbrock Intake manifolds include a block off plate. On stock
manifolds, a plate will need to be fabricated, or the choke tubes may be cut close to the intake
manifold and remain installed to prevent exhaust leaks.
•INSTALLATION:
1. In order to properly remove the choke thermostat from the choke housing, an 11/64” drill
bit must be used to drill out the rivets attaching the choke cover to the choke housing
(See Figure 1)
. Drill through choke housing to provide clearance for self-tapping screws
provided.
2. Attach the electric choke thermostat to the housing using the supplied self-tapping
screws and retaining clips.
3. Connect the supplied choke wire to a 12 volt key-on switched source (Power is on ONLY
when ignition key is in the “ON” position), and attach the connector end of the wire to the
choke thermostat.
NOTE: Always disconnect the battery before making any electrical
connections.
4. Using the supplied 1/4” vacuum cap, block off the open vacuum tube on the carburetors choke housing
(See Figure 1)
.
Trim Choke Tubes
Here, or Install
Block-Off Plate
After Disconnecting
Choke Tubes, Install
Vacuum Cap Here
FIGURE 1
Drill Out Rivets Using
11/64” Drill Bit
©2007 Edelbrock Corporation
Brochure #63-0422
Catalog #1932
Rev. 10/07 - AJ/mc
Edelbrock
Corporation
•
2700
California
St.
•
T
orrance,
CA
90503
•
T
ech-Line:
800-416-8628
•
E-Mail:
[email protected]