manuals.online logo
Brands
  1. Home
  2. •
  3. Brands
  4. •
  5. EE Systems Group
  6. •
  7. Lantern
  8. •
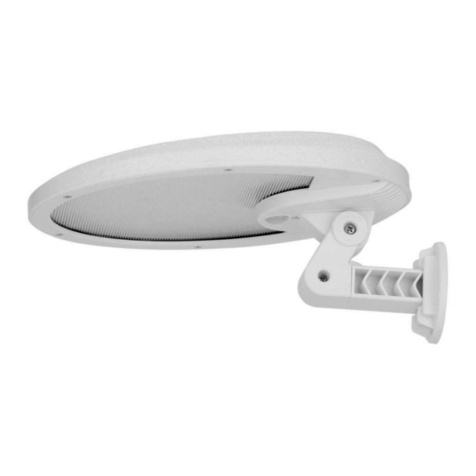
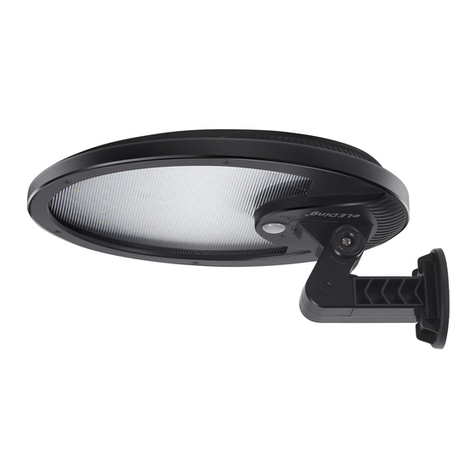
  9. EE Systems Group eLEDing EE815WMC Parts list manual

EE Systems Group eLEDing EE815WMC Parts list manual

Thank you for choosing eLEDing!
It is important that you read this set-up instruction before installing
Any questions or issues, please contact us before returning
Our goal is 100% customer satisfaction
Please post your positive feedback on the web-stores
We appreciate your business! Thanks again!
Rev: 062020
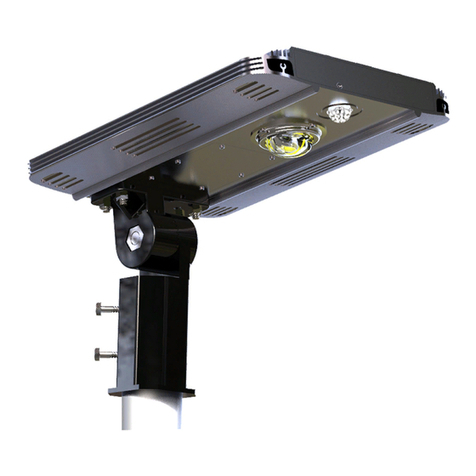
eLEDing EE815WMC
Fig 1
Fig 2
Solar Powered Wall/Step SMART Light w/ Invisible Sensor
Initial activation: (Remove protective plastic over light fixture)
•It’s highly recommended to charge the light under direct sunlight for 1 day prior
to installation. The battery charges even when the light is off.
•Press by momentary ON/OFF button to turn on unit. When light is on, short
press to change LED color. (Fig 1)
•Once activated the light will turn on and then shut off automatically within a
short time during the daylight. And then will turn on only in darkness.
•Initial test during daytime, use a cardboard covers the solar panel and light will
turn on; remove the cardboard the light will off then.
Mounting: (Mounting location is important!!!)
Choose a flat and stable mounting surface with maximum exposure to direct sunlight. It is essential that the
solar panel receives at least 4 hours of direct sunlight every day on average in order to ensure dusk to dawn
performance. Always set it up with direct Sunlight covered location, Make sure no shadow or anything
will block any part of the solar panel during the day! (Fig 2)
For Northern hemisphere installations the light should be mounted with a southerly exposure and visa-
versa for Southern hemisphere installation. East and West mounting locations with good sun exposure can
also be good.
1. Attach the mounting holes diagram - on package box at the location you want to install the light.
2. Drill holes in the screw hole positions. Insert wall anchors if needed. Insert screws and tighten until
about 1/8” of screws are visible.
3. Hang the light on the wall then turn it ON, it charges during the day and come on at night automatically
NOTE: For surfaces other than wood such as concrete, brick or stucco, use a masonry bit (with appropriate size & length)
to drill clearance holes. Insert the plastic anchors and screws.
Note:
•Never have shadows or anything covers the solar panel during the day (Refer Fig 2).
•Avoid placing objects in front of the motion detector that may affect detecting
performance.
•Avoid installing the unit near air conditioners, central heaters, or high voltage systems.
•Avoid placing the motion detector head towards high movement areas
•Clean the solar panel with a moist soft cloth at least once a year.
•Clean accumulated snow as soon as possible during the snowing season.
•Do not expose the light to fire/intense heat or immerse in water.
•Never look directly into the light or shine it into another person’s eyes.
•If the light doesn’t activate when it is first turned on, then allow 1-2 days for the panel
to re-charge the battery.
Dusk to Dawn all night long illuminating Function:
This solar light senses its surrounding ambient light level and it will turn “ON” in darkness and provide
moonlight soft glow lighting all night long. When motion is detected it brightens up to its full brightness
within the default sensitivity range (up to 30’ when it is mounted 7’ above the ground). When motion is no
longer sensed the unit will automatically dim down to moonlight soft glow lighting level.
ON/OFF
Switch
Rev: 062020
eLEDing EE815WMC
Solar Powered Wall/Step SMART Light w/ Invisible Sensor
Technical Specifications
LED: 5W SMD, 600 Lumens;
> 50000 Hrs
LED Color: 6000K-6500K or 3000K-4000K
selectable
Battery Type: Li-ion 3000mAh Solar Panel: 5W High Efficiency PET; > 10 years
Charging
Method:
Solar Charging
Time:
6-8 Hrs via bright sunlight
Lighting
Time:
3-5 nights w/ fully
charged
Sensor: Invisible HRF Sensor
Lighting
Mode:
Dim at 25%, Full Bright
w/ Motion Detected
Material: High durability Aluminum
Case(Oxidation) + UV protection PC
Product Size: 11.8 x 4.6 x 2.2” Working
Temp.:
-13F -- 150F
Installation
Height:
3 -- 10 ft IP Level: IP65
Certificate: CE, ROHS, FCC,
ISO9001:2015
Warranty: 1 Year

Other EE Systems Group Lantern manuals

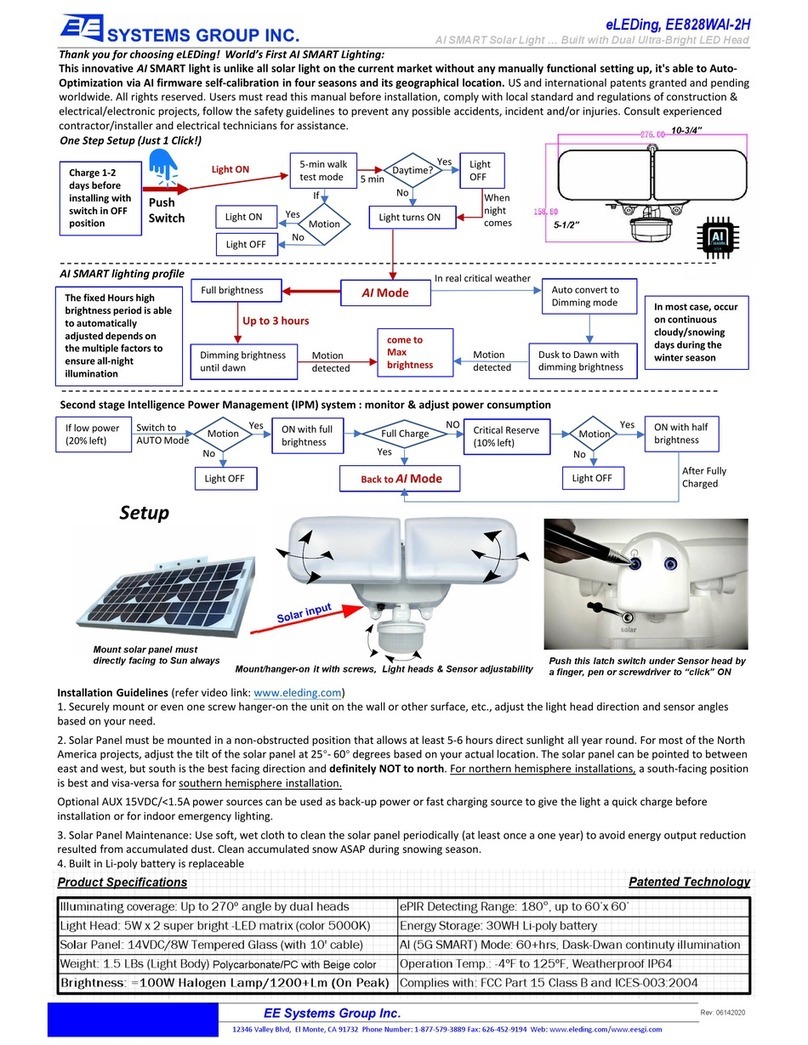
EE Systems Group eLEDing EE828WAI-2H User manual

EE Systems Group

EE Systems Group eLEDing EE828WAI-2H User manual

EE Systems Group eLEDing EE805W56-WP Parts list manual

EE Systems Group

EE Systems Group eLEDing EE805W56-WP Parts list manual

EE Systems Group eLEDing EE800W-SH Series User manual

EE Systems Group

EE Systems Group eLEDing EE800W-SH Series User manual

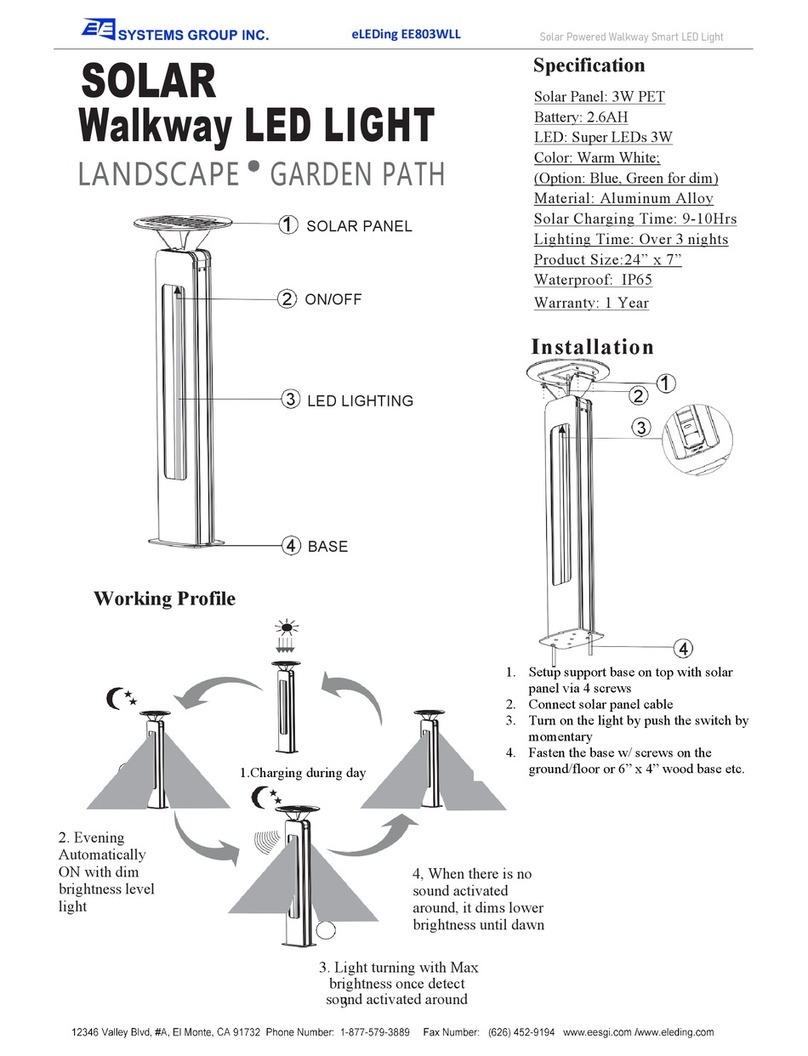
EE Systems Group eLEDing EE803WLL User manual

EE Systems Group

EE Systems Group eLEDing EE803WLL User manual

EE Systems Group eLEDing EE805W-SFLH(RGB) User manual

EE Systems Group

EE Systems Group eLEDing EE805W-SFLH(RGB) User manual

EE Systems Group eLEDing EE805W56 Specification sheet

EE Systems Group

EE Systems Group eLEDing EE805W56 Specification sheet

EE Systems Group eLEDing EE805W56-WP Parts list manual

EE Systems Group

EE Systems Group eLEDing EE805W56-WP Parts list manual

Popular Lantern manuals by other brands

StreamLight LITEBOX user manual

StreamLight

StreamLight LITEBOX user manual

Malmbergs Smogen AL-5002 manual

Malmbergs

Malmbergs Smogen AL-5002 manual

Intermatic Malibu LZ414 instructions

Intermatic

Intermatic Malibu LZ414 instructions

ML Accessories Knightsbridge OL01B Installation & maintenance manual

ML Accessories

ML Accessories Knightsbridge OL01B Installation & maintenance manual

LSI DOUBLE-DECK CROSSOVER Series Installation and assembly instructions

LSI

LSI DOUBLE-DECK CROSSOVER Series Installation and assembly instructions

Eaton HALO FE0650LPC instruction manual

Eaton

Eaton HALO FE0650LPC instruction manual

Wetelux 88 96 99 Original instructions

Wetelux

Wetelux 88 96 99 Original instructions

RUSTA ANGSO manual

RUSTA

RUSTA ANGSO manual

Clas Ohlson TN-G025W manual

Clas Ohlson

Clas Ohlson TN-G025W manual

Finelite E2-ID Disassembly instructions

Finelite

Finelite E2-ID Disassembly instructions

Niko 352-02780 manual

Niko

Niko 352-02780 manual

Cosi Cosiscoop Bamboo User instructions

Cosi

Cosi Cosiscoop Bamboo User instructions

Visual Comfort & Co. CHO2400 Assembly instructions

Visual Comfort & Co.

Visual Comfort & Co. CHO2400 Assembly instructions

Sistemalux Continuous Line S.7006 Installation sheet

Sistemalux

Sistemalux Continuous Line S.7006 Installation sheet

LED2WORK TUBELED 40 II Series operating instructions

LED2WORK

LED2WORK TUBELED 40 II Series operating instructions

Fanelite KN-6864LS USER MANUAL - OPERATING MANUAL

Fanelite

Fanelite KN-6864LS USER MANUAL - OPERATING MANUAL

Classy Caps SLX772 Lighting instructions

Classy Caps

Classy Caps SLX772 Lighting instructions

esotec Modena Using instructions

esotec

esotec Modena Using instructions

manuals.online logo
manuals.online logoBrands
  • About & Mission
  • Contact us
  • Privacy Policy
  • Terms and Conditions

Copyright 2025 Manuals.Online. All Rights Reserved.