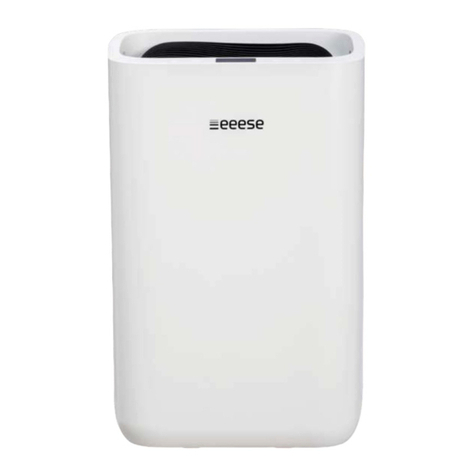
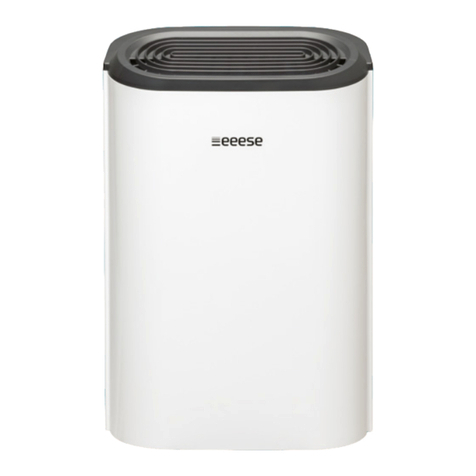
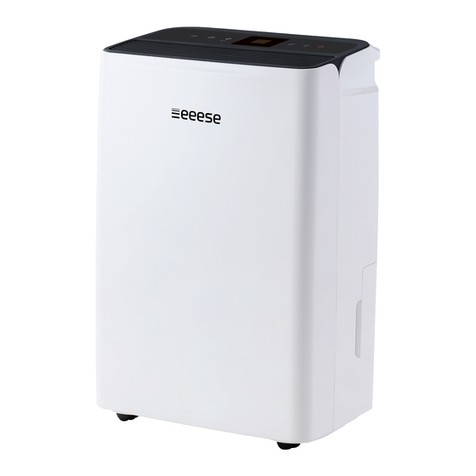
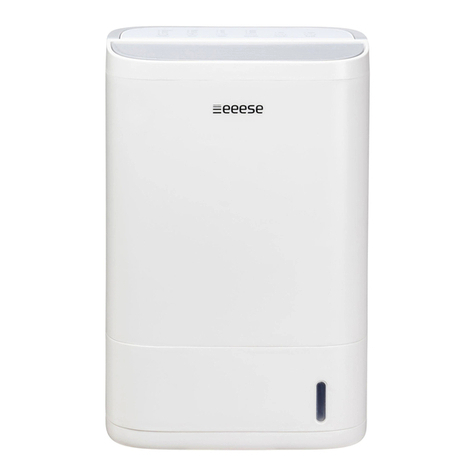
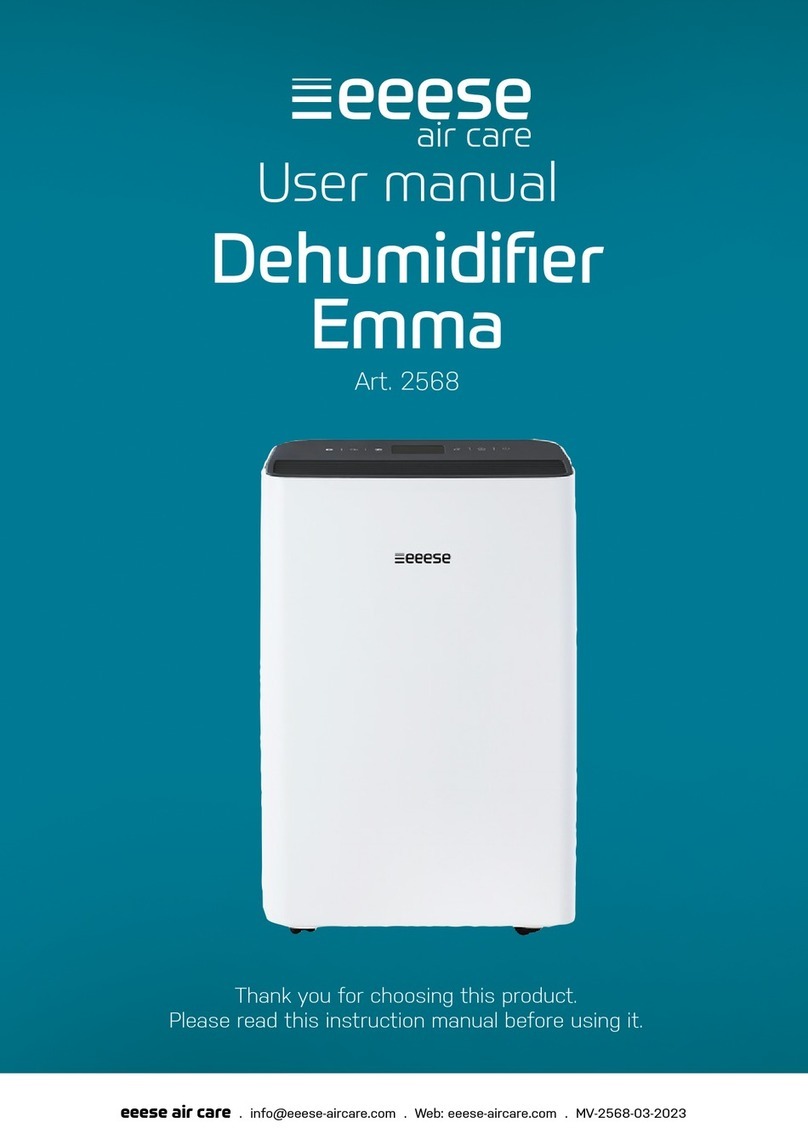
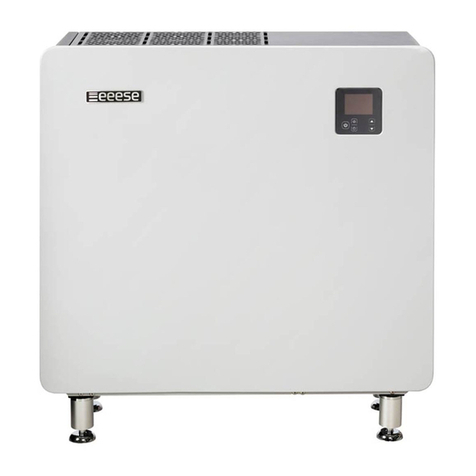
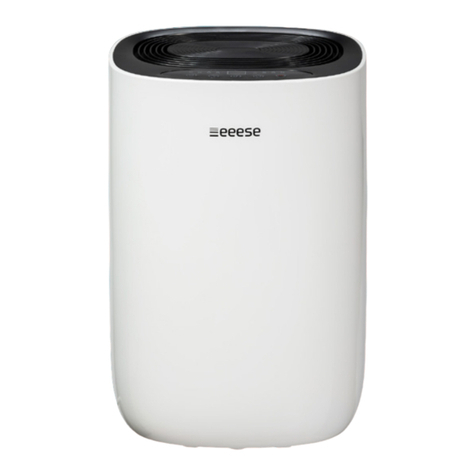
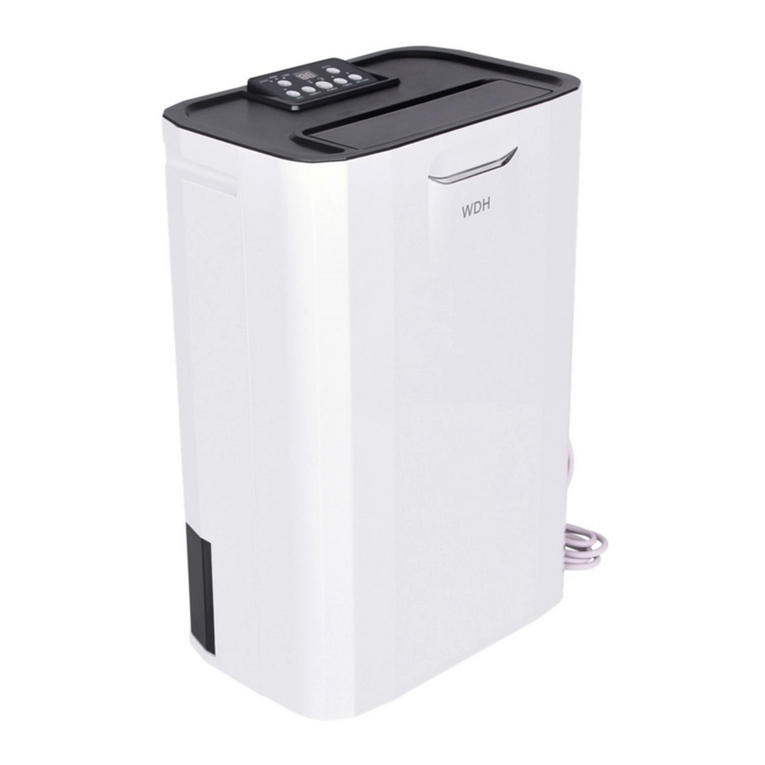
eeese Luna 2564 User manual

User manual
Dehumidier
& Air Purier Luna
Art. 2564
Thank you for choosing this product.
Please read this instruction manual before using it.

2 MV-2564-04-2023 eeese-aircare.com © All rights eeese air care aps

MV-2564-04-2023 eeese-aircare.com © All rights eeese air care aps 3
DANSK.............................................................. 4
SVENSKA ........................................................ 28
SUOMI............................................................... 52
NORSK.............................................................. 76
ENGLISH.......................................................... 100
DEUTSCH........................................................ 124
NEDERLANDS............................................... 148

100 MV-2564-04-2023 eeese-aircare.com © All rights eeese air care aps
UK
Table of Contents
1. Safety Instructions............................................................................................................................ 101
2. Parts List ................................................................................................................................................. 102
3. Continuous Drainage ........................................................................................................................ 105
4. Prior to Operation................................................................................................................................ 105
5. Operation Instructions ..................................................................................................................... 106
6. Cleaning the dehumidier .............................................................................................................. 113
7. Storage..................................................................................................................................................... 114
8. Display error codes............................................................................................................................ 115
9. Trouble Shooting................................................................................................................................. 115
10. Technical Specications ................................................................................................................. 117
11. Service...................................................................................................................................................... 117
12. Warranty .................................................................................................................................................. 118
13. Responsible Disposal........................................................................................................................ 119
14. Warning on Refrigerant R290...................................................................................................... 119
15. Connection to WIFI............................................................................................................................. 120
Please read the user manual before any use, refer to the
corresponding section in this user manual. Save it for future
reference. We reserve the right for any error in text or images
and any necessary changes made to technical data.
Recycle unwanted materials instead of disposing of them.
All appliances and packaging should be sorted and tendered
at a regional recycling centre and be processed in an
ecological manner.
The product conforms to the applicable European and
other directives.

MV-2564-04-2023 eeese-aircare.com © All rights eeese air care aps 101
UK
1. Safety Instructions
Warning
This appliance is intended for use in a domestic environment only. Any other use
is not recommended by the manufacturer and may cause re, electrical shocks
or other person injury and property damage. Never try to dismantle or repair the
machine yourself. The appliance shall be installed in accordance with national wir-
ing regulations. The machine is designed A-weighted sound pressure level below
70dB. Check the voltage and make sure it meets the technical specication of the
machine. This machine can be used by children aged from 8 years and above and
persons with reduced physical, sensory or mental capabilities or lack of experience
and knowledge if they have been given supervision or instruction concerning use of
the appliance in a safe way and understand the hazards involved.
Cautions Wet hands not allowed Warning
Power Cord
Do not pull the
power cord in
order to unplug
the device from
the socket.
Do not use
the appliance
in overloaded
extension cord.
Do not put any
heavy objects
on the power
cord in order
to avoid safety
hazard.
Do not use the
appliance if its
socket holes
cannot rmly
hold a plug.
Do not attempt
to change the
power cord,
contact the
authorized
service centre
for repair.
Do not touch
the plug with
wet hands in
order to avoid
electric shock.

102 MV-2564-04-2023 eeese-aircare.com © All rights eeese air care aps
UK
Unplug the
product im-
mediately if it
emits strange
noises, odours
or smoke. Please
pull out the plug
during lightning
storms. Unplug
the product
when it is not
in use.
The socket has
to be earthed
and appropriate-
ly secured.
Placement
Do not put am-
mable and ex-
plosive objects
around the appli-
ance in order to
avoid re.
Do not use
the appliance
in swimming
pool or similar
facilities in order
to avoid safety
hazard.
Do not use the
appliance in a
draughty place
or next to a radi-
ator or heating
appliance.
Place the appli-
ance on a stable,
at surface. The
machine must
always stand
upright.
During Use
Before moving
the dehumidier
please turn o
the power,
unplug the
power cord and
make sure that
the water tank
is empty
Do not pour
water into the
appliance in
order to avoid
malfunction.
Children shall
not play with
the machine.
Never insert for-
eign objects into
the machine.
Do not put any
heavy objects
on the appliance
in order to avoid
malfunction.
Never sit on the
product.

MV-2564-04-2023 eeese-aircare.com © All rights eeese air care aps 103
UK
Do not push
the appliance
over or let the
appliance suer
strong impact
in order to avoid
malfunction.
The appliance
must not be
covered when
being used.
Do not put
hands on the air
outlet in order
to avoid injury or
malfunction.
2. Parts List
Components
1. Front cover
2. Top Cover
3. Air Louver
4. Control Panel
5. Handle
6. Castors
7. PreFilter
8. Water Tank
9. Rear Cover
10. Drainage Outlet
11. Power Cord
4
1
2
3
9
10
11
7
8
5
6
4
1
2
3
9
10
11
7
8
5
6

104 MV-2564-04-2023 eeese-aircare.com © All rights eeese air care aps
UK
Control panel
12. Power Button
13. Timer O Button / Wi-Fi Button
14. Air Louver Button / Ionizer Button
15. Display
16. Manual Dehumidifying Button
17. Mode Button / Child Lock Button
18. Auto Button
19. Auto Dehumidifying Indicator
20. Laundry Drying Indicator
21. Sleep Indicator
22. Air Purifying Indicator
23. Wi-Fi Indicator
24. Ionizer Indicator
25. Timer Indicator
26. Tank Full Indicator
27. Running Indicator
28. Defrost Indicator
19 20 21 22 23 24 25 26 27
18 16 13 121417
28
15
Drainage
29. Drainage Outlet
30. Drainage Pipe
Drain hose
not included 29
30

MV-2564-04-2023 eeese-aircare.com © All rights eeese air care aps 105
UK
3. Continuous drainage
Continuous drainage option allows easy removal of collected water instead of manually
emptying from the water tank when the environment is very high humidity.
1. Remove the rubber plug covering the drain hose connection.
2. Remove the water tank.
3. Connect a suitable drain hose (14mm inner diameter) to the drainage outlet.
Ensure that the hose is secure and tight to prevent leakage.
4. Put the water tank back in place.
5. Always make sure the drainage hose is not blocked or obstructed to maintain
a smooth ow.
Please always make sure the pipe is going downwards, and is not blocked or kinked.
Drain hose is not included, but as a extra purchase. Art. no. 2558
4. Prior to operation
• Check the dehumidier for any transport damages. In case of damage, you should
contact our service line immediately.
• Place the dehumidier in an upright position on a stable, at surface.
• Make sure that the mains lead is easily accessible and is not damaged by sharp
edges or is crushed in any way during use.
• Ensure the dehumidier is at a safe distance at least 50 cm away from a wall
or furniture and has air space on all sides.
• The machine must stand upright for at least 1 hour before it is used for the rst time
• If any part of your house suers from severe humidity, the dehumidier can be
placed there rst and then moved to another part of the house later.
• Ensure the power supply is in correspondence with the value on the nameplate
and power outlet needs to be grounded.
• Ensure the water tank is correctly tted before the dehumidier can be switched on.
• If the dehumidier is turned o and then turned back on again immediately, it will
take approximately 3 minutes to reach full power (compressor back to work).
• If the dehumidier is switched o by a power cut, it will automatically switch back
on once the power is restored.
• The dehumidier works best at normal room temperature, its eiciency is reduced
if the ambient temperature falls to below 15°C.
• Turn on the power and run the machine as per instructions below.

106 MV-2564-04-2023 eeese-aircare.com © All rights eeese air care aps
UK
≥2 0cm
≥50cm
≥20cm
≥20 cm
≥20cm
5. Operation instructions
Switch On / Switch O The Unit (Power button)
(B)
(B)
(B)
(B)
(B)
(B)
(A)
(A)
(A)
(A)
(A)
(A)
(A)
(A)
(A)
(A)
(A)
(A)
(C)
(A)
1. Connect the mains lead to socket.
2. Press Power button (A) once to turn on the unit. By default, it runs
on Manual Dehumidifying Mode with high fan speed. The on/o indicator will be on.
3. Press Power button (A) once again to turn o the unit. It will stop working, but the
fan will work for some seconds to blow out the hot air inside the unit.

MV-2564-04-2023 eeese-aircare.com © All rights eeese air care aps 107
UK
Auto shut-o timer function (Timer button)
(B)
(B)
(B)
(B)
(B)
(B)
(A)
(A)
(A)
(A)
(A)
(A)
(A)
(A)
(A)
(A)
(A)
(A)
(C)
(A)
Press the Timer Button (A) to select your preferred timer hour from 00-24-00.
To cancel the timer function, switch o the unit and switch in on again.
Or press the timer button and hold it down for 3 seconds, and press twice.
Humidity setting (Manual button)
(B)
(B)
(B)
(B)
(B)
(B)
(A)
(A)
(A)
(A)
(A)
(A)
(A)
(A)
(A)
(A)
(A)
(A)
(C)
(A)
Press the Humidity Setting Button (A) to select the desired maximum level of humidity
between the following CO-30%-35%-40%-45%-50%-55%-60%-65%-70%-75%-80%-CO.
CO stands for continuous non-stop dehumidication. CO stands for continuous non-stop
dehumidication regardless of ambient humidity.
When the desired maximum level of humidity is reached, the compressor stops
immediately. The fan will stop 3 minutes later and then stop for 27 minutes.
After that, the fan will start in low fan for 2 minutes to detect the humidity.
If RH% is 3% higher than set value, the machine will start working, otherwise, the
machine will stop for another 27 minutes and repeat this logic.

108 MV-2564-04-2023 eeese-aircare.com © All rights eeese air care aps
UK
Air louver function [Air Louver button]
(B)
(B)
(B)
(B)
(B)
(B)
(A)
(A)
(A)
(A)
(A)
(A)
(A)
(A)
(A)
(A)
(A)
(A)
(C)
(A)
Press the Air Louver button (A) to activate the louver oscillation.
Multifunction optional [Mode button]
Laundry drying mode
(B)
(B)
(B)
(B)
(B)
(B)
(A)
(A)
(A)
(A)
(A)
(A)
(A)
(A)
(A)
(A)
(A)
(A)
(C)
(A)
At manual mode, press the Mode Button (A) once to select Laundry Mode (B).
The unit runs in continuous dehumidication with high fan speed for 10 hours,
then switch o automatically. Timer button is disabled.

MV-2564-04-2023 eeese-aircare.com © All rights eeese air care aps 109
UK
Sleep mode
(B)
(B)
(B)
(B)
(B)
(B)
(A)
(A)
(A)
(A)
(A)
(A)
(A)
(A)
(A)
(A)
(A)
(A)
(C)
(A)
Press the Mode Button (A) 2 times to select Sleep Mode (B).
The unit runs with a designated humidity setting of 55% along with low fan speed.
All indicators will be o 5 seconds after the setting is completed. Touch any button
to activate the light, and to operate as usual.
After 30 seconds the lights will be o, If no further operation. If the water tank
is full on sleep mode, the full water tank indicator will always be on.
Air purifying mode
(B)
(B)
(B)
(B)
(B)
(B)
(A)
(A)
(A)
(A)
(A)
(A)
(A)
(A)
(A)
(A)
(A)
(A)
(C)
(A)
Press the Mode Button (A) 3 times to select Air Purifying Mode (B).
The unit runs with high fan speed without dehumidifying, and the Ionizer mode (C)
will switch on automatically.
Hold down the Air Louver button for 2 seconds to switch on/o the ionizer mode

110 MV-2564-04-2023 eeese-aircare.com © All rights eeese air care aps
UK
Auto dehumidifying function [Auto button]
(B)
(B)
(B)
(B)
(B)
(B)
(A)
(A)
(A)
(A)
(A)
(A)
(A)
(A)
(A)
(A)
(A)
(A)
(C)
(A)
Press the Auto Button (A) to select the Auto Dehumidifying Mode (B).
The unit runs automatically accordance to the ambient humidity detected below.
Ambient RH% detected Compressor Fan Speed Level
RH%>65% Working High
55%≤RH%≤65% Working Low
RH%<55% Stops Working Low
RH = Relative humidity
Ionizer function [Manual button]
(B)
(B)
(B)
(B)
(B)
(B)
(A)
(A)
(A)
(A)
(A)
(A)
(A)
(A)
(A)
(A)
(A)
(A)
(C)
(A)
The ionizer creates negative ions that attach to positive charged molecules such as dust,
bacteria, pollen, smoke, and other allergens. These molecules attach to each other into
bigger molecules that cannot oat in the air and falls to the ground. Press and hold down
the Air Louver button (A) for 2 seconds to activate the Ionizer Mode (B).
The ionizer mode will be o automatically when the unit stops working.

MV-2564-04-2023 eeese-aircare.com © All rights eeese air care aps 111
UK
Wi-Fi Function (Wi-Fi button)
(B)
(B)
(B)
(B)
(B)
(B)
(A)
(A)
(A)
(A)
(A)
(A)
(A)
(A)
(A)
(A)
(A)
(A)
(C)
(A)
Press the Timer Button (A) for 2 seconds to activate the Wi-Fi function and enter
into the network mode. During the network conguration, the Wi-Fi indicator (B)
ashes quickly and after the Wi-Fi is connected, the Wi-Fi icon is on.
See below section Connection to Wi-Fi for detalied settings. When the machine
is in network mode, press the timer button for some seconds to disconnect
the WiFi connection.
Safety childlock function
(B)
(B)
(B)
(B)
(B)
(B)
(A)
(A)
(A)
(A)
(A)
(A)
(A)
(A)
(A)
(A)
(A)
(A)
(C)
(A)
To prevent the mishandling by young children, the unit is equipped with a childlock
function. Press the Mode Button (A) for 2 seconds to lock all buttons with a beeping
sound. The same operation can unlock it.
Safety childlock function can be set at standby mode and working mode,
but can’t be activated when the water tank is full.

112 MV-2564-04-2023 eeese-aircare.com © All rights eeese air care aps
UK
Auto shut o with full water tank indicator
(B)
(B)
(B)
(B)
(B)
(B)
(A)
(A)
(A)
(A)
(A)
(A)
(A)
(A)
(A)
(A)
(A)
(A)
(C)
(A)
When the water tank becomes full during normal use, the unit will automatically go into
standby mode and the Full Tank Indicator (A) will show. After emptying the tank,
the unit will go on to the previous mode.
Except for the power button, all other buttons are disable.
If the water tank is removed or not placed properly, the above described will occur.
Low temperature defrost mode
(B)
(B)
(B)
(B)
(B)
(B)
(A)
(A)
(A)
(A)
(A)
(A)
(A)
(A)
(A)
(A)
(A)
(A)
(C)
(A)
When the ambient temperature is too low, the dehumidier will enter into
the Defrost Mode (A). The unit runs with high fan speed without dehumidifying.
Fan speed button is disabled in this state.

MV-2564-04-2023 eeese-aircare.com © All rights eeese air care aps 113
UK
Memory function
1. If the unit is unplugged directly or due to power failure, reconnect the unit to the
power supply and the dehumidier will run with the mode prior to the shutdown.
The timer setting will be kept.
2. Press the power button to switch o the dehumidier, and then press the power
button to switch it back on. The dehumidier will run with the mode prior to the
shutdown. The timer setting will be canceled.
3. Switch o the dehumidier and unplug the power cord. Then reconnect the power
supply and switch on the dehumidier. It will run as factory preset mode the rst time
you received the dehumidier.
6. Cleaning the dehumidier
When used regularly, the lter may become clogged with dust and particles. To ensure
the eectiveness of the dehumidier, it is recommended to clean the unit at least every
two weeks:
Switch the device o and remove the plug from the socket
before cleaning.
Clean the housing with a soft, dry cloth. Vacuum clean
the air inlet and outlet grilles of the dehumidier. If the
device is extremely dirty, use a mild cleaning agent.
Wipe the dehumidier with a slightly damp cloth. Remove
the water tank and wash it by hand using a mild detergent.
Rinse it with clean water
Note: Do not spray water directly onto the unit.
Cleaning and user maintenance shall not be made by children
without supervision.

114 MV-2564-04-2023 eeese-aircare.com © All rights eeese air care aps
UK
Cleaning the Pre Filter
1. Remove the pre lter frame from the back.
2. Wash the pre lter frame carefully in warm water,
use a mild detergent if necessary. (Max. 40°C)
Note: DO NOT wash the pre lter in a dishwasher.
3. Rinse the pre lter in clean water and let it dry
before reinserting it.
4. Fit the pre lter frame back onto the unit.
Note: DO NOT use the dehumidier without
the pre lter in place.
The HEPA lter cannot be cleaned and needs to be replaced once a year.
7. Storage
If the dehumidier will not be used for a long period of time, take the following steps:
1. Remove the plug from the socket and empty the tank, make sure the tank and the
dehumidier is completely dry. This may take a couple of days.
2. Clean the air lter.
3. Check the dehumidier for perfect condition to ensure a safe use of it after a long
period of storage.
4. Pack the device with the suitable packaging.
5. Store the dehumidier in a dust-free location, and out of direct sunlight. Preferably
covered with a sheet of plastic.

MV-2564-04-2023 eeese-aircare.com © All rights eeese air care aps 115
UK
8. Display error codes
Please contact our eeese service line if any of the error codes below appears.
DISPLAY
CODE E1 E2 L3 L4
Error The temperature
sensor error
Humidity sensor
error
The air inlet
temperature is
too high >42°C
The air inlet
temperature is
too low <0°C
Display Flash every
30 seconds
Flash every
30 seconds Slow ash L3 Slow ash L4
What is
happening
The device
works normally.
The device
works normally,
but can’t set
the humidity
The compressor
stop working,
fan works at
low fan speed.
10 mins later, if
the temperature
decrease to
below 40°C, the
device will work
normally.
The compressor
stop working,
fan works at
low fan speed.
10 mins later, if
the temperature
increase to
above 2°C, the
device will work
normally.
9. Trouble Shooting
Check the following before contacting technical support .
PROBLEM POSSIBLE CAUSE SOLUTION
The dehumidier
will not switch on
The power is not connected
Insert the plug into the wall
outlet and make sure the
power is on
The water tank is full Empty the tank
The tank has not been replaced
correctly Replace the tank
The set humidity level has been
reached Lower the humidity level
Power plug or cord damaged Contact an authorized
service centre for repair
Water removal
capacity is too low
Runtime is too short Be patient and wait
Ambient temperature or humidity
is too low
It is normal that the device
does not dehumidify in
these conditions

116 MV-2564-04-2023 eeese-aircare.com © All rights eeese air care aps
UK
The device works,
but reduces the
relative humidity
insuiciently
The room is too big
We recommend using a
dehumidier with a greater
capacity
There is too much ventilation
Reduce ventilation (e.g.
close windows and shut
doors)
The air lter is clogged Clean the Pre-lter
The humidity is higher than
the ambient humidity
Set the humidity lower
than ambient humidity
The humidity is
not reducing
The dehumidier has not been used long enough
The ambient temperature is too low
The surrounding humidity level is too low
The ambient humidity level is lower than the desired humidity
level set
The air lter frame is dirty Clean the pre-lter frame
Dehumidier is
blowing out warm
air
The dried air is passed over heating
coils before it is blown into the
room as part of the dehumidifying
process
This is normal,
a dehumidier is not
an air cooler
The display is not
showing the
humidity set point
The display shows the room relative
humidity not the set point
Press the humidity control
button once to see the
target relative humidity
Water on oor
There is residual water in tank, and
the device is lurched too much by
moving
Be careful when moving
the tank
Water in tank
overows
The water tank may be
damaged.
Contact our eeese service
line
Float for water auto-sensor
is not in place
Internal drainage passage
is blocked or obstructed
The dehumidier
is noisy
The pre-lter is blocked or the
device is on an uneven surface
Clean the pre-lter or put
the device on a at surface
Loose or foreign particles inside
the unit Contact our eeese service
line
Sound of owing refrigerant
Error code E1: Temperature sensor error
E2: Humidity sensor error
Contact our eeese service
line
This manual suits for next models
1
Table of contents
Languages:
Other eeese Dehumidifier manuals
Popular Dehumidifier manuals by other brands
P.C. Richard & Son
P.C. Richard & Son Generations GDR50A1C instructions

PoolPak
PoolPak ComPak AW Series Installation, operation and maintenance
Frigidaire
Frigidaire Gallery FGAC7044U1 use & care

Ecoair
Ecoair DROID user manual
Solt
Solt GGSAD16W user manual

Mitsubishi Electric
Mitsubishi Electric MJ-E16AX-H instruction manual

