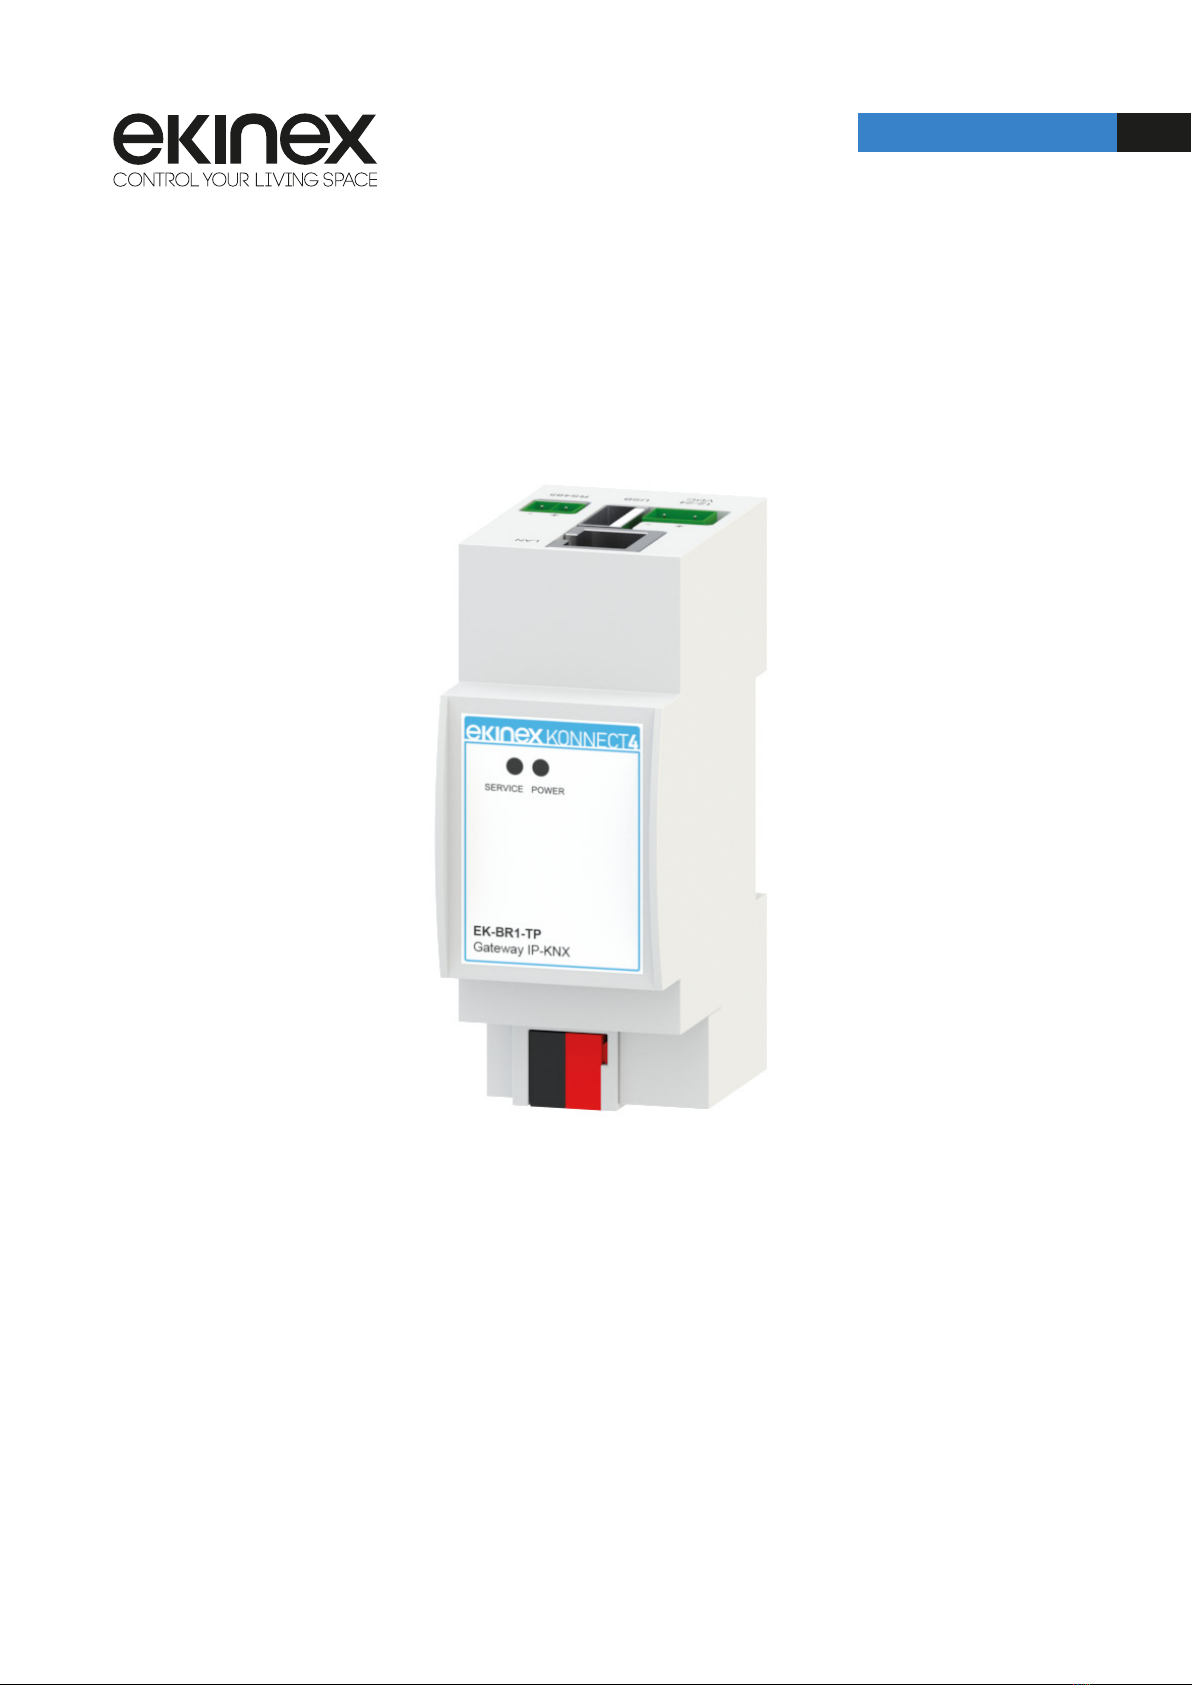
SUMMARY
SUMMARY.........................................................................................................................................3
OVERVIEW........................................................................................................................................ 5
INTRODUCTION..........................................................................................................................5
EASY AND ETS MODE............................................................................................................... 5
SETUP............................................................................................................................................... 8
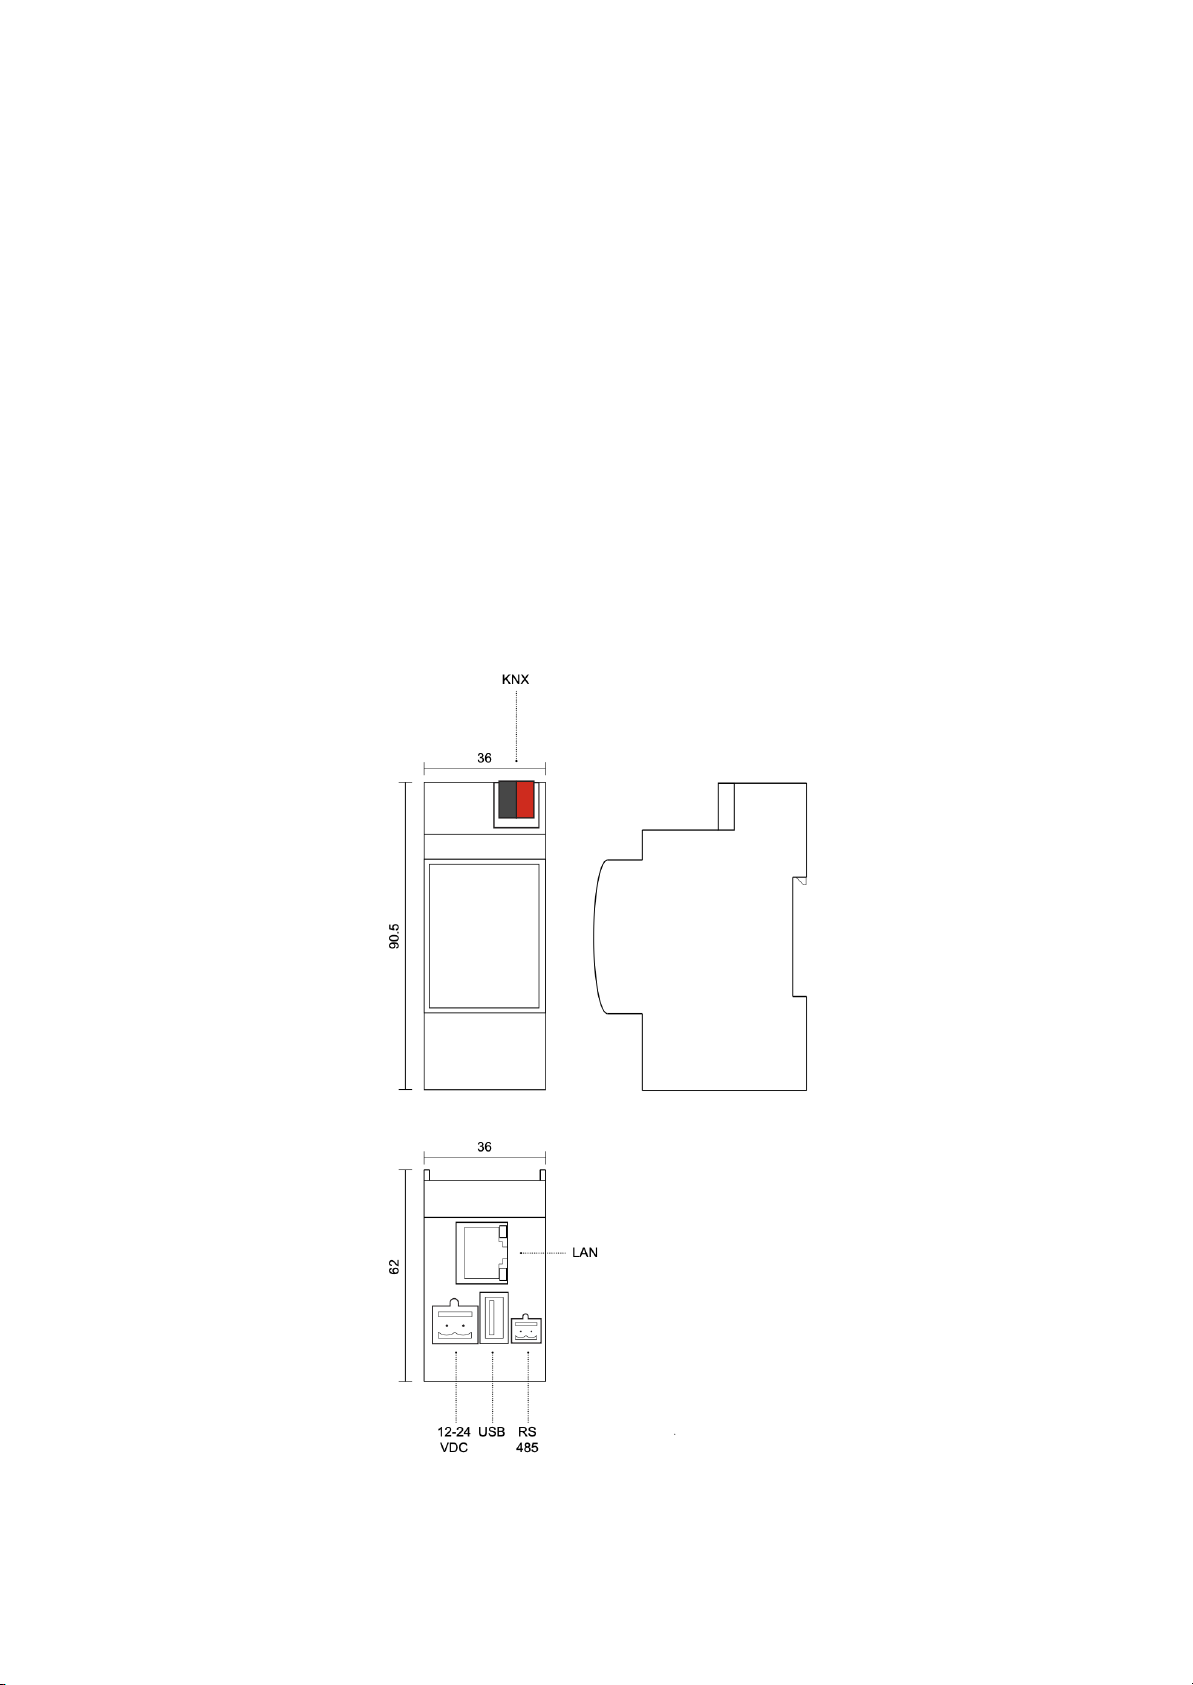
INSTALLATION............................................................................................................................ 8
DRIVERS INSTALLATION........................................................................................................... 9
KONNECT4 DRIVER INIT......................................................................................................... 10
SDDP DISCOVERY............................................................................................................. 10
PROPERTIES...................................................................................................................... 10
CONFIGURATION................................................................................................................11
ACTIONS............................................................................................................................. 12
NETWORK CONFIGURATION.................................................................................................. 12
COMMUNICATION DRIVER......................................................................................................13
KNX NETWORK DRIVER.................................................................................................... 14
KNX ROUTING GATEWAY.................................................................................................. 15
EASY CONFIGURATION................................................................................................................ 17
INTRODUCTION........................................................................................................................17
CONFIGURATION OVERVIEW................................................................................................. 18
STEP 1: CONNECTION.......................................................................................................18
STEP 2: DISCOVERY.......................................................................................................... 18
STEP 3: CONFIGURATION................................................................................................. 19
STEP 4: BINDING................................................................................................................ 19
DISCOVERY.............................................................................................................................. 20
CONFIGURATION..................................................................................................................... 23
DUPLICATION........................................................................................................................... 25
CONNECTIONS.........................................................................................................................26
PROGRAMMING....................................................................................................................... 26
DEVICE DRIVERS...........................................................................................................................27
INTRODUCTION........................................................................................................................27
KEYPAD..................................................................................................................................... 28
INTRODUCTION..................................................................................................................28
PROPERTIES...................................................................................................................... 29
GENERIC SETTINGS.................................................................................................... 29
GENERAL CONFIGURATION....................................................................................... 30
BUTTONS CONFIGURATION........................................................................................30
THERMOSTAT CONFIGURATION................................................................................ 32