manuals.online logo
Brands
  1. Home
  2. •
  3. Brands
  4. •
  5. ekwb
  6. •
  7. Computer Hardware
  8. •
  9. ekwb EK-FB EVGA CLASSIFIED 4-SLI Guide

ekwb EK-FB EVGA CLASSIFIED 4-SLI Guide

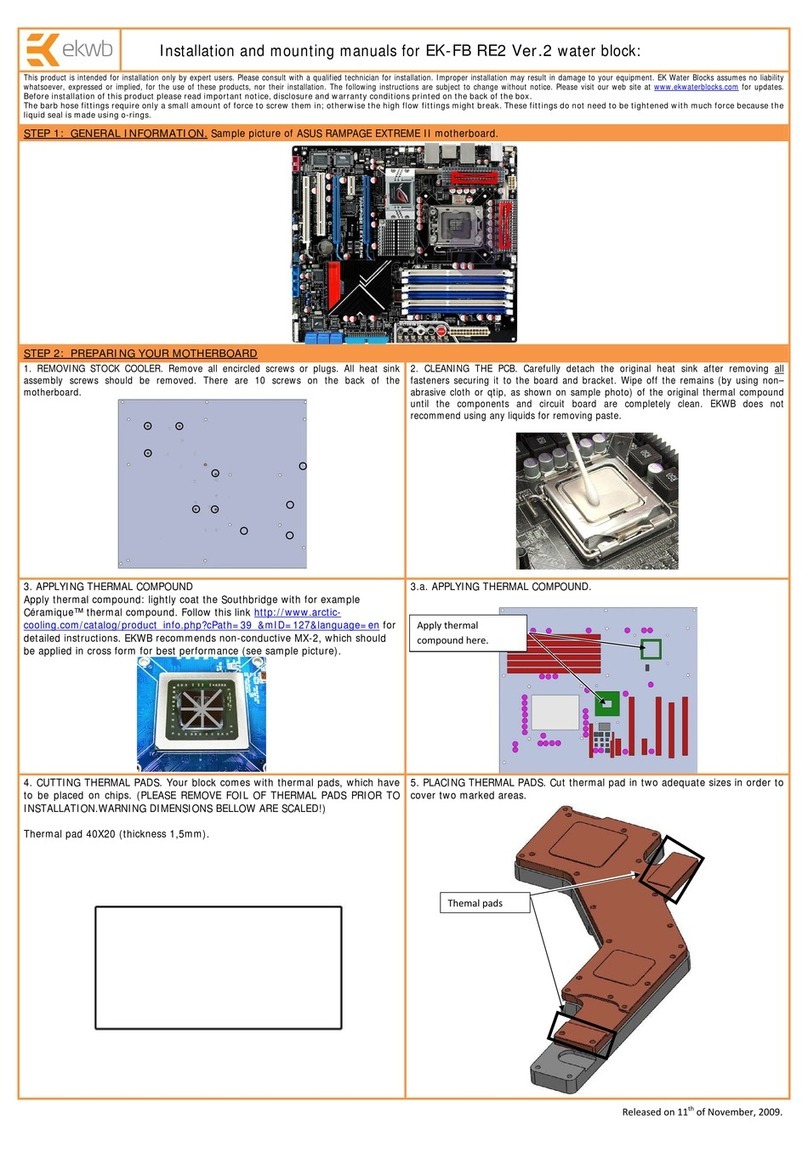
Installation and mounting manuals for EK-FB EVGA CLASSIFIED 4-SLI water block:
This product is intended for installation only by expert users. Please consult with a qualified technician for installation. Improper installation may result in damage to your equipment. EK Water Blocks assumes no liability
whatsoever, expressed or implied, for the use of these products, nor their installation. The following instructions are subject to change without notice. Please visit our web site at www.ekwaterblocks.com for updates.
Before installation of this product please read important notice, disclosure and warranty conditions printed on the back of the box.
The barb hose fittings require only a small amount of force to screw them in; otherwise the high flow fittings might break. These fittings do not need to be tightened with much force because the
liquid seal is made using o-rings.
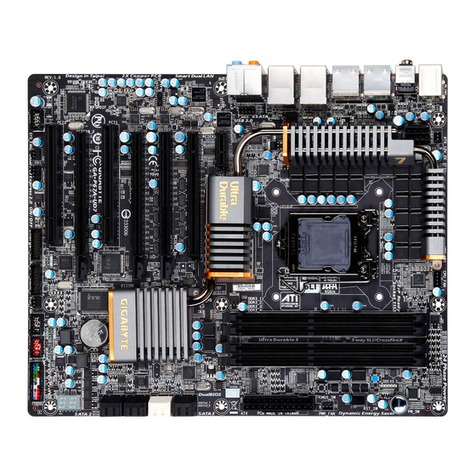
STEP 1: GENERAL INFORMATION. Sam
p
le
p
icture of EVGA CLASSIFIED 4-SLI motherboard.
STEP 2: PREPARING YOUR MOTHERBOARD
1. REMOVING STOCK COOLER. Remove all encircled screws or plugs. All heat sink
assembly screws should be removed. There are 16 screws on the back of the
motherboard.
2. CLEANING THE PCB. Carefully detach the original heat sink after removing all
fasteners securing it to the board and bracket. Wipe off the remains (by using non–
abrasive cloth or qtip, as shown on sample photo) of the original thermal compound
until the components and circuit board are completely clean. EKWB does not
recommend using any liquids for removing paste.
3. APPLYING THERMAL COMPOUND
Apply thermal compound: lightly coat the Southbridge with for example
Céramique™ thermal compound. Follow this link http://www.arctic-
cooling.com/catalog/product_info.php?cPath=39_&mID=127&language=en for
detailed instructions. EKWB recommends non-conductive MX-2, which should
be applied in cross form for best performance (see sample picture).
3.a. APPLYING THERMAL COMPOUND.
4. CUTTING THERMAL PADS. Your block comes with three prepared thermal
pads, which have to be placed on chips. (PLEASE REMOVE FOIL OF THERMAL
PADS PRIOR TO INSTALLATION.WARNING DIMENSIONS BELLOW ARE
SCALED!)
Thermal pad #1 (thickness 0,5mm).
Cut thermal pad #2 (thickness 1,5mm) in a way you can cover 2 areas shown
on right picture.
Cut thermal pad #3 (thickness 1mm) lengthwise in half so you get two sized
90x7,5 mm.
EKWB made sure you have more than enough thermal pads to cover all areas
needed to provide best cooling performance.
5. PLACING THERMAL PADS
Applythermal
compoundhere.
Thermalpads#2
Thermalpad#1 Thermalpads#3
     Releasedon11thofNovember,2009.
213
STEP 2: PREPARING YOUR WATER BLOCK
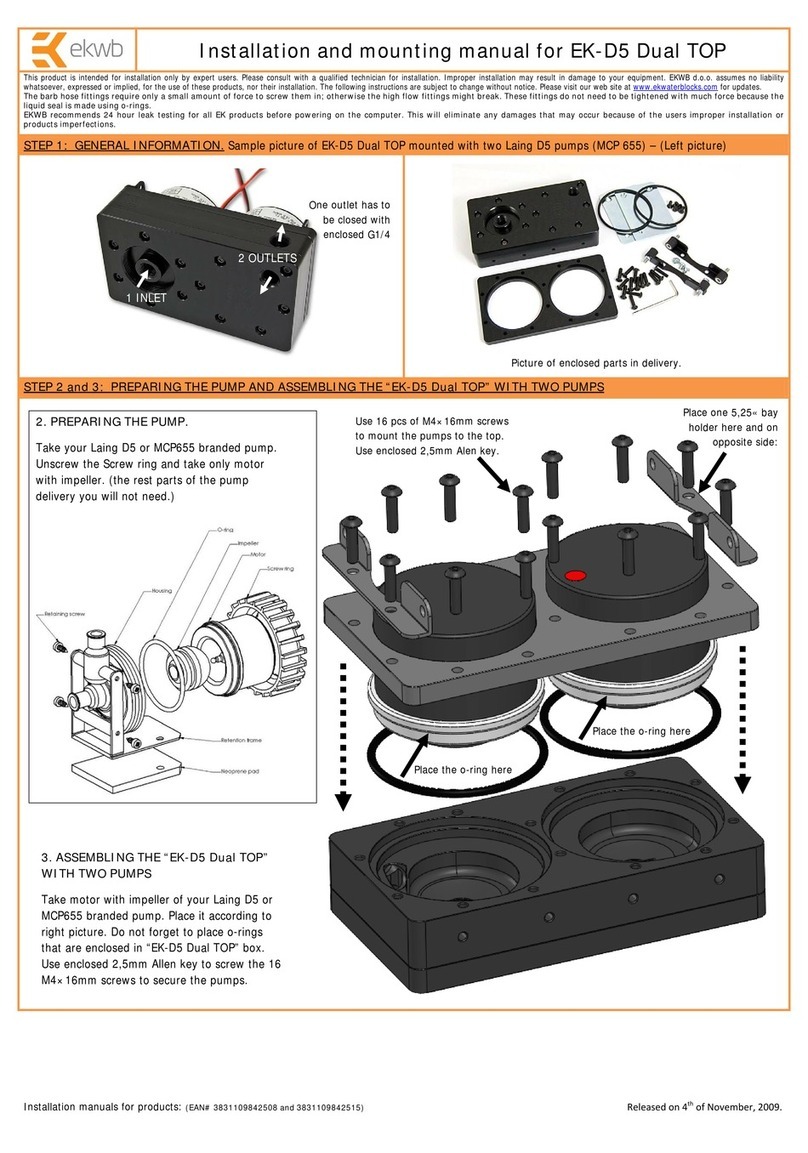
6. ATTACHING STANDOFFS. Apply small amount of thermal grease around mounting holes and place acetal standoffs (thickness 2,5 mm) so the holes are concentric. Thermal
paste provides enough adhesive force for standoffs to stay in a place.
USE OF STANDOFFS IS OBLIGATORY. FURTHERMORE, PLEASE DO NOT USE TOO MUCH TIGHTENING FORCE ON THE 2 SCREWS AROUND SOUTHBRIDGE.
ONLY IN THIS WAY THE POTENTIAL DAMAGE TO YOUR MOTHERBOARD IS AVOIDED.
(This notice is written upon the letter from EVGA RMA department. They state they will deny all RMA's if they find improper mounting method was used.)
STEP 3: ATTACHING WATER BLOCK TO MOTHERBOARD AND CHECKING FOR CONTACTS
1. MOUNTING THE BLOCK.
For
perfect thermal contact, the block does not use a sprin
g
mountin
g
system; therefore when attachin
g
be very careful to ti
g
hten all screws equally.
Tightening the screws beginning in the center of the block near the northbridge, and continue evenly outwards. Do not use too much pressure
on
screws, because motherboard might
bend and either cause bad contact with water block, or break a connection on the board.
Use the enclosed screws and washers as shown in diagram below
Temporarily r
emove the water blocks to check for uniform surface contact between the block and the components. Note the pattern of contact on a piece of paper. Then repeat
steps to reattach the block applying more or less pressure to the areas where you have found it necessary.
STEP 4: POSITIONING FITTINGS AND CONNECTING TO WATER CIRCUIT
Screw in fittings, attach the liquid cooling tubes and connect the water-block(s) into the cooling circuit. The EK-FB EVGA CLASSIFIED 4-SLI series are usually sold with high flow
fittings. To ensure that the tubes are securely attached to the barb fittings, please use hose clamps or an appropriate substitute. The use of an algaecide is always recommended
for any liquid cooling system.
You can use any hole as an inlet/outlet hole.
VERY IMPORTANT NOTICE
Once the installation is completed, it is always a good idea to test the circuit for leaks, prior to powering up the computer. We recommend a 24 hour leak test
prior to powering up the computer. Do not test the water block directly from city water pressure. This will bow the top of the housing and render the block
unusable (and will void your warranty).
REQUIRED TOOLS AND MOUNTING SCREWS:
scissors philips screwdriver 14 screws M2,5x6 DIN7985
M2,5x6
     Releasedon11thofNovember,2009.

Other ekwb Computer Hardware manuals

ekwb EK-FC 5870 MSI Manual

ekwb

ekwb EK-FC 5870 MSI Manual

ekwb EK-FC470 GTX Manual

ekwb

ekwb EK-FC470 GTX Manual

ekwb EK-Quantum Reflection2 PC-O11D EVO D5 PWM... User manual

ekwb

ekwb EK-Quantum Reflection2 PC-O11D EVO D5 PWM... User manual

ekwb EK-Quantum Vector Trio RTX 2080 Ti User manual

ekwb

ekwb EK-Quantum Vector Trio RTX 2080 Ti User manual

ekwb EK-D5 Dual TOP CSQ Manual

ekwb

ekwb EK-D5 Dual TOP CSQ Manual

ekwb EK-FC1080 GTX JetStream User manual

ekwb

ekwb EK-FC1080 GTX JetStream User manual

ekwb EK-FC670 GTX DCII Guide

ekwb

ekwb EK-FC670 GTX DCII Guide

ekwb EK-Quantum Vector RTX 3080/3090 D-RGB User manual

ekwb

ekwb EK-Quantum Vector RTX 3080/3090 D-RGB User manual

ekwb EK-FC480 GTX Manual

ekwb

ekwb EK-FC480 GTX Manual

ekwb Supremacy EVO User manual

ekwb

ekwb Supremacy EVO User manual

ekwb EK X Series User manual

ekwb

ekwb EK X Series User manual

ekwb EK-Quantum Velocity Ryzen Edition UNC Standoffs -... User manual

ekwb

ekwb EK-Quantum Velocity Ryzen Edition UNC Standoffs -... User manual

ekwb EK-Quantum Momentum Aorus Z490 Master D-RGB User manual

ekwb

ekwb EK-Quantum Momentum Aorus Z490 Master D-RGB User manual

ekwb EK-FC Strix RTX 2080 Ti Backplate Classic User manual

ekwb

ekwb EK-FC Strix RTX 2080 Ti Backplate Classic User manual

ekwb EK-FC970 GTX Manual

ekwb

ekwb EK-FC970 GTX Manual

ekwb EK-Reservoir Combo DCP 2.2 Manual

ekwb

ekwb EK-Reservoir Combo DCP 2.2 Manual

ekwb EK-TIM Indigo Extreme User manual

ekwb

ekwb EK-TIM Indigo Extreme User manual

ekwb EK-Quantum Kinetic FLT D5/DDC Body D-RGB User manual

ekwb

ekwb EK-Quantum Kinetic FLT D5/DDC Body D-RGB User manual

ekwb EK-Quantum Vector Trinity RTX 3080/3090 User manual

ekwb

ekwb EK-Quantum Vector Trinity RTX 3080/3090 User manual

ekwb EK-FB ASUS M6E Guide

ekwb

ekwb EK-FB ASUS M6E Guide

ekwb EK-FC670 GTX Backplate Manual

ekwb

ekwb EK-FC670 GTX Backplate Manual

ekwb EK-Nucleus AIO CR360 Vision D-RGB User manual

ekwb

ekwb EK-Nucleus AIO CR360 Vision D-RGB User manual

ekwb EK-FC780 GTX Ti Manual

ekwb

ekwb EK-FC780 GTX Ti Manual

ekwb EK-Quantum Magnitude User manual

ekwb

ekwb EK-Quantum Magnitude User manual

Popular Computer Hardware manuals by other brands

Analog Devices SHARC ADSP-21368 Hardware reference

Analog Devices

Analog Devices SHARC ADSP-21368 Hardware reference

Fibocom L816-AM Hardware user manual

Fibocom

Fibocom L816-AM Hardware user manual

AMX Axcent2 Schematic diagram

AMX

AMX Axcent2 Schematic diagram

IMS 740 manual

IMS

IMS 740 manual

Intel ETHEREXPRESS PRO/100 user guide

Intel

Intel ETHEREXPRESS PRO/100 user guide

JYTEK 6743X Series user manual

JYTEK

JYTEK 6743X Series user manual

NEC IE-178098-NS-EM1 user manual

NEC

NEC IE-178098-NS-EM1 user manual

Anthem AVM 90 quick start guide

Anthem

Anthem AVM 90 quick start guide

Rockchip RK32 Series Hardware Design Guide

Rockchip

Rockchip RK32 Series Hardware Design Guide

ADS Technologies USBX-500 user guide

ADS Technologies

ADS Technologies USBX-500 user guide

Pico Macom DSP806 Specifications

Pico Macom

Pico Macom DSP806 Specifications

SeaLevel COMM+4/422.PCIe user manual

SeaLevel

SeaLevel COMM+4/422.PCIe user manual

IEI Technology IMBA-C604EP user manual

IEI Technology

IEI Technology IMBA-C604EP user manual

Supero AOC-CGP-i2 user guide

Supero

Supero AOC-CGP-i2 user guide

AXIOMTEK UST100-504-FL Series user manual

AXIOMTEK

AXIOMTEK UST100-504-FL Series user manual

Intel SBC 711 Hardware reference manual

Intel

Intel SBC 711 Hardware reference manual

EAW MX800i operating instructions

EAW

EAW MX800i operating instructions

Matrox M.Key/100 user guide

Matrox

Matrox M.Key/100 user guide

manuals.online logo
manuals.online logoBrands
  • About & Mission
  • Contact us
  • Privacy Policy
  • Terms and Conditions

Copyright 2025 Manuals.Online. All Rights Reserved.