ekwb EK-Backplate ASUS P6X58D Premium Guide
Other ekwb Computer Hardware manuals
ekwb
ekwb EK-FB KIT EVGA SR-X Installation instructions manual

ekwb
ekwb EK-FC970 GTX TF5 TFX Series Manual

ekwb
ekwb EK-FB ASUS M8E Monoblock Series User manual

ekwb
ekwb EK-Quantum Vector FE RTX 3070 User manual
ekwb
ekwb EK-Quantum Momentum Aorus Z490 Master D-RGB User manual
ekwb
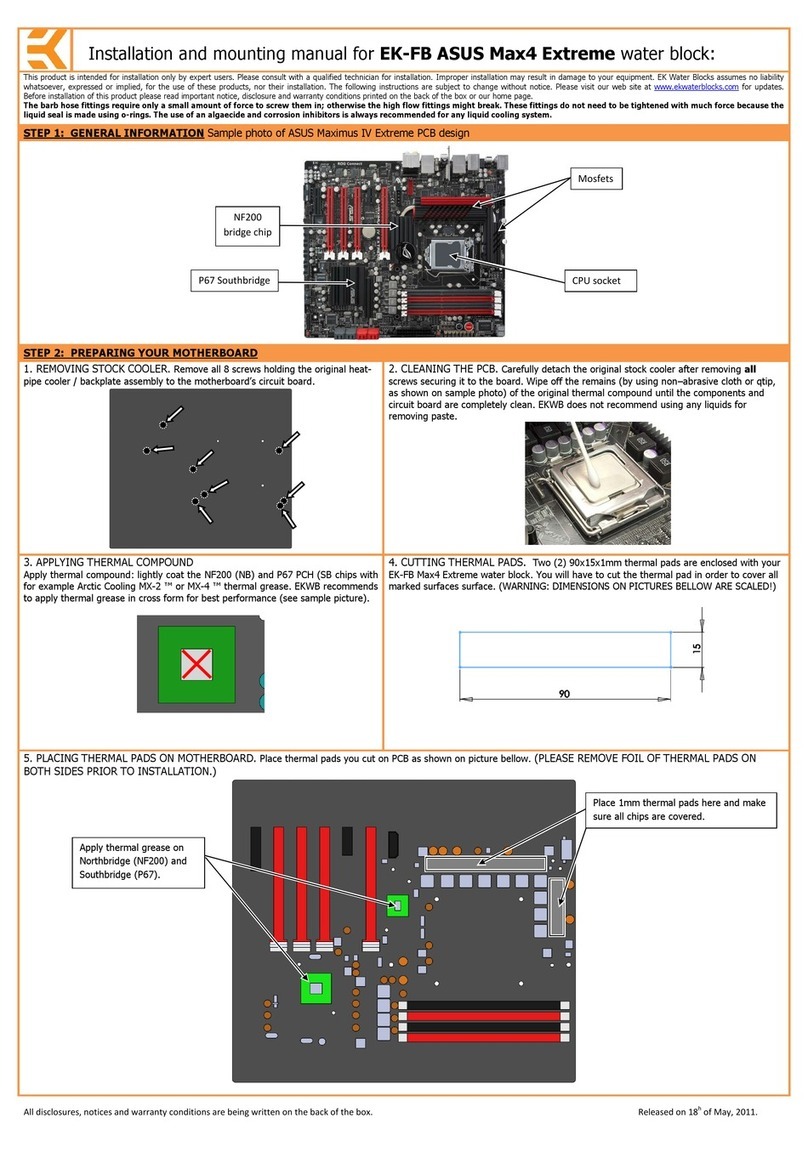
ekwb EK-FB ASUS Max4 Extreme Guide

ekwb
ekwb EK-RES X3 Series Manual

ekwb
ekwb EK-Classic Pump Reservoir 160 SPC PWM D-RGB Manual

ekwb
ekwb EK-SF3D Inflection Point EVO User manual
ekwb
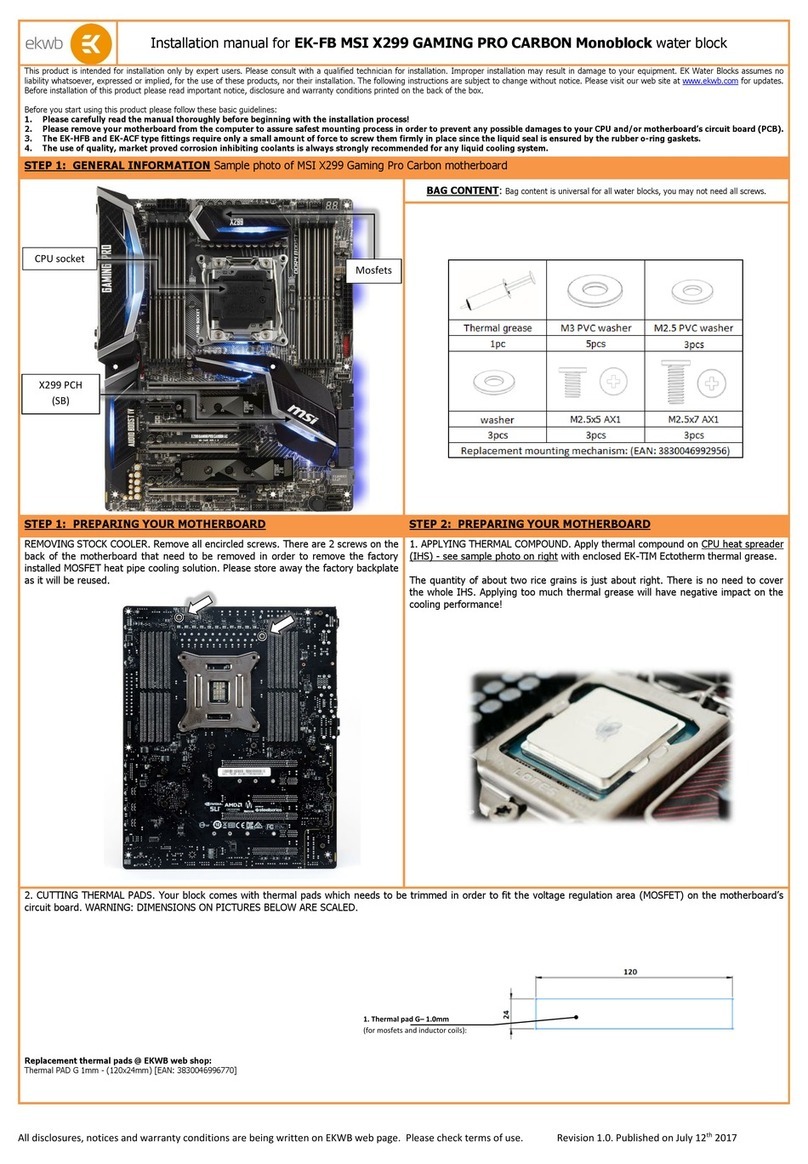
ekwb EK-FB MSI X299 GAMING PRO CARBON Monoblock User manual
ekwb
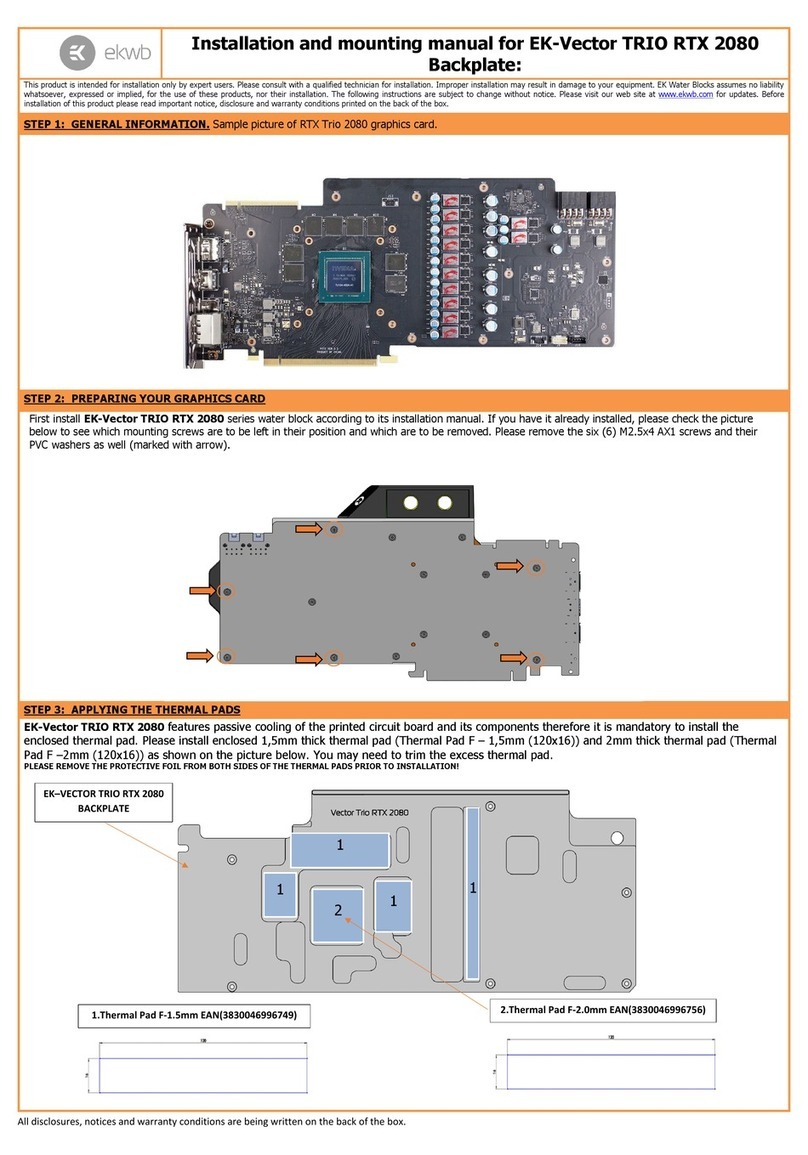
ekwb 3831109816202 Guide

ekwb
ekwb EK-FC770 GTX GW Guide

ekwb
ekwb Classic D-RGB S240 User manual

ekwb
ekwb EK-XTOP D5 Guide
ekwb
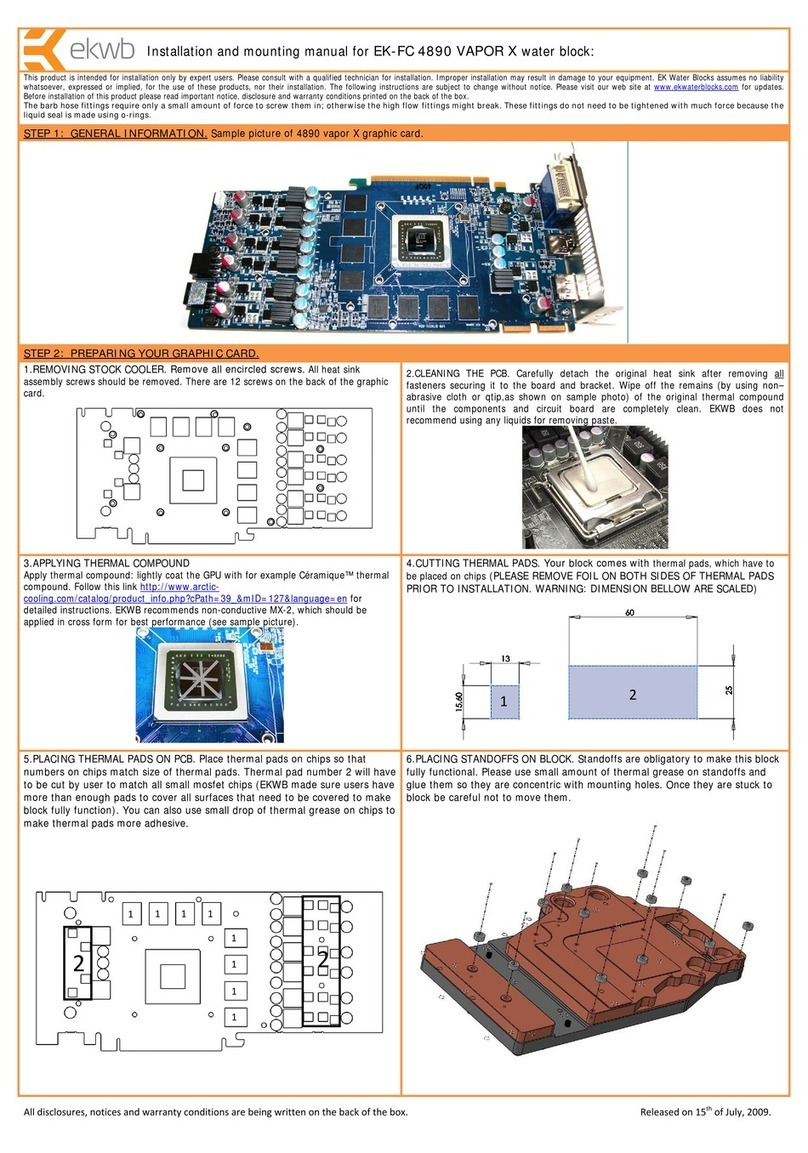
ekwb EK-FC 4890 VAPOR X Guide
ekwb
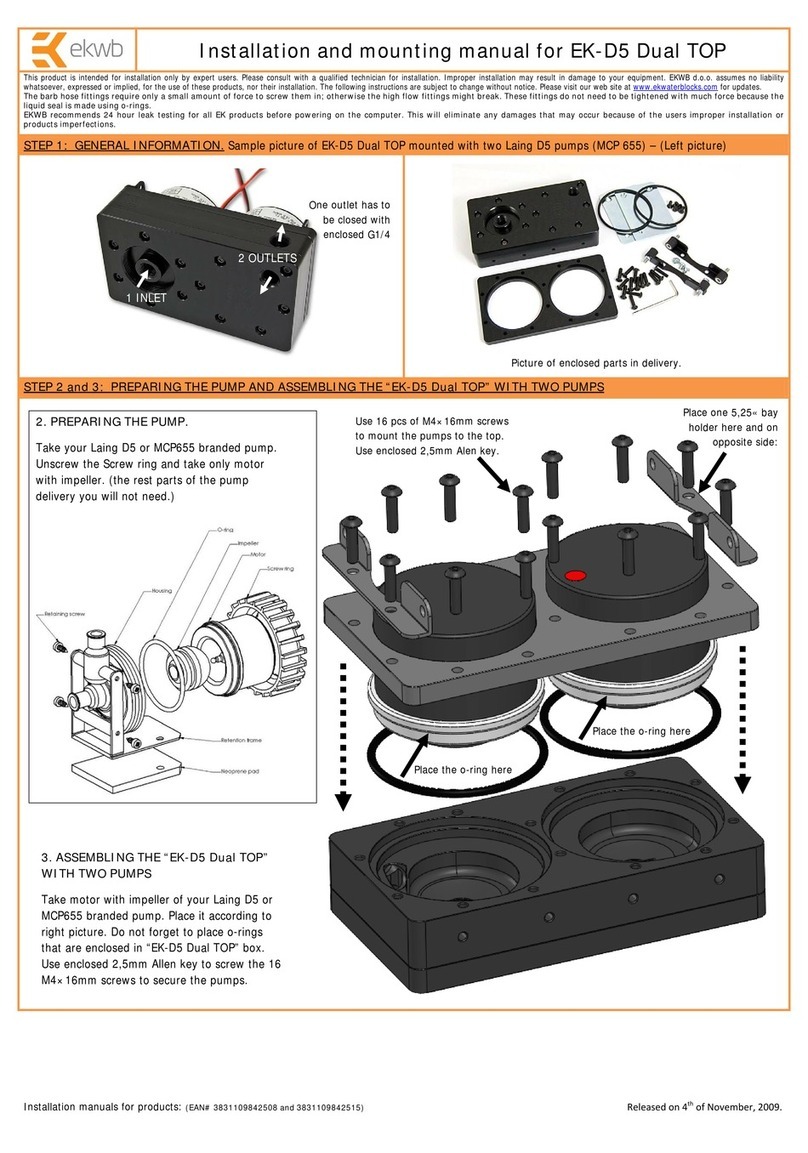
ekwb EK-D5 Dual TOP Guide

ekwb
ekwb EK-Quantum Momentum2 ROG Strix Z690-I Gaming D-RGB -... User manual
ekwb
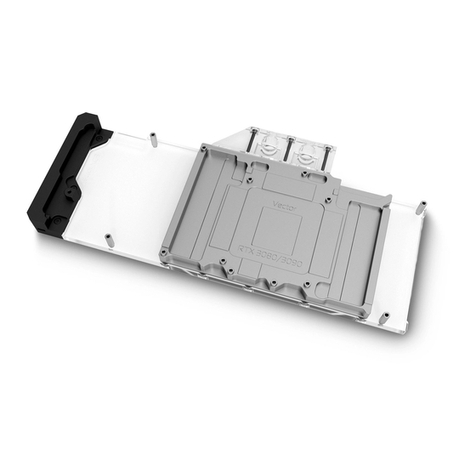
ekwb EK-Quantum Vector XC3 RTX 3080 D-RGB User manual
ekwb
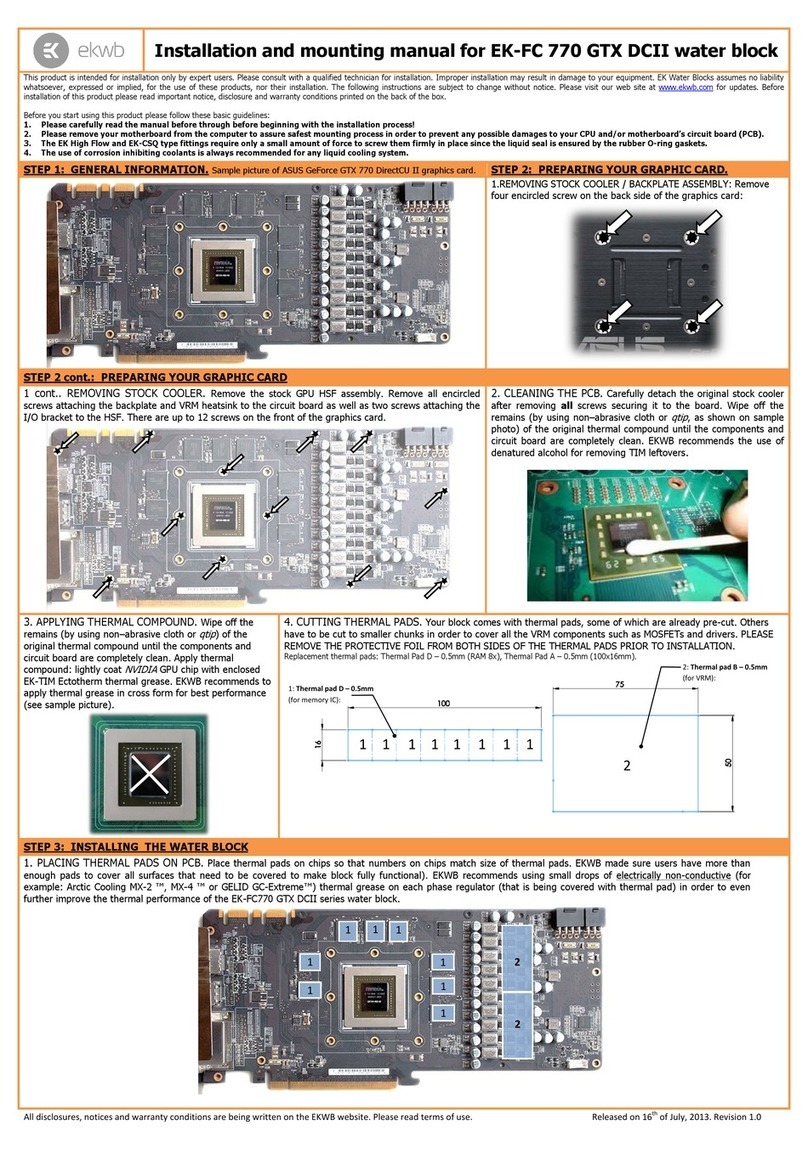
ekwb EK-FC 770 GTX DCII Manual
ekwb
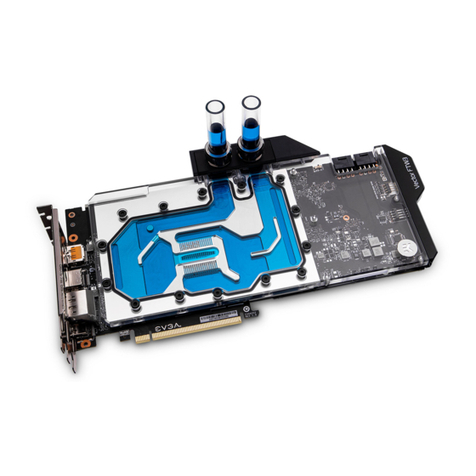
ekwb EK-Vector RTX 2080 FTW3 User manual
Popular Computer Hardware manuals by other brands

EMC2
EMC2 VNX Series Hardware Information Guide

Panasonic
Panasonic DV0PM20105 Operation manual

Mitsubishi Electric
Mitsubishi Electric Q81BD-J61BT11 user manual

Gigabyte
Gigabyte B660M DS3H AX DDR4 user manual

Raidon
Raidon iT2300 Quick installation guide

National Instruments
National Instruments PXI-8186 user manual
