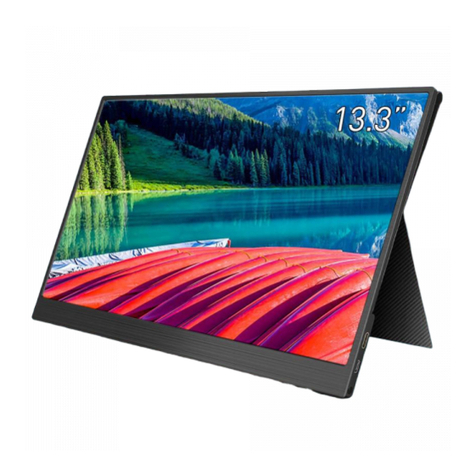
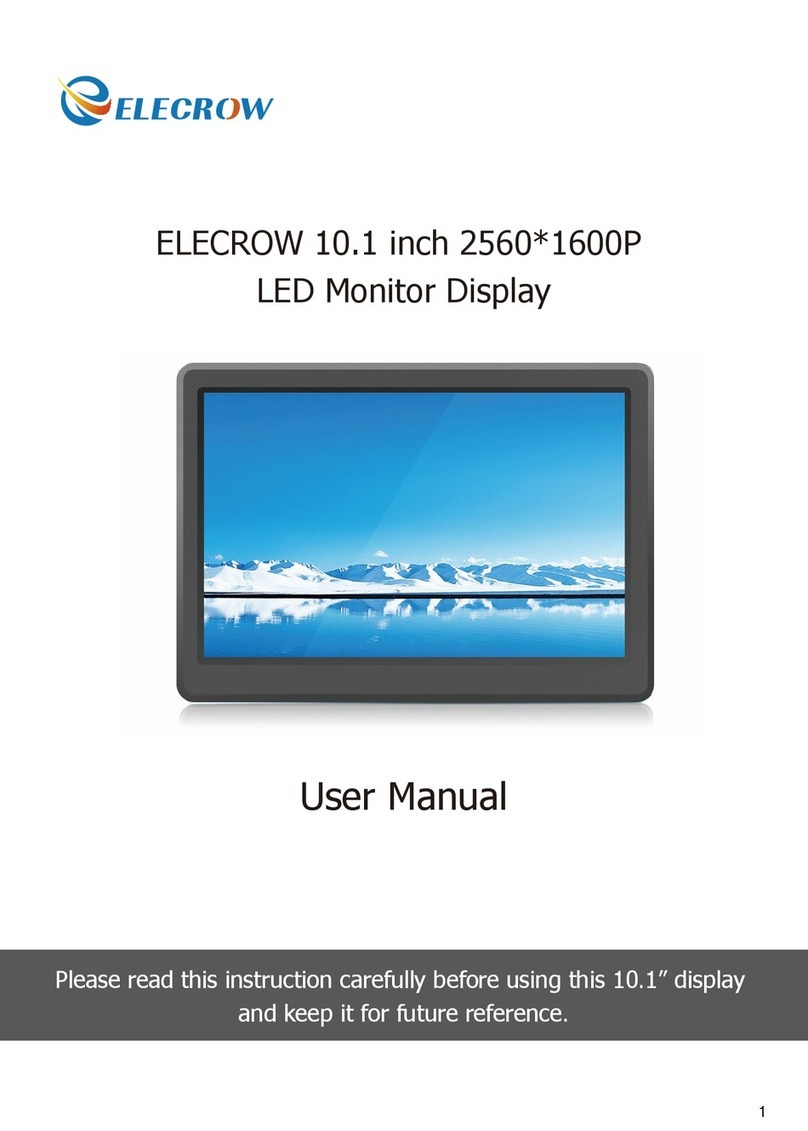
Elecrow MQ133 User manual

ELECROW 13.3” IPS
Portable Monitor
Model: MQ133
USER MANUAL
Customer Support:
Should there be any questions, please feel free to let us know and contact us with your
purchase order number at info@elecrow.com.

Table of Contents
2019 ELECROW All Rights Reserved.
C1
Chapter 01: Before Using the Product
1-1. Safety Precautions
1-1-1. Electricity and Safety
1-1-2. Installation
1-1-3. Cleaning
1-2. Package Contents
1-3. Product Description
1-3-1. Button Indications
1-3-2. Port Description
Chapter 02: Connecting and Using a Source Device
2-1. Connected to PC/Laptop (with HDMI Port)
2-2. Connected to Other Devices (with HDMI Port)
2-3. How to Set Your PC/Laptop Monitor to Duplicate or Extend Mode & How to
Rotate the Screen
Chapter 03: Screen Setup
3-1. How to Reconfigure OSD (On-Screen Display) Menu
3-2. OSD Function Introduction
Chapter 04: Specifications
Chapter 05: Troubleshooting Guide and Warranty
5-1. Troubleshooting Guide
5-2. Warranty
2
2
2
2
2
3
3
4
4
5
5
5
6
6
6
7-9
10
11
11
11

Chapter 01 Before Using the Product
1-1. Safety Precautions
2019 ELECROW All Rights Reserved.
C2
―Take the following steps when cleaning.
• 1. Power off the product and computer.
• 2. Disconnect the power cord from the product.
—Hold the power cable by the plug and do not touch the cable with wet hands. Otherwise, an electric shock
may result.
• 3. Wipe the monitor with a clean, soft and dry cloth.
• Do not apply a cleaning agent that contains alcohol, solvent, or surfactant to the monitor
• Do not spray water or detergent directly on the product.
1-1-1. Electricity and Safety.
1-1-2. Installation
1-1-3. Cleaning
• Do not use a damaged power cord or plug, or a loose power socket.
• An electric shock or fire may result.
• Do not touch the power plug with wet hands.
• An electric shock may result.
• Insert the power plug all the way in so it is not loose.
• An unsecure connection may cause a fire.
Warning
!
Warning
!
• Do not install the product near heat sources.
• A fire may result.
• Do not set down the product on its front.
• The screen may become damaged.
• Do not install the product on an unstable or vibrating surface (insecure shelf, sloped surface, etc.)
• The product may fall and become damaged and/or cause an injury.
• Using the product in an area with excess vibration may damage the product or cause a fire.
1-2. Package Contents
1-3. Product Description
2019 ELECROW All Rights Reserved.
C3
• 4. Wet a soft and dry cloth in water and wring thoroughly to clean the exterior of the product.
• 5. Connect the power cord to the product when cleaning is finished.
• 6. Power on the product and computer.
318.3mm
198.4mm
11.5mm
• Portable Monitor x 1
• HDMI to Mini HDMI Cable x 1
• Power Supply x 1
• Stand x 1
• User Manual x 1

1-3-1. Port Description
1-3-2 . Button Indications
2019 ELECROW All Rights Reserved.
C4
HD
HD
1
2
3
4
5
DC: DC 12V power port.
Micro USB: USB 5V power port.
Ear: 3.5mm Headphone Jack.
Mini HDMI 1: Digital video signal input HDMI 1.4.
Mini HDMI 2: Digital video signal input HDMI 1.4.
1
2
3
4
5
Menu
Press to display the setting OSD menu. When in the OSD menu, press to
confirm the selection.
Auto
By default, the key is the hot key for signal option.When in the OSD menu,
press to exit the OSD menu.
-
By default, the key is the hot key for brightness. When in the OSD menu,
press for down/decrease adjustment.
+
By default, the key is the hot key for volume. When in the OSD menu, press
for up/increase adjustment .
Power
Turn on/off the monitor when it powered.
Light
Green light, indicated the working status.
1
2
3
4
5
6
1
2
3
4
5
6

Chapter 02 Connecting and Using a Source Device
2-1. Connected to PC/Laptop (with HDMI Port)
2-2. Connected to Other Device (with HDMI Port)
OR
2019 ELECROW All Rights Reserved.
C5
DISPLAY
HDMI to Mini HDMI Cable
Type A to Micro USB
DC
External Power
Supply
DISPLAY
HDMI to Mini HDMI Cable
Type A to Micro USB
External Power
Supply
COMPUTER
COMPUTER
DISPLAY
HDMI to Mini HDMI Cable
Type A to Micro USB
Note: Some computers have low power USB ports, Do not forget connect an external power supply of 5V/2A or above.
!
DC

Chapter 03 Screen Setup
2-3. How to Set your PC/Laptop Monitor to Duplicate or Extend
Mode & How to Rotate the Screen
3-1. How to Reconfigure OSD (On-Screen Display) Menu
2019 ELECROW All Rights Reserved.
C6
• 1. Press the MENU button to activate the OSD menu.
• 2. Press the +/ - button to toggle between options in the Menu. As you move from one icon to
another, the option item is highlighted.
• 3. To select the highlighted item on the menu press the button MENU.
• 4. Press the +/- button to select the parameter.
• 5. Press the button MENU to enter the slide bar and then use the +/- button to make your changes,
according to the indicators on the menu.
• 6. Select the AUTO to return to the previous menu or MENU to save the setting. If you want to adjust
any other functions, repeat steps 2-5.
1. Connect the monitor to your PC properly and power it on.
2. Right click the desktop and select Screen resolution (Win 7/8) or Display settings (Win 10).
3. Click the Multiple display drop-down list, select Extend these displays or Duplicate these displays.
*If you can’t see the additional monitor listed, please click Detect. If it doesn’t work. Restart your PC
then try below steps again
4. Click the Orientation drop-down list, select Portrait or Landscape screen.
* If you can’t see the option of Orientation on your PC/laptop, please check if your PC/laptop has
this function.

3-2. OSD Function Introduction
Brightness
Image
2019 ELECROW All Rights Reserved.
C7
• Brightness:The adjusting range is from 0 to 100.
• Contrast:The adjusting range is from 0 to 100.
• ECO:Adjust the ECO mode(GAME/MOVIE/TEXT/FPS/RTS/STANDARD).
• DCR:Turn dynamic contrast on or off by selecting “ON”or“OFF”mode.
• Sharpness: The adjusting range is from 0 to 4.
• Aspect: Adjusts the aspect ratio to “WIDE”or“4:3”.
Note: Only under the Standard Mode, you could adjust the parameter of Brightness/Contrast /
ECO/DCR by yourself.
BRIGHTNESS
BRIGHTNESS
50
CONTRAST
ECO
DCR
50
SHARPNESS
2
STANDARD
OFF
IMAGE
H.POSITION
50
V.POSITION
CLOCK
PHASE
ASPECT
50
50
50
WIDE
!

Color Temperature
OSD Setting
2019 ELECROW All Rights Reserved.
C8
• Language:Select OSD language. The selections are: English, French, German, Simplified Chinese,
Italian, Spanish, Dutch, Portugal, Turkish, Polish, Japanese, Korean.
• OSD H. POS.:Adjust the horizontal position of OSD menu and the adjusting range is from 0 to 100.
• OSD V. POS.:Adjust the vertical position of OSD menu and the adjusting range is from 0 to 100.
• OSD Timer: Adjust OSD timeout from 10 to 60.
• Transparency:Adjust the transparency of OSD menu and adjusting range is from 0 to 100.
• The color temperature function contains three preset color modes (Cool/Warm/User) . When you
select the color temperature as Cool/Warm, its corresponding red/green/blue values will also be
displayed below. And only under the User Mode, the parameter of RED/GREEN/BLUE could be
adjusted by user.
OSD SETTING
LANGUAGE
OSD H. POS .
OSD V. POS .
OSD TIMER
TRANSPARENCY
50
50
10
0
COLOR TEMP .
COLOR TEMP .
50
RED
GREEN
BLUE
50
50
USER

Reset
Misc
2019 ELECROW All Rights Reserved.
C9
• Signal Source:Adjust the signal source to“HDMI 1”or“HDMI 2”.
• Low Blue Light:Decrease the blue light emitted from the display.
• Volume:Adjust the volume in the range of 0-100.
• Selects “Yes”to revert all settings to the factory default mode.
RESET
IMAGE AUTO ADJUST
COLOR AUTO ADJUST
RESET
MISC .
SIGNAL SOURCE
0
LOW BLUE LIGHT
VOLUME
2560X1440 60HZ
50
HDMI 2

Chapter 04 Specifications
Chapter 05 Troubleshooting Guide and Warranty
2019 ELECROW All Rights Reserved.
C10
5-1. Troubleshooting Guide
• This page deals with problems that can be corrected by a user. If the problem still persists after you
have tried these solutions, please contact customer support.
Model Name
Panel Size
Aspect Ratio
Brightness
Contrast
Resolution
Viewing angle
Display Color
Vertical Frequency
Display Mode
Response Time
Supported Resolutions
Power Source
Power Consumption
Display Area(H*V)
Phys. Dimension (W*H*D)
Net Weight (Esti.)
MQ133
13.3 inch
16:9 (W:H)
400 cd/m²
1000:1(Min.)(TM)
2560x1440
80/80/80/80 (Min.)(CR≥10)
16.7 M , 72% (CIE1931)
60 Hz
ADS,Normally Black Transmissive
16 (Typ.)(Tr+Td) ms
2560×1440@60Hz for Quad HD mode
DC 12 V (+/-0.6V) or USB 5 V
Standby <1 W, Power on <8 W
293.76*165.24mm
318.3*198.4*11.5mm
644.2g

2019 ELECROW All Rights Reserved.
C11
5-2. Warranty
• ELECROW Monitors carry a one (1) year limited warranty from the purchase date. In order to receive
warranty service, proof of purchase of the ELECROW product is required. To obtain warranty service,
please contact Customer Support.
• This limited warranty does not cover for:
Improper installation or maintenance; Misuse or Neglect; Repair, modification, or installation of options
or parts by you or any third party; Improper environment- Excessive or inadequate heating or air
conditioning or electrical powers failures, surges or other irregularities; Fire, flood, earthquake or other
accidents.
Problem
No power
No picture/No signal
No sound
Dark/Light Picture
Image is blurred
Possible Solutions
1. Make sure the power cord is plugged properly.
2. Press the power button to check if the monitor is ON.
1. Check whether the monitor and the signal output device are in
the ON mode.
2. Reconnect the signal cable.
3. Check if the signal is matched with the input function.
4. Connect another available output device/signal cable/monitor
to check whether the issue is caused by the output device
hardware, the video signal to the monitor or the monitor itself.
1. Adjust the volume settings via the button.
2. Check whether the headphone is inserted.
3. The silencer is working.
Adjust the Brightness settings via the button.
Select the correct resolution.
Table of contents
Other Elecrow Monitor manuals

Elecrow
Elecrow SF116 User manual

Elecrow
Elecrow RC070P User manual

Elecrow
Elecrow SQ101 User manual

Elecrow
Elecrow RC070S User manual

Elecrow
Elecrow CrowVi User manual

Elecrow
Elecrow CrowView User manual

Elecrow
Elecrow MF156D Instruction manual

Elecrow
Elecrow DISSF116P User manual

Elecrow
Elecrow SF101 User manual

Elecrow
Elecrow SF133 User manual