Electric Eel Z5-AF User manual

1
MODEL Z5-AF
Drain Cleaning Machine
Operator’s Manual
FOR YOUR SAFETY
Before you operate or
maintenance this equipment,
READ this manual carefully
and completely!
!! DANGER !!
ELECTRIC EEL MANUFACTURING CO., INC.
501 West Leffel Lane, Springfield, Ohio 45501-9885
Call Toll Free (800) 833-1212 (937) 323-4644 FAX: (937) 323-3767
www.electriceel.com Proudly Made in The USA Since 1939 I-21
Purchase Date: _______________
Serial Number: _______________

2
Description,
Specifications, and
Equipment
DESCRIPTION
The Electric Eel Model Z5-AF Drain
Cleaning machine is the newest of
Electric Eel’s complete line of quality
sewer and drain cleaning equipment.
This cage/drum machine is specifically
designed for 1 ¼” to 3” lines through
100 feet.
STANDARD FEATURES
1. Automatic cable feeder that
advances and retrieves cable
with the push of a lever.
2. Cable guide attached to feeder
to ensure operator does not
handle rotating cable.
3. Power cord is wrapped around
conveniently placed brackets
for safe, problem-free
transport.
4. Additional rear bar shields
motor and allows for flexible
two-position operation.
5. Easy-to-use foot-operated
switch allows the use of both
hands when working with
cable guide and feeder.
6. Ground Fault Circuit
Interrupter (GFCI) safety
feature comes standard with
20 foot power cord.
7. Heavy duty, durable tubular
frame provides stability and
balance while in operation.
8. Cast aluminum nose cone
bracket with bearing
supported guide tube.
9. Cable available in ½” certified
music wire with genuine
galvanized aircraft wire inner
core for longer life.
10. Unique inner cage/drum
design helps to prevent cable
buckling.
11. Built-in cage/drum-shaft slip
clutch minimizes cable and
tool breakage and provides
overload protection.
12. Impact-resistant plastic belt-
guard for additional operator
safety.
13. Rugged 1/3 H.P. motor
delivers optimum cleaning
power.
14. Wheel brake to stabilize unit
while in operation.
15. 10” wheels for better
maneuverability.
16. Handle folds down for easy
transport and storage.
SPECIFICATIONS
Cage/Drum Capacity: Up to 100
ft. of 1/2” certified music wire with
genuine galvanized aircraft wire
inner core cable.

3
Line Capacity: 1 ¼” to 3” lines up
to 100 Ft.
Weight: Machine only –61 lbs.
Frame: 1” diameter tubing
framework
Clutch: Dual disc cage/drum shaft
slip clutch
Motor: 1/3 H.P.
STANDARD EQUIPMENT
Electric Eel Model Z5-AF comes
complete with:
•Z5-AF unit with auto cable feeder
•75 Ft. of ½” certified music wire
with genuine galvanized aircraft
wire inner core cable
•5 Cleaning tools including:
DN-10 general purpose tool
DN-11 drill for hard
stoppages
DN-12 finishing tool
DN-14 drill for 2” –3” lines
DN-16 clean up tool for 3”
lines
SAFETY
INSTRUCTIONS
The following safety rules for operating
Electric Eel Sewer and Drain Cleaning
equipment MUST be read carefully
before operating this machine.
DANGER
TO PREVENT SERIOUS BODILY
INJURY:
GENERAL SAFETY
1. ALWAYS wear HEAVY leather
gloves and safety glasses when
operating equipment.
2. Place machine cable guide at
pipe opening. NEVER have
exposed cable.
3. DO NOT wear loose clothing or
jewelry while operating this
machine.
4. Use foot switch to operate
machine while keeping good
footing and balance at all times.
DO NOT OVERREACH.
DANGER
To prevent serious injuries including:
•Shock, electrocution or burns due
to improper grounding.
•Serious injuries to body, limbs or
hands and feet due to cables that
twist, kink and break.
•Eye injuries caused by loose cable,
thrown debris or splashed water.
READ SAFTEY INFORMATION
THOROUGHLY!

4
5. Machine, foot switch and cable
should be operated by one
person only. Additional
personnel in the working area
should observe all safety
instructions.
6. ALWAYS keep all guards in
place during operation.
7. ALWAYS wear rubber-soled
non-slip shoes.
8. ALWAYS avoid direct contact of
skin, facial area and especially
eyes with drain water. Chemical
compounds used in drains can
result in serious burns and other
injuries.
9. Replace fittings, cables and any
rotating parts as soon as they
become visibly worn. Replace
any cables which become
fractured, bent, kinked, or any
other damage occurs.
10. NEVER attempt to service
equipment beyond the
recommendations of the operat-
ing instructions. All other
servicing should be referred to
qualified service personnel.
11. To maintain safe operation, use
only identical replacement parts
and cables from Electric Eel.
12. ALWAYS keep clear of rotating
cages/drums, shafts, pulleys,
belts, or other rotating parts.
DANGER
TO PREVENT SERIOUS BODILY
INJURY AND TO AVOID DANGER
FROM ELECTRICAL SHOCK:
1. ALWAYS use a Ground Fault
Circuit Interrupter (GFCI) with a
properly grounded outlet for all
electrical cords, connections, and
parts as installed by factory and
DO NOT make any alterations.
2. NEVER use machine in damp or
wet conditions.
3. NEVER expose machine to rain.
4. THE USER SHOULD NEVER
ATTEMPT TO SERVICE THE
ELECTRICAL COMPONENTS.
For safety reasons, all electrical
replacement components should
be installed by a qualified
electrician.
5. ALWAYS disconnect the power
cord from the electrical source
before making any adjustments
or changes to power units.
6. If an extension cord is used, the
power source MUST be equipped
with a Ground Fault Circuit
Interrupter (GFCI) and properly
grounded.
7. Only use 14/3 or larger three-
wire extension cords with three-
prong grounding plugs and
three-pole receptacles.

5
8. When using extension cord
outdoors, only use those
intended for outdoor use.
(Indicated on cord by suffix
“W-A” after cord type.)
THE GROUND FAULT CIRCUIT
INTERRUPTER
(GFCI)
This machine is equipped with a
Ground Fault Circuit Interrupter (GFCI)
which is designed to prevent a serious
electrical shock. This device should be
tested on the job site before putting
the machine into operation as follows:
1. To ensure protection against
electric shock, test the device
before each use. When test
button is pushed in, the indicator
light should go off. Reactivate
the device by pushing the reset
button in. If the indicator light
goes on, the device is ready for
use. DO NOT use the device if
the indicator light does not go on
when reset or if the indicator
light remains on, when the test
button is pushed in.
2. This device does not guard
against electric shock resulting
from defects or faults in any
wiring supplying power to this
device, or from contact with both
circuit conductors.
DANGER
TO PREVENT SERIOUS BODILY
INJURY AND TO AVOID DANGER
FROM ROTATING CABLES AND
EQUIPMENT:
1. USE CAUTION AT ALL TIMES.
Cable can twist or kink and
cause serious injury. Fingers or
other body parts can be caught
in rotating parts.
2. NEVER handle the rotating
cable.
3. NEVER handle any cable
under tension. Relieve all
tension build up before
attempting to handle cable.
4. NEVER operate machine without
cable guide in place.
5. Use feeder to advance or retract
cable with motor switch in
FORWARD position for ALL
cleaning operations.
6. DO NOT continue to operate
machine when cleaning tool
becomes stuck in obstruction.
Excess torque on a cable
could cause it to fracture.
(Refer to operating instructions
to free cleaning tool.)
7. NEVER force a tool and cable
into a pipeline blockage. This
may overload the cable or tool
and cause it to fracture.
8. ALWAYS wear HEAVY leather
gloves and safety glasses when
operating machine.
9. Use correct tool for the job or
application. Check the tool
listing for the correct tool and
line size.

6
10. To maintain safe and efficient
operation, thoroughly clean all
cables with water after use.
Acids in the drain and sewer
lines attack and deteriorate the
metal of the cables and tools.
Deterioration will cause
weakness in cable and tools and
result in fracture or breakage.
11. Replace all cables and tools that
become deteriorated, worn,
kinked, bent, or any other
damage that occurs.
MACHINE SET-UP
DANGER
TO PREVENT SERIOUS BODILY
INJURY:
THIS MACHINE IS EQUIPPED
WITH A CAGE/DRUM/DISC
CLUTCH. THE MAXIMUM TORQUE
OF THE CLUTCH SETTING MUST
NEVER EXCEED 35 INCH/LBS.
NEVER USE ANY CABLE IN THIS
MACHINE OTHER THAN ELECTRIC
EEL GALVANIZED AIRCRAFT WIRE
REINFORCED MUSIC WIRE CABLE
IN 1/2" DIAMETER.
DISCONNECT POWER CORD
BEFORE ANY SET UP OR
MAINTENANCE IS ATTEMPTED.
This machine comes completely
assembled except for cable.
CAGE/DRUM REMOVAL
1. Disconnect power cord before
any set up or maintenance is
attempted.
2. Remove auto cable feeder from
mount by removing two (2)
5/16” bolts on the underside of
the mount.
3. Remove pulley guard by
unscrewing the thumb screw/
knob on the top of the pulley
guard.
4. Push down on motor to
compress spring. This will allow
the belt to be removed.
5. Pull spring loaded pin on rear of
cable axle.
6. Slide cage/drum unit with clutch
assembly forward.
7. Use reverse procedure for
reinstalling cable assembly.
8. Reinstall pulley guard.
9. Reinstall feeder on mount.
CABLE INSTALLATION
1. Disconnect power cord before
any set up or maintenance is
attempted.
2. Completely uncoil cable to be
installed. This will help avoid
unnecessary kinking.
3. Insert approximately 12” of
cable through the feeder and the
guide tube into the cage/drum.
The cable should coil in the

7
cage/drum in the same direction
as the decal indicates on the
rear of the cage/drum.
4. Attach cable anchor (DN-6) to
end of cable.
5. Grasp cable inside the
cage/drum near the end and
position cable anchor on end so
that the ¼-20 screw can be
inserted through the hole in the
rear of the cage/drum into the
cable anchor.
6. Insert remaining cable into the
cage/drum.
AUTO FEEDER ALIGNMENT
•Disconnect power cord before
any set up or maintenance is
attempted.
•Machine is shipped with auto
cable feeder aligned with
opening in nose cone of
cage/drum.
•If feeder mounting post height
or alignment is altered, loosen
the set screw which attaches the
feeder to the mounting post.
Insert a 5/8” diameter rod
through the feeder and align
with the nose cone opening.
Retighten set screw and locking
nut. Remove the rod from the
feeder. Feed cable back through
the feeder.
MAINTENANCE
•Disconnect power cord before
any set up or maintenance is
attempted.
•Maintenance on the Model Z5-AF
machine should be minimal for
the life expectancy of the
machine.
•The cage/drum/clutch should be
exercised daily.
Exercise as follows:
1. Wearing HEAVY leather gloves,
hold pulley firmly with one hand
and grasp cage/drum with the
other hand.
2. Rotate cage/drum back and forth
several times ensuring that the
cage/drum clutch assembly slips
(the cage/drum clutch assembly
moves while pulley remains
fixed).
CLUTCH ADJUSTMENT
•Disconnect power cord before
any set up or maintenance is
attempted.
•The clutch setting of 35 inch/lbs.
must NEVER be exceeded.
•The clutch setting in most cases
will not need to be adjusted for
the life of the machine.
•If the clutch needs to be reset,
the following procedure should
be used:

8
1. Obtain an inch/lbs. torque
wrench and E-20 from Electric
Eel.
2. Fit the adapter to the nose
cone of the Model Z5-AF
machine as per included
instructions with the adapter.
3. Check the setting of the
clutch with the torque
wrench.
If adjustment is needed, proceed
as follows:
1. Remove feeder as described
in cage/drum removal.
2. Remove 4 cage/drum bolts
from aluminum backing plate.
This will allow cage/drum
removal and expose clutch
mechanism.
3. Move clutch adjustment bolt
1/8th of a turn tighter or
looser as needed and recheck
setting after reassembly of
cage/drum. Repeat the
procedure as needed to
obtain 35 inch/lbs. maximum.
4. Reassemble and check all 4
bolts for tightness.
5. Reinstall feeder on mount.
OPERATING
INSTRUCTIONS
DANGER
OPERATOR MUST BE
THOROUGHLY FAMILIAR
WITH ALL SAFETY
INSTRUCTIONS BEFORE
OPERATING EQUIPMENT.
FOR AUTOMATIC CABLE
FEEDER
1. Attach a small spear-type
cleaning tool to the end of the
cable. This tool will enable you
to bore a starter hole in the
obstruction, allowing backed-up
water to drain.
2. Place machine cable guide at
pipe opening. NEVER have
exposed cable.
3. Position foot actuator for easy
operator accessibility.
4. Make sure switch is in the
FORWARD position. Run
machine in FORWARD at all
times during cleaning operation.
5. Place one HEAVY leather gloved
hand on the cable guide to
control cable as it rotates inside;
and use the other hand to work
the Feeder Control Lever.
DANGER: Operator must keep
one HEAVY leather gloved hand
on cable guide at all times
during operation.
6. In order to feed cable, the
operator must move the feeder
control lever from NEUTRAL
(the position midway between
FORWARD and REVERSE) to the
FORWARD position, while
depressing the foot actuator.

9
NOTE: The speed at which the
cable is fed initially can be
controlled by moving the feeder
control lever toward FORWARD to
increase speed and moving back
toward NEUTRAL to slow speed.
NOTE: If the feeder control lever is
initially put in FORWARD but the
cable is not advancing, then turn
the cable tension knob in a
clockwise direction until the cable
begins to advance. DO NOT over-
tighten cable tension knob as it
may damage feeder bearings.
7. Continue to automatically feed
cable until obstruction is met.
When cable begins to drag or
rotation becomes difficult, move
the lever to the NEUTRAL
position and allow tool to cut
away at the obstruction.
DANGER: NEVER force the
cable or tool into the
obstruction. Choose the proper
feeding speed in order to give a
smooth cutting action.
8. If tool becomes hung up in the
obstruction, move control lever
to the REVERSE position to back
out tool.
9. After tool as been removed from
obstruction, move control lever
back to the FORWARD position
and continue to work through
obstruction.
10. To retrieve cable from line,
move control lever to the
REVERSE position (while
continuing to operate cage/drum
in forward rotation) and cable
will back out of line and feed into
cage/drum.
NOTE: It is recommended to
use a continuous flush of water
to clean tool, cable, and sewer
line as cable is retrieved.
11. When tool is close to cleanout
opening, return Control Lever to
NEUTRAL position, release foot
actuator, and allow machine to
come to a complete stop.
DISCONNECT POWER CORD.
12. Pull remaining cable and tool
from sewer line and hand-feed
cable back into machine.
Other manuals for Z5-AF
1
Table of contents
Other Electric Eel Cleaning Equipment manuals
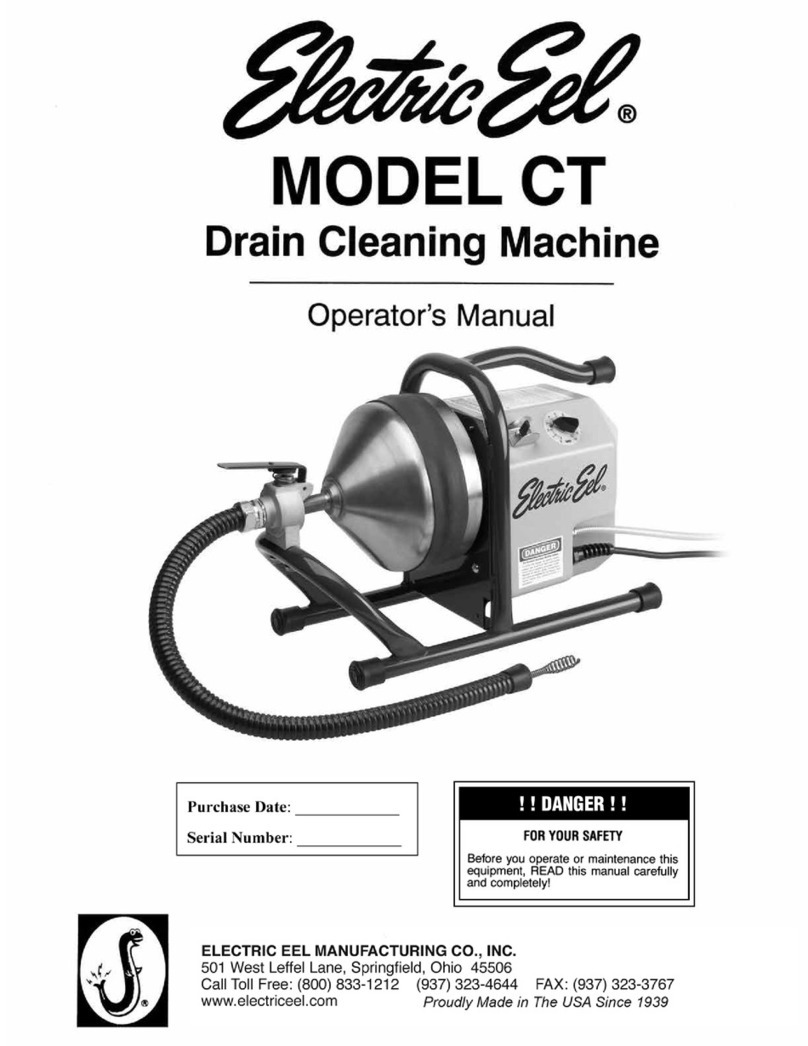
Electric Eel
Electric Eel CT User manual

Electric Eel
Electric Eel R User manual

Electric Eel
Electric Eel R Guide

Electric Eel
Electric Eel Z5 User manual

Electric Eel
Electric Eel E User manual
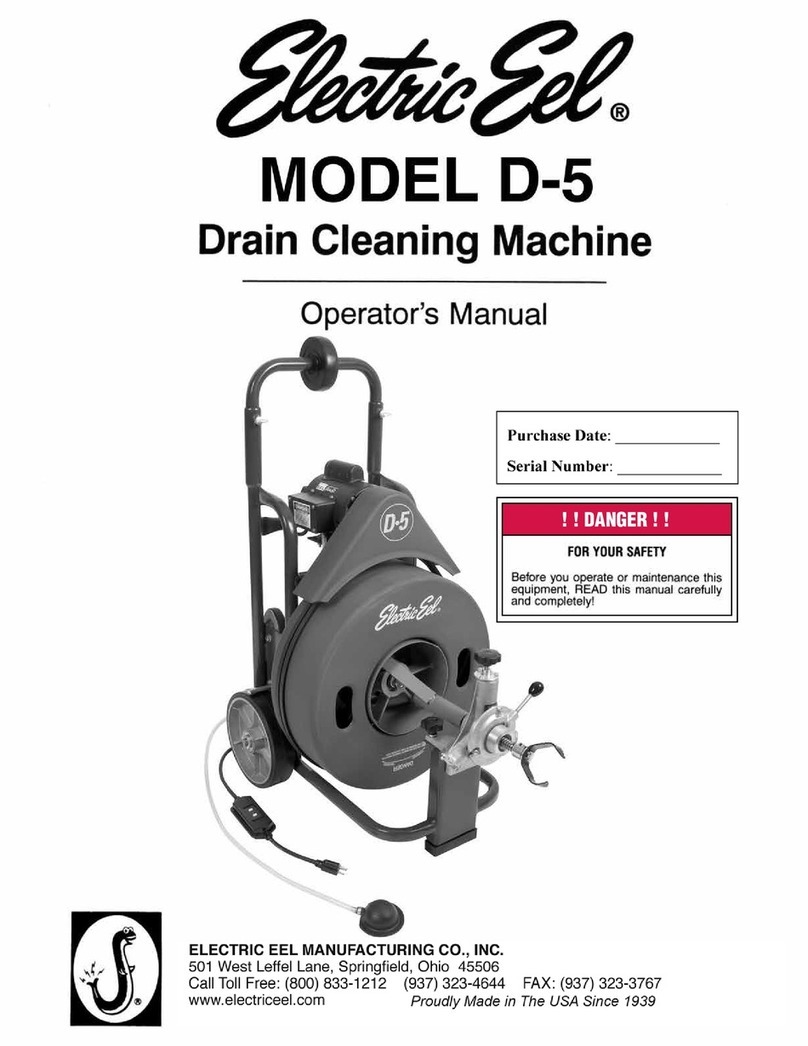
Electric Eel
Electric Eel D-5 User manual

Electric Eel
Electric Eel C User manual

Electric Eel
Electric Eel Z5 User manual

Electric Eel
Electric Eel S User manual
Popular Cleaning Equipment manuals by other brands

Bieffe
Bieffe SCARPAVAPOR NO LIMITS Use and maintenance manual
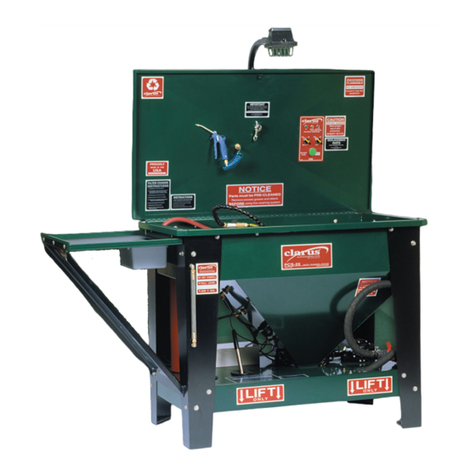
Clarus Technologies
Clarus Technologies PCS-25 Operator's manual

PRIMED
PRIMED DART 9192 Instructions for use
Vermop
Vermop Equipemove operating instructions

Kärcher
Kärcher T-Racer T 300 Plus Original instructions

HAKO
HAKO Citymaster 650 Short instructions
