manuals.online logo
Brands
  1. Home
  2. •
  3. Brands
  4. •
  5. Electro-Harmonix
  6. •
  7. Music Pedal
  8. •
  9. Electro-Harmonix XO OCTAVE MULTIPLEXER User manual

Electro-Harmonix XO OCTAVE MULTIPLEXER User manual

FCC COMPLIANCE
Note:
This equipment has been tested and found to comply with the limits for a Class B digital
device, pursuant to part 15 of the CC Rules. These limits are designed to provide reasonable
protection against harmful interference in a residential installation. This equipment generates,
uses and can radiate radio frequency energy and, if not installed and used in accordance with
the instructions, may cause harmful interference to radio communications. However, there is no
guarantee that interference will not occur in a particular installation. If this equipment does
cause harmful interference to radio or television reception, which can be determined by turning
the equipment off and on, the user is encouraged to try to correct the interference by one or
more of the following measures:
•
Reorient or relocate the receiving antenna.
•
Increase the separation between the equipment and receiver.
•
Connect the equipment into an outlet on a circuit different from that to which the
receiver is connected.
•
Consult the dealer or an experienced radio/TV technician for help.
Modifications not expressly approved by the manufacturer could void the user's authority to
operate the equipment under CC rules.
OCTAVE MULTIPLEXER
Sub-Octave Generator
The Electro-Harmonix OCTAVE MULTIPLEXER is the result of many years of
engineering research. To get the best results from it please put aside an
hour or two for practice in a quiet room…just you, your guitar and amp, and
the OCTAVE MULTIPLEXER.
The OCTAVE MULTIPLEXER produces a sub-octave note one octave below
the note you play. With two filter controls and a SUB switch, the OCTAVE
MULTIPLEXER allows you to shape the tone of the sub-octave from deep
bass to fuzzy sub-octaves.
-CONTROLS-
HIGH FILTER nob – Adjusts a filter that will shape the tone of the sub-
octave’s higher order harmonics. Turning the HIGH ILTER knob clockwise
will make the sub-octave sound more gnarly and fuzzy.
BASS FILTER nob – Adjusts a filter that will shape the tone of the sub-
octave’s fundamental and lower order harmonics. Turning the BASS ILTER
knob counter-clockwise will make the sub-octave sound deeper and bassier.
PLEASE NOTE: the BASS ILTER knob is only active when the SUB switch is
set to ON.
SUB Switch – Switches the Bass ilter in and out. When SUB is set to ON
the Bass ilter and its corresponding knob are activated. When the SUB
switch is set to O , only the High ilter is active. Turning the SUB switch on
gives the sub-octave a deeper, bassier sound.
BLEND nob – This is a wet/dry knob. Counter-clockwise is 100% dry.
Clockwise is 100% wet.
STATUS LED – When the LED is lit; the Octave Multiplexer effect is active.
When the LED is off, the Octave Multiplexer is in True Bypass Mode. The
footswitch engages/disengages the effect.
INPUT Jack – Connect your instrument to the input jack. The input
impedance presented at the input jack is 1Mohm.
EFFECT OUT Jack – Connect this jack to your amplifier. This is the Octave
Multiplexer’s output.
DRY OUT Jack – This jack is connected directly to the Input Jack. The DRY
OUT jack gives the musician the ability to separately amplify the original
instrument and the sub-octave created by the Octave Multiplexer.
9V Power Jack – The Octave Multiplexer can run off of a 9V battery or you
can connect a 9VDC battery eliminator capable of delivering at least 100mA
to the 9V power jack. The optional 9V power supply from Electro-Harmonix
is US9.6DC-200BI (same as used by Boss™ & Ibanez™) 9.6 volts/DC
200mA. The battery eliminator must have a barrel connector with center
negative. The battery may be left in or taken out when using an eliminator.
-OPERATING INSTRUCTIONS and HINTS-
The Bass ilter emphasizes the lowest fundamental note, and should be used
for bottom string playing. The knob should be set counter-clockwise to get
the deepest sound and the SUB switch turned on. or higher strings the
High ilter is used and the SUB switch is turned off.
The SUB switch should normally be ON when the MULTIPLEXER is used with
a guitar to produce a deep bass sound. When it is O , the unit accepts
much higher notes and inputs from other instruments. Some guitars may
work better with the switch set to O .
Playing technique, The OCTAVE MULTIPLEXER is really a one note device. It
will not operate on chords unless the lowest string is hit much harder than
the others. or this reason, you should keep the silent strings dampened,
particularly when playing rising runs.
Clean triggering, some guitars have body resonance that can over emphasize
certain frequencies. When these coincide with the first overtone of a note
played (an octave above the fundamental), the OCTAVE MULTIPLEXER can
be fooled into triggering the overtone. The result is a yodeling effect. On
most guitars, the rhythm pick-up (nearest to the fingerboard) gives the
strongest fundamental. The tone filter controls should be set to mellow. It
also helps if the strings are played well away from the bridge.
One other cause of dirty triggering is easily remedied – that is the
replacement of worn or dirty strings. Worn strings develop small kinks
where they cannot contact the frets. Those cause the overtones to go
sharp, and results in the sub-octave sound glitching in the middle of a
sustained note.
- POWER -
Power from the internal 9-volt battery is activated by plugging into the
INPUT jack. The input cable should be removed when the unit is not in use
to avoid running down the battery. If a battery eliminator is used, the Octave
Multiplexer will be powered as long as a wall-wart is plugged into the wall.
To change the 9-volt battery, you must remove the 4 screws on the bottom
of the Octave Multiplexer. Once the screws are removed, you can take off
the bottom plate and change the battery. Please do not touch the circuit
board while the bottom plate is off or you risk damaging a component.
- WARRANTY INFORMATION -
Please register online at http://www.ehx.com/product-registration or complete and return the
enclosed warranty card within 10 days of purchase. Electro-Harmonix will repair or replace, at
its discretion, a product that fails to operate due to defects in materials or workmanship for a
period of one year from date of purchase. This applies only to original purchasers who have
bought their product from an authorized Electro-Harmonix retailer. Repaired or replaced units
will then be warranted for the unexpired portion of the original warranty term.
If you should need to return your unit for service within the warranty period, please contact the
appropriate office listed below. Customers outside the regions listed below, please contact EHX
Customer Service for information on warranty repairs at [email protected]m or +1-718-937-8300.
USA and Canadian customers: please obtain a Return Authorization Number (RA#) from
EHX Customer Service before returning your product. Include with your returned unit: a written
description of the problem as well as your name, address, telephone number, e-mail address,
and RA#; and a copy of your receipt clearly showing the purchase date.
United States & Canada
EHX CUSTOMER SERVICE
ELECTRO-HARMONIX
c/o NEW SENSOR CORP.
55-01 2ND STREET
LONG ISLAND CITY, NY 11101
Tel: 718-937-8300
Email: info@ehx.com
Europe
JOHN WILLIAMS
ELECTRO-HARMONIX UK
13 CWMDONKIN TERRACE
SWANSEA SA2 0RQ
UNITED KINGDOM
Tel: +44 179 247 3258
Email: electroharmonixuk@virginmedia.com
This warranty gives a purchaser specific legal rights. A purchaser may have even greater rights
depending upon the laws of the jurisdiction within which the product was purchased.
To hear demos on all EHX pedals visit us on the web at www.ehx.com

Email us at i[email protected]

This manual suits for next models

1

Other Electro-Harmonix Music Pedal manuals

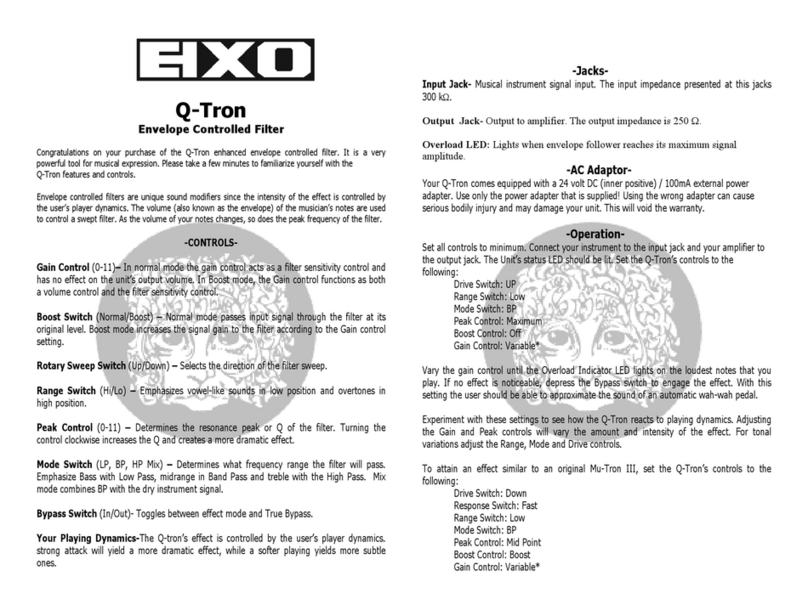
Electro-Harmonix Nano Q-Tron User manual

Electro-Harmonix

Electro-Harmonix Nano Q-Tron User manual

Electro-Harmonix Black Finger User manual

Electro-Harmonix

Electro-Harmonix Black Finger User manual

Electro-Harmonix nano FREEZE User manual

Electro-Harmonix

Electro-Harmonix nano FREEZE User manual

Electro-Harmonix CRAYON User manual

Electro-Harmonix

Electro-Harmonix CRAYON User manual

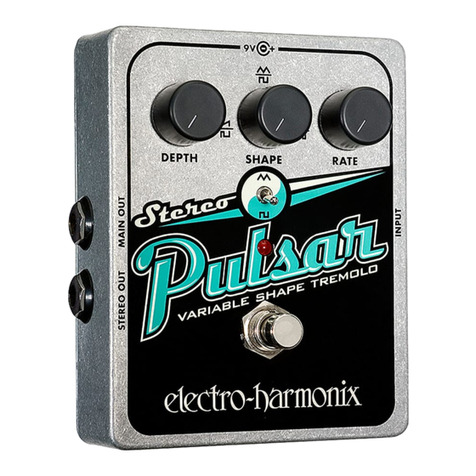
Electro-Harmonix Super Pulsar User manual

Electro-Harmonix

Electro-Harmonix Super Pulsar User manual

Electro-Harmonix TUBE ZIPPER User manual

Electro-Harmonix

Electro-Harmonix TUBE ZIPPER User manual

Electro-Harmonix Deluxe Electric Mistress User manual

Electro-Harmonix

Electro-Harmonix Deluxe Electric Mistress User manual

Electro-Harmonix NEO MISTRESS User manual

Electro-Harmonix

Electro-Harmonix NEO MISTRESS User manual

Electro-Harmonix nano SMALL STONE User manual

Electro-Harmonix

Electro-Harmonix nano SMALL STONE User manual

Electro-Harmonix Wailer Wah User manual

Electro-Harmonix

Electro-Harmonix Wailer Wah User manual

Electro-Harmonix nano SOUL PREACHER User manual

Electro-Harmonix

Electro-Harmonix nano SOUL PREACHER User manual

Electro-Harmonix TUBE EQ User manual

Electro-Harmonix

Electro-Harmonix TUBE EQ User manual

Electro-Harmonix FLATIRON FUZZ User manual

Electro-Harmonix

Electro-Harmonix FLATIRON FUZZ User manual

Electro-Harmonix NEXT STEP Series User manual

Electro-Harmonix

Electro-Harmonix NEXT STEP Series User manual

Electro-Harmonix CRYING BASS User manual

Electro-Harmonix

Electro-Harmonix CRYING BASS User manual

Electro-Harmonix Stereo Polychorus XO User manual

Electro-Harmonix

Electro-Harmonix Stereo Polychorus XO User manual

Electro-Harmonix Superego+ User manual

Electro-Harmonix

Electro-Harmonix Superego+ User manual

Electro-Harmonix XO ENIGMA: Q BALLS User manual

Electro-Harmonix

Electro-Harmonix XO ENIGMA: Q BALLS User manual

Electro-Harmonix TONE TATTOO User manual

Electro-Harmonix

Electro-Harmonix TONE TATTOO User manual

Electro-Harmonix NEXT STEP Series User manual

Electro-Harmonix

Electro-Harmonix NEXT STEP Series User manual

Electro-Harmonix Deluxe Bass Big Muff Pi User manual

Electro-Harmonix

Electro-Harmonix Deluxe Bass Big Muff Pi User manual

Electro-Harmonix Grand Canyon User manual

Electro-Harmonix

Electro-Harmonix Grand Canyon User manual

Electro-Harmonix GERMANIUM4 BIG MUFF PI User manual

Electro-Harmonix

Electro-Harmonix GERMANIUM4 BIG MUFF PI User manual

Electro-Harmonix XO STEREO CLONE THEORY User manual

Electro-Harmonix

Electro-Harmonix XO STEREO CLONE THEORY User manual

Popular Music Pedal manuals by other brands

TC-Helicon PERFORM-VG user manual

TC-Helicon

TC-Helicon PERFORM-VG user manual

Akai Shred-O-Matic D1 user guide

Akai

Akai Shred-O-Matic D1 user guide

Red Sound FEDERATION BPM FX - PRO owner's manual

Red Sound

Red Sound FEDERATION BPM FX - PRO owner's manual

TC-Helicon VoiceTone H1 user guide

TC-Helicon

TC-Helicon VoiceTone H1 user guide

BYOC Reverb instructions

BYOC

BYOC Reverb instructions

MI-Audio Megalith Delta quick guide

MI-Audio

MI-Audio Megalith Delta quick guide

Peak FCB4X owner's manual

Peak

Peak FCB4X owner's manual

Decibel Eleven Switch Doctor Operation manuals

Decibel Eleven

Decibel Eleven Switch Doctor Operation manuals

TC Electronic corona user manual

TC Electronic

TC Electronic corona user manual

MORLEY CLWES manual

MORLEY

MORLEY CLWES manual

Dunlop JHF3 BAND OF GYPSYS FUZZ FACE user manual

Dunlop

Dunlop JHF3 BAND OF GYPSYS FUZZ FACE user manual

Korg AX100G quick guide

Korg

Korg AX100G quick guide

Diago Powerstation manual

Diago

Diago Powerstation manual

Pronomic PDI-10 manual

Pronomic

Pronomic PDI-10 manual

TC Electronic SHAKER VIBRATO user manual

TC Electronic

TC Electronic SHAKER VIBRATO user manual

Voodoo Lab ANALOG CHORUS user manual

Voodoo Lab

Voodoo Lab ANALOG CHORUS user manual

MORLEY PSVES manual

MORLEY

MORLEY PSVES manual

ROCK FABRIK EFFECTS KUEK user manual

ROCK FABRIK EFFECTS

ROCK FABRIK EFFECTS KUEK user manual

manuals.online logo
manuals.online logoBrands
  • About & Mission
  • Contact us
  • Privacy Policy
  • Terms and Conditions

Copyright 2025 Manuals.Online. All Rights Reserved.