manuals.online logo
Brands
  1. Home
  2. •
  3. Brands
  4. •
  5. Electro-Harmonix
  6. •
  7. Recording Equipment
  8. •
  9. Electro-Harmonix XO MICRO POG User manual

Electro-Harmonix XO MICRO POG User manual

FCC COMPLIANCE
Note:
This equipment has been tested and found to comply with the limits for a Class
B digital device, pursuant to part 15 of the CC Rules. These limits are designed to
provide reasonable protection against harmful interference in a residential
installation. This equipment generates, uses and can radiate radio frequency energy
and, if not installed and used in accordance with the instructions, may cause harmful
interference to radio communications. However, there is no guarantee that
interference will not occur in a particular installation. If this equipment does cause
harmful interference to radio or television reception, which can be determined by
turning the equipment off and on, the user is encouraged to try to correct the
interference by one or more of the following measures:
•
Reorient or relocate the receiving antenna.
•
Increase the separation between the equipment and receiver.
•
Connect the equipment into an outlet on a circuit different from that to
which the receiver is connected.
•
Consult the dealer or an experienced radio/TV technician for help.
Modifications not expressly approved by the manufacturer could void the user's
authority to operate the equipment under CC rules.
MICRO POG
Polyphonic Octave Generator
Congratulations on your purchase of the XO MICRO POG Polyphonic Octave
Generator. What does that mean exactly? Well, the MICRO POG can
simultaneously generate multiple octaves from your input signal. Whether
you play single notes, arpeggios or full chords, the MICRO POG will track,
every note or chord that you play, with precision. With the MICRO POG, you
can mix together your original "dry signal" with two different octaves (one
above and one below your original note) to create totally new inspiring
tones.
-CONTROLS-
DR Knob – Controls the output volume of the DRY signal. The DRY signal
is the signal present at the INPUT jack. As this knob is turned clockwise, the
volume of the DRY signal will increase.
SUB OCTAVE Knob – Controls the output volume of the SUB OCTAVE
signal. The SUB OCTAVE signal is one octave below the original input signal,
half the frequency of the input signal. As this knob is rotated clockwise, the
volume of the SUB OCTAVE signal will increase.
OCTAVE UP Knob – Controls the output volume of the OCTAVE UP signal.
The UP OCTAVE signal is one octave above the original input signal or twice
the frequency of the original input signal. The volume of the UP OCTAVE
signal will increase as this knob is rotated clockwise.
STATUS LED – This LED indicates the current state of the unit. When the
LED is lit up, the box is in E ECT mode. When the LED is off, the box is in
BYPASS mode. Pressing the ootswitch will toggle between effect and
bypass modes.
INPUT Jack – This ¼” jack is the audio input to the POG. The input
impedance presented at the Input Jack is 2 MΩ.
WARNING: Use only the 9.6VDC/200mA AC adapter the Micro POG
comes supplied with. Do not use any other AC adapters. Using other AC
adapters, even those made by Electro-Harmonix, could cause harm to the
unit, the adapter or you. The Micro POG does not use batteries.

EFFECT OUT Jack - This ¼” jack outputs the effect. The output impedance
at this jack is 250 Ω.
DR OUT Jack – This ¼” jack outputs a buffered version of the input
signal. The output impedance at this jack is 250 Ω.
9V Power Jack – Connect the output plug from the AC Adapter that was
supplied with your Micro POG to this jack, located at the top of the Micro
POG. The Micro POG accepts Boss style AC Adapters.
- OPERATION NOTES -
Here are some very useful sound settings that were designed while
developing the POG. They are perfectly suited for the Micro POG. They can
all be seasoned to your own tastes.
12-string Guitar – Turn your 6-string into a 12 string. Set all of the knobs
to 0. Bring up the INPUT knob to about 60%. While you are listening to the
dry signal, rotate the +1 OCTAVE knob clockwise to about 70%.
As an additional hint, combine just a touch of the Sub Bass for body.
8-string/16-string Bass - When used with a 4 string, 5 string and beyond
bass, bring up your dry bass signal and rotate the + 1 octave knob until you
hear the proper balance. A very realistic 8 and 10 string etc bass is easily
obtained. Obviously the more strings that you have the wider the octave
range…all tracking perfectly.
Phat Bass – Turn your guitar into a great sounding bass. Set all of the
knobs to 0. Rotate the INPUT Knob up to 50-75%. Set the SUB OCTAVE
knob to its maximum position. Perfect tracking and a really nice bass sound
that can add performance bottom. Perfect for demos in your home studio.
Organ – You can do a 3 stop organ that when used with a volume pedal can
be a very interesting pad. Try a little modulation from a Nano Small Stone,
Polyphase, XO Clone theory, Stereo Pulsar or your favorite modulation pedal
for really animated tone.
- WARRANT INFORMATION -
Please register online at http://www.ehx.com/product-registration or complete and
return the enclosed warranty card within 10 days of purchase. Electro-Harmonix will
repair or replace, at its discretion, a product that fails to operate due to defects in
materials or workmanship for a period of one year from date of purchase. This
applies only to original purchasers who have bought their product from an authorized
Electro-Harmonix retailer. Repaired or replaced units will then be warranted for the
unexpired portion of the original warranty term.
If you should need to return your unit for service within the warranty period, please
contact the appropriate office listed below. Customers outside the regions listed
below, please contact EHX Customer Service for information on warranty repairs at
[email protected] or +1-718-937-8300. USA and Canadian customers: please obtain a
Return Authorization Number (RA#) from EHX Customer Service before returning
your product. Include with your returned unit: a written description of the problem
as well as your name, address, telephone number, e-mail address, and RA#; and a
copy of your receipt clearly showing the purchase date.
United States & Canada
EHX CUSTOMER SERVICE
ELECTRO-HARMONIX
c/o NEW SENSOR CORP.
55-01 2ND STREET
LONG ISLAND CITY, NY 11101
Tel: 718-937-8300
Email: [email protected]
Europe
JOHN WILLIAMS
ELECTRO-HARMONIX UK
13 CWMDONKIN TERRACE
SWANSEA SA2 0RQ
UNITED KINGDOM
Tel: +44 179 247 3258
Email: electroharmonixuk@virginmedia.com
This warranty gives a purchaser specific legal rights. A purchaser may have even
greater rights depending upon the laws of the jurisdiction within which the product
was purchased.
To hear demos on all EHX pedals visit us on the web at www.ehx.com
Email us at [email protected]

This manual suits for next models

1

Other Electro-Harmonix Recording Equipment manuals

Electro-Harmonix Switchblade Pro User manual

Electro-Harmonix

Electro-Harmonix Switchblade Pro User manual

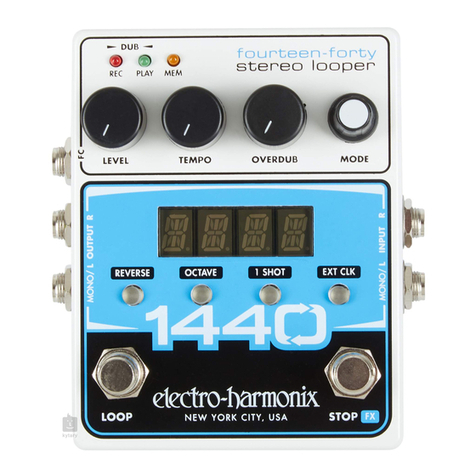
Electro-Harmonix 1440 User manual

Electro-Harmonix

Electro-Harmonix 1440 User manual

Electro-Harmonix 16 Second Digital Delay User manual

Electro-Harmonix

Electro-Harmonix 16 Second Digital Delay User manual

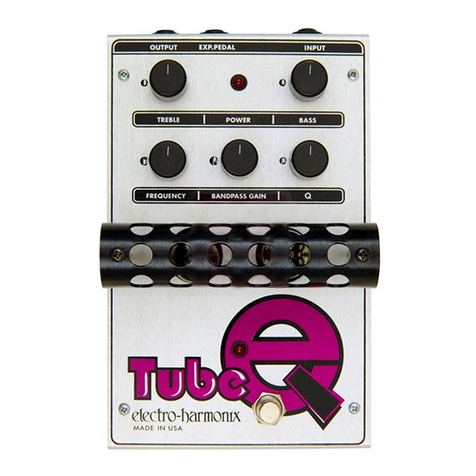
Electro-Harmonix TUBE EQ User manual

Electro-Harmonix

Electro-Harmonix TUBE EQ User manual

Electro-Harmonix BASS PREACHER User manual

Electro-Harmonix

Electro-Harmonix BASS PREACHER User manual

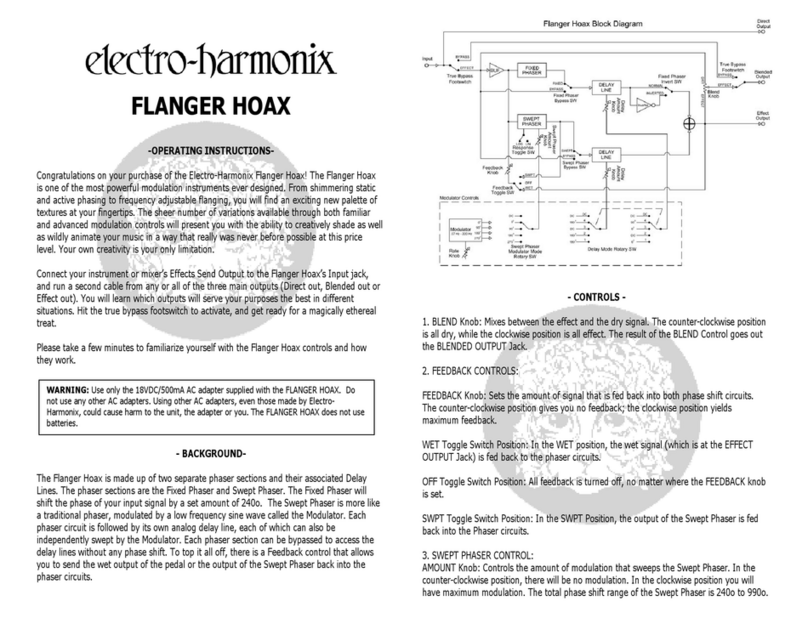
Electro-Harmonix FLANGER HOAX User manual

Electro-Harmonix

Electro-Harmonix FLANGER HOAX User manual

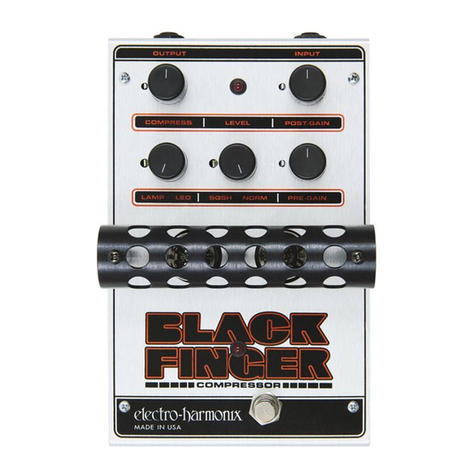
Electro-Harmonix BLACK FINGER User manual

Electro-Harmonix

Electro-Harmonix BLACK FINGER User manual

Electro-Harmonix Forty-five thousand Assembly instructions

Electro-Harmonix

Electro-Harmonix Forty-five thousand Assembly instructions

Electro-Harmonix 2880 User manual

Electro-Harmonix

Electro-Harmonix 2880 User manual

Electro-Harmonix OD GLOVE User manual

Electro-Harmonix

Electro-Harmonix OD GLOVE User manual

Electro-Harmonix OCEANS 12 User manual

Electro-Harmonix

Electro-Harmonix OCEANS 12 User manual

Electro-Harmonix FLANGER HOAX User manual

Electro-Harmonix

Electro-Harmonix FLANGER HOAX User manual

Popular Recording Equipment manuals by other brands

Digimerge DNR300 Series instruction manual

Digimerge

Digimerge DNR300 Series instruction manual

LS RS485/Modbus-RTU user manual

LS

LS RS485/Modbus-RTU user manual

Zoom H4N Operation manual

Zoom

Zoom H4N Operation manual

Dynacord PowerMax 230 owner's manual

Dynacord

Dynacord PowerMax 230 owner's manual

Tascam MINISTUDIO CREATOR US-42 quick start guide

Tascam

Tascam MINISTUDIO CREATOR US-42 quick start guide

X-TINGUISH X-TREME Operation manual

X-TINGUISH

X-TINGUISH X-TREME Operation manual

Smith Realiser A16 Firmware Installation

Smith

Smith Realiser A16 Firmware Installation

M-Audio USB OMNISTUDIO user manual

M-Audio

M-Audio USB OMNISTUDIO user manual

Apex Digital dB Series user manual

Apex Digital

Apex Digital dB Series user manual

M-system R3 Series instruction manual

M-system

M-system R3 Series instruction manual

Roland 104 instruction manual

Roland

Roland 104 instruction manual

Logitek Remora Operation manual

Logitek

Logitek Remora Operation manual

Novation Launchpad X user guide

Novation

Novation Launchpad X user guide

Involve Audio Surround Master user manual

Involve Audio

Involve Audio Surround Master user manual

Raymarine hsb2 Series user guide

Raymarine

Raymarine hsb2 Series user guide

Tascam DA-38 Preliminary information

Tascam

Tascam DA-38 Preliminary information

Thinuna SS-6255A Operation manual

Thinuna

Thinuna SS-6255A Operation manual

AMX AXP-CPI16 Schematic diagram

AMX

AMX AXP-CPI16 Schematic diagram

manuals.online logo
manuals.online logoBrands
  • About & Mission
  • Contact us
  • Privacy Policy
  • Terms and Conditions

Copyright 2025 Manuals.Online. All Rights Reserved.