Electrolux Oxygen User manual

electrolux oxygen
central vacuum system
owners manual
Type K

2
IMPORTANT SAFEGUARDS
When using an electronic appliance, basic precautions should always be followed, including the following:
READ ALL INSTRUCTIONS BEFORE USING THIS VACUUM CLEANER SYSTEM.
This central vacuum power unit is intended for the removal of normal household dust.
CONTENTS
Your central vacuum system package consists of the following items.
WARNING
To reduce the risk of fire, electric shock or injury:
• Do not use outdoors or on wet surfaces.
• Do not block the motor hood or ventilation openings and duct on
the top of the power unit. Lack of ventilation airflow will cause the
motor to overheat.
• Do not locate the power unit in a high temperature area or where it
is inaccessible, for example, an attic or crawl space.
• Mount the power unit no less than 30cm from the ceiling or any
adjacent wall and at least 70cm from the floor. Additionally, review
any local codes and regulations that may apply.
• Do not allow to be used as a toy. Close attention is necessary
when used by or near children.
• This appliance is not intended for use by persons (including
children) with reduced physical, sensory, or mental capabilities,
or lack of experience and knowledge, unless they have been
given supervision or instruction concerning use of the appliance
by a person responsible for their safety.
• Use only as described in this manual. Use only manufacturer’s
recommended attachments.
• Do not use with damaged cord or plug. If vacuum cleaner is not
working as it should, has been dropped, damaged, left outdoors
or dropped in water, return it to a service center.
• Connect to a properly grounded outlet only
(refer to grounding instructions).
• Do not use extension cords or outlets with inadequate current
carrying capacity.
• Turn off all controls before unplugging.
• Do not unplug by pulling on cord. To unplug, grasp the plug,
not the cord.
• Do not handle plug or cord with wet hands.
• Do not put any object into openings. Do not use with any openings
blocked; keep free of dust, lint, hair and anything that may reduce
airflow.
• This vacuum cleaner creates suction. Keep hair, loose clothing,
fingers and all parts of body away from openings and moving parts.
• Do not pick up anything that is burning or smoking, such as
cigarettes, matches, or hot ashes.
• Use extra care when cleaning on stairs.
• Do not pick up flammable or combustible liquids such as gasoline,
or use in areas where they may be present.
• Keep your work area well lighted.
• Unplug electrical appliances before vacuuming them.
• If the supplied power cord is damaged, it must be replaced by a
special cord available from the authorized local dealer/distributor.
• Do not use without dust bag and/or filter in place.
SAVE THESE INSTRUCTIONS
Bag Adapter
Intake Insert
Power Unit
1- Vacuum Bag
External Exhaust
Adapter
90° Elbow Bag
Adapter
Wall Mount,
2 Screws
Intake Plug
Important Safeguards ......................................... 2
General Information ............................................ 3
Installation .......................................................... 3
System Test........................................................ 4
How to use......................................................... 4
LED Indications .................................................. 4
LCD Screen........................................................ 4
Bag Adaptor....................................................... 5
Utility Valve ......................................................... 5
Overheating Protection ....................................... 5
Overload Protection............................................ 5
Diagnostics And Maintenance ............................ 5
Filter Maintenance .............................................. 6
Paper Bag Filter.................................................. 6
Trouble Shooting ................................................ 6
Images ............................................................... 7

3
GENERAL INFORMATION
The central vacuum is designed for dry pick-up of household dirt
and dust. Avoid picking up hard or sharp objects with this system to
prevent hose and plastic pipe damage or clogs.
This manual will cover the final steps of installation of the power unit in
your home. It will also provide the necessary information for maintenance
and trouble shooting, in the unlikely event that it will be needed. If you
require further information about installation or inquires on the product
please contact your local authorized dealer/distributor.
INSTALLATION SAFETY EQUIPMENT
For wall preparations and cover preparations,
safety equipment such as helmet, gloves, goggles
and hearing protection are recommended.
CAUTION
Use caution when drilling holes in walls as gas pipelines and water
pipes and electrical wires may be present.
If you have any questions regarding the product, spare parts, service,
warranty or anything else, please contact your local authorized dealer
or distributor.
GROUNDING INSTRUCTIONS
This appliance must be grounded. If it should malfunction or brake down,
grounding provides a path of least resistance for electrical current to
reduce the risk of electrical shock. This appliance is equipped with a cord
having an equipment-grounding conductor and grounding plug. The plug
must be plugged into an appropriate outlet that is properly installed and
grounded in accordance with all local codes and ordinances.
WARNING
Improper connection of the equipment-grounding conductor can
result in electrical shock. Check with a qualified electrician or service
person if you are in doubt as to whether the outlet is properly
grounded, or if the outlet does not fit into an outlet. Do not modify the
plug provided with the appliance.
WARNING
If the supply cord is damaged, it must be replaced by a special cord
available from your local authorized dealer/distributor.
SERVICE INFORMATION
The instructions in this booklet serve as a guide to routine
maintenance. For additional information, contact your nearest
authorized dealer/distributor.
RATING PLATE
The model, type, and serial numbers are indicated on the rating plate
located on the control panel or motor hood. For prompt and complete
service information, always refer to these numbers when inquiring
about service.
WARNING
Non-observance of the safety directions may result in bodily harm.
PRODUCT DIMENSIONS
Refer to page 7 - Image 1
WASTE OF ELECTRIC AND ELECTRICAL
EQUIPMENT (WEEE)
This symbol on the product or on its packaging indicates that this
product may not be treated as household waste. Instead it should
be handed over to applicable collection point for the recycling of
electronics and electrical equipment. By ensuring this product
is disposed of correctly, you will help prevent potential negative
consequences for the environment and human health, which could
otherwise be caused by inappropriate waste handling of this product.
For more detailed information about this product, please contact
your local waste disposal service or the shop where you purchased
the product.
INSTALLATION
Your home is most likely already fitted with the system of plastic
pipes and inlet valves and you are ready to install the central power
unit. If your home is not fitted for a central vacuum system, you can
contract to have the Electrolux Central Vacuum System installed
by a professional by contacting your local dealer or distributor or
choose to do-it-yourself.
The central power unit should be located as far away from the general
living area as possible, yet accessible so you can remove the dirt
receptacle, reach the filter, and inspect the central power unit.
A typical location would be in a garage, where you could vacuum
your car or garage area, and where emptying the dirt receptacle
and cleaning the filter would be more convenient. Other suitable
locations are in the basement, laundry room, or ventilated
storage room.
CAUTION
Use caution when drilling holes in walls as gas pipelines and water
pipes and electrical wires may be present. Holes in the masonry
are only allowable if through it its standing stability is not impaired.
Holes in wood studs should be drilled. Depending on what material
your home is built with, use the appropriate anchors to hang your
power unit. Power unit simply slides onto mounting bracket and
clicks into place.
Refer to page 7 - Image 3
• Place the central power unit in a place that is removed from
the general living area. The exhaust should be easy to connect
to a ventilation pipe. This can be done regardless of the house’s
construction material.
• Locate the two low voltage wires near the main pipe. Remove
the insulation from the low volt wire. Insert the low volt wire into
the spring loaded low volt connectors. Be certain you comply
with your local electrical codes and regulations.
Refer to page 7 - Image 4
• Make sure there is a dedicated electric socket for the power unit.
• Plug in your CVS with the supplied power cord.
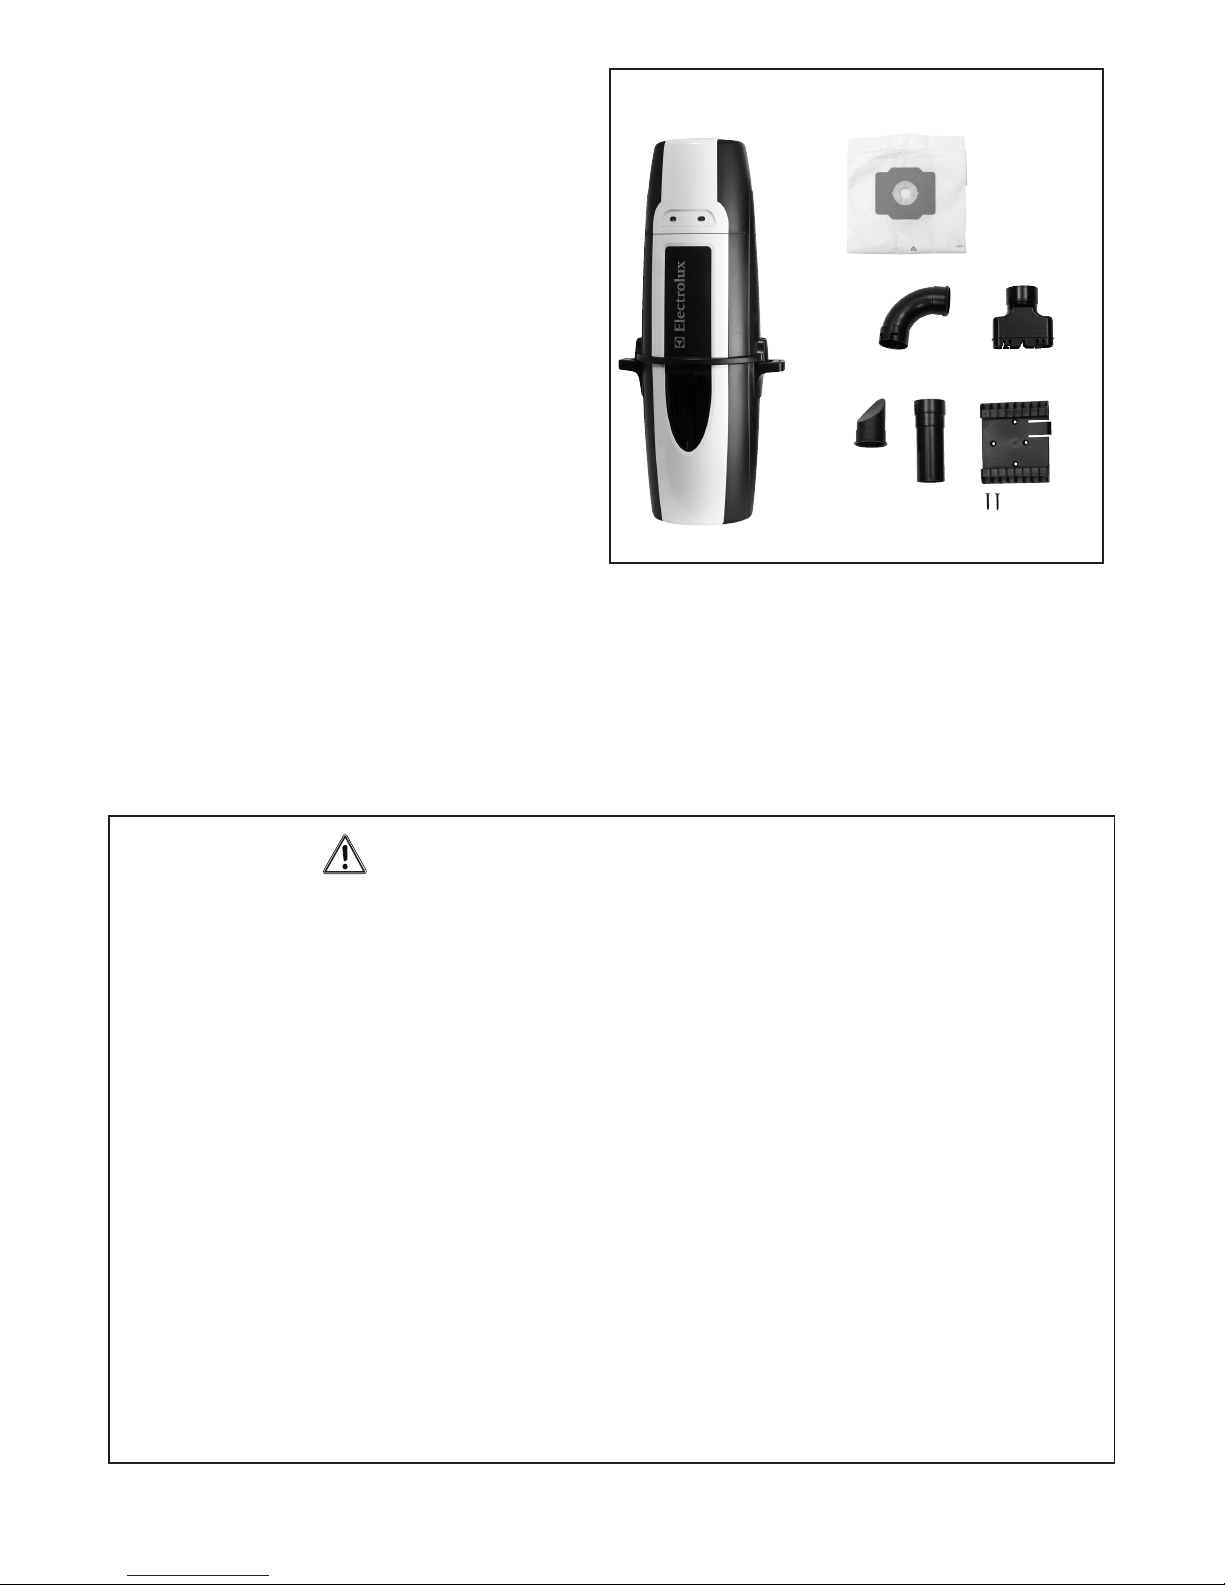
Your Electrolux Oxygen CVS does not require the assembly of a
muffler. Your CVS has the muffler installed internally. You may however
desire to exhaust the air outside. In this case you will need to attach
the exhaust adapter. This will convert the size of the exhaust to the
diameter of the central vacuum pipe.
Refer to page 7 - Image 5

4
• Place the power unit in order to make the exhaust pipe
as short as possible. Exhausts should be limited to no longer
than 5 meters.
• Keep in mind that you may need space on the sides of your
central unit to be able to access the dirt receptacle.
Refer to page 7 - Image 6
• Align the power unit intake fitting to the main trunk line projecting
from the wall. DO NOT GLUE. Attach the exhaust pipe to
the motor exhaust if exhausting outdoors. Make sure the exhaust
pipe is as short as possible.
NOTE: Mount central power unit at least 30cm from the ceiling
and any adjacent wall, at least 70cm from the floor and within 1.8 m
of an electrical outlet. Review any local regulations that may apply.
Refer to page 7 - Image 2
WARNING
Do not block the hood ventilation openings on the top of the central
power unit. Lack of ventilation will cause the motor to overheat.
WARNING
Do not locate the central power unit in a high temperature area where
it is inaccessible for example, an attic or crawl space.
For the ultimate in air control you have the a true HEPA filter and may
be included with your choice of power unit or can be purchased from
an authorized dealer/distributor. Simply attach the true HEPA filter as
shown.
Refer to page 7 - Image 7
SYSTEM TEST
Be certain to comply with local electrical codes and regulations.
Plug the unit into a regular electrical outlet. You are now ready to
check the installation of the unit:
• Be sure the filter is properly installed in the power unit.
• Be sure the dirt receptacle is properly secured to the power unit.
• Plug the hose into each inlet valve to be sure the electrical
contacts operate properly.
• Check each inlet valve for air leaks.
• Check each pipe connection for air leaks.
Refer to page 7 - Image 8
HOW TO USE CENTRAL VACUUM SYSTEM
Your central vacuum system is controlled by a switch on your
hose. Simply insert the hose into the valve and turn the switch to
the on position. This will start the power unit and the flow of air.
When you are finished, turn the switch on the hose to the
off position and remove the hose from the inlet valve. When
unplugging the hose, hold the inlet cover open for a few
seconds to allow suction to decrease thus, protecting the
inlet valve seal.
Refer to page 7 - Image 8
LED INDICATIONS - OPTIONAL DEPENDING ON MODEL
You machine may be equipped with some or all of the indicators
listed below.
Refer to page 7 - Image 9
On/Off Motor Fault Dirt Receptacle Full Reset
Your power unit is equipped with a multi color LED panel. This LED
panel will provide you with necessary information on your power unit’s
performance, maintenance and diagnostics. Below are descriptions
of the different messages the power unit will provide.
NORMAL OPERATION
When the power unit is OFF and considered to be in standby mode
the LED button will be RED.
When the power unit is ON and in use the LED will be GREEN.
When the motor fault light is ON see further description below.
When the dirt receptacle light is ON, empty dirt receptacle, press the
RESET button and hold for 10 seconds.
MOTOR FAULT
In the case of a blown fuse or disconnected motor wire and the
power unit is not functioning the ON/OFF button will be constantly
GREEN In the case of an over current shutdown, the ON/OFF
button will be flashing RED, the GREEN light will on and off rapidly
and the MOTOR FAULT light will be AMBER and turn on and off
rapidly. This fault will reset automatically in 15 seconds if the low volt
connection is OFF at the hose.
In the case of a continued over current and the low volt connection
is ON and the hose the ON/OFF button will constantly be RED,
the GREEN light will flash slowly and the MOTOR FAULT will slowly
flash AMBER.
In the unlikely event of a bad frequency received by the power unit
the power unit will not start and the ON/OFF button will remain
constantly RED. In the case of a high line voltage received by
the power unit the ON/OFF button will alternate between RED
and GREEN three times- pause briefly – alternate between RED and
GREEN three times – long pause- and then repeat. This will
continue until the line voltage returns to the correct level.
LCD SCREEN - OPTIONAL
Refer to page 7 - Image 8
In the main screen of the LCD, the Electrolux logo will appear. This
logo may scroll from side to side to avoid the image ingraining itself
onto the LCD Display. You will see the logo when the power unit is
not in use.
The button that best lines up with the Power symbol on the screen
can be used to activate the unit. Press this button to toggle the unit
on/off. The unit may also be activated from any installed inlet.
When you LCD power unit is in standby mode the four white lights on
your LCD unit will light up in sequence and alternate moving from left
to right then reversing right to left. This pattern will repeat continuously
and is an indication that your power unit is ready for use and
functioning properly.

5
IN USE
When in use, the power indicator turns green. The 4 progressive
performance bars will appear. A normally functioning unit should have
all 4 performance bars lit. If there are consistently less than 2 bars,
you should check for the problem. Possible issues causing the
performance bars to lessen could be:
1. Blocked suction at the hose end
2. Clogged pipe in system
3. Air restrictive tool being used, such as a crevice tool
4. Full dirt receptacle
5. Clogged filtration system
EMPTY DIRT RECEPTACLE
Every 25 hours of use (approximately 6 months) the empty dirt
receptacle indicator will flash on the screen. This is an indication to
check the dirt receptacle and empty it. Since this is time based,
you may find the dirt receptacle too empty or too full. If you have
pets, a workshop or other factors that cause waste more frequently,
you may wish to check the dirt receptacle more frequently.
Once the dirt receptacle is emptied, you push the return button
to reset the 25 hours timer. If your power supply is interrupted,
or otherwise unplugged, the empty dirt receptacle indicator will
keep a memory of its previous status and continue life measure.
To manually reset the Empty Dirt Receptacle indicator, simply press
the button lining up with the Enter symbol and hold for 10 seconds.
LIFE METER
The life meter has 8 bars on it. Once these bars are depleted you
unit will continue to run, although it is strongly recommended to
take it to your local service center to be inspected and serviced.
A life bar will deplete every 65 hours of vacuum use, meaning your
central vacuum will have a long life of service to you. The life meter
can be reset only by your service technician. If your power supply
is interrupted, or otherwise unplugged, the life meter will keep
a memory of its previous status and continue life measure.
SERVICE INDICATOR
If there is a system fault, or malfunction with your power unit, the
service indicator will flash. Upon seeing this symbol, we recommend
that you turn the power unit off, unplug the power supply for
10 seconds and then plug it back in. If the service symbol is still on
the screen, we recommend that you call for service.
This symbol may appear due to the following faults:
• Motor problem
• Electronic problem
• Voltage or current problem (too high or too low)
• Power unit not responding to electronics
SCROLLING YOUR LCD
When not in use, you can scroll through the features of your LCD
to observe the dirt receptacle status, life monitor measure or most
recent recorded power level.
To scroll through these features simply push the button corresponding
with the right pointing arrow symbol.
The next screen you will see will be the Life Meter. Scroll right further
and you will find Bucket Status. Yet another scroll will show you last
recorded performance levels of the power unit, using the Performance
Meter on the In-Use screen. The final scroll right will show you the
customer service phone number.
The button lining up with the left scroll button will allow you to scroll
backwards through the screens.
BAG ADAPTOR
Your power unit can all be fitted with a convenient paper bag
for more convenient dirt disposal. For maintenance of the paper bag,
please see the Paper Bag Filter section, under Filter Maintenance.
Refer to page 7 - Image 10
UTILITY VALVE
The utility valve is similar to an Inlet valve, but is located near the
power unit. This valve is present for your convenience, as it can
help clean up any dirt spilled close to the central vacuum.
OVERHEATING PROTECTION
If the circuit board reaches an elevated temperature, the power unit the
power unit will not operate and the LED will be off or on LCD model the
screen will be flashing. In the event of these problems, press the On/Off
button, unplug hose or wait for temperature to lower. If problems persist;
contact your authorized dealer or distributor.
Refer to page 7 - Image 9
OVERLOAD PROTECTION
The central vacuum system employs features that monitor the following
operating levels: AC voltage, and current draw. If the voltage is below
or above standard operating voltage, high current draw or locked rotor,
the power unit will not operate. In this case the On/Off button will blink
until the problem ceases or on the LCD model the screen will flash.
If problems persist; contact your authorized dealer or distributor.
The power unit requires 30 minutes to cool down.
Refer to page 7 - Image 9
DIAGNOSTICS AND MAINTENANCE
Reduced airflow or suction indicates the central vacuum system
is not operating at maximum efficiency. If the dirt receptacle is full
and the filter is clogged, no air can pass through the unit and no
cleaning can take place. Instructions provided in the booklet serve
as a guide to routine maintenance. Proper airflow or suction can
be maintained by keeping the dirt receptacle and filter clean and
the plastic tubing and hose free from clogs.

6
EMPTYING THE DIRT RECEPTACLE
Most models feature dirt receptacles with windows to tell at a glance
when the dirt receptacle should be emptied. In most cases, the dirt
receptacle only needs to be emptied two to three (2-3) times a year.
To remove the dirt receptacle, press the buttons on the receptacle
handles. Remove and empty the contents. Return the receptacle by
attaching the bucket to the power unit. To avoid suction loss make
sure the receptacle is securely attached.
Refer to page 7 - Image 11
FILTER MAINTENANCE
Electrolux’s exclusive filter is permanent and self cleaning.
However, if you have questions about your permanent self-cleaning
filter, please contact your local authorized dealer/distributor.
PAPER BAG FILTERS - OPTIONAL
The volume of the paper bag is 22 liters. A full dust bag reduces
the systems performance. Depending on how often you use your
central vacuum system, the dust bag may need to be changed
2-3 times per year – and can be obtained at your local
dealer/distributor.
Instructions for changing the dust bag:
1. Remove the power unit dirt receptacle
2. Loosen the dust bag from the intake tube, remove and dispose.
3. Place and press the new dust bag firmly into the tube.
Turn the dust bag’s opening to make it fasten firmly on the tube.
4. Put the dirt receptacle back on the central power unit.
IF YOU EXPERIENCE TROUBLE WITH YOUR
ELECTROLUX CENTRAL VACUUM SYSTEM,
FOLLOW THE SUGGESTIONS BELOW BEFORE
CALLING FOR SERVICE.
PARTIAL/TOTAL LOSS OF SUCTION POWER
• Be sure dirt receptacle is on properly.
• Empty dirt receptacle.
• Remove debris from filter.
• Be sure each inlet valve is properly closed.
CLEAR BLOCKAGE IN PIPES
Blockage in the hose
Plug hose into any inlet valve. If there is no suction through the hose
after connecting at a couple of inlets, the blockage is in the hose.
To clear the hose obstruction, insert a blunt instrument into the hose
(garden hose, wood dowel). You can also attempt to reverse the
suction through the hose to dislodge the blockage.
Refer to page 7 - Image 12 and 13
If there is one inlet valve without normal suction and you have
checked for hose blockage, then the blockage is in the pipe
system between the blocked inlet valve and the power unit
(see instructions below).
Insert the hose into the inlet valve where there is no suction; hold
your hand over the hose end. Release hand quickly. Repeat several
times. If blockage does not clear, contact your nearest Electrolux
dealer/distributor.
POWER UNIT WILL NOT START
• Check for blown fuse or circuit breaker in main house electric
supply box.
• Unplug and check all wall inlet and low voltage connections for
loose wires.
• If unit still will not start, contact your nearest authorized dealer/
distributor.
POWER UNIT WILL NOT STOP
• Check inside each inlet valve for obstruction of low-voltage
contacts. If no visual obstruction can be detected, disconnect
the cleaner from the power receptacle and contact your nearest
authorized dealer/distributor.
CENTRAL POWER UNIT SHUTS OFF BY ITSELF
• Remove and then re-insert hose into inlet or toggle switch off-on
located on hose handle. See “Overload Protection”.
WARRANTY
Warranty is handled by your local authorized dealer/distributor.
Please contact your local authorized dealer/distributor for questions
regarding warranty.

7
LED Buttons
On/Off
Motor Status
Empty Dirt Receptacle
Reset
LCD
Screen
1 2 3
4
5 6 7
8 9 10
11 12 13
Max. 5 m (16.5')
465mm (18")
1032mm (40.5")
495mm (19.5")
380mm (15")
100mm (4")
Min. 70 cm (27.5")
Maximum
1.8 m (6')
from outlet
Min. 30 cm (12")
Min. 30 cm
(12")
Min. 30 cm
(12")

Electrolux Central Vacuum Systems
10200 David Taylor Drive
Charlotte, NC 28262
United States of America
www.electroluxcentralvac.com
The Thoughtful Design Innovator.
Do you remember the last time you opened a gift that made you say
“Oh! How did you know? That’s exactly what I wanted!” That’s the kind of
feeling that the designers at Electrolux seek to evoke in everyone who
chooses or uses one of our products. We devote time, knowledge, and a
great deal of thought to anticipating and creating the kind of appliances that
our customers really need and want.
This kind of thoughtful care means innovating with insight. Not design for
design’s sake, but design for the user’s sake. For us, thoughtful design means
making appliances easier to use and tasks more enjoyable to perform, freeing
our customers to experience that ultimate 21st century luxury, ease of mind.
Our aim is to make this ease of mind more available to more people in more
parts of their everyday lives, all over the world. So when we say we’re thinking
of you, you know we mean just that.
Electrolux. Thinking of you.
Share more of our thinking at www.electrolux.com
# 460446-R1
Other manuals for Oxygen
2
Table of contents
Other Electrolux Central Vacuum System manuals