www.electrolux.com 5
EN
ID
TH
VN
CNS
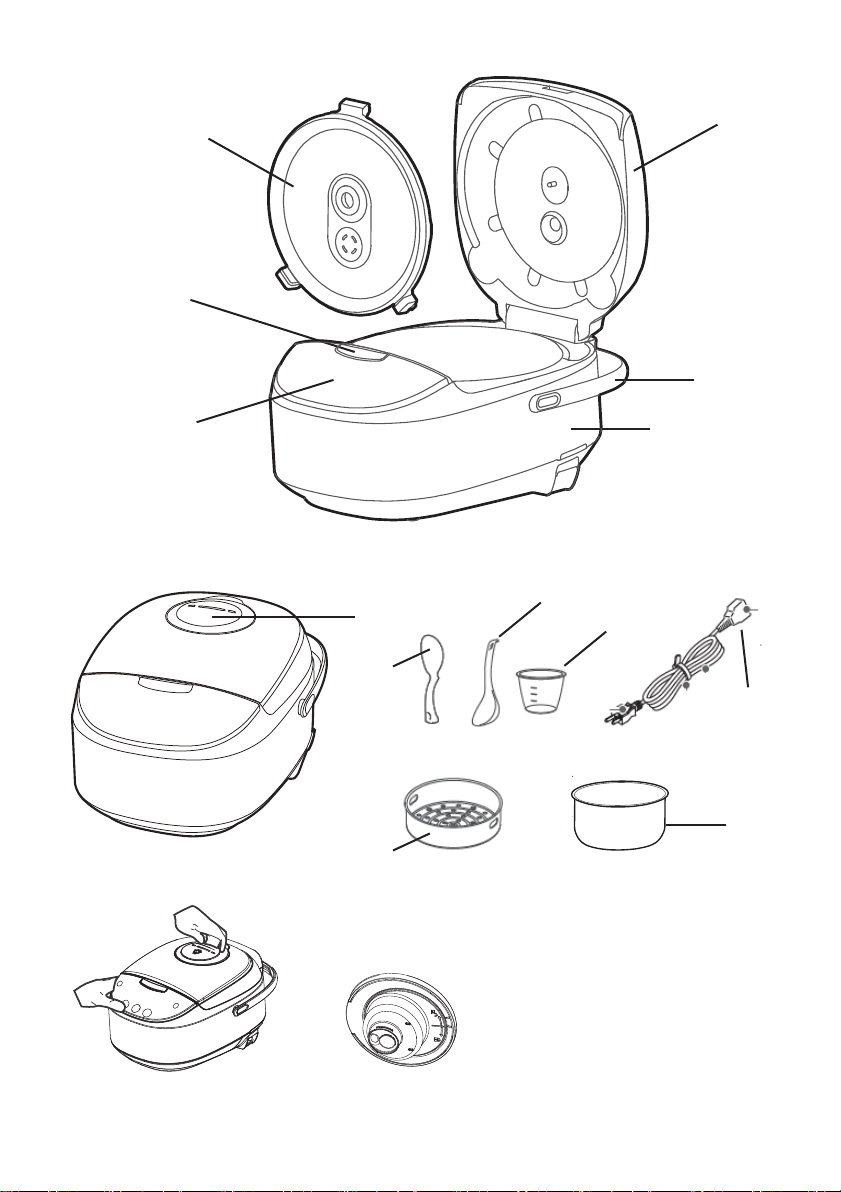
GETTING STARTED
1. Before using the appliance for the first time, clean the parts of the rice cooker thoroughly. Make sure all
the parts are completely dry before you start using the appliance.
2. To prevent the damage of the non-stick coating in the inner pot, use a separate container to wash the
rice.
3. Measure the rice using the measuring cup provided. Do not exceed the quantities indicated on the
inside of the inner pot.
4. Place the washed rice into the inner pot.
5. Add water to the level indicated on the scale inside the inner pot that corresponds to the number of
cups of rice used. (You may adjust the water level according to your preference. However, it is recom-
mended to keep within 2mm against the indicated scale.)
6. Dry the outside of the inner pot. Make sure that the outside of the inner pot is dry and clean and there
is no foreign residue on the heating element or the magnetic switch.
7. Place the inner pot in the rice cooker.
8. Close the lid of the rice cooker until a ‘click’ sound is heard.
9. Plug in the power cord into the rice cooker and to the wall socket and switch on the mains.
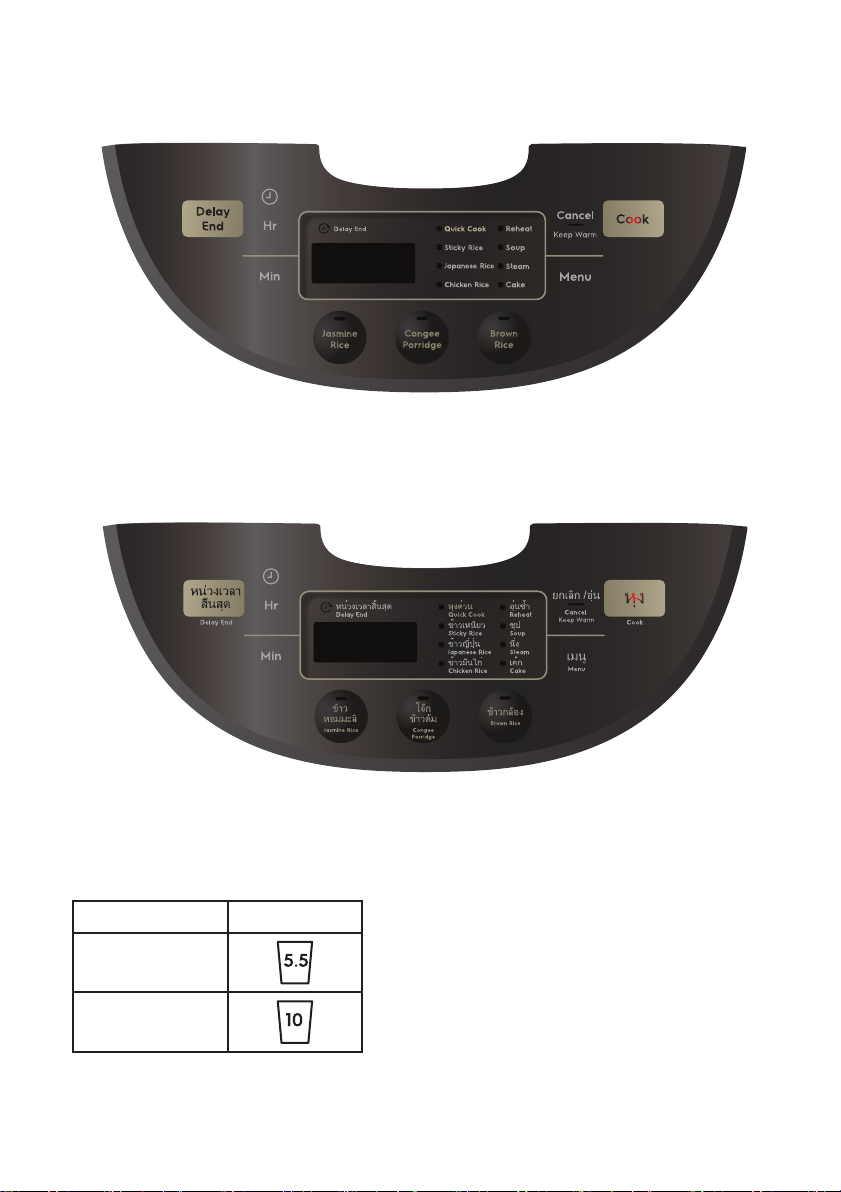
10. Choose the cooking function to start the cooking cycle:
a) For Jasmine Rice, Congee/Porridge, Brown Rice, press the respective function button to start the
cooking cycle. Light indicator on the selected function button and “Cook” will light up.
b) For other functions, Press [Menu] to toggle and select the function, then press [Cook] button to start
the cooking cycle. Light indicator on the selected function button and “Cook” button will light up.
NOTE: If no selection is done by 2 minutes, the rice cooker will go into “Standby” mode.
11. When cooking cycle is about to complete, the LED panel will display countdown timer and switches to
keep warm mode when cooking cycle is completed. Light indicator on “Cancel/Keep Warm” will light
up.
12. When cooking cycle is completed, open the lid and stir the rice to loosen it. For best results, do this just
after the rice cooker has switched to keep-warm mode. Then close the lid firmly. Stirring the rice allows
excess steam to escape. This will give fluffier rice.
13.Switch off the mains and remove the mains plug from the wall socket.
14.Use the rice paddle provided to serve the cooked rice. Do not use metal utensil to avoid scratching
and damaging the inner pot’s non-stick coat.
TIPS ON COOKING DELICIOUS RICE
1. Use the measuring cup provided and level-filled the rice in the cup.
NOTE: Do not shake the measuring cup as shaking will result in using more rice.
2. Do not wash rice with hot water or wash for too long. Washing with hot water or washing slowly may
cause a bad odour of rice bran.
3. Wash gently and avoid smashing the rice grains. Lightly rub the rice grains against each other.
(Cracked or broken rice tends to get mushy and sticky when cooked.)
4. Adjust water level according to preference.
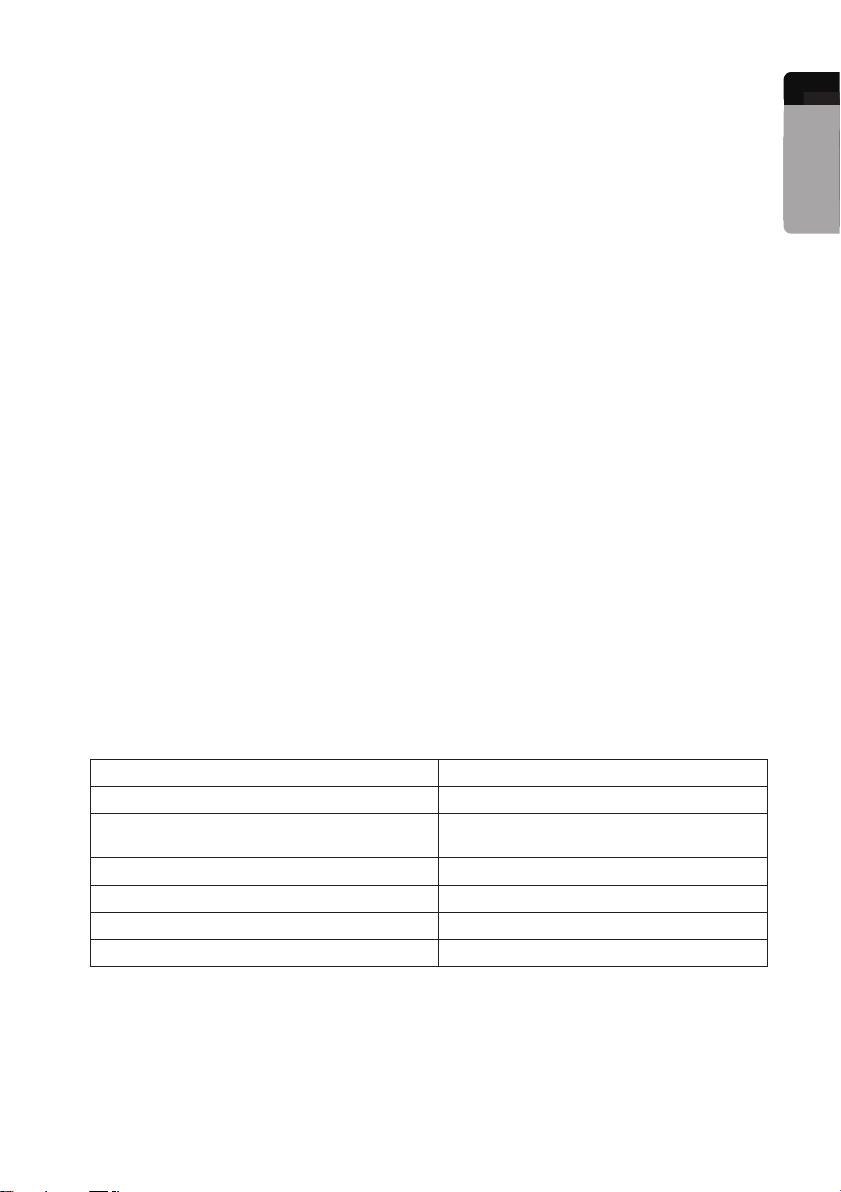
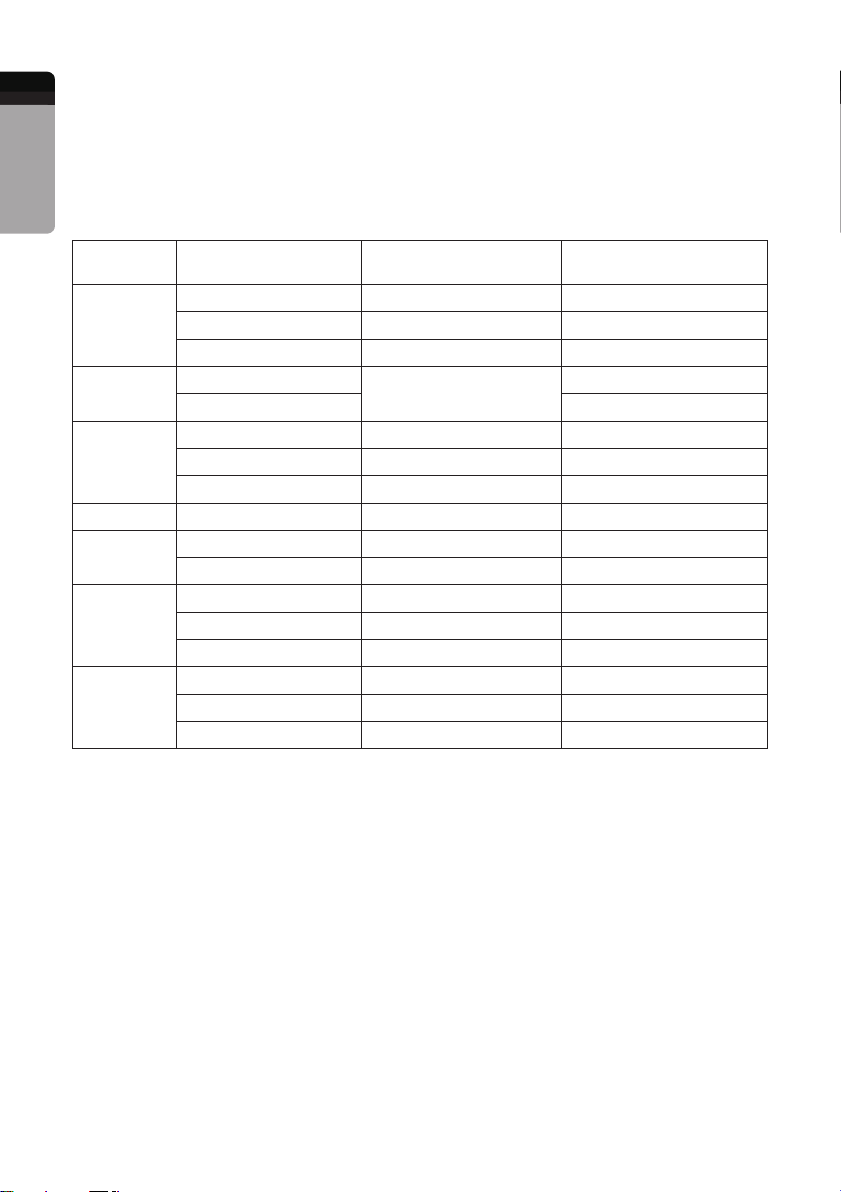
Rice type Water level
Preference for harder cooked rice Below the indicated scale
Preference for softer cooked rice Above the indicated scale (recommended to
keep within 2mm)
Freshly-harvested rice Slightly below the indicated scale
Whole rice According to the indicated scale
Old Rice (Rice during rainy season to summer) Slightly over the indicated scale
Wheat Slightly over the indicated scale
NOTE: The condition and quality of each kind of rice is different, depending on brands, places of
origin, storage conditions. We recommend adjusting according to your preference.
5. When cooking cycle is completed, stir the cooked rice to let the excess steam to escape. This will give
fluffier rice.
6. Prevent oxidation by keeping uncooked rice grains in a tightly closed container and store it in a dark,
cool place.
7. Do not leave the rice in a colander after washing. The rice grains may get cracked resulting in becom-
ing mushy and sticky when cooked.