WARNING
Installation
For correct and safe installation, please read these instructions completely.
• All Installation work must be performed by authorized service personnel.
• Disconnect electrical supply serving the installation area to reduce risk of electrocution.
• Unit not suitable for installations where water jets could be used.
DANGER
• Ensure proper ventilation by maintaining clearance between condenser and wall.
• Never wire compressor directly to electrical supply.
• Warranty is void if installation is not made in accordance with current Manufacturer’s instructions.
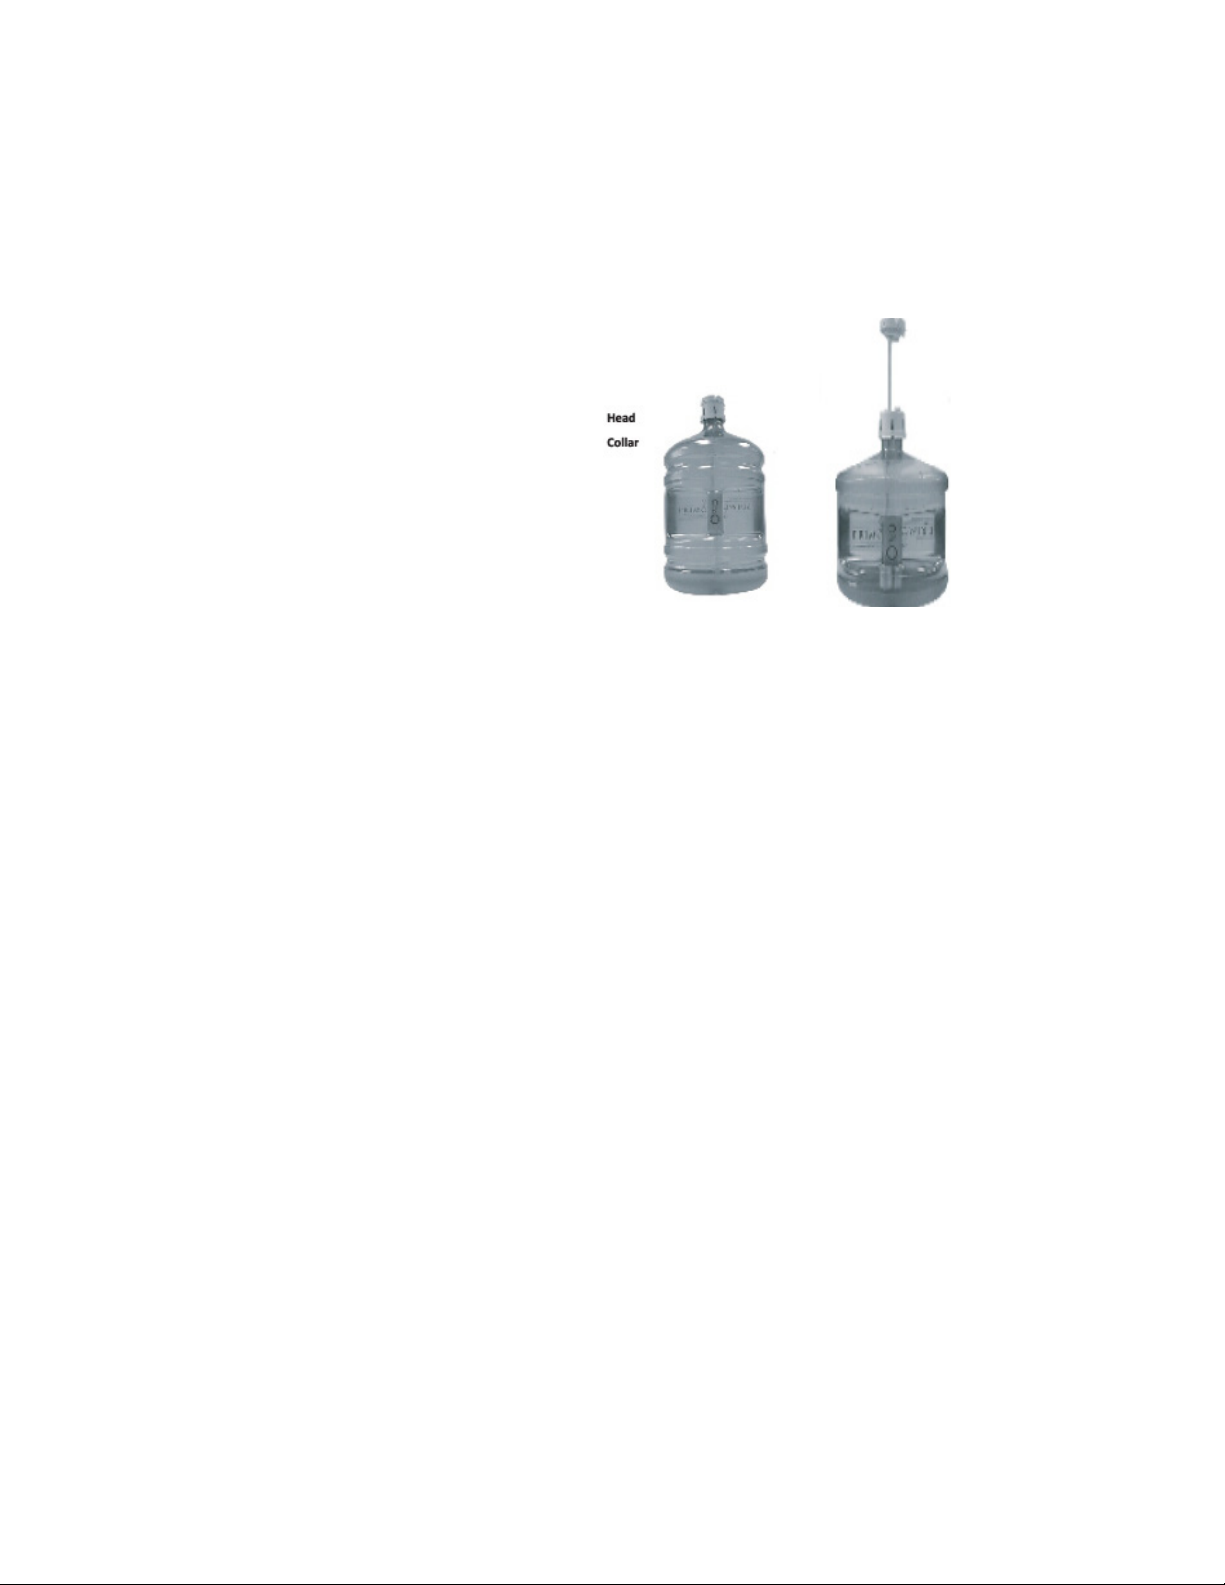
Install Water Bottle
1. Open the dispenser door.
2. Place probe assembly on probe hanger.
3. Place the fresh bottle outside of the cabinet.
4. Remove the entire plastic cap from top of the bottle.
5. Clean the outside of new bottle with a clean cloth.
6. Place the probe into the bottle.
7. Slide the collar down until it clicks in place.
8. Push the head down until the tubes hit the bottom of the bottle.
9. Slide the bottle into the cabinet and close the door.
Connect to Electricity
• Plug the cord into a properly grounded wall outlet. At this moment, the pump will begin to move water from the bottle to the hot and cold tanks. It will
Activate Heating & Cooling
Notice: This unit will not dispense hot or cold water until the switches are activated. To activate and start the heating and cooling of the water, push the
top side of the power switches in.
• If you do not want to heat the water, push the bottom side of the red switch in.
• If you do not want to cool water, push bottom side of green switch in.
Activate Nightlight
• Push the top side of the blue power switch in to turn the light on. Push the bottom side in to turn the light off.
Dispensing Water
• This unit has been tested and sanitized prior to packing and shipping. During transit, however, dust and odors can accumulate in the tank and lines.
Dispensing cold Water (≤50°F / 10°C)
After setup, it will take up to 1 hour to get water to the maximum cold temperature. During this time, the compressor could run continuously. This is normal.
1. Position bottle, glass, pitcher or cooking pot below spout.
2.
3.
Dispensing Hot Water (≥180°F / 82°C)
WARNING: This unit dispenses water at a temperature that can cause severe burns. Avoid direct contact with hot water. Keep children and pets away
from the unit while dispensing. Never allow children to dispense hot water without proper and direct supervision. Unplug the unit to prevent unsupervised
use by children.
After setup, hot water will be available in 15-20 minutes. (Indicator light will turn off when heating is complete.)
1. Position bottle, glass, pitcher or cooking pot below spout.
2.
3.
Changing the Bottle
Caution:
1. Open the dispenser door.
2. Slide the empty bottle out of the cabinet.
3. Remove the probe assembly from the empty bottle. Place the probe assembly on the probe hanger.
4. Set the empty bottle aside.
5. Place fresh bottle outside of the cabinet. Remove the entire plastic cap from the top of the bottle. Clean the outside of new bottle with a clean cloth.
6. Place the probe into the bottle. Slide the collar down until it clicks in place. Push the head down until the tubes hit the bottom of the bottle.
Assembly
1. Remove the drip tray from the door and place the grid on top.
2. Snap the drip tray and grid the assembly into the door.
1000003844 (REV. A - 03/17)Page 3