elmeg C310 User manual

elmeg C310 - CS310 / elmeg C320 - CS320
Version 2
1
G:\_elmeg\Ccs320\V2\UK\Kurzbedienung\uk-320-smn-20x4.vp
Freitag, 16. Mai 2003 08:42:24
Farbprofil: Generic CMYK printer profile - None
Komposit Standardbildschirm

Important lnformation
These operating instructions describe the functions for elmeg C310 and elmeg
C320 ISDN telephones and for both elmeg CS310 and elmeg CS320 system
phones.
elmeg C-CS310:
These telephones are equipped with an RS232 (V.24) interface. Via this interface, you
can configure the phone or load new software.TAPI applications (if installed on your PC)
can also be used via this interface.
elmeg C-CS320:
These telephones are equipped with a USB port.Via this port, you can configure the
phone or load new software.CAPI and TAPI applications (if installed on your PC) can also
be used via this interface.
Impemented LCR procedure.
This performance feature can currently be used in Germany only.
The tariff data for the LCR feature can be downloaded from
TELEDATA-UPDATE Gesellschaft für
Telefon-Tarifdaten-Management mbH using a dial-in num-
ber preset in your telephone. ELMEG GmbH & Co. KG
Kommunikationstechnik cannot warrant that this tariff data is
up-to-date, complete and correct and declines any liability
resulting from the use of such data. KG
Kommunikationstechnik cannot warrant that this tariff data is
up-to-date, complete and correct and declines any liability
resulting from the use of such data.
2
G:\_elmeg\Ccs320\V2\UK\Kurzbedienung\uk-320-smn-20x4.vp
Freitag, 16. Mai 2003 08:42:24
Farbprofil: Generic CMYK printer profile - None
Komposit Standardbildschirm

Table of contents
1 Description and Installation . . . . . . . . . . . . . . 1
1.1 Safety instructions. . . . . . . . . . . . . . . . . . . . . . . . . . . 1
1.2 Cleaning and placing the telephone. . . . . . . . . . . . . . . . . . 1
1.3 Contents of package . . . . . . . . . . . . . . . . . . . . . . . . . 2
1.4 Connection of the handset connecting cord . . . . . . . . . . . . . 3
1.5 Connection of the ISDN connecting cord. . . . . . . . . . . . . . . 3
1.6 User interface of your telephone . . . . . . . . . . . . . . . . . . . 4
1.7 Display, Buttons, LEDs, Call signalling, Pictographs and signals . . . 5
1.8 Changing the label panel . . . . . . . . . . . . . . . . . . . . . . 10
2 Configuration settings . . . . . . . . . . . . . . . . 11
2.1 Telephone numbers (MSN or extension number) . . . . . . . . . . 11
2.2 Protecting the configuration by a PIN (password). . . . . . . . . . 14
2.3 Changing the PIN . . . . . . . . . . . . . . . . . . . . . . . . . . 14
2.4 Displays of the telephone . . . . . . . . . . . . . . . . . . . . . . 15
2.5 Additional information in the display . . . . . . . . . . . . . . . . . 16
3 Volume settings . . . . . . . . . . . . . . . . . . . . 17
3.1 Setting the acknowdledgement signals . . . . . . . . . . . . . . . 17
3.2 Speaker volume setting . . . . . . . . . . . . . . . . . . . . . . . 18
3.3 Setting the volume of the handset . . . . . . . . . . . . . . . . . . 18
3.4 Setting the call waiting signal . . . . . . . . . . . . . . . . . . . . 19
3.5 Settingthe volume of the the volume of the »Station
guarding« tone . . . . . . . . . . . . . . . . . . . . . . . . . . . . 19
4 Further settings . . . . . . . . . . . . . . . . . . . . 20
4.1 Call forwarding (call rerouting) . . . . . . . . . . . . . . . . . . . . 20
4.2 Call waiting . . . . . . . . . . . . . . . . . . . . . . . . . . . . . . 21
4.3 Direct dialing . . . . . . . . . . . . . . . . . . . . . . . . . . . . . 22
5 Programming telephone numbers and keys . . . . 23
5.1 Programming the phone directory . . . . . . . . . . . . . . . . . . 23
5.2 Programming VIP numbers . . . . . . . . . . . . . . . . . . . . . 25
5.3 Programming direct dialing numbers . . . . . . . . . . . . . . . . 26
6 Settings for a PABX System . . . . . . . . . . . . . 28
3
G:\_elmeg\Ccs320\V2\UK\Kurzbedienung\uk-320-smn-20x4.vp
Freitag, 16. Mai 2003 08:42:24
Farbprofil: Generic CMYK printer profile - None
Komposit Standardbildschirm

7 Answering machine . . . . . . . . . . . . . . . . . . 29
7.1 Configuring the Answering Machine . . . . . . . . . . . . . . . . . 29
7.2 Announcements, info-texts and dictations. . . . . . . . . . . . . . 31
7.3 Activating message recording for individual MSNs . . . . . . . . . 33
7.4 Using the answering machine . . . . . . . . . . . . . . . . . . . . 36
7.5 Remote polling of the answering machine . . . . . . . . . . . . . . 38
8 Operation . . . . . . . . . . . . . . . . . . . . . . . 39
8.1 Starting a call . . . . . . . . . . . . . . . . . . . . . . . . . . . . 39
8.2 Accepting a call . . . . . . . . . . . . . . . . . . . . . . . . . . . 40
8.3 Station guarding . . . . . . . . . . . . . . . . . . . . . . . . . . . 41
8.4 Call rerouting / Call deflection . . . . . . . . . . . . . . . . . . . . 42
8.5 Redialing . . . . . . . . . . . . . . . . . . . . . . . . . . . . . . . 42
8.6 Caller and memo list . . . . . . . . . . . . . . . . . . . . . . . . . 44
8.7 Mute, Open Listening and Hands-Free Calling . . . . . . . . . . . 46
8.8 Call waiting, Enquiry call, Broker`s call and
three-party conference . . . . . . . . . . . . . . . . . . . . . . . . 47
8.9 Call transfer (switching) . . . . . . . . . . . . . . . . . . . . . . . 48
8.10 Call-Back on busy (CCBS) . . . . . . . . . . . . . . . . . . . . . . 48
8.11 Keypad and Tone Frequency Dialing (DTMF dialing) . . . . . . . . 48
8.12 Viewing and deleting call charges . . . . . . . . . . . . . . . . . 49
8.13 Downloading a new firmware . . . . . . . . . . . . . . . . . . . . 50
8.14 RESET - Resetting to default state. . . . . . . . . . . . . . . . . . 52
9 Telephone and PC. . . . . . . . . . . . . . . . . . . 53
9.1 Installing the programs from CD-ROM. . . . . . . . . . . . . . . . 53
10 Technical specifications . . . . . . . . . . . . . . . 55
11 Declaration of Conformity and CE symbol . . . . . 56
12 Index . . . . . . . . . . . . . . . . . . . . . . . . . . 57
4
G:\_elmeg\Ccs320\V2\UK\Kurzbedienung\uk-320-smn-20x4.vp
Freitag, 16. Mai 2003 08:42:24
Farbprofil: Generic CMYK printer profile - None
Komposit Standardbildschirm

1 Description and Installation
These operating instructions describe only the most important routines for using the
telephone.
Detailed information and documentation can be found on the CD-ROM.
The elmeg CS310 and CS320 ISDN telephones provide system features when con-
nected to certain elmeg PABX systems. Please refer to the operating instructions of your
elmeg PABX to determine which of the typical performance features you can use.
1.1 Safety instructions
•Unauthorized opening of the telephone and improper repairs may result in
risk of injury for the user.
•Do not expose the inside of the telephone to any liquids. This would pose
a risk of electrical shock and If you expose the inside of the telephone to
liquids the telephone can be destroyed.
•You should not connect or disconnect any lines during thunderstorms.
•To prevent mutual interference, do not install your system telephone in the
immediate vicinity of electronic devices such as stereo equipment, elec-
tric office equipment or microwave units.
•Avoid installing near sources of excessive heat, e.g. radiators or in rooms
with excessive humidity.
•The ambient temperature must not be below 5° and should not exceed
40°C.
1.2 Cleaning and placing the telephone
The ISDN system telephone has been manufactured for normal, everyday use. When re-
quired, clean the ISDN system telephone with a slightly moistened cloth, or with an
anti-static cloth. Never use a solvent to clean the phone! Never use a dry cloth. Electro-
static charges could damage the electronics in the system. It is essential that no liquids
penetrate into the inside of the ISDN system telephone, as this could destroy the phone.
Please note that the feet of your telephone may leave marks on sensitive surfaces, such
as furniture. The manufacturer of the ISDN system telephone is not liable for any such
damage. Therefore, use appropriate non-skidding pads under the phone.
1
Description
5
G:\_elmeg\Ccs320\V2\UK\Kurzbedienung\uk-320-smn-20x4.vp
Freitag, 16. Mai 2003 08:42:24
Farbprofil: Generic CMYK printer profile - None
Komposit Standardbildschirm

1.3 Contents of package
elmeg C-CS310 elmeg C-CS320
elmeg C310 or CS310 ISDN phone elmeg C320 or CS320 ISDN phone
Handset with cable
ISDN connection cord (approx. 3m)
Set of operating instructions
Label for direct dialing/function keys
elmeg WIN-Tools CD-ROM, including:
detailed operating instruction, configuration manager, telephone directory man-
ager, download and LCR manager, TAPI driver and CTI software, Adobe Acrobat
Reader, Adobe Acrobat file for printing of individual labels.
USB / CAPI and NDISWAN driver,
elmeg CAPI-Tools
PC connecting cable (RS232/V.24)
RJ12 / D-SUB 9-pin (approx. 3m) PC connecting cable (USB)
(approx.. 3m)
Firmware for the telephone
2
Description
6
G:\_elmeg\Ccs320\V2\UK\Kurzbedienung\uk-320-smn-20x4.vp
Freitag, 16. Mai 2003 08:42:25
Farbprofil: Generic CMYK printer profile - None
Komposit Standardbildschirm

1.4 Connection of the handset connecting cord
Connect the handset cord as shown in figure 1. Lay the handset cord in the cord groove
and lock it below the two cord retainers.
1.5 Connection of the ISDN connecting cord
Connect the ISDN cord as shown in figure 2. Ensure that the longer ISDN connector is
plugged into the ISDN jack and the shorter ISDN connector into the ISDN jack on the
telephone. Then lay the ISDN cord in the cord groove and lock it below the two cord re-
tainers.
3
Description
Handset
Handset cord
ISDN telephone seen from the bottom
Handset connector
Jack for connecting
the handset
Handset jack
Cord holder
Fig. 1
ISDN connector
(long)
Jack for ISDN connecting cord
Cord holder
ISDN connector
(short)
Telephone seen from the bottom
Fig. 2
7
G:\_elmeg\Ccs320\V2\UK\Kurzbedienung\uk-320-smn-20x4.vp
Freitag, 16. Mai 2003 08:42:37
Farbprofil: Generic CMYK printer profile - None
Komposit Standardbildschirm

1.6 User interface of your telephone
4
Description
2
5
17
16
15
14
1
2
3
4
5
6
7
8
9
Answering machine button
with LED
Speaker
Label panel for VIP keys and
function keys
7 direct dialing/ function keys
with LED
Shift button with LED
6 softkeys
Display
Function key
C-button
10 Escape
11 Microphone
12 OK-key
13 Arrow buttons »left« / »right«
14 Open listening/ hands-free
15 Disconnect
16 Redial
17 Enquiry
18 Asterix button / number symbol
19 Dial / VIP buttons
1
3
4
19
6
7
89
1010 11
12 13
18
Fig. 3
8
G:\_elmeg\Ccs320\V2\UK\Kurzbedienung\uk-320-smn-20x4.vp
Freitag, 16. Mai 2003 08:42:43
Farbprofil: Generic CMYK printer profile - None
Komposit Standardbildschirm

1.7 Display, Buttons, LEDs, Call signalling, Pictographs
and signals
1.7.1 Display
After you connect the system to the ISDN connection,
the date and time are shown on the top line of the dis-
play. The date and time are imported automatically
from the PABX system, or from the ISDN network
when you have successfully made your first call.
ˆ23.04.01 08:12 }
ˆ
ˆTel. drctry Quiet
ˆVIP
The text displayed for a function is always located to
the left or to the right of the corresponding softkey. An
arrow pointing to a softkey indicates that this softkey
can be pressed. When you press the softkey, the next
level is displayed.
ˆ Functions
ˆAcoustic Configuration
ˆSetting Program nos.
1.7.2 Buttons
FFunction button: This key opens the pro-
gramming menu. If you are already lo-
cated in a menu and then press the key,
either menu-specific functions are shown,
or you are moved back one programming
step.
ˆ Functions
ˆAcoustic Configuration
ˆSetting Program nos.
EEscapebutton: Pressingthe Escbutton during programmingreturnsthetele-
phone to its idle status.
OOK key: Pressing this button stores a setting in the telephone. You then hear
the acknowledgement signal.
5
Description
24 chars
Date Time
Arrow: further menu items
accessible with arrow buttons
Arrow: Relates to the softkey,
that can be pressed in the
currently selected menu
Fig. 4
9
G:\_elmeg\Ccs320\V2\UK\Kurzbedienung\uk-320-smn-20x4.vp
Freitag, 16. Mai 2003 08:42:49
Farbprofil: Generic CMYK printer profile - None
Komposit Standardbildschirm

CC-button: Press this button to move back one menu step in the menu. If you
are currently in the input mode, this button can be used to delete individual
characters.
<> Arrow buttons: The arrows »{« and »}«in
the right corner on the top line of the dis-
play indicate that you can call up further
functions on the lower lines using the ar-
row buttons.
ˆ23.04.01 08:12 }
ˆTel. drctry Quiet
ˆVIP
ˆ23.04.01 08:12 {
ˆinhibit Memo
ˆunpark Charge
ˆPABX UUS
Special feature for changing existing entries
You have various options available to you for changing existing entries (e.g. names or
numbers).
Example 1:
You wish to change an existing number / MSN, as the telephone is to be used at a differ-
ent ISDN connection.
tWhen you use the pushbutton set to enter
the first digit of the new number the exist-
ing number is deleted completely.
ˆ Program dial number
ˆMSN-1>123456
tEnter the other digits of the new number. ˆ Program dial number
ˆMSN-1>987654_
Example 2:
You wish to change parts of a name in a telephone directory listing (see page 24), be-
cause the name has changed (e.g. in the case of marriage in the case of marriage).
>
C
Using the arrow keys, first select the let-
ters of the entry that are to be changed (in
this example: the surname »MILLER«)
and delete this name using the C button.
ˆChange tbook data input
ˆName>TINA_MILLER
tNow enter the new letters for the new
name (in the example the surname »PE-
TERS«).
ˆChange tbook data input
ˆName>TINA PETERS_
6
Description
10
G:\_elmeg\Ccs320\V2\UK\Kurzbedienung\uk-320-smn-20x4.vp
Freitag, 16. Mai 2003 08:42:49
Farbprofil: Generic CMYK printer profile - None
Komposit Standardbildschirm

Special feature for displaying lists in the display
Several entries are shown in the display as a list for certain settings or when using the
phone. After this, up to three entries will be displayed simultaneously in the lower three
lines of the display. These lists are displayed, for example for settings in the call filter, the
dialing filter, the phone directory or the VIP and direct dialing keys.
The settings of VIP keys are an example for a list display (see page 25).
<> The active entry is indicated by the flashing
arrows on the right and left edges of the
display. Press the arrow keys to mark
other entries.
ˆ Select VIP {}
ˆV0: 0123456 ...........
ˆV1: BEATRICE ..........
ˆV2: ...................
<>
O
If you have marked the entry »V2« the fol-
lowing three entries are displayed after
you press the right arrow key.
Press OK to confirm the selection of a
marked entry.
ˆ Select VIP {}
ˆV3: ...................
ˆV4: ...................
ˆV5: ...................
1.7.3 Entering letters and numbers
The following buttons are configured for the entry of letters and numbers (e.g. telephone
directory, VIP-memory).
Button 1.
press 2.
press 3.
press 4.
press 5.
press 6.
press 7.
press
11
2ABC2Ä
3DEF 3
4GHI 4
5JKL5
6MNO6 Ö
7PQRS7ß
8TUV8Ü
7
Description
11
G:\_elmeg\Ccs320\V2\UK\Kurzbedienung\uk-320-smn-20x4.vp
Freitag, 16. Mai 2003 08:42:49
Farbprofil: Generic CMYK printer profile - None
Komposit Standardbildschirm

Button 1.
press 2.
press 3.
press 4.
press 5.
press 6.
press 7.
press
9WX Y Z 9
0(space) . , - 0 / &
**
##
You have various possibilities for entering letters:
»« •Every letter that you enter is shown in small case.
Example: »tony miller«.
»ABC«•Every letter that you enter is shown as capitals.
Example: »TONY MILLER«:
»Abc«•The next letter that you enter is shown as a capital, all others as small case
letters.
Example: »Tony Miller«.
Use the Shift key to set how you wish to enter characters. The selected input mode is
shown on the right on the first line of the display » «, »ABC« or »Abc«.
1.7.4 LEDs
To the left of each direct dialing and function key (total of 7) is located the associated
LED. These LEDs can be used to indicate certain functions. The shift key LED flashes to
indicate new callers in the caller list, or remains lit when the shift key is pressed (active).
•The LED lights up.
///////////////////////////////////////////
•The LED flashes.
////////////____////////////____///////////
•The LED flickers.
//__//__//__//__//__//__//__//__//__//__//_
1. second 1. second 1. second 1. second
8
Description
12
G:\_elmeg\Ccs320\V2\UK\Kurzbedienung\uk-320-smn-20x4.vp
Freitag, 16. Mai 2003 08:42:49
Farbprofil: Generic CMYK printer profile - None
Komposit Standardbildschirm

1.7.5 Pictographs
The pictographs (symbols) described in the following have been used in these operating
instructions to illustrate some procedures for setting and using the telephone.
bLiftupthehandset,activatehandsfreecalling,orstartinitializingselec-
tion.
aHang up the handset and end hands free calling.
The telephone is idle.
lA call is signaled.
The ringing tone melody sounds.
gYou are conducting a call.
dA three-party conference call has been established.
qYou hear the positive or negative acknowledgement signal or an infor-
mation signal.
tSelect the number, code, character or text.
XThis symbol prompts you to select a certain digit or character.
0...9
*#
Press the appropriate button on the pushbutton set.
1.7.6 Listen to acknowledgement signals
Depending on your settings, the input you make at your phone will be confirmed by an
acknowledgement signal (see page 17).
Before you begin making settings, you should listen to these two acknowledgement
signals of your telephone:
The positive acknowledgement signal indicates that your input has been accepted and
stored by the telephone. Example:
aSS
q
quiet No
You will hear the negative acknowledgement signal when your input has not been ac-
cepted by the telephone, or when invalid input has been made. Example:
9
Description
13
G:\_elmeg\Ccs320\V2\UK\Kurzbedienung\uk-320-smn-20x4.vp
Freitag, 16. Mai 2003 08:42:49
Farbprofil: Generic CMYK printer profile - None
Komposit Standardbildschirm

If no call is parked you hear the negative acknowledgement signal.
a>SO
q
unpark
1.8 Changing the label panel
The label panels for the direct dial and function keys are included on a sheet enclosed in
the operating instructions. Remove the desired label panel.
To change the label panel, press the flexible cover together between your index finger
and thumb and lift it out. The label panel can now be changed.
You can fill in the label panel via your PC yourself. The CD ROM supplied with the system
contains an Adobe Acrobat file with templates.
Move the mouse pointer to the first field (behind the symbol) »(«). You can then use the
PC keyboard to make input into this field. You can jump from field to field using the TAB
key and fill them in as required. After this you can print out a selected label panel, cut it
out and place it in the space provided for labels on your telephone.
10
Description
Fig. 5
14
G:\_elmeg\Ccs320\V2\UK\Kurzbedienung\uk-320-smn-20x4.vp
Freitag, 16. Mai 2003 08:42:55
Farbprofil: Generic CMYK printer profile - None
Komposit Standardbildschirm

2 Configuration settings
2.1 Telephone numbers (MSN or extension number)
How to configure an MSN (extension number) is described in the following example
with »MSN-1«.
STo access the menu »Program dial
number« proceed as shown in figure 6 on
page 11. Press the softkey »MSN-1«.
ˆ Program dial number}
ˆMSN-1 MSN-4
ˆMSN-2 MSN-5
ˆMSN-3 MSN-6
11
Settings
Fig. 6
15
G:\_elmeg\Ccs320\V2\UK\Kurzbedienung\uk-320-smn-20x4.vp
Freitag, 16. Mai 2003 08:43:02
Farbprofil: Generic CMYK printer profile - None
Komposit Standardbildschirm

If you haven’t yet entered any MSN exten-
sion number, »number«is the only softkey
displayed. The other softkeys are dis-
played only when a number has been con-
figured.
ˆ MSN-1 program }
ˆMSN Name transfer
ˆMSN ext. Charge
ˆSound Volume
2.1.1 Entering MSNs
In the menu »MSN-1 program« press the softkey »MSN ext.«.
tEnter the number (max. 26 digits).
In the example here: »123456«.
ˆ Program dial number
ˆMSN-1>123456_
OConfirm your entry by pressing OK.
2.1.2 Setting the melody for an MSN
In the menu »MSN-1 program« press the softkey »sound« and then the softkey »in-
ternal« or »external«.
<> Use the arrow buttons to set the desired
melody. The bar in the display indicates
the current status.
ˆ Select melody {}
ˆMSN-1
ˆ-¼------------------ 2
OConfirm your entry by pressing OK.
2.1.3 Setting the volume of the melody for an MSN
In the menu »MSN-1 program« press »Volume « and then »Internal«or»Exter-
nal«.
<> Use the arrow buttons to set the volume.
The bar in the display indicates the current
status.
ˆ Select volume {}
ˆMSN-1 - ©©©--- +
OConfirm your entry by pressing OK.
12
Settings
16
G:\_elmeg\Ccs320\V2\UK\Kurzbedienung\uk-320-smn-20x4.vp
Freitag, 16. Mai 2003 08:43:02
Farbprofil: Generic CMYK printer profile - None
Komposit Standardbildschirm

2.1.4 Default setting of a number for forwarding of calls
In the menu»MSN-1 program« press the softkey »transfer«.
tEnter the number. In the example:
»0123«.
If you want to delete an existing number,
press the C button.
ˆ Call forward. number
ˆMSN-1>0123_
OConfirm your entry by pressing OK.
2.1.5 Assigning a name to the MSN
In the menu»MSN-1 program« press the softkey »MSN name«.
tEnter the name (eight characters max.)
In this example:»ELMEG«.
ˆ Own MSN designation
ˆMSN-1>ELMEG
OConfirm your entry by pressing OK.
Once a name has been entered for a number, the softkey designations »MSN-1«…
»MSN-10« are replaced by the corresponding names in the menu.In this example here,
the name »ELMEG« is displayed instead of »MSN-1«.
2.1.6 Charges account for each number (MSN)
In the menu »MSN-1 program« press»charge«.
t
O
Enter the amount that is available for this
number for making calls.
In this example: »BP 20«.
Confirm your entry by pressing OK.
ˆDial inhib. by charge
ˆLimit/BP>20_
If you enter the amount available for making calls as »0«, the charge account is not acti-
vated.
Attention: Not all service providers transfer charge rate information. If you make
calls using a service provider which does not transmit charge information, the
charge account is ineffectual.
13
Settings
17
G:\_elmeg\Ccs320\V2\UK\Kurzbedienung\uk-320-smn-20x4.vp
Freitag, 16. Mai 2003 08:43:02
Farbprofil: Generic CMYK printer profile - None
Komposit Standardbildschirm

2.2 Protecting the configuration by a PIN (password)
The PIN can also be used to protect the configuration of the telephone and for deleting
the charges.
•Access to the configuration menu is not restricted. The PIN must only be
entered when accessing the menu for call control.
•Access to the configuration menu and clearing of the charge rate memory
are PIN-protected. After pressing the Fbutton and the softkey »Con-
figuration« , and prior to clearing the charges, you must enter your
PIN.
In the menu »Config. inhibit filter« press the softkey »Menu«.
SPress the softkey »Configuration«to
activate or deactivate the PIN protection
feature.
ˆ Inhibit menu access
Configuration
A check mark displayed next to »Configuration˜« indicates that the protection fea-
ture is enabled.
To deactivate the feature press the softkey »Configuration« once again.
Accessing the configuration menu via the PIN:
In these operating instructions, access to configuration is always described without the
use of a PIN. If you set the PIN protection for configuration, you can access the menu as
follows.
Begin as follows:
aFS tO
Configuration Enter PIN Configuration of the requested performance
features possible in the configuration menu.
2.3 Changing the PIN
In the menu »Config. inhibit filter« press the softkey »PIN«.
t
O
Enter the new PIN.
In this example: »1234«.
Confirm your entry by pressing OK.
ˆ Change PIN
ˆ>1234_
Please write down the entered PIN. If you forget your PIN, you will not be able to ac-
cess any of the PIN-protected settings. The PIN is also reset to (0000) after execut-
ing the service reset for restoring the initial state (see page 52)
14
Settings
18
G:\_elmeg\Ccs320\V2\UK\Kurzbedienung\uk-320-smn-20x4.vp
Freitag, 16. Mai 2003 08:43:03
Farbprofil: Generic CMYK printer profile - None
Komposit Standardbildschirm

2.4 Displays of the telephone
The following displays are possible during a call:
Call display for phone number (»0123456«). ˆ0123456 }
ˆedit Memo
ˆshow Keypad
ˆMute park
Call display for phone number (»0123456«) and time
(»19:22«).
ˆ0123456 19:22 }
ˆedit Memo
ˆshow Keypad
ˆMute park
Call display for phone number (»0123456«) and du-
ration (»02.19«) of entire call.
ˆ0123456 02.19 }
ˆedit Memo
ˆshow Keypad
ˆMute park
Call display for phone number (»0123456«) and
charges (»0,36«).
ˆ0123456 0.36 BP }
ˆedit Memo
ˆshow Keypad
ˆMute park
Call display for date (»23.04.01«) and
time(»09:54«).
ˆ23.04.01 09:54 }
ˆedit Memo
ˆshow Keypad
ˆMute park
Correct charge display is shown only if you have applied at your network service pro-
vider for transmission of charges during calls.
When using an LCR procedure the charges are not registered properly, as they are not
transmitted by all providers.
View during a call
The displays during calls described in the following depend on your individual set-
tings and can therefore be different for each connection.
g
S
During a call the display shows in the up-
per row the phone number or the name of
the caller (»BEATRICE«) and the duration
of the entire call (»02.19«).
Press the softkey »display«.
ˆBEATRICE 02.19 }
ˆedit Memo
ˆshow Keypad
ˆMute park
You are then shown other information available on the
current connection.
Date (»23.04.01«), Time (»09:56«),
associated number (»0987654321«),
charges (»0,36 BP«), duration of call (»02.55«).
ˆBEATRICE {}
ˆ23.04.01 09:56
0987654321
ˆ0.36 BP 02.55
15
Settings
19
G:\_elmeg\Ccs320\V2\UK\Kurzbedienung\uk-320-smn-20x4.vp
Freitag, 16. Mai 2003 08:43:03
Farbprofil: Generic CMYK printer profile - None
Komposit Standardbildschirm

Press the arrow keys to display further information (if available).
If you are the destination of call rerouting, you will be shown the number that is being re-
routed (»U{123«), when it is transferred.
You see the normal display again during a
connection.
ˆBEATRICE 03.33 }
ˆedit Memo
ˆshow Keypad
ˆMute park
aWhen you terminate the call you see this
display for approximately 5 seconds. ˆBEATRICE
ˆDuration 03.45
2.5 Additional information in the display
When the telephone is in the idle state, additional in-
formation about functions/performance features that
have been configured are shown on the top line of the
display. In the example: »DVqC׫.
ˆ23.04.01 08:12 DVqC× }
ˆ Info
ˆTel. drctry Quiet
ˆVIP
SPress the softkey »Info« if you wish to get
more information about the configured
functions.
ˆ23.04.01 08:12 DVqC× }
ˆ Info
ˆTel. drctry Quiet
ˆVIP
If several functions have been set, press
the arrow buttons The various settings are
shown one after the other.
ˆCall forwarding direct{}
ˆMSN-1} 22
Displays Configured function
»D«Active date set
»V«Dial control, call filter or configuration protection active
»q«Function »Station guarding« (only brief signal) active
»Q«Function »Station guarding« (complete) active
»C«call forwarding active
»×«Answering machine: Time control, call forwarding signaling or
remote control activated
16
Settings
20
G:\_elmeg\Ccs320\V2\UK\Kurzbedienung\uk-320-smn-20x4.vp
Freitag, 16. Mai 2003 08:43:03
Farbprofil: Generic CMYK printer profile - None
Komposit Standardbildschirm
This manual suits for next models
3
Table of contents
Other elmeg Telephone manuals

elmeg
elmeg IP290 User manual
elmeg
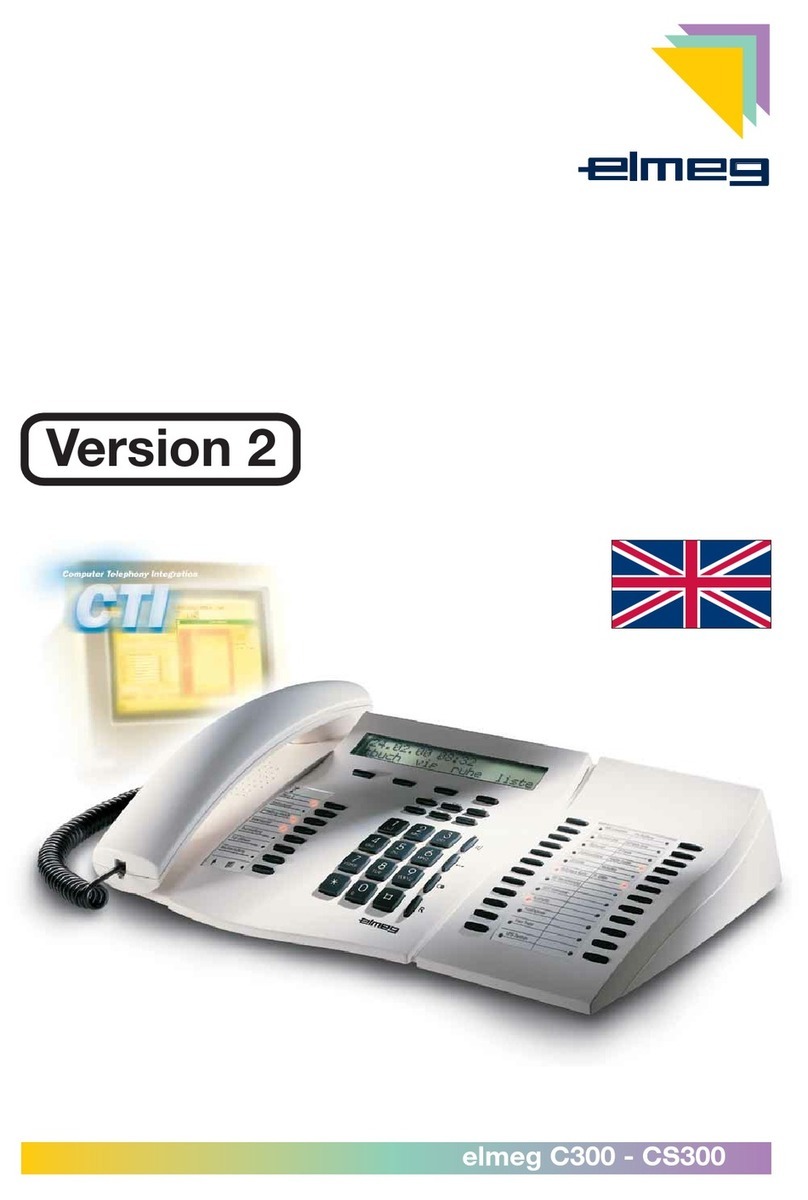
elmeg C300 User manual

elmeg
elmeg CS410 User manual
elmeg
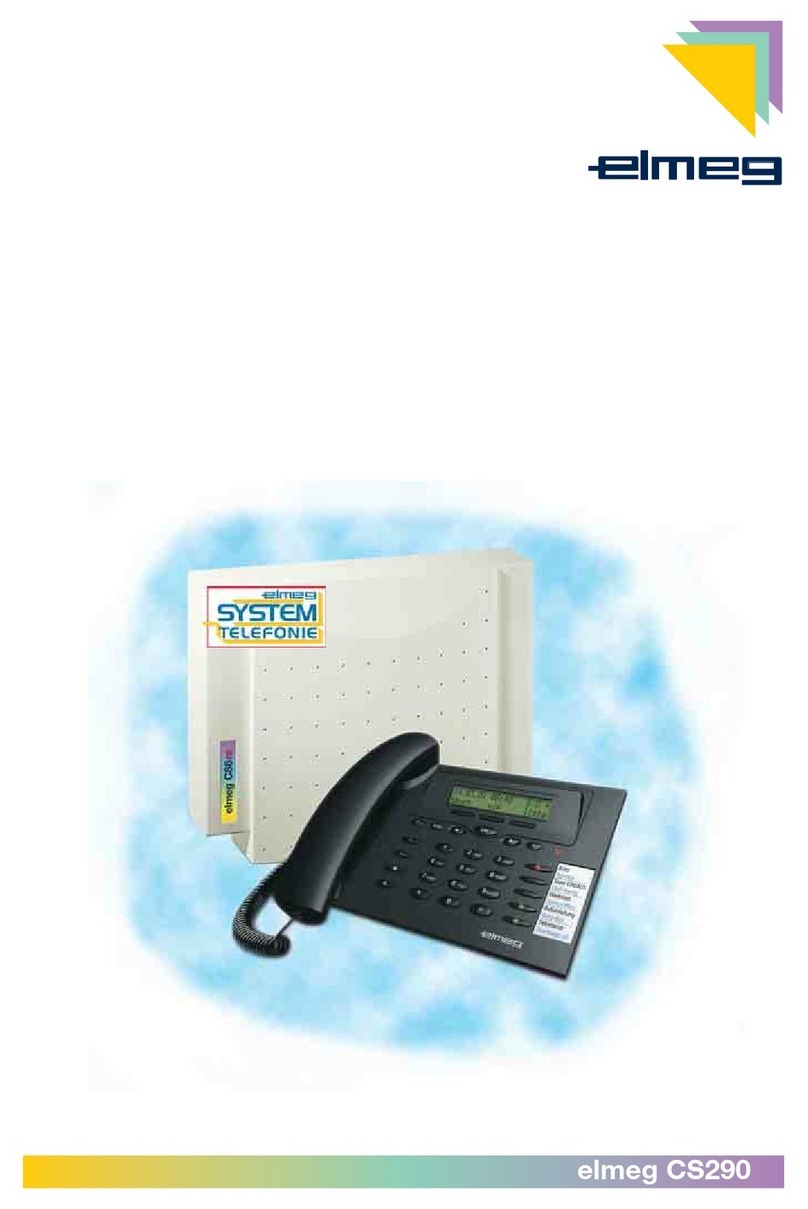
elmeg CS290 User manual

elmeg
elmeg C300 User manual
elmeg
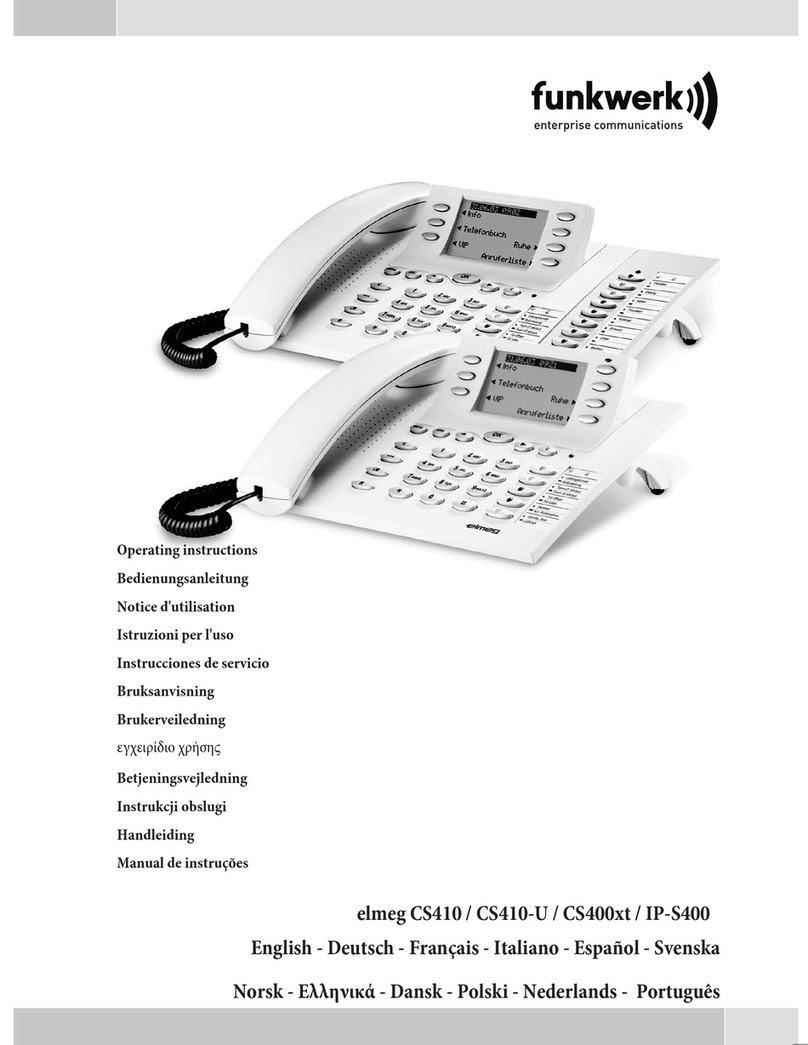
elmeg CS410 User manual
elmeg
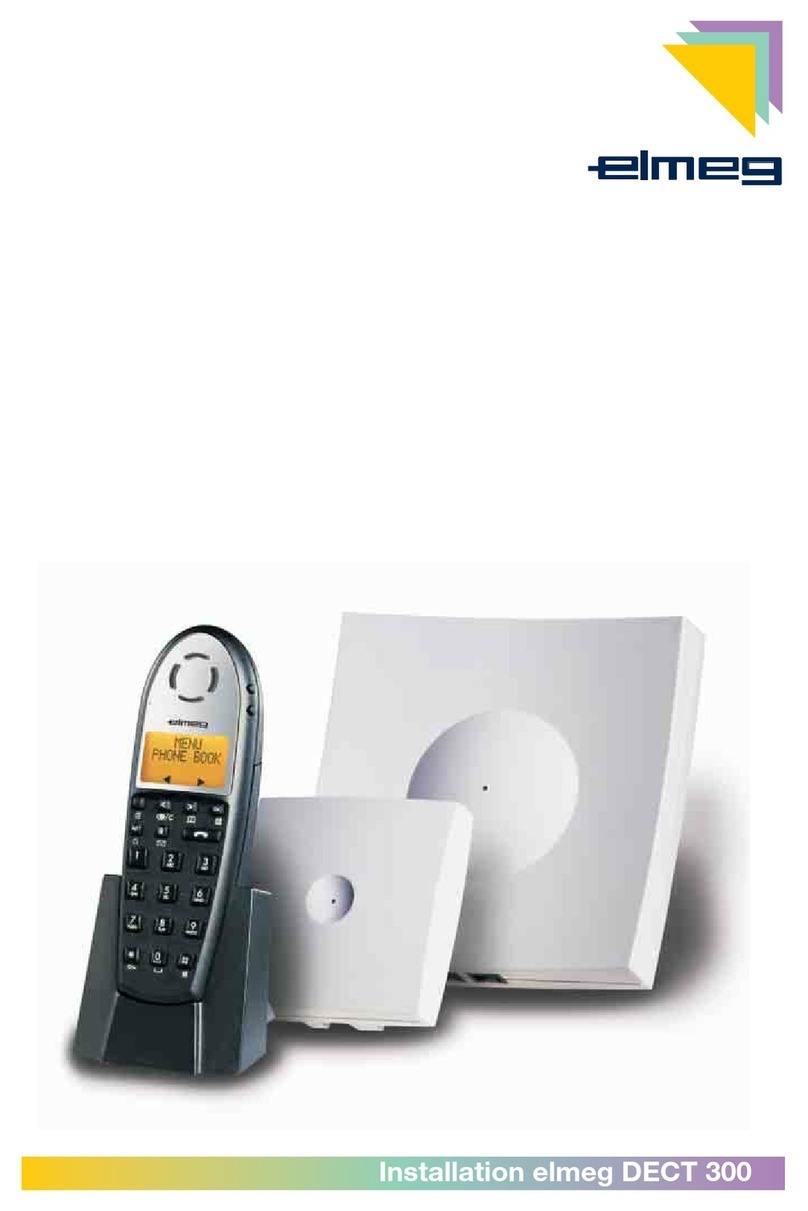
elmeg DECT 300 User manual

elmeg
elmeg CS290 User manual
elmeg
elmeg IP120 Installation manual

elmeg
elmeg C46e Operating and installation instructions


