manuals.online logo
Brands
  1. Home
  2. •
  3. Brands
  4. •
  5. Eltako
  6. •
  7. Controllers
  8. •
  9. Eltako FASSA-230V User manual

Eltako FASSA-230V User manual

1 NO contact not potential free 16A/250V AC,
incandescent lamps 2300 Watt, ESL and LED
up to 400 Watt. 116x56x46 mm (measure-
ments without plug), black. Suitable for
both indoors and outdoors, IP44 (splash-
proof). Encrypted wireless, bidirectional
wireless and repeater function are
switchable. Only 0.4 watt standby loss.
Smart Home actuator.
Adapter for German Socket (Type F).
With increased shock protection
.
Supply and switching voltage 230 V.
Zero passage switching.
Bistable relay to prevent coil power loss and
the associated heat generation in switched
state.
After plugging wait for short automatic syn-
chronization before the switched consumer
is plugged.
In case of failure of the supply voltage, the
switching state is maintained.
The recurrent supply voltage is disconnec-
ted in a denite sequence.
Manual ON/OFF:
Tap the button on the front (<1 s).
The actuator switches on and the green LED
comes on.
Tap the button again (<1 s). The actuator
switches off and the green LED goes off.
Die grüne LED zeigt im Betrieb den Schalt-
zustand an, die rote LED zeigt eingehende
Funk-Steuerbefehle durch kurzes Aufblinken
an. Die rote und die grüne LED begleiten zu-
dem den Einlernvorgang.
Up to 35 wireless universal pushbuttons,
wireless direction pushbuttons, wireless
central control pushbuttons, wireless motion
detectors, wireless smoke alarms or wireless
Wireless outdoor socket switch actuator
FASSA-230V
GB
Temperature at mounting location:
-20°C up to +50°C.
Storage temperature: -25°C up to +70°C.
Relative humidity:
annual average value <75%.
30 100 011 - 1
window/door contatcs can be taught in.
If several wireless door/window contacts were
taught in, they are interlinked. A monitor
becomes active for window contacts with
cyclical transmission. Each valid incoming
data telegram starts a time of approx.
35 minutes. If no telegrams are received,
the actuator switches off automatically
when this time expires.
Teaching-in sensors:
Press the button on the front (> 2 s < 4 s).
The actuator switches to teach-in mode
and the red LED lights up permanently.
■Universal pushbutton: Tap the button
on the front once. The green LED ashes
briey once every 3 seconds.
■Direction pushbutton: Tap the button
on the front twice. The green LED ashes
briey twice every 3 seconds.
A rocker is fully taught-in automatically.
The side where the pushbutton is rst
pressed is dened as switch-on and the
other side is then the switch-off side.
■Central control pushbutton 'ON':
Tap the button on the front 3 times.
The green LED ashes briey 3 times
every 3 seconds.
■Central control pushbutton 'OFF':
Tap the button on the front 4 times.
The green LED ashes briey 4 times
every 3 seconds.
■
FTK, FTKB, FFKB (EEP D5-00-01), FFG7B
(EEP A5-14-09), FTKB-hg (EEP A5-14-0A),
FFGB-hg (EEP A5-14-01, 03), FTKE,
FB55, FB65, FBH55SB, FBH65SB (EEP
A5-07-01), FRWB, FHMB (EEP A5-30-03),
GFVS and rotary switch (EEP A5-38-08,
conrmation telegrams are switched
on automatically): Tap the button on the
front 5 times. The green LED ashes
briey 5 times every 3 seconds
.
Now press the teach-in sensor or send
a teach-in telegram. The green LED
lights up for 2 seconds and goes out.
The red LED remains on and teach-in
mode remains active.
Now you can activate the actuator by
tapping the button (1 to 5 times) to teach
in another sensor.
Press the button (> 2 s) to end teach-in
mode. Both LEDs go off.
If the button is not pressed for longer than
1 minute, teach-in mode ends automati-
cally. Both LEDs go off and the actuator
reverts to normal mode.
Teach in encrypted sensors:
Press the button on the front (> 4 s < 6s).
The actuator switches to teach-in mode
and the red and green LEDs ash alter-
nately at the rate of 1 second.
Then activate sensor encryption. The
red LED goes out. The green LED lights
up for 2 seconds, goes out and reverts to
normal mode.
Then teach in the encrypted sensor as
described in 'Teach in sensors'.
If no sensor is taught in encrypted,
encryption mode ends automatically
after 1 minute. The two LEDs go off and
the actuator is in normal mode.
Clear sensors:
Press the button on the front (> 6 s). The
actuator switches to clear mode and the
red LED ashes rapidly.
■Clear individual taught-in sensors:
Press the pushbutton you want to clear
or send a teach-in telegram to a sensor
you want to clear. The red LED lights
up for 2 seconds and goes out. To pre-
vent further unintentional clearing,
cancel clear mode after completing a
clear operation and the device switches
to normal mode.
■Clear memory completely: Press the
button on the front again (> 6 s). The
red LED goes out. All taught-in sensors
are cleared, the repeater and the con-
rmation telegrams are switched off.
Press the button (>2 s < 4) to end clear
mode. Both LEDs go off.
If the button is not pressed for longer than
1 minute, clear mode ends automatically.
Both LEDs go off and the actuator reverts
to normal mode.
Setting mode:
Press and hold the button on the front and
plug the actuator into the socket. After
releasing the button, the green LED ashes
briey once every 2 seconds.
Press the button (> 2 s). Conrmation
telegrams are switched on. The green
LED lights up for 4 seconds to indicate
the state and then goes out.
() i
the
state
and
then
goes
out.
Press the button (> 2 s). Conrmation
telegrams are switched off. The green
LED lights up for 1 second to indicate the
state and then goes out.
Every press of the button (> 2 s) switches
between settings.
Tap the button (< 1 s) to switch to the
mode for switching the repeater on/
off. The red LED ashes briey once
every 2 seconds. Press the button (> 2 s).
The repeater is switched on. The red LED
lights up for 4 seconds to indicate the
state and then goes out.
Press the button (> 2 s). The repeater is
switched off. The red LED lights up for
1 second to indicate the state and then
goes out.
Every press of the button (> 2 s) switches
between settings.
Tap the button again (<1 s) to switch to
normal mode. The two LEDs go out.
Checking the settings:
When you plug the actuator into the socket,
the green LED lights up for 2 seconds if
conrmation telegrams are active. If they
are not, the green LED only ashes briey.
Finally, the red LED lights up for 2 seconds
if the repeater is active. If it is not, the
red LED only ashes briey.
Semi-automatic motion detection with
wireless motion detector (EEP A5-07-01):
Press the pushbutton to switch the device on.
This starts an off-delay time of 5 minutes.
If motion is detected within this time, the
device is switched back on. If no motion is
detected, the device switches off automati-
cally after 5 minutes. Finally, the actuator
reacts to motion for another 5 minutes and
if motion is detected, it switches back on
automatically. When this time expires, press
the pushbutton again to switch the device
back on. You can press the pushbutton at
any time to switch it off. No motion is then
evaluated.
Fully automatic motion detection with
wireless motion detector (EEP A5-07-01):
If the actuator is to switch on automatically
when motion is detected, e.g. in rooms without
daylight, replug the jumper to 'active' in the
sensor. If no motion is detected, the device
switches off automatically when the 5-minute
off-relay time expires. You can press the
pushbutton any time to switch the device on
or off. If motion is detected, the device
switches back on automatically.
If a smoke detector FRWB or a heat alarm
FHMB was taught in, the actuator switches
on immediately when it receives an alarm
telegram.
In the event of an alarm end telegram, the
contact does not open automatically.
Switch it off by pressing the pushbutton.
The socket must be easily
accessible.
Don’t insert in a row.
!
Frequency 868.3MHz
Transmit power max. 10mW
Hereby, Eltako GmbH declares that the radio
equipment type FASSA-230V is in com-
pliance with Directive 2014/53/EU.
The full text of the EU declaration of
conformity is available at the following
internet address: eltako.com
Must be kept for later use!
Eltako GmbH
D-70736 Fellbach
Technical Support English:
+49 711 94350025
technical-support@eltako.de
eltako.com
51/2020 Subject to change without notice.

Other Eltako Controllers manuals

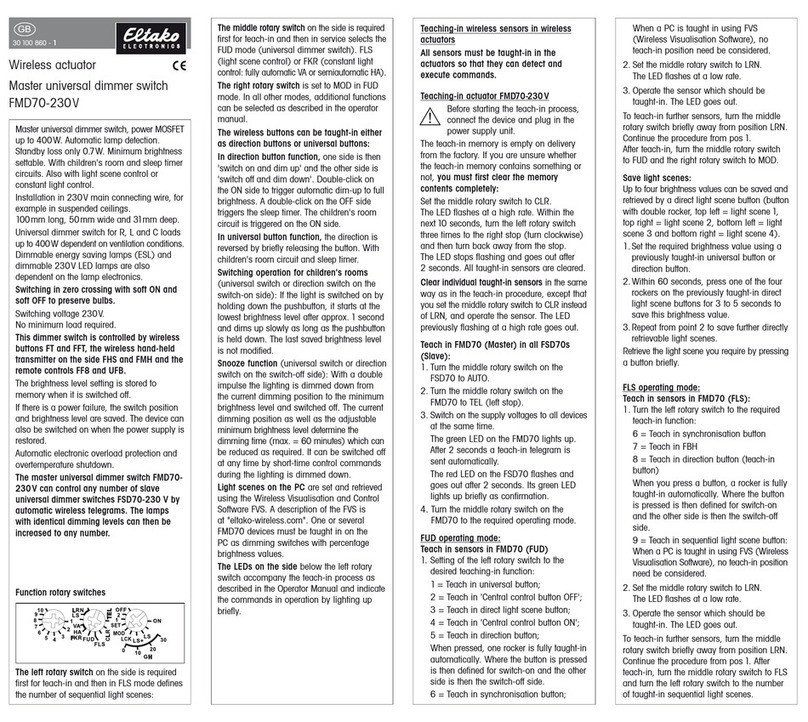
Eltako FMD70-230V User manual

Eltako

Eltako FMD70-230V User manual

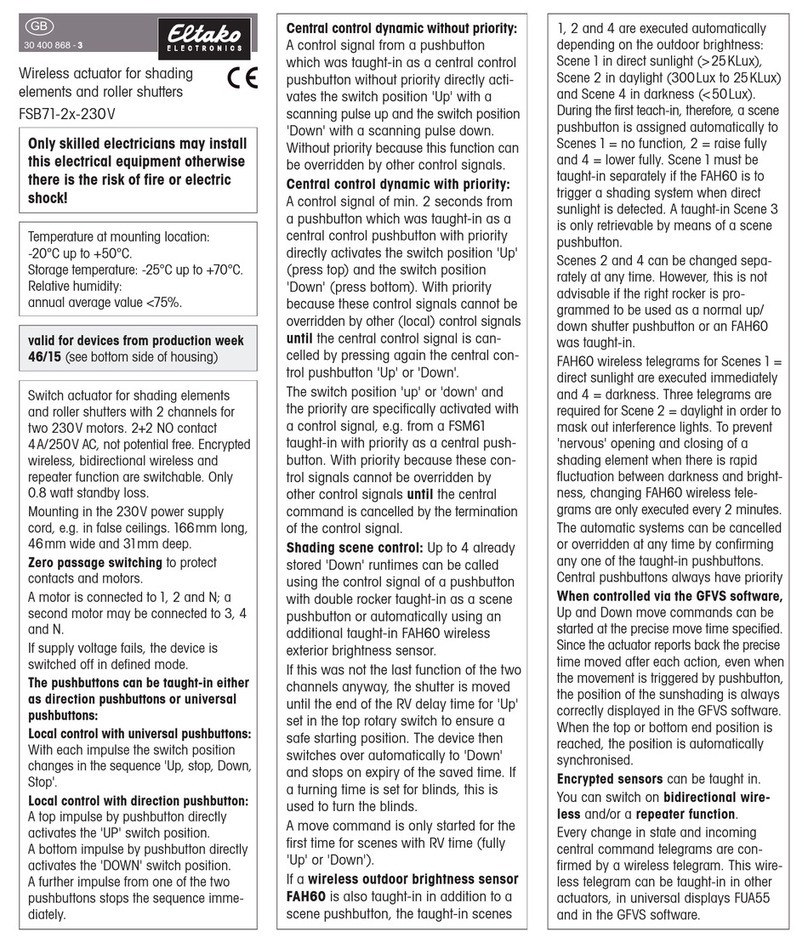
Eltako FSB71-2x-230V User manual

Eltako

Eltako FSB71-2x-230V User manual

Eltako FSR61LN-230V User manual

Eltako

Eltako FSR61LN-230V User manual

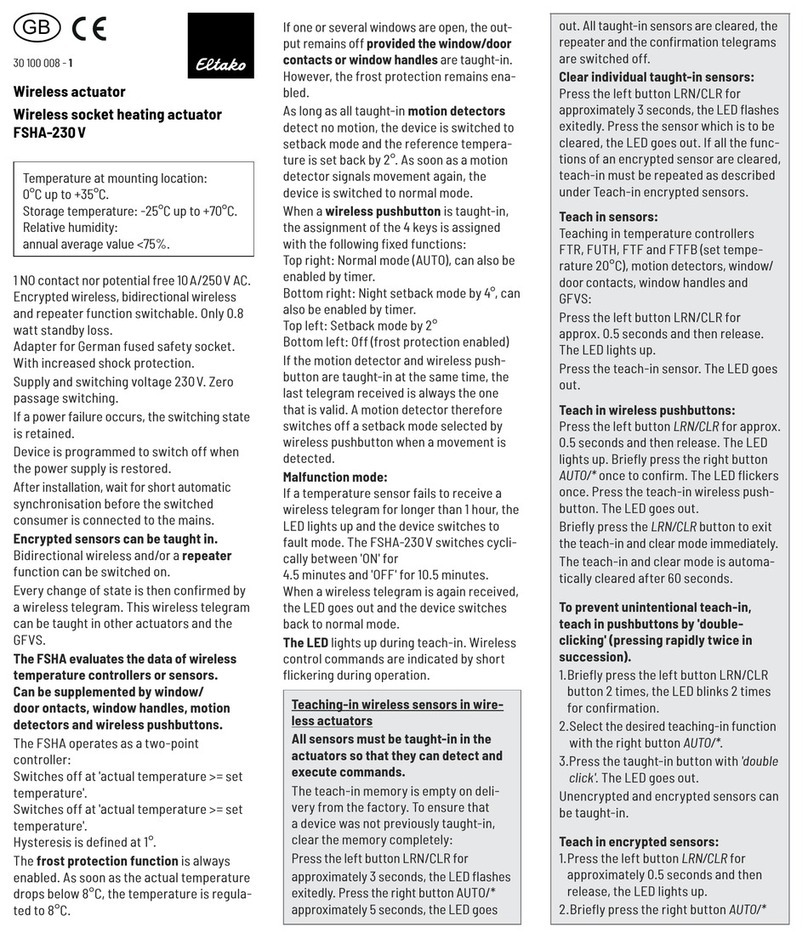
Eltako FSHA-230V User manual

Eltako

Eltako FSHA-230V User manual

Eltako Safe User manual

Eltako

Eltako Safe User manual

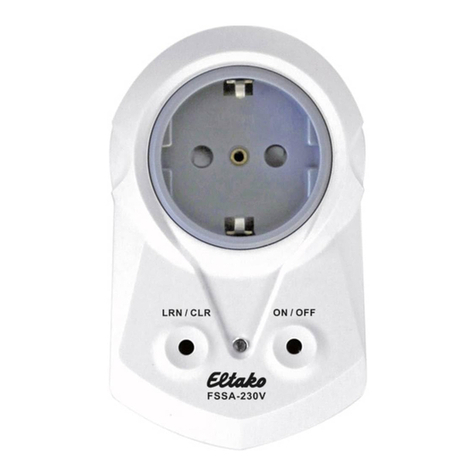
Eltako FSSA-230V User manual

Eltako

Eltako FSSA-230V User manual

Eltako FSB71-2x-230V User manual

Eltako

Eltako FSB71-2x-230V User manual

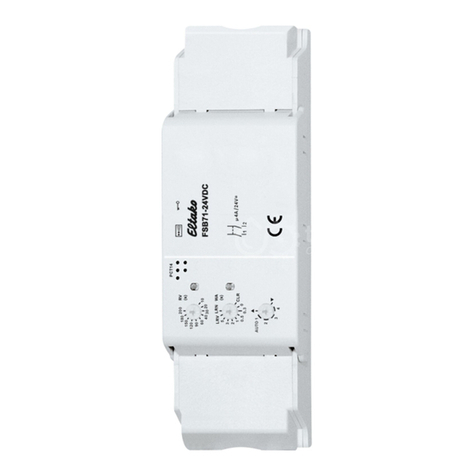
Eltako FSB71-24V DC User manual

Eltako

Eltako FSB71-24V DC User manual

Eltako FSR61NP-230V User manual

Eltako

Eltako FSR61NP-230V User manual

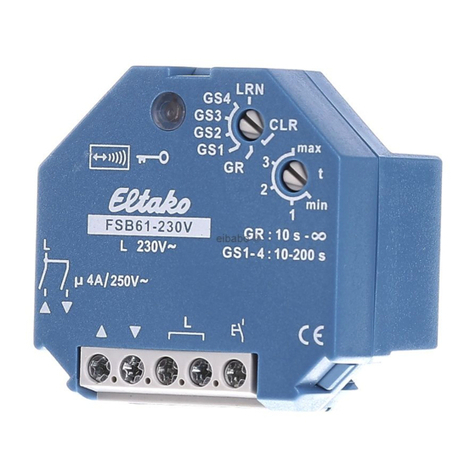
Eltako FSB61 Manual

Eltako

Eltako FSB61 Manual

Eltako FSHA-230V User manual

Eltako

Eltako FSHA-230V User manual

Popular Controllers manuals by other brands

Mitsubishi Electric RV-8CRL Standard Specifications Manual

Mitsubishi Electric

Mitsubishi Electric RV-8CRL Standard Specifications Manual

Vacon 100X series Installation, Technical and Maintenance  Manual

Vacon

Vacon 100X series Installation, Technical and Maintenance Manual

Monacor VCA-202RN quick start guide

Monacor

Monacor VCA-202RN quick start guide

Eaton AutoVAR 600 Instructions for Replacing

Eaton

Eaton AutoVAR 600 Instructions for Replacing

ccei Oxeo VP Technical manual

ccei

ccei Oxeo VP Technical manual

Synapse DIM10-220 installation guide

Synapse

Synapse DIM10-220 installation guide

Danfoss EKC 368 instructions

Danfoss

Danfoss EKC 368 instructions

Toshiba nv Series instruction manual

Toshiba

Toshiba nv Series instruction manual

Mitsubishi Electric MELSEC iQ-R Series user manual

Mitsubishi Electric

Mitsubishi Electric MELSEC iQ-R Series user manual

Digilin ColourTheme 3 user manual

Digilin

Digilin ColourTheme 3 user manual

Gaspardo GENIUS USE AND ASSEMBLY INSTRUCTIONS / SPARE PARTS

Gaspardo

Gaspardo GENIUS USE AND ASSEMBLY INSTRUCTIONS / SPARE PARTS

Allen-Bradley PLC-5 series user manual

Allen-Bradley

Allen-Bradley PLC-5 series user manual

TREND AL0620-24-K installation instructions

TREND

TREND AL0620-24-K installation instructions

Danfoss ISD Encoder Box operating instructions

Danfoss

Danfoss ISD Encoder Box operating instructions

IAI X-SEL Operation manual

IAI

IAI X-SEL Operation manual

TTL UBT2-E user manual

TTL

TTL UBT2-E user manual

Breezy BB01-WC user manual

Breezy

Breezy BB01-WC user manual

Allen-Bradley micrologix 1500 user manual

Allen-Bradley

Allen-Bradley micrologix 1500 user manual

manuals.online logo
manuals.online logoBrands
  • About & Mission
  • Contact us
  • Privacy Policy
  • Terms and Conditions

Copyright 2025 Manuals.Online. All Rights Reserved.