Eltako FSB61 Manual

SET-UP INSTRUCTIONS
FOR SHADING ACTUATORS
AND GFA5 APP
QUICK SETUP GUIDE
GFA5 APP
SHADING ACTUATORS

2Set-up for shading actuators & GFA5
1. Actuator types 3
2. Teach-in 3
3. Setting runtime in the GFA5 app 4
4. Basic information on runtime 4
5. Setting runtime in the actuator 5
6. Setting runtime in the GFA5 app later 6
7. Operation and device properties 7
8. Scenes and group control 7
9. Schedules (time or Astro with calendar functions) 8
10. Task parameters in the GFA5 app 9
11. Lock-out protection 10
12. Resetting to factory settings 11
CONTENT

3
TEACH-IN - RUNTIMES –
SCENES – SCHEDULES
1. THESE ACTUATOR TYPES ARE COMPATIBLE WITH
MINISAFE2:
FSB61 / FSB14 / TF61J-230V / FJ62 / FSB71 / FTA65J / FTA55J / TF-TA65J /
FRM60 will not be dealt with in detail here since their end positions are set on
the motor.
2. TEACH-IN
Check that the motor wires (up and down) are connected to the correct terminals!
A shading actuator in MiniSafe2 must rst be taught in before it is used. Carry
out the teach-in procedure on the device itself. Each device has a
different teach-in procedure. The teach-in dialogues in the GFA5 app guide you
step by step through each procedure. If the device was already used, rst reset
it, see "Resetting to factory settings".
First create an account in the GFA5 app and log in. The entry "ADD DEVICE" in
the main menu (top left) starts the teach-in process. Enter the device type in the
search window and then select a device from the devices listed. The next steps
are described in detail in dialogue texts in MiniSafe2 and are different for each
device. After a pairing process is successfully conrmed in the app, assign a
device name so that you can nd it later in the app.
Set-up for shading actuators & GFA5

4
3. SETTING RUNTIME IN THE GFA5 APP
At the end of the teach-in process, determine and enter the runtime. The
runtime is measured from bottom to top since it always takes longer than the
runtime in the opposite direction. This time also includes the time taken for the
lamella (slats) to close. You can always correct an inaccurate input later.
Tap the SAVE button to start a reference run. When it ends, the correct end
position is synchronised in the GFA5 app.
4. BASIC INFORMATION ON RUNTIME
(ACTUATOR RUNTIME VS GFA5 APP RUNTIME)
You should set the runtimes correctly to ensure precise position control. Enter
the runtime correctly on the actuator itself and in the GFA5 app under SETUP/
ROOMS/ROOM NAME/DEVICE NAME.
Please note the following:
ɀStored runtime in the actuator >= real runtime: select the next longer settable
time. It need not be precisely the same - longer is also possible. This time is
used in the feedback sent immediately after end positions are reached.
ɀStored runtime in the GFA5 app >= real runtime (which the shading element
actually requires). If possible, the time you enter should be the same as the
real runtime. If the device fails to adhere to the times specied, the functiona-
lity of the device may be impaired. The settings are explained in more detail in
the subsections below.
Set-up for shading actuators & GFA5

5
Set-up for shading actuators & GFA5
5. SETTING THE RUNTIME IN THE ACTUATOR
Make absolutely sure that the set time is greater or equal to the actual time.
Check: To check the setting, operate the actuator using the local control input
or a taught-in push-button.
The shading element should rst move from closed to open position without
stopping.
The actuator may only switch after it reaches end position.
FSB14: The runtime setting on this actuator is also based on the teach-in procedure.
Set the runtime using the upper rotary switch (between 10 and 200 seconds).
The middle rotary switch determines the turning function and the lower rotary
switch selects the operating mode (recommended: position 2 or 3).
FSB61: The runtime setting on this actuator is based on the teach-in procedure.
The lower rotary switch sets the runtime duration measured from bottom to top.
You can select a time between 10 and 200 seconds. The upper rotary switch
remains in the position assumed by the teach-in procedure, in most cases GS1.
FJ62 / TF61J-230V / FTA65J / FTA55J / TF-TA65J: Start a radio pushbutton or
a wired push-button by tapping "Close". When the shading element reaches the
bottom end position, unlock the teach-in mode with a radio pushbutton that is
already taught in (not a central control push-button) or the local pushbutton.
Tap 4 times briey and once long (> 2 seconds). Start the "Open" direction on a
radio push-button that is already taught in (not a central control pushbutton) by
tapping long (> 2 seconds). After the shading element reaches the upper end
position, tap the push-button briey. The runtime is saved as the new off-delay
time. Teach-in mode is then locked automatically.
Function rotary switches
6
6. SETTING RUNTIME IN THE
GFA5 APP LATER
After setting the time on the actuator, check again the runtime setting in the
GFA5 app under SETUP/ROOMS/ROOM NAME/DEVICE NAME. This time should
be the actual runtime from bottom to top stopped with the push-button. It can
be changed and corrected at any time. The time entered should correspond as
closely as possible to the real runtime of the shading element; if in doubt, select
a slightly longer time.
Note the following relationships:
ɀIf the set time is less than the real runtime, the shading element will not close
or open completely.
ɀIf the set time is signicantly longer than the real runtime, there will be an
unnecessary delay in the end position/position message. In addition, the
positions approached will not correspond to the actual positions since the
basis for calculating the percentage control is the time stored in the app.
Set-up for shading actuators & GFA5

7
7. OPERATION AND DEVICE PROPERTIES
In the start menu, you can operate devices by using the DEVICES or ROOMS
tiles. The three dots at the top right open an extended view where you can also
select a percentage target position. At the end of each run, the current position
of the shading element is displayed as a percentage.
You can only make changes in SETUP/ROOMS/ROOM NAME/DEVICE. Changes
include: Name, room assignment, runtime and sorting.
8. SCENES AND GROUP CONTROL
Scenes trigger several shading actuators at the same time. Go to the MAIN
MENU and select SCENES to create, edit, copy and delete scenes. Add the
devices you want and select a switching state in ACTIONS. Scenes you created
are displayed in the start view under SCENES. There, you can trigger scenes by
tapping the play icon.
Set-up for shading actuators & GFA5

8
9. SCHEDULES
(TIME OR ASTRO WITH CALENDAR FUNCTION)
Automatic time functions for shading actuators are executed by means of a task
function. Go to the MAIN MENU and select TASKS to create copy and edit tasks.
To trigger a task at a xed time, select the trigger TIMER (time) or ASTRO (to
adjust variably to sunrise and sunset times). You can dene individual days and
active time periods. Add the devices you want and select a switching state in
the THEN assignment. Time rules are also displayed under the calendar function
where you can deactivate, change or delete them.
Set-up for shading actuators & GFA5

9
10. TASK PARAMETERS IN THE GFA5 APP
Create automatic functions in the TASK control function. This section
describes the structure of parameters and how to handle them.
ACTION
The top section lists the days when each task is executed together
with their start and end dates. You can also activate or deactivate a
task manually.
IF
Enter at least one trigger under IF. For example, this may be a time
or a sensor (weather station). If you enter several triggers, they are
logically OR-linked.
TRIGGER EVENTS
If a task should only be executed under certain conditions (trigger
events), they can be checked beforehand. Trigger events include
e.g. time periods, states of sensors or actuators.
You can select whether several trigger events are checked for
either logical AND or OR links (e.g. window must be closed).
THEN
If the trigger event and the logic check are fullled when the IF
signal is received, the assigned action is executed under THEN (e.g.
lower blind.)
OTHERWISE
If the trigger event and check are not fullled, alternative actions
can be executed under OTHERWISE (e.g. send push message)
THEN (ALWAYS)
THEN (ALWAYS) is always executed without a trigger event check.
In our example, the blind is only lowered when the sunlight is > 64 klux,
the window contact is closed AND the room temperature is > 22°C.
OTHERWISE and THEN (ALWAYS) were not dened.
Set-up for shading actuators & GFA5

10
11. LOCK-OUT PROTECTION (DIRECT OR IN TASKS)
If wireless window contacts are taught directly into shading actuators, you can
provide additional lock-out protection (for example, at the patio door). This
prevents an automated control in a "Central Down" command from accidentally
locking out an occupant who may be outside.
IF window is open THEN lock shading actuator. Which command is blocked (e.g.
Central Down, GFVS or local) mainly depends on the device properties and its
settings in the actuator.
You can also set up a lock-out protection in the control function (Tasks). In this
case, add the radio window contacts that must be checked under TRIGGER
EVENTS and considered when the task is invoked.
Set-up for shading actuators & GFA5

11
12. RESETTING TO FACTORY SETTINGS
You can reset the factory settings on the device using the following procedures:
Eltako FSB61: Turn the upper rotary switch to CLR. The LED ashes rapidly.
Turn the upper rotary switch to right stop (turn clockwise) and back 3 times
within 10 seconds. The LED stops ashing and goes out after 2 seconds. All
taught-in sensors are cleared.
Eltako FSB14/ FSB71: Turn the middle rotary switch to CLR. The LED ashes
rapidly. Turn the upper rotary switch to right stop (turn clockwise) and back
3 times within 10 seconds. The LED stops ashing and goes out after 2 seconds.
All taught-in sensors are cleared.
Eltako FJ62 / TF61J-230V / FTA65J / FTA55J / TF-TA65J: Switch the power on
and off. Tap a wireless push-button which is already taught in (but not the central
control button) or the local push-button briey 8 times and once long (<2 seconds).
Clear is indicated by a short "Down, Stop" signal.
Set-up for shading actuators & GFA5

Picture credits: Title, © Von slavun - istock.com+Weberhaus, Composing Eltako; p. 1 to 10 © Warawut - AdobeStock.com,
p. 12 © Von XtravaganT - istock.com;
03/2022
Technical support:
+49 711 943 500 25 technical-support@eltako.de
Commercial support:
+49 711 943 500 00 export@eltako.de
Eltako GmbH
Hofener Straße 54
D-70736 Fellbach
+49(0)711 943 500-00
eltako.com
This manual suits for next models
8
Table of contents
Other Eltako Controllers manuals

Eltako
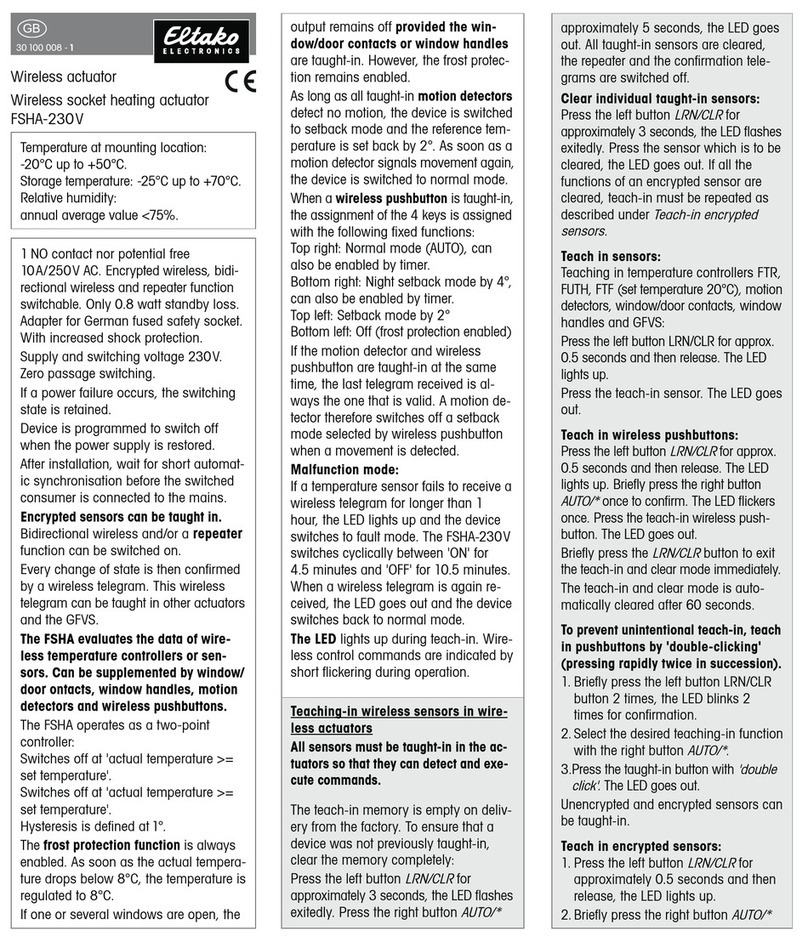
Eltako FSR61LN-230V User manual

Eltako
Eltako FSHA-230V User manual

Eltako
Eltako FSR61NP-230V User manual

Eltako
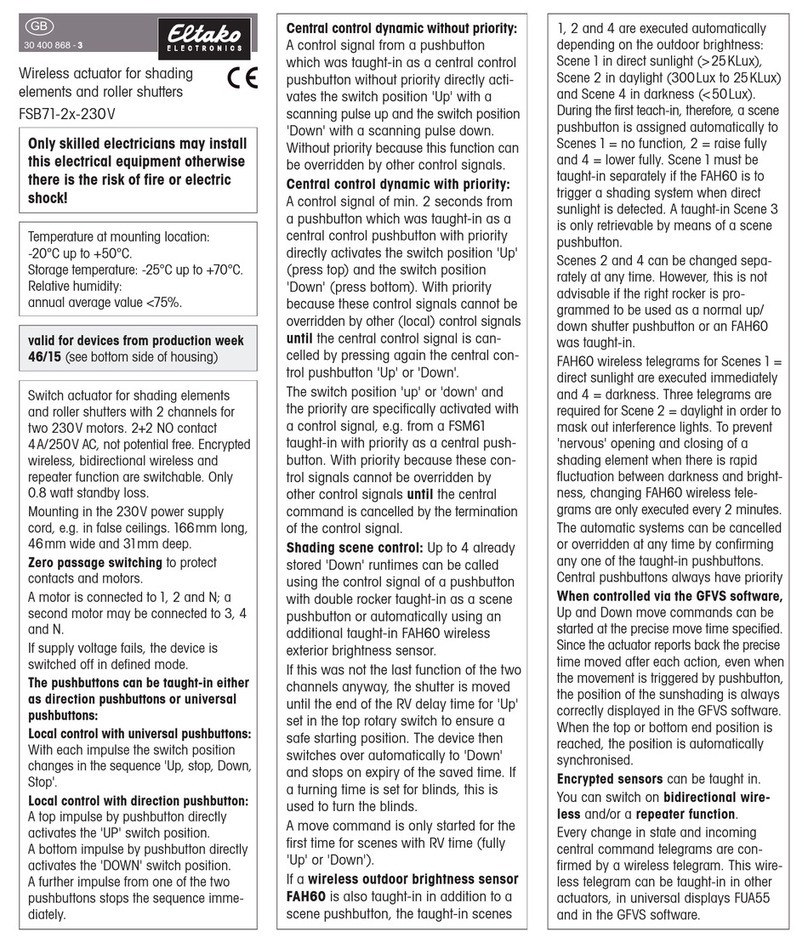
Eltako FSB71-2x-230V User manual

Eltako
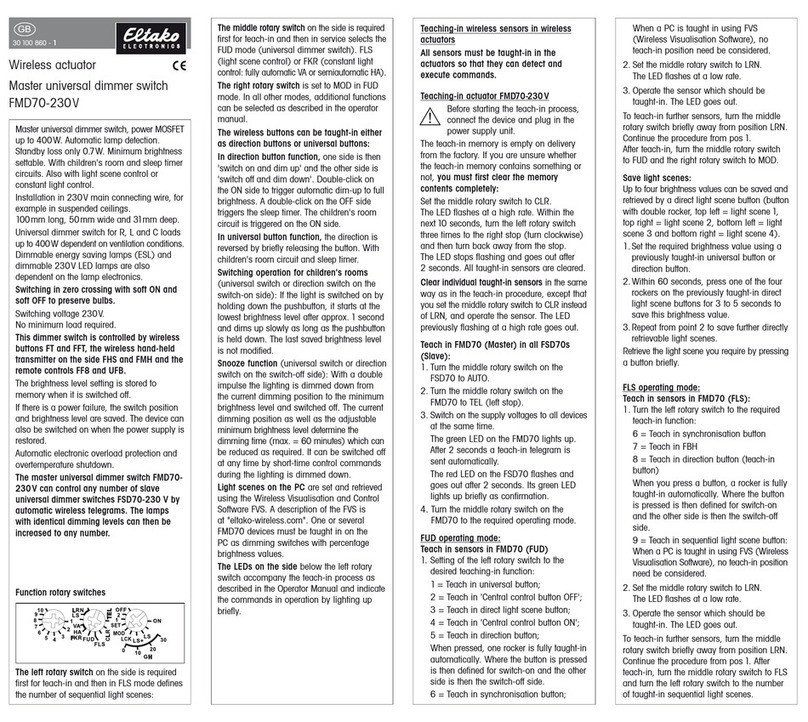
Eltako FMD70-230V User manual

Eltako
Eltako FSB71-24V DC User manual

Eltako
Eltako Safe User manual

Eltako
Eltako FSHA-230V User manual

Eltako
Eltako FASSA-230V User manual

Eltako
Eltako FSSA-230V User manual
Popular Controllers manuals by other brands

MESHLE
MESHLE flex 568M-1 operating instructions

Microchip Technology
Microchip Technology dsPIC30F Guide

Dresser
Dresser Andco Eagle installation manual

DH Instruments
DH Instruments MOLSTIC-S Installation sheet

HP
HP 9000 Series 300 Service handbook

NuAire
NuAire ECOSMART CLASSIC CONTROL Series Commissioning manual