manuals.online logo
Brands
  1. Home
  2. •
  3. Brands
  4. •
  5. Emerson
  6. •
  7. Measuring Instrument
  8. •
  9. Emerson Appleton AEPGI User manual

Emerson Appleton AEPGI User manual

Other Emerson Measuring Instrument manuals

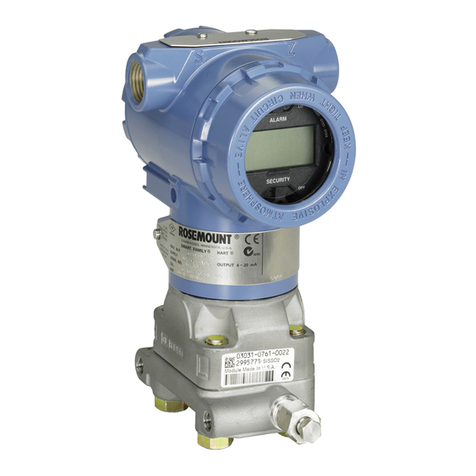
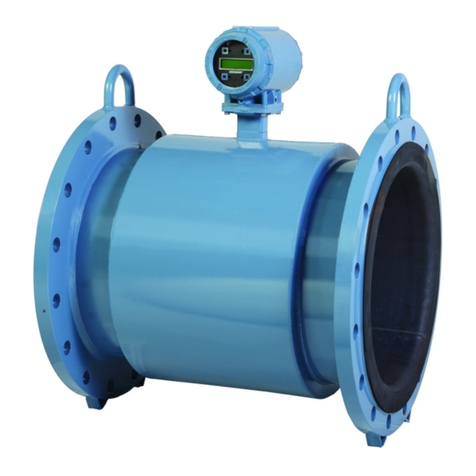
Emerson Rosemount 8800D Series User manual

Emerson

Emerson Rosemount 8800D Series User manual

Emerson daniel 1500 series User manual

Emerson

Emerson daniel 1500 series User manual

Emerson Rosemount 753R User manual

Emerson

Emerson Rosemount 753R User manual

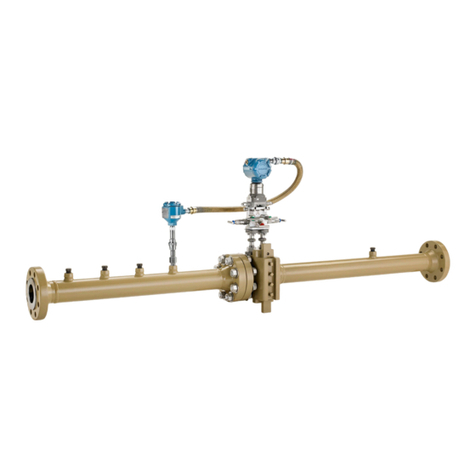
Emerson Rosemount 485 Annubar User manual

Emerson

Emerson Rosemount 485 Annubar User manual

Emerson Daniel 3812 Programming manual

Emerson

Emerson Daniel 3812 Programming manual

Emerson CSI 2140 User manual

Emerson

Emerson CSI 2140 User manual

Emerson Rosemount 3818 Programming manual

Emerson

Emerson Rosemount 3818 Programming manual

Emerson Rosemount CT5100 User manual

Emerson

Emerson Rosemount CT5100 User manual

Emerson Micro Motion User manual

Emerson

Emerson Micro Motion User manual

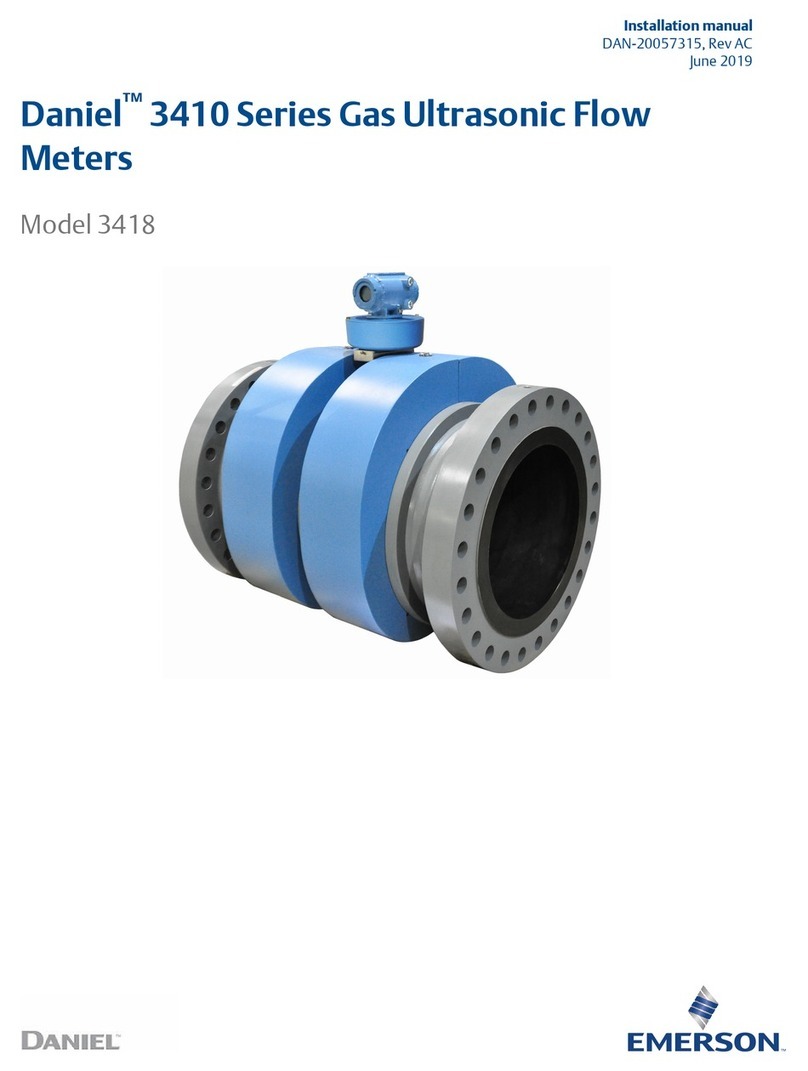
Emerson Daniel 3410 Series Programming manual

Emerson

Emerson Daniel 3410 Series Programming manual

Emerson Rosemount X-Stream Series User manual

Emerson

Emerson Rosemount X-Stream Series User manual

Emerson Rosemount 2051 User manual

Emerson

Emerson Rosemount 2051 User manual

Emerson Rosemount 1057 User manual

Emerson

Emerson Rosemount 1057 User manual

Emerson Daniel 3410 Series User manual

Emerson

Emerson Daniel 3410 Series User manual

Emerson RLDS Operating instructions

Emerson

Emerson RLDS Operating instructions

Emerson Rosemount 3410 Series Programming manual

Emerson

Emerson Rosemount 3410 Series Programming manual

Emerson Micro Motion SGM Series Quick guide

Emerson

Emerson Micro Motion SGM Series Quick guide

Emerson Rosemount 6888A User manual

Emerson

Emerson Rosemount 6888A User manual

Emerson Micro Motion Viscomaster User manual

Emerson

Emerson Micro Motion Viscomaster User manual

Emerson Micro Motion SGM Quick guide

Emerson

Emerson Micro Motion SGM Quick guide

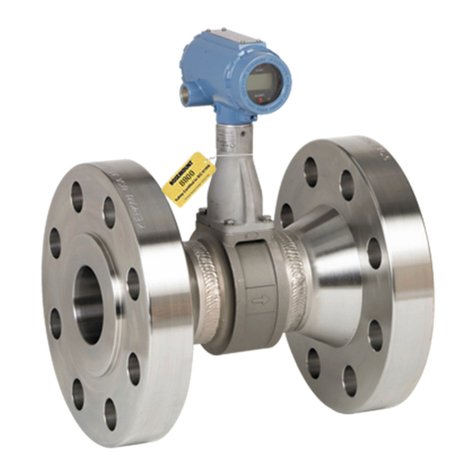
Emerson Rosemount 8600 Series User manual

Emerson

Emerson Rosemount 8600 Series User manual

Emerson Machinery Health Expert CSI 2600 User manual

Emerson

Emerson Machinery Health Expert CSI 2600 User manual

Emerson Rosemount 3051CF DP User manual

Emerson

Emerson Rosemount 3051CF DP User manual

Emerson Rosemount 3414 User manual

Emerson

Emerson Rosemount 3414 User manual

Popular Measuring Instrument manuals by other brands

Powerfix Profi 278296 Operation and safety notes

Powerfix Profi

Powerfix Profi 278296 Operation and safety notes

Test Equipment Depot GVT-427B user manual

Test Equipment Depot

Test Equipment Depot GVT-427B user manual

Fieldpiece ACH Operator's manual

Fieldpiece

Fieldpiece ACH Operator's manual

FLYSURFER VIRON3 user manual

FLYSURFER

FLYSURFER VIRON3 user manual

GMW TG uni 1 operating manual

GMW

GMW TG uni 1 operating manual

Downeaster Wind & Weather Medallion Series instruction manual

Downeaster

Downeaster Wind & Weather Medallion Series instruction manual

Hanna Instruments HI96725C instruction manual

Hanna Instruments

Hanna Instruments HI96725C instruction manual

Nokeval KMR260 quick guide

Nokeval

Nokeval KMR260 quick guide

HOKUYO AUTOMATIC UBG-05LN instruction manual

HOKUYO AUTOMATIC

HOKUYO AUTOMATIC UBG-05LN instruction manual

Fluke 96000 Series Operator's manual

Fluke

Fluke 96000 Series Operator's manual

Test Products International SP565 user manual

Test Products International

Test Products International SP565 user manual

General Sleep Zmachine Insight+ DT-200 Service manual

General Sleep

General Sleep Zmachine Insight+ DT-200 Service manual

Sensa Core Lacto Spark user manual

Sensa Core

Sensa Core Lacto Spark user manual

VOLTCRAFT UTS-1980 operating instructions

VOLTCRAFT

VOLTCRAFT UTS-1980 operating instructions

EBCHQ 94915 Operation manual

EBCHQ

EBCHQ 94915 Operation manual

Balluff BIP LD2-T017-01-EP-S4 Series user guide

Balluff

Balluff BIP LD2-T017-01-EP-S4 Series user guide

Pulsar IMP Lite Series instruction manual

Pulsar

Pulsar IMP Lite Series instruction manual

ETCR 6800 user manual

ETCR

ETCR 6800 user manual

manuals.online logo
manuals.online logoBrands
  • About & Mission
  • Contact us
  • Privacy Policy
  • Terms and Conditions

Copyright 2025 Manuals.Online. All Rights Reserved.

Appleton • 1.800.621.1506 • www.appletonelec.com 305903 Rev. 6 07/29/19 • Page 1 of 4
The Appleton™ AEPGI Explosion-Proof Grounding Indicator
Installation and Operation Instructions
FOR PROPER AND SAFE INSTALLATION OF THIS PRODUCT, PLEASE READ THE FOLLOWING INSTRUCTIONS
Appleton’s AEPGI Explosion-Proof Grounding Indicator provides a means to safely discharge an electrostatic charge to ground
in hazardous areas. The arc produced by a rapid discharge of accumulated static electricity to ground can ignite explosive fumes
causing damage to equipment and personnel. Therefore, before loading and unloading explosive uids, it is necessary to provide a
safe path that any electrostatic charge can be safely discharged to ground prior to connecting or disconnecting the uid transfer lines.
The AEPGI is equipped with a green and red indicator to show the status of ground continuity between the vessel and AEPGI. A green
indicator shows there is adequate ground continuity for uid transfer and red indicator shows there is a brake in ground continuity.
Control of the transfer equipment can also be controlled by a dry relay contact inside the AEPGI. When an adequate ground contact is
detected, a normally open contact will close, enabling the uid transfer equipment to activate. When the ground continuity is broken,
the contact will open, stopping the uid transfer equipment. Transfer operations should never be under taken when ground continuity
is broken, and not restarted until a satisfactory ground path is reestablished.
IT IS IMPORTANT TO READ, UNDERSTAND AND FOLLOW THESE INSTRUCTIONS FOR PROPER INSTALLATION
AND SAFE USE OF THIS PRODUCT. RETAIN THIS INSTRUCTIONS FOR FUTURE REFERENCE.
Signal Words Defined:
DANGER indicates a hazardous situation which, if not avoided will result in death or serious injury.
WARNING indicates a hazardous situation which, if not avoided could result in death or serious injury
CAUTION indicates a hazardous situation which, if not avoided could result in minor or moderate injury.
NOTICE is used to address practices not related to physical injury.
Equipment shall be installed in accordance with all National and Local codes, acceptable to the Authority Having Jurisdiction.
Only qualied personnel should install, inspect, and perform regular maintenance on the equipment.
Refer to the product nameplate for important information regarding the hazardous location rating, enclosure environmental rating,
agency approval(s), and important safety information. Adhere to all warning and caution statements located on the exterior or interior
of the enclosure.
Class I, Division 1 locations require a conduit seal to be installed in each conduit run within the specied distance noted on the
product nameplate.
Unused conduit openings shall have a certied close-up plug installed that has the same hazardous location ratings as the
enclosure. The close-up plug must engage a minimum of ve full threads.
Always keep the cover bolts tight to prevent ignition of hazardous atmospheres and disconnect circuits before opening cover.
Only use the original cover screws provided with enclosure
Take extreme care not to damage the at-machined ange when opening the enclosure cover. Damaging the ange could affect
the enclosure’s integrity to protect the hazardous area.
Dirt, grease, and other foreign material must not accumulate on the at-machined ange surface of the body and cover. The cover
and body must fully mate against each other to provide the proper protection to the hazardous area.
Do not attempt to repair the cover gasket if damaged; contact factory for replacement. Remove damaged gasket and continue
to use the enclosure. The gasket does not affect the enclosure’s safety for use in the hazardous locations. However, the enclosure’s
environmental rating(s) will no longer be valid.
Install only an approved drain tting that has the same hazardous location ratings as the enclosure. Note, care must be taken
during hosedown operations. The enclosure may be watertight, but the drain may not be.
Since the conditions of use are outside of our control, the purchaser should determine the suitability of the equipment for the
intended use and assumes all risk and liability regarding the specic application.
305903 INSTRUCTION SHEET
305903 Rev. 6 07/29/19 • Page 2 of 4Appleton • 1.800.621.1506 • www.appletonelec.com
MOUNTING
WARNING: TO AVOID RISK OF ELECTRICAL SHOCK TURN POWER OFF BEFORE INSTALLATION AND MAINTENANCE
1. It is the responsibility of the installer to properly install the enclosure using the mounting feet supplied with the enclosure. If the
mounting feet are damage, contact the factory for replacement.
2. Mount the enclosure on a at surface capable of supporting the enclosure, controls devices, wiring, etc. Approximate weight of
the AEPGI is 20 pounds.
3. Attach conduit system with seal tting(s) in accordance with the required distance stated on the product nameplate. One,
3/4-NPT opening is provided on each side of the enclosure. A conduit seal shall be installed within the specied distance noted
on the product nameplate.
4. Unused conduit openings shall have a certied close-up plug installed with the same hazardous location ratings as the enclo-
sure. The close-up plug must engage a minimum of ve (5) full threads.
5. Remove cover bolts and set aside. Take extreme care not to damage the at-machined ange of the body and cover.
6. Pull wires into enclosure leaving enough length to make the required electrical connections.
7. To ensure the AEPGI is properly bonded to earth, two independent earth grounds are required. In addition to the electrical system
ground, it is recommended a separate copper grounding rod be installed near the detector. The grounding rod shall be driven
and in contact (7 ft. minimum) of clean EARTH and comply with the National Electrical Code®and all local electrical codes.
8. Inspect and perform a continuity test for all electrical connections.
9. Check cover and body at-machined anges for scratches and/or gouges before installing cover. Clean the anges and inspect
the cover gasket for damage.
10. Line up the cover and body bolt holes. Hand start the corner bolts rst, before installing the remaining cover bolts. Tighten
cover bolts to the required torque.
11. Cover must fully seat against the body ange to provide a proper explosion proof joint.
12. Install conduit seal per manufacturer’s installation instructions.
305903 Rev. 6 07/29/19 • Page 3 of 4Appleton • 1.800.621.1506 • www.appletonelec.com
INSTALLATION
WARNING: FAILURE TO CONNECT TO A SATISFACTORY EARTH GROUND CAN CAUSE THE DETECTOR
TO INDICATE A FALSE “SATISFACTORY” GROUND CONDITION.
1. Connect incoming power, line and neutral to the connector marked TB1.
2. Connect the system ground to the internal grounding lug.
3. Connect the external earth grounding rod to the external grounding lug.
4. To control the transfer of uid, connect the transfer equipment to the connector marked TB2.
OPERATION
WARNING: Failure to operate correctly could result in serious injury.
1. Anyone operating the ground indicator should be trained on proper use of the detector and how to safely transfer
ammable liquids.
2. Visually inspect the cable, cable connections, and clamp for damage
3. Connect grounding clamp to transport vessel.
4. When transport vessel is grounded, the green light will come on and the red light will turn off.
5. When not in use the ground clamp should be attached and clamped on a nonconductive insulator, like a PVC pipe. Make sure
the teeth are not touching anything conductive.
305903 Rev. 6 07/29/19 • Page 4 of 4
Except as expressly provided by Appleton Grp, LLC (Appleton), Appleton products are intended for ultimate purchase by industrial users and for operation by persons trained and experienced in the use and maintenance of this equipment
and not for consumers or consumer use. Appleton warranties DO NOT extend to, and no reseller is authorized to extend Appleton’s warranties to any consumer.
While every precaution has been taken to ensure accuracy and completeness in this manual, Appleton Grp, LLC. assumes no responsibility, and disclaims all liability for damages resulting from use of this information or for any errors or
omissions. Specications are subject to change without notice. The Appleton and Emerson logos are registered in the U.S. Patent and Trademark Ofce. All other product or service names are the property of their registered owners.
©2019 Appleton Grp, LLC. All rights reserved.
Contact Factory for Replacement Parts
Part Number Description
AEPGIC25KIT 25' Orange Coiled Cord Clamp Assembly
AEPGIC50KIT 50' Orange Coiled Cord Clamp Assembly
AEPGIS25KIT 25' Straight Cord Clamp Assembly
AEPGIS50KIT 50' Straight Cord Clamp Assembly
LEDC12V 12VDC Clear Replacement LED Bulb
ZF9213 120V Circuit Board
AEPL7RLED Red 12V LED Pilot Light Assembly
AEPL7GLED Green 12V LED Pilot Light Assembly
A302T Four (4) Mounting Feet + Screws
ECD50B4X Drain