GB | 5
Installation and Assembly
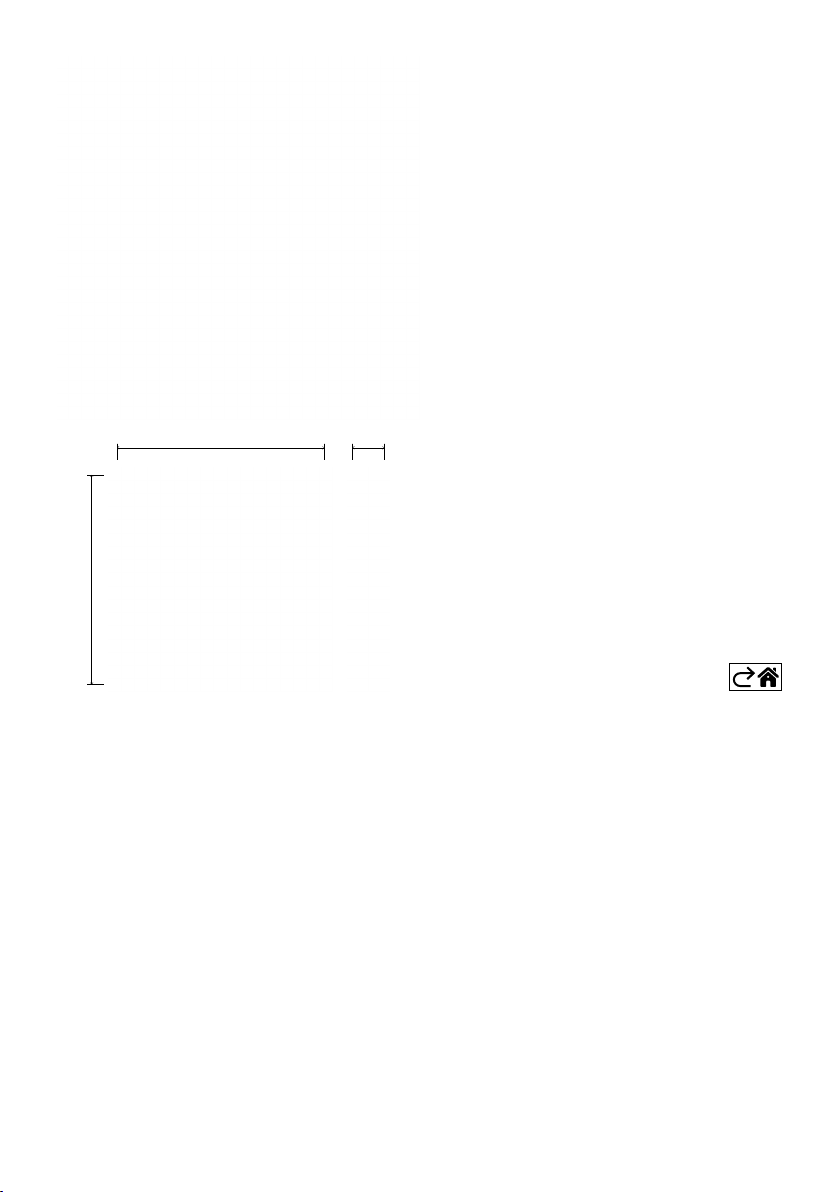
2.4 GHz 5 GHz
Attention
The smart scene switch only communicates with a
ZigBee gateway, such as EMOS H5001. The ZigBee
gateway provides connection and communication
between smart ZigBee devices in the household,
allowing them to be controlled and managed
through a centralised interface. This enables au-
tomation, monitoring and centralised control over
your smart devices.
Installation
Since the device is powered solely by a battery, it
can be mounted onto a wall or attached anywhere
within the range of the ZigBee network using
the enclosed double-sided tape. The switch can,
therefore, be placed on a table, a wall or mounted
in place of a standard light switch.
The back cover of the device is also designed for
mounting into a standard junction box used for
traditional light switches. Thanks to pre-dened
openings, mounting the switch is quick and easy.
However, the junction boxes that the switch can
be mounted onto may have a dierent diameter.
In that case, you can drill holes into the back cover
of the smart switch to t the given junction box.
Inserting Batteries
The device is powered by a CR2430 battery, which
is not included. The battery must be inserted into
the slot located under the rear cover of the device.
Pairing with the App
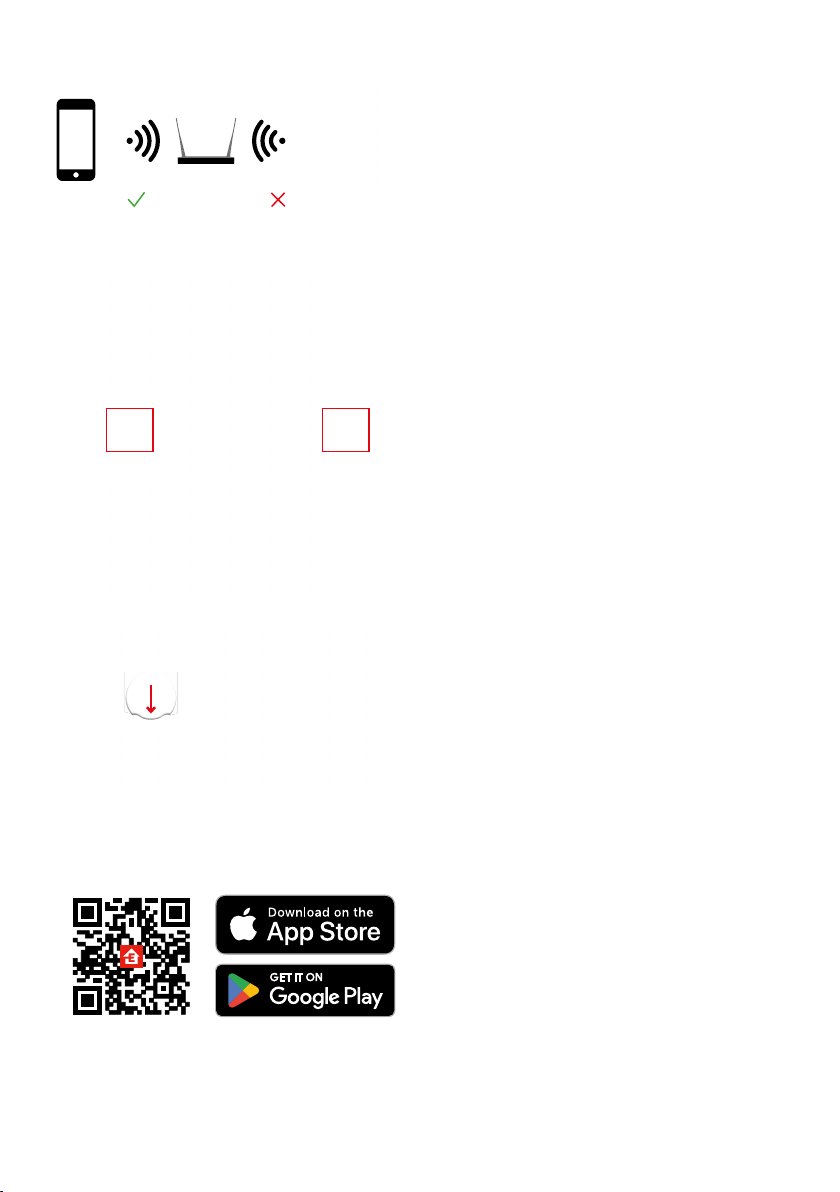
Installing the EMOS GoSmart App
• The app is available for Android and iOS on Google Play and App Store.
• Download the app by scanning the QR code.