Enelion Stilo User manual

Copyright® Enelion Sp. z o.o.
The guide may change as the products develops. We do not guarantee accuracy of the provided information.
ALways check for newest version of manual. Contents of manual may be changed and/or updated by the manu-
facturer. All rights reserved. Document version: V 1.0
Number of pages: 16
Date of issue: August 7, 2019
1

Stilo July 2019
Contents
1 Important information 4
1.1 General provisions . . . . . . . . . . . . . . . . . . . . . . . . . . . . . . . . . . . . . . . . . . . 4
1.2 Protection guidelines . . . . . . . . . . . . . . . . . . . . . . . . . . . . . . . . . . . . . . . . . . 4
2 General information 5
2.1 Additional functionalities . . . . . . . . . . . . . . . . . . . . . . . . . . . . . . . . . . . . . . . . 5
2.2 Opening and closing Enelion Stilo . . . . . . . . . . . . . . . . . . . . . . . . . . . . . . . . . . . 5
3 Recommendations for installation 7
3.1 Recommendation for the power connection . . . . . . . . . . . . . . . . . . . . . . . . . . . . . . 7
3.2 Criteria for choosing the location . . . . . . . . . . . . . . . . . . . . . . . . . . . . . . . . . . . . 7
4 Mounting the Enelion Stilo 8
4.1 Preparing for installation . . . . . . . . . . . . . . . . . . . . . . . . . . . . . . . . . . . . . . . . 8
4.1.1 Choosing the screws . . . . . . . . . . . . . . . . . . . . . . . . . . . . . . . . . . . . . . 8
4.1.2 Installing the power cord . . . . . . . . . . . . . . . . . . . . . . . . . . . . . . . . . . . . 8
4.2 Preparing the surface . . . . . . . . . . . . . . . . . . . . . . . . . . . . . . . . . . . . . . . . . . 9
4.3 Mounting the device . . . . . . . . . . . . . . . . . . . . . . . . . . . . . . . . . . . . . . . . . . . 9
5 Usage 11
5.1 Firststeps ................................................ 11
5.1.1 Configuration . . . . . . . . . . . . . . . . . . . . . . . . . . . . . . . . . . . . . . . . . . 11
5.1.2 The Enelion MID addon . . . . . . . . . . . . . . . . . . . . . . . . . . . . . . . . . . . . . 11
5.2 Installing the addons . . . . . . . . . . . . . . . . . . . . . . . . . . . . . . . . . . . . . . . . . . 11
5.2.1 Enelion Bridge . . . . . . . . . . . . . . . . . . . . . . . . . . . . . . . . . . . . . . . . . . 11
5.2.2 Enelion RCDB . . . . . . . . . . . . . . . . . . . . . . . . . . . . . . . . . . . . . . . . . . 12
6 Maintenance 14
6.1 Cleaning................................................. 14
7 Technical specification 15
7.1 EnelionStilo............................................... 15
2 Contents

Congratulations on your purchase of Enelion Stilo charger and thank you for trusting us. Prior to installing the
device make sure the box includes a full set of elements. The current version of the user’s instruction and
installation is available at: www.enelion.com/manuals
Before taking any actions related to installing or starting the charger you must read the instruction.

Stilo July 2019
1. Important information
1.1. General provisions
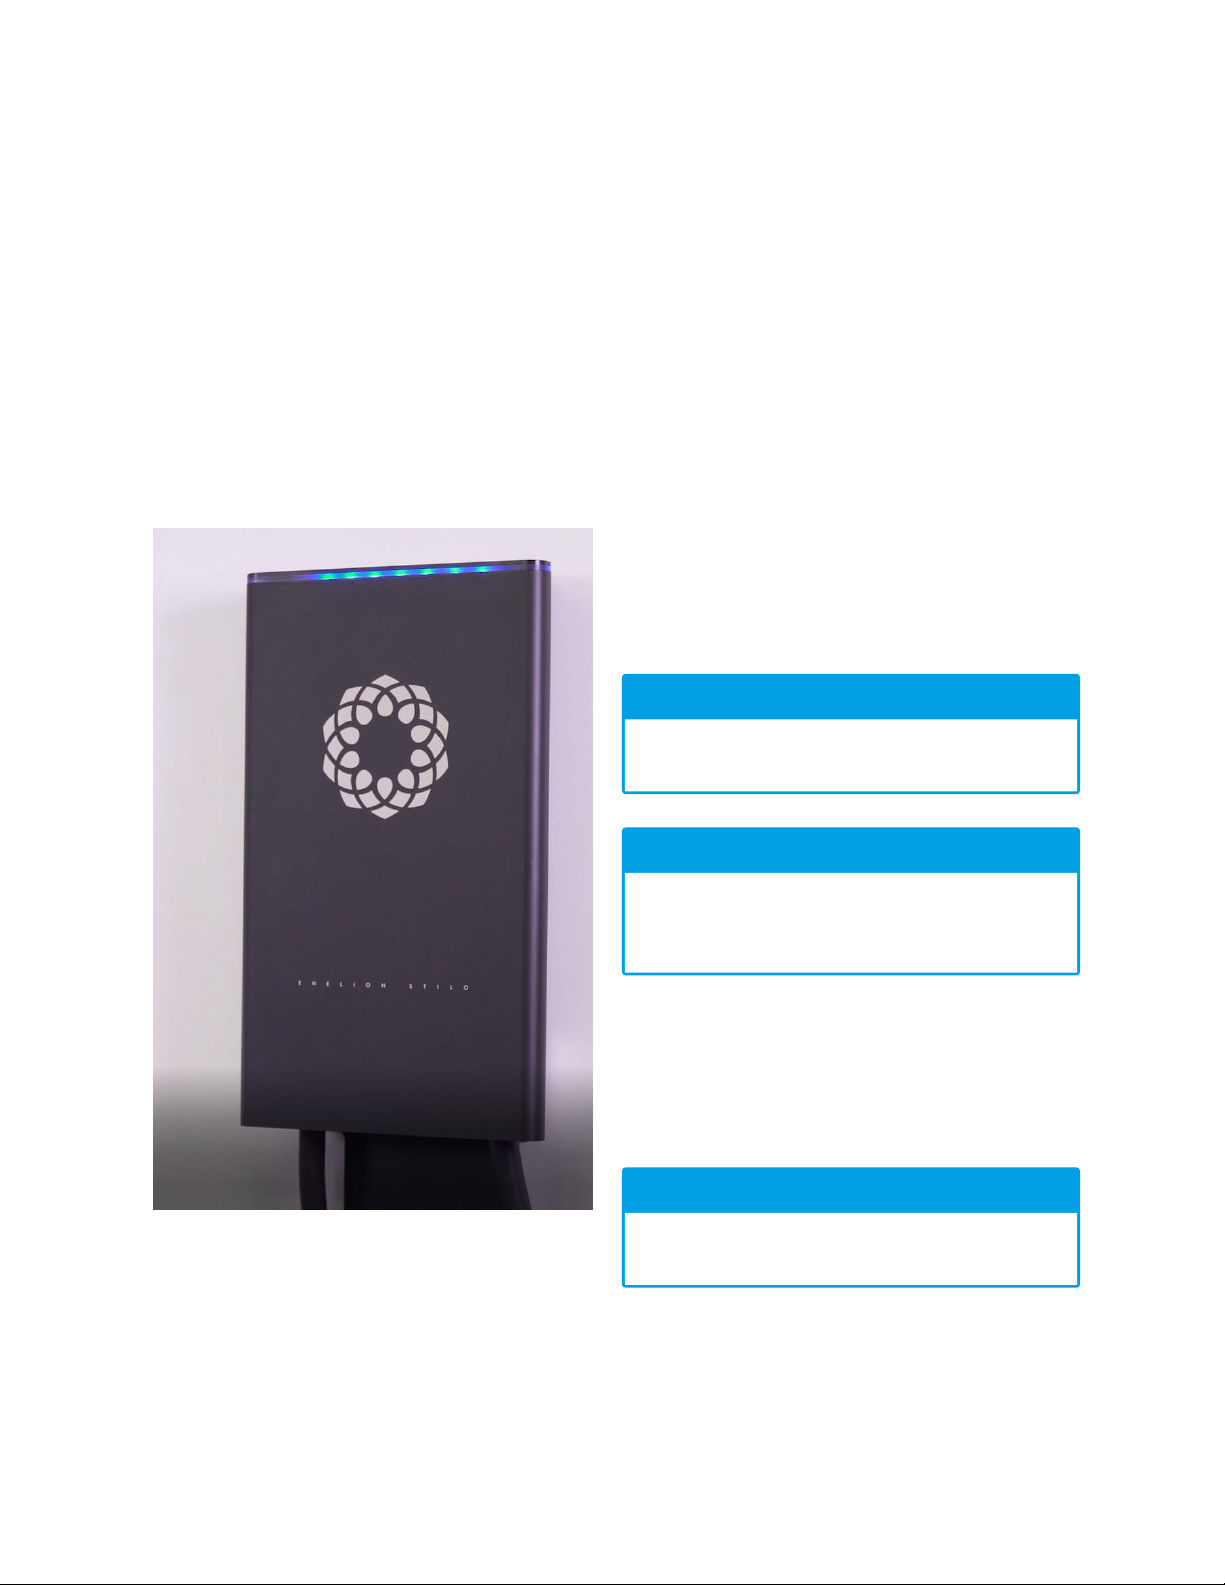
The Enelion charger (further called the device, the
charger or the charging terminal) is a charging station
dedicated for charging electric cars as defined in the
Act of 11 January 2018 on Electromobility and Alterna-
tive Fuels, in Art. 2, subsections 5, 12, 13 and 27 of the
above mentioned Act.
Before installing and using the device read this instruc-
tion.
Installing and servicing the device must be done by
qualified individuals with proper certification, and repair
works may only be carried by the manufacturer or by
entities authorized by the manufacturer.
Tampering with the mechanical, electrical and elec-
tronic elements as well as the software of the device
is forbidden under the pain of forfeiting the guarantee.
The actions defined in this instruction and the actions
which were agreed upon with the manufacturer in writ-
ing are an exception.
The manufacturer shall not be liable for property dam-
age resulting from the above mentioned incidents of
tampering with the product.
The electric wiring system which will be used by the
device when in operation must meet the requirements
described in the fitting manual. The manufacturer is not
responsible for the improper installation and/or inade-
quate security of the wiring system used by the device.
The manufacturer is not responsible for the improper
operation of the wiring system used by the device.
The electric wiring system which will be used by the
device when in operation must be in compliance with
the legal norms binding for the place where the wiring
system is installed and the device is used. The man-
ufacturer is not responsible for any damage caused by
the wiring system which does not meet the legal norms.
The device is not equipped with an inbuilt switch. It
starts operating once power supply is accessed. Iso-
lation from power supply must be done through proper
instruments described in the fitting manual. Except for
emergency situations the device may not be switched
off while charging.
It is forbidden to provide power supply when the device
casing remains open.
It is forbidden to use a charger which has mechanical
damages or which signals critical error.
It is forbidden to place in the charger socket any objects
which are not intended for this purpose. The only object
intended to be placed in the charger socket is a work-
ing wire which has the right section for the capacity of
the device and the type of vehicle, with a working type
2 plug according to EC 62196-2.
The cord extension sets are not allowed to be used.
The manufacturer is not responsible for health or life
loss resulting from not following the above mentioned
recommendations.
The nameplate on the device is its integral part and
cannot be removed or damaged under the pain of for-
feiting the manufacturer’s guarantee.
1.2. Protection guidelines
The outdoor installation should not be carried in the
rain, snow or strong wind, if there is any risk that water
or dirt could get inside the device. All actions described
in this instruction should be carried after you make sure
there is no voltage on the charging cable.
4 Important information

Stilo July 2019
2. General information
Stilo is a charging station for electric cars, consisting
of a detachable aluminium casing and main frame with
charging controller and charging cable with Type 2 plug
responsible for the charging process and optional addi-
tional elements and accessories. Functionalities of the
device can be changed by adding or removing acces-
sories like Enelion Bridge or RCD-B. Some functional-
ities can be changed by re-programming configuration
card supplied with every Enelion device. Enelion Stilo
comes in two colours: black and silver. It has no screen.
All the information needed to operate the charging sta-
tion are displayed on LED strip.
2.1. Additional functionalities
All Enelion charging stations are compatible with our
own, independent protocol, which enables the device
to work in a local network of chargers. This allows
for the number of devices which require connection to
the Internet to be reduced and the charging power to
be increased. All Enelion devices may be equipped
with Enelion Bridge (additional element purchased sep-
arately), which makes it possible to connect the device
to the Internet, adding the OCPP 1.6. protocol func-
tionalities to the device. Enelion Bridge allows for the
connection with the Internet to be established in three
ways:
• WiFi,
• GSM,
• Ethernet.
INFO
To learn more read the “OCPP, DLB and devices
network” instruction.
INFO
To learn more read the “User Manual”. It con-
tains detailed information on the device’s func-
tionality and use.
2.2. Opening and closing Enelion Stilo
INFO
Closing the device is done analogically in the
reverse order.
1. Place Stilo on flat surface and using provided torx
bit unscrew the safety screw placed in lower-left
side of the casing.
5 General information

Stilo July 2019
2. Carefully start removing the casing. Proceed with
extra caution after revealing white ribbon.
3. It is advised to remove the white ribbon from the
socket on charging controller before mounting the
charger on the wall. It will allow to remove the
casing completely. Thanks to this it can be pro-
tected from being damaged during installation.
INFO
To remove the ribbon you must first care-
fully move the black part of ZIF connector
upwards, as seen in the photo. It must
remain in "open" position both during re-
moving and inserting the white ribbon
(FFC cable). Please proceed with caution
- losing or destroying the black part of ZIF
connector will render both RFID and LED
display in your Stilo useless.
4. The charger is now opened and ready for instal-
lation of accesories, maintanance or hanging on
the wall.
6 General information

Stilo July 2019
3. Recommendations for installation
3.1. Recommendation for the power con-
nection
Each Enelion Stilo should be powered by a separate
power cable. Depending on the distance between the
charging station and the switch box, the cable should
be of an appropriate cross-section, no less than 6 mm2.
In the standard configuration the charging stations are
prepared for being supplied in the TN-S type of network
(five-line). Each Stilo must be secured by an overcur-
rent circuit breaker in the distribution box. It is allowed
to have a self-activating type B circuit breaker or a fuse
with a 32 A or lower rated current, depending on the
programmed configuration of the device.
The cables which run in the ground must be installed in
accordance with the existing construction regulations.
For a convenient installation stranded wires with termi-
nals at their ends are recommended. Recommended
installation height for Enelion Stilo is 160 cm above
ground level. Charger installed on this height will be
comfortable to operate by most users.
3.2. Criteria for choosing the location
Enelion Stilo may be installed both externally and in-
ternally. The device is dedicated for installation near
parking space for vehicles with electrically powered en-
gines. When used in areas with risk of collision with
a vehicle, the structure should be protected with proper
fenders painted in yellow and black strips (to warn of
a gauge).
You should remember that national regulations may de-
fine the area for mounting the device.
The device should not be installed in high sunlight
which may cause it to overheat.
You should not install the device near sources of heat
or in small, closed areas (e.g. in a box).
It is forbidden to install the power supply cable that does
not fall within the range defined in the recommenda-
tions for installation.
It is forbidden to install the device in a potentially explo-
sive atmosphere.
Local regulations regarding electrical installations, fire
prevention measures and accident prevention mea-
sures should be considered, and evacuation routes at
the place of installation should also be ensured.
It is forbidden to install the device in a location where
there is risk of objects falling and damaging the charger.
Before installation please make sure there are at least
50 centimeters of space above the device. This space
should remain unoccupied after the device is installed,
as it may be required for maintanance.
oWARNING
The manufacturer is not liable for damages re-
sulting from not following the above mentioned
recommendations.
7 Recommendations for installation

Stilo July 2019
4. Mounting the Enelion Stilo
oWARNING
All the actions described in the following steps
must be performed by a qualified specialist with
permissions required by your country.
oWARNING
Before starting the mounting process you
should disconnect the power supply in the sup-
ply cables.
oWARNING
Before starting the mounting process you
should prepare the products according to the in-
structions related to additional elements.
4.1. Preparing for installation
Enelion Stilo is designed to be hanged on flat, vertical
surfaces. Due to the weight of the device and its value
we do not recommend placing it on surfaces that would
make it easy to remove or steal the device (eg. wood,
easy to cut thin metal poles etc.).
4.1.1. Choosing the screws
The unit is not provided with screws or sleeves due
to variety of possible surfaces. Screws and sleeves
should be picked based upon following requirements:
1. The head of the screw must be wider than the
mounting hole. It must be at least (6 mm wide.
2. The screws and sleeves combo must support the
weight of the charger, which is 5kg. That means
that every screw should be able to withstand at
least 1,25kg of weight.
3. The screws and sleeves must ensure safe and
permament contact with the surface upon which
unit is mounted.
oWARNING
All 4 mounting holes must be used in
mounting process. Failing to do so may
result in losing IP characterictis of the de-
vice and in result in damaging or destroy-
ing the charger. Manufacturer does not
hold responsibility for damages and in-
juries caused by inproper mounting of the
device.
4.1.2. Installing the power cord
Enelion Stilo is powered by a cord with at least 3 veins
2,5 mm2each (for 3,7kW setting). However, we recom-
mend cord with 5 veins 6 mm2each for 3 phase con-
figuration. The cord’s diameter must be between 9 mm
and 17 mm. Only cord with this diameter will fit into
power cord gland on the left side of the device. Using a
cord with different dimensions may damage the gland
or make the device water untight. In process Enelion
Stilo will lose its IP rating.
1. The cord must be supplied so that it will access
the unit from the bottom. If the cord is being
supplied from the ceiling it must be bent 180 de-
grees. If the cord is supplied horizontally it must
be bent 90 degrees. When bending the cord mind
the bending radius of said cord, as bending it too
much may damage it.
2. The cord must be at least 15 cm over the gland
after the charger will be mounted one the wall.
Please keep that in mind when mounting the
power cord.
8 Mounting the Enelion Stilo

Stilo July 2019
3. The cord will be completed with the fork termi-
nals supplied with the device during the installa-
tion process. Having that in mind please leave
the cord unfinished (open ended) for the time of
installation.
4.2. Preparing the surface
After choosing the proper screws and sleeves and
choosing the surface Stilo will be mounted to the de-
vice is ready to be installed.
1. Using template provided with the device mark the
mounting holes using a masonry punch and a
hammer. Remember to level the template before
making the punching marks.
2. Using properly sized masonry/steel drill drill the
holes deep enough to fit chosen sleeves inside.
Clean the holes and fit the sleeves.
3. Thread chosen screws through mounting open-
ings in Enelion Stilo backplate. Put one distance
ring (supplied with the device) on each screw.
HINT
If the template was not supplied with the de-
vice download one from the www.enelion.com/
manuals and print it. Do not use the template if
the dimensions are off — use caliper or ruler to
compare the real dimensions with those printed
on the template. The real dimensions must
match the printed ones, NOT the other way.
4.3. Mounting the device
1. Place the back of the device with screws
threaded through the holes over holes in the wall.
Gently push all the screws inside to guide them.
Using a manual or electric screwdriwer with ap-
propriate screwing bit start screwing the screws
in. Continue until all of them are firmly tightened.
9 Mounting the Enelion Stilo

Stilo July 2019
2. Thread the power cord through the left gland. Do
not tighten the gland yet. Place hose clamp (sup-
plied with the device) on the cord and tighten it
just enough to eliminate movement.
3. Remove isolation from the power cord. Remove
enough of it to free around 15 cm of smaller
cords. Remove isolation from them as well and
using proper tools finish them with fork terminals
(supplied with the device). Remember to ad-
just the length of the cords so that there will be
only required minimum of them inside the device.
Leaving the cords too long will cause problems
with closing the device as the cords wil interfere
with casing.
4. Start screwing the fork terminals into right poles
in the terminal barrier block. This operation must
be performed with extreme caution. Always make
sure the cords are being placed in right poles.
5. Make sure the cords are mounted properly.
Tighten the hose clamp and the gland, in that or-
der. The gland must tightened with enough force
to create a waterproof connection with the power
cord.
6. Following the instructions from 2.2 Opening and
closing Enelion Stilo
7. The device is ready to be powered up.
10 Mounting the Enelion Stilo

Stilo July 2019
5. Usage
5.1. First steps
5.1.1. Configuration
Configuration is a key moment in process of installing
Enelion Stilo. Configuration lets you choose charging
power and allows additional accesories to be supported
by the charger. Configuration is usually written onto the
card by a dealer who sold you the device. Writing the
configuration requires NFC card reader (to be bought
separately, available in Enelion Store) and acces to the
Dealer Toolbox. All our dealers have both NFC read-
ers and acces to Dealer Toolbox and are able to write
new configuration on your RFID cards. The device is
configured after being powered up for the first time. To
configure the charger please place the white RFID card
supplied with the device near the RFID reader.
oWARNING
The configuration is always written on the RFID
card, not the RFID token - one of each is sup-
plied with the device, but only the card carries
the configuration.
After the configuration is written to the device, the RFID
module will erase the configuration from the card. From
now on your card can be used only to begin (or end)
charging and cannot be used to configure this (or any
other charger) again until new configuration is written
on the card using Dealer Toolbox and NFC reader.
HINT
Full information about initializing and using the
device can be found in the “User’s Manual”.
5.1.2. The Enelion MID addon
Enelion MID, which is an additional, certified electrical
energy meter, cannot be installed inside Enelion Stilo.
5.2. Installing the addons
oWARNING
Electricity should be turned off during any op-
erations performed on opened charger. Alter-
natively the device can be completely discon-
nected from the grid.
HINT
Part of the steps for installing the additional ele-
ments is the same as in case of mounting Ene-
lion Stilo. In case of installing many addons
consult the instructions for installing them be-
fore starting the installation process.
5.2.1. Enelion Bridge
Enelion Bridge is installed inside Enelion Stilo.
1. Open the Enelion Stilo by removing the alu-
minium casing as seen earlier in manual.
2. Enelion Bridge should be mounted according to
the symbols on the charging controller, securing
it with 3 provided clips.
oWARNING
If the intention is to use an Internet connection
with the use of GSM you should place a Mi-
croSIM card in the device at this moment.
11 Usage

Stilo July 2019
3. Install the set of antennas with the use of the pro-
vided tape.
5.2.2. Enelion RCDB
Enelion RCDB is installed in Enelion Stilo where addi-
tional protection against electrocution is to be provided.
It should be installed insidea charger that is already
mounted on a wall/pole.
INFO
Before installing Enelion RCDB make sure that
the label on the packing contains information
about the configuration settings for initializing
the installed addon. Otherwise the charger will
not use the Enelion RCDB element even if it is
installed, which will result in no additional pro-
tection.
1. Remove the casing.
2. Disconnect 4 lines marked N, L1, L2, L3 from the
power supply. Use a PZ2 screwdriver. This step
can be omitted if cords were not yet screwed in.
3. The disconnected lines should be lead through
the sensor ring.
HINT
If you have to thread 4 cords through the
RCD-B don’t thread them all at once. In-
stead put them one after another. It will
be easier that way.
4. Screw the lines back to according to their previ-
ous position.
5. Connect the sensor connector to the socket on
the charging controller marked with the “P19 P20”
symbol located on the left hand side of the charg-
ing controller.
12 Usage

Stilo July 2019
Once the device is initiated, the Enelion RCDB will func-
tion when the device is in use.
The charging station prepared in this way is ready for
use.
13 Usage

Stilo July 2019
6. Maintenance
The device is designed to work in temperature ranging
from −40 ◦C to 80 ◦C. The manufacturer does not guar-
antee a proper operation of a charging station which
happened to be located in temperatures outside this
range. Chargers which were damaged as a result of
being exposed to temperatures below −40 ◦C or over
80 ◦C are not covered by the warranty.
In case it is necessary to open the device you must
make sure that it is disconnected from power supply. If
the device is located outside you must make sure there
is no rain, snow or any strong wind.
oWARNING
The device may only be opened by a qualified
and authorized individual.
6.1. Cleaning
The proper way to clean the charger is to wipe the cas-
ing with a microfiber cloth, using a detergent dedicated
to anodized aluminum. The Plexiglas elements (front
panel) and plastic elements (socket) should be cleaned
with a microfiber cloth with a detergent dedicated to
cleaning windows. Other methods of cleaning (e.g. with
a wire brush) may cause damages in the device casing.
Damages resulting from improper cleaning are no basis
for warranty claims.
oWARNING
The device meets the IP 54 requirements for
sealing. Therefore, cleaning the charger with
pressure washers, garden hoses, showers or
streams of water from any other source is for-
bidden.
14 Maintenance

Stilo July 2019
7. Technical specification
7.1. Enelion Stilo
Mechanic specifications
Dimensions (height x width x depth) 430 mm x 190 mm x 65 mm
Weight 4,9 kg ±5%
Sealing class IP54
Impact strength IK10
Interfaces
Creating a charging network Enelion charger network
Additional elements RCD-B, Enelion Bridge
Addons • none
RFID MIFARE cards complying with ISO 14443
Environment
Operating temperature from −20 ◦C to 55 ◦C
Storing temperature range from −40 ◦C to 80 ◦C
Acceptable relative air humidity from 5% to 95%
Altitude maximum 2000 m
Electrical specifications
Supply voltage (Europe) 3 x230 V/400 VAC
Voltage frequency 50 Hz/60 Hz
Type of network TN, TT
(IT on special request)
Overvoltage Category III according to EN 60664–1
Short-time withstand current Effective value < 6 kA according to EN 61439–1
Overcurrent protection Not part of the device. The protection must be made in
compliance with the local regulations and with the device
version.
Residual current device Integrated in product RCD A device ≤30 mA AC
Protection class Class I
Cable type Charging cable with Type 2 plug 32 A/400 VAC according
to EN 62196–1
15 Technical specification


© 2019 Enelion Sp. z o.o.
Pana Tadeusza 50 St. 80-123 Gdansk, Poland
Other manuals for Stilo
3
Table of contents
Other Enelion Automobile Accessories manuals
Popular Automobile Accessories manuals by other brands

GATmatic
GATmatic TWC-562S Installation, operation & maintenance manual

KW automotive
KW automotive 685 10 357 installation instructions

ButterflyMX
ButterflyMX Vehicle Reader installation guide

Drew Technologies
Drew Technologies DashDAQ XL instruction manual

Thule
Thule Rapid System Kit 1180 instructions

Blaupunkt
Blaupunkt IVOD-1022 Operating and installation instructions