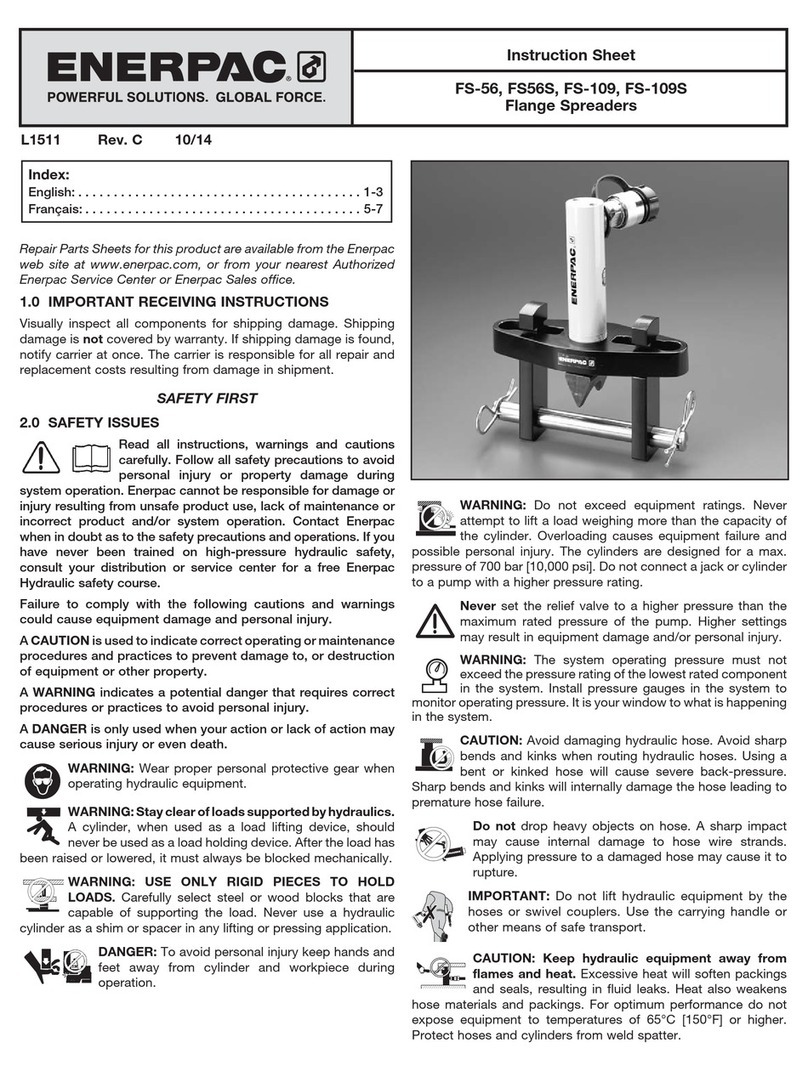
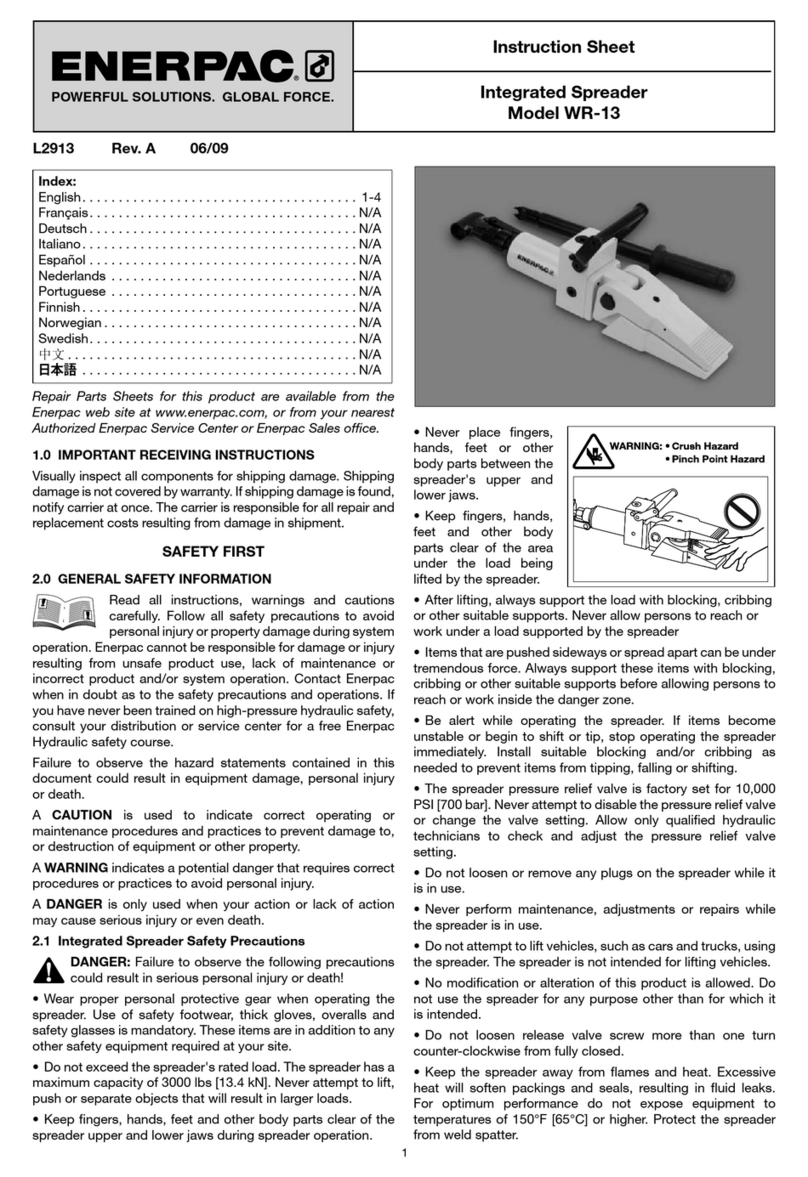
Enerpac FSM8 User manual

L4388
Rev. C 10/21 Hydraulic/ Mechanical
Wedge Spreader
FSM8
FSH14
FSC14
ENGLISH [EN] Instruction Sheet

2L4388
Hydraulic/
Mechanical
Wedge
Spreader
CONTENTS
1.0 INTRODUCTION..................................................................................................................................3
2.0 SAFETY................................................................................................................................................3
3.0 OPERATING INSTRUCTIONS.............................................................................................................5
4.0 USE OF STEPPED BLOCKS...............................................................................................................6
5.0 WEDGE USE IN TANDEM...................................................................................................................7
6.0 USE OF LANYARDS............................................................................................................................7
7.0 INSPECTION, MAINTENANCE & STORAGE....................................................................................8
8.0 TROUBLESHOOTING .......................................................................................................................10
9.0 DIMENSIONS/ SPECIFICATIONS ....................................................................................................11
For other languages go to www.enerpac.com.
Weitere Sprachen finden Sie unter www.enerpac.com.
Para otros idiomas visite www.enerpac.com.
Pour toutes les autres langues, rendez-vous sur www.enerpac.com.
その他の言語は
www.enerpac.com
でご覧 いた だ けます。
이 지침 시트의 다른 언어 버전은
www.enerpac.com.
Ga voor de overige talen naar www.enerpac.com.
For alle andre språk henviser vi til www.enerpac.com.
Inne wersje językowe można znaleźć na stronie www.enerpac.com.
Информацию на других языках вы найдете на сайте www.enerpac.com.
如需其他语言,请前往 www.enerpac.com.

L4388 .3
1.0 INTRODUCTION
Overview
Enerpac Wedge Spreaders use the integrated wedge
concept. They are used to spread flanges in order to
create space for cleaning and repairing flange surfaces
and gasket replacement.
The Enerpac wedge spreader FSM8 is a manual operated
tool, and is actuated by a 22mm (0.87in) ratchet spanner
The Enerpac FSH14 is a hydraulic operated tool, that is
actuated by an Enerpac RC102 single acting cylinder.
The FSH14 must be powered by an Enerpac hand pump.
The FSC14 is actuated by an integral pump.
Application
Wedge spreaders can be used for: pipe and flange repair,
removing of elbows, couplers, gasket and metal seals
replacement, maintenance/ replacement of valve and
control equipment.
Delivery Instructions
Upon delivery all components must be inspected for
damage incurred during shipping. If damage is found the
carrier should be notified at once. Shipping damage is
not covered by the Enerpac warranty.
Warranty
• Enerpac guarantees the product only for the purpose
for which is intended.
• Refer to the Enerpac Global Warranty document for
terms and conditions of the product warranty.
Any misuse or alteration invalidates the warranty.
• Observe all instructions as communicated in this
manual.
• When replacement parts are needed, use only genuine
Enerpac replacement parts.
Modification to any part of the equipment outlined in this
manual should not be attempted, nor any component
part be replaced without first consulting Enerpac.
Modifications may render the equipment dangerous.
Component parts are each rated to suit the demands
of the overall equipment design and replacement with
similar items without provenance may lead to unexpected
and dangerous accidental features.
If any equipment abuse is evident, the warranty will be
invalidated and Enerpac will not be made responsible
for an injury due to misuse or failure to comply with the
above safety notes.
Part Replacement
Check the Repair Parts Sheets (RPS), available at
www.enerpac.com, to order replacement parts when
required.
Conformance to National and International Standards
Enerpac declares that the product(s) have been tested
and conforms to applicable standards and the product(s)
are compatible to all EU and UK Requirements.
Copies of the EU Declaration as well as the UK Self-
Declaration are enclosed with each shipment.
2.0 SAFETY
Read all instructions carefully. Follow all recommended
safety precautions to avoid personal injury as well as
damage to the product and / or damage to other property.
Enerpac cannot be responsible for any damage or injury
from unsafe use, lack of maintenance, or incorrect
operation. Do not remove warning labels, tags, or decals.
In the event of any questions or concerns arising, contact
Enerpac or a local Enerpac distributor for clarification.
If you have never been trained on high-pressure hydraulic
safety, consult your distributor or service center for
information about Enerpac Hydraulic Safety Courses.
This manual follows a system of safety alert symbols,
signals, words, and safety messages to warn the user of
specific hazards. Failure to comply with these warnings
could result in death or serious personal injury, as well as
damage to the equipment or other property.
The Safety Alert Symbol appears
throughout this manual. It is used to alert
you to potential physical injury hazards.
Pay close attention to Safety Alert Symbols
and obey all safety messages that follow this symbol
to avoid the possibility of death or serious injury.
Safety Alert Symbols are used in conjunction with certain
Signal Words that call attention to safety messages or
property damage messages and designate a degree or
level of hazard seriousness. The Signal Words used in
this manual are DANGER, WARNING, CAUTION, and
NOTICE.
Indicates a hazardous situation that, if not
avoided, will result in death or serious personal injury.
Indicates a hazardous situation that, if not
avoided, could result in death or serious personal injury.
Indicates a hazardous situation that, if not
avoided, could result in minor or moderate personal
injury.
Indicates information considered important,
but not hazard related (e.g. messages related to property
damage). Please note that the Safety Alert Symbol will
not be used with the signal word.
These tools conform with
the requirements for
CE and UKCA.
•FSM8 •FSH14 •FSC14
DANGER
WARNING
CAUTION
NOTICE

4L4388
2.1 Safety Precautions
Failure to observe and comply with the following
precautions could result in death or serious personal
injury. Property damage could also occur.
• Read and completely understand the safety
precautions and instructions in this manual before
operating the Flange Spreading Wedges or preparing
them for use. Always follow all safety precautions and
instructions, including those that are contained within
the procedures of this manual.
• Ensure all hydraulic components are rated to a safe
working pressure of 700bar (10 000psi).
• Do not overload equipment. The risk of hydraulic
overloading can be minimized by using the Enerpac
Hand Pump, which has a factory-set safety valve
preventing the safe working pressure being exceeded.
If alternative hydraulic pumps are used, ensure that
there are adequate systems to limit the working
pressure to 700 bar (10 000 psi).
• Wear personal protective gear when operating
hydraulic equipment. Always wear eye protection.
Safety equipment such as dust mask, non-skid safety
shoes, hard hats, gloves or hearing protection (used as
appropriate) will reduce personal injuries.
• Applying pressure to a damaged hose may cause it to
rupture.
• Immediately replace worn or damaged parts. Use only
genuine Enerpac parts from approved distributors or
service centers. Enerpac parts have been engineered
and manufactured to be fit-for-purpose.
• To minimize risk of personal injury keep hands and feet
away from the tool and workpiece during operation.
• Do not handle pressurized hoses; escaping oil under
pressure can penetrate the skin, causing serious injury.
Seek medical attention immediately if oil penetration is
suspected.
• Only pressurize complete and fully connected hydraulic
systems. Do not pressurize systems that contain
unconnected couplers.
WARNING
Failure to observe and comply with the following
precautions could result in minor or moderate
personal injury. Property damage could also occur.
• Ensure components are protected from external
sources of damage, such as excessive heat, flame,
moving machine parts, sharp edges and corrosive
chemicals.
• Take care to avoid sharp bends and kinks in hydraulic
hoses. Bends and kinks can cause severe back-up
pressure and cause hose failure. Protect hoses from
dropped objects; a sharp impact may cause internal
damage to hose wire strands. Protect hoses from
crush risks, such as heavy objects or vehicles; crush
damage can cause hose failure.
• Do not lift hydraulic equipment by the hoses or
couplers. Use only the designated carrying handles.
• Lubricate tools as directed in this manual prior to
operation. Use only approved lubricants of high quality,
following the lubricant manufacturers instructions.
• Hydraulic equipment must only be serviced by a
qualified hydraulic technician. For repair service,
contact the Enerpac Authorized Service Centre in your
area.
• Rope off working area and place warning signs.
• To help ensure proper operation and best performance,
use of Enerpac oil is strongly recommended.
• The vibration total value to which this tool is subjected
does not exceed 2.5m/s².
CAUTION
NOTICE

L4388 .5
A fresh hold on a new step can then be chosen
to open the joint further if required.
The operator must ensure that the wedge and
the 4 slide pins are lubricated each and every time the
equipment is used. This will give maximum eciency and
prolong the working life of the wedge.
To minimise risk of personal injury keep
hands and feet away from the tool and workpiece during
operation.
The handle of the wedge is there to stop
operators holding spread plates as the wedge is retracted.
This will stop fingers becoming jammed between plates.
Never hammer or force wedge into the access
gap.
When using FSC14, only use the designated
handle anchor holes for the lanyard (FSC1).
Care should be taken when using the lanyard
(FSC1) to avoid entanglement with body parts.
Do not over pressurize the pump as this may
cause injury to personnel.
Do not use a handle extension on any pumps.
Fig. 4 SB1,Safety block
NOTICE
NOTICE
WARNING
CAUTION
CAUTION
CAUTION
WARNING
WARNING
WARNING
3.0 OPERATING INSTRUCTIONS
It is recommended that two wedges be used in tandem.
This will give an even spread to the joint. The wedges
should be set at 180˚ apart (see fig. 1).
The wedge should be used only if the full step area is
located into the gap, and the object requiring spreading
is in contact with the heel of the next step (see fig. 2).
When operating the FSC14, ensure the air vent is not
obstructed in any way as this will result in a vacuum
within the system and the wedge will not advance.
Ensure wedge is fully located on the step
selected to spread (see fig. 2 and 3).
Minimum hold should be 15mm (0.59in).
The safety block (see fig. 4) should be inserted
into the joint and the pressure released onto the block.
Fig. 1
Fig. 2 Fig. 3
WARNING
NOTICE

6L4388
4.0 USE OF STEPPED BLOCKS
The maximum opening of the wedge spreaders can be
increased from 61 to 81mm (2.40 to 3.19in) when used in
combination with the optional FSB1 stepped blocks (see
fig. 5 and 6)
.
The FSB1 give more access to replace ring joints, metal
seals and cleaning of flange surfaces. The use of stepped
blocks reduce the amount of penetration of the wedge
point into the joint.
Fig. 5
Using two stepped blocks
Using one stepped block
Using wedge only
81 mm
(3.18")
81 mm
(3.18")
56 mm
(2.20")
25 mm
(0.98")
56 mm
(2.20")
31 mm
(1.22")
31 mm
(1.22")
6 mm
(0.24")
Fig. 6A Wedge head dimensions while using the
FSB-1 stepped block(s).
When using stepped blocks ensure a hold of 15mm
(0.59in) minimum is obtained prior to spreading.
81 mm
(3.18")
81 mm
(3.18")
56 mm
(2.20")
25 mm
(0.98")
56 mm
(2.20")
31 mm
(1.22")
31 mm
(1.22")
6 mm
(0.24")
Using two stepped blocks
Using one stepped block
Using wedge only
Fig. 6B Wedge head dimensions while using the FSB-1
stepped block(s).(cont)

L4388 .7
5.0 WEDGE USE IN TANDEM
It is recommended that two wedge be used in tandem
This will give an even spread to the joint. The wedge
should be set at 180˚ apart (see fig. 1).
Two hydraulic wedge spreaders can easily be used
simultaneously when used in combination with an Enerpac
hand pump, a split-flow manifold and hydraulic hoses
(see fig. 7).
1. FSH14
2. HC-700 series hydraulic hose
3. AM-21 Split-flow manifold or A-64, A-66, or
FZ-1612
4. HC-700 series hydraulic hose
5. P-series hand pump (P-392)
5.1 Unique interlock Design
The unique shape and design of the teeth of the wedge
accommodates high separating force, even at low-height
of 6 mm (0.24in) for easy access.
Always engage fully to the heel of the step on the
wedges. This ensures full grip when separating flanges.
Maximum force on screw bolt of
FSM8 is 150 ft. lbs. (203 Nm).
Use only ratchet spanner supplied with
FSM8.
Do not exceed maximum force rating.
Do not use impact tool on screw bolt.
5
4
3
2
1
2
1
Fig. 7
NOTICE
CAUTION
CAUTION
WARNING
CAUTION
6.0 USE OF LANYARDS (FSC1)
The lanyard should be used to minimise the risks
associated with the tool dropping.
Attach one end of the lanyard to the tool using the
supplied shackle with the FSH14 or FSC14 (see fig. 8),
for the FSM8 use the top hole located on the handle (see
fig. 9). The other end of the lanyard should be fixed to a
secure point close to the work-site using an appropriate
shackle.
Avoid using the lanyard as a means for picking up or
carrying the tool.
The anchor point and lanyard have been engineered to
safely sustain a drop over the full lanyard length. It is
recommended that all parts are inspected following a
drop incident, as damage may compromise the safety of
the tool.
Only use the designated D-Ring to secure the
safety lanyard.
Care should be taken when using the lanyard
to avoid entanglement with body parts.
Safety lanyards are not supplied as standard, to
order separately use part number: FSC1.
CAUTION
Fig. 9
Lanyard Anchor
Hole
Fig. 8
D-Ring Lanyard
Anchor
DANGER
NOTICE

Fig. 10 FSM8 Exploded View
8L4388
7.1 FSM8
Lubrication
To properly maintain the tool it is important to grease all
moving parts regularly (see fig. 10).
These are:
• Pushrod (No. 9)
• Jaws (No. 13)
• Thrust Bearing Set (No. 3)
Numbers 9 and 13 respectively must be greased each
time the tool is used and No. 3 should be greased at least
once per month.
Lubricating the Pushrod
Smear grease on the Pushrod (No. 9) while the Wedge
(No. 1) is in the retracted position. This will enable the
screw to turn freely and give maximum spreading at the
tips.
Lubricating the Jaws and Slots
A Grease Nipple (No. 17) is supplied with the tool located
on the Handle (No. 7) for easy storage. The Grease Nipple
should be removed from the Handle and inserted, in turn,
into each of the Jaws, and a grease gun used to pump
grease into the Wedge. The Grease Nipple insertion point
is shown on fig. 11. Grease should also be smeared into
the Slots positioned at the side of each Jaw to allow the
Pins (No. 11) to slide freely as a load is applied to the
Wedge.
7.0 INSPECTION, MAINTENANCE & STORAGE
• Keep the spreading wedge clean. Remove any loose
dirt or dust from exterior surfaces.
• Periodically check the spreading wedge for cracks,
wear and damage. Replace any cracked, worn or
damaged parts immediately.
• Periodically check hydraulic components for loose
connections, oil leaks and other obvious problems.
Replace any leaking, worn or damaged components
immediately.
• Store the spreading wedge in a clean, dry and secure
location. Keep the stored spreading wedge and hoses
(if present) away from heat and direct sunlight.
• FSH14 only:
- To prevent dirt entry, install dust caps on hydraulic
couplers after disconnecting the hydraulic hose from
the spreading wedge.
- Change the pump hydraulic oil at the recommended
interval shown in the pump instruction sheet. Change
the oil immediately if contamination is suspected.
• For repair service, contact an Enerpac Authorized
Service Center. Inspection and repairs should be
performed only by an Enerpac Authorized Service
Center or other qualified hydraulic tool service facility.
15 Spanner
16 Safety Block
13 Jaws
12 Split Pins
12 Split Pins
1 W
edge
14 Grub Screw
13 Jaws
12 Split Pins 3 Thrust Bearing Set
4 Bearing Housing
11 Pins
10 Grub Screws
5 Body 6 Male / Female Coupling
9 Pushrod
8 Circlip
17 Grease Nipple
7 Handle
11 Pins
11 Pins
10 Grub Screws
11 Pins
2 Nut

L4388 .9
7.2 FSH14 / FSC14
Lubrication (FSH14 / FSC14)
A Grease Nipple (No. 17) is supplied with the tool located
on the Handle (No. 7) for easy storage. The Grease Nipple
should be removed from the Handle and inserted in turn
into each of the Jaws, and a grease gun used to pump
grease into the Wedge
The Wedge must be in the closed position.
The Grease Nipple insertion point is shown on fig. 13.
Grease should also be smeared into the Slots positioned
at the side of each Jaw to allow the Pins (No. 5) to slide
freely as a load is applied to the Wedge.
Prior to the attachment of the safety lanyard, the
grease nipple has to be removed from the tool.
Hydraulic Oil Reservoir (FSC14)
The hydraulic reservoir of the FSC14 spreading wedge
is pre-filled at the factory with ISO 15 hydraulic oil. The
reservoir should not require additional oil under normal
operating conditions. It is NOT necessary to periodically
check the oil level.
NOTICE
Do not loosen or remove the oil drain/fill plug.
Special procedures are required to properly check the oil
level and to add oil to the bladder style reservoir. If it is
suspected that the oil level is low, take the unit to your
Enerpac Authorized Service Center for inspection.
NOTICE
If an issue with the RC102 cylinder is
discovered, please check the Repair Parts Sheet at
www.enerpac.com.
NOTICE
NOTICE
Fig. 13
5. Pins
17. Grease
Nipple
Grease Nipple
Insertion Point
7. Handle
Prior to the attachment of the safety lanyard, the
grease nipple has to be removed from the tool.
Lubricating the Thrust Bearing Set
To gain access to the Thrust Bearing Set follow steps 1
through 6 which follow below. Once accessed, smear
grease on the Thrust Bearing Set.
Disassembly Wedge Assembly (See fig. 10)
1. Screw the Pushrod (No. 9) forward using the Spanner
(No. 15) provided with the tool until the Wedge (No. 1)
is half opened.
2. Remove the Grub Screws (No. 10). Pull out the Pins
(No. 11) using small mole grips / vice grips.
3. Screw the Pushrod (No. 9) forward until the Wedge
(No. 1) is fully extended (see fig. 12).
4. Slide one of the Jaws (No. 13) forward until it is
removed from the Wedge:
5. Repeat steps 1 through 4 with the second Jaw.
6. Loosen the Grub Screw (No. 14) and the Wedge (No.
1) can now be removed from the Bearing Housing
(No. 4). NOTE: that this grub screw will be tight as it is
secured with Loctite 638 Retaining Adhesive.
Reassembly
Follow Steps 6 through 1 above. Please note when
reassembling that Loctite 638 Retaining Adhesive (or
equivalent) should be used when reassembling Nut (No.
2) or when screwing the Male / Female Coupling (No. 6)
back into the Body (No. 5). Apply Loctite 638 Retaining
Adhesive and tighten the Grub Screw (No. 14) and screw
back 1/2 turn to allow the Bearing Housing (No. 4) to
rotate freely in the Wedge (No. 1).
NOTICE
Fig. 11
6 mm threaded hole for grease nipple
and step block attachment
NO
TE: A grease nipple is located on the handle of
the tool f
or easy storage.
The slots should also be greased
each time the tool is used.
Fig. 12
Slide jaw forward

10 L4388
8.0 Troubleshooting
8.1 FSH14 Troubleshooting
Fault Possible Cause: Recommended Action:
The wedge is advancing but does
not reach full pressure.
There is air in the hydraulic system. Follow the Airlock Relief instructions.
8.2 FSC14 Troubleshooting
Fault Possible Cause: Recommended Action:
The wedge advances some of the
way and then stops progressing.
The air-vent is obstructed by dirt or
debris.
Carefully unblock the air-vent using a
small blunt object.
The wedge doesn’t move. There is an air-lock within the
hydraulic system.
Select Retract (-) and prime pump to
circulate oil around the system.
Insucient oil in the hydraulic system. Refill with clean oil and bleed the
hydraulic system.
Retract is selected. Select Advance and pump the handle.
Air has accumulated around pump
inlet when used upside down.
Bleed any air from the hydraulic
reservoir. Inspect the tool for oil leaks
on the reservoir, possibly indicative
of a perished bladder. Contact an
approved Enerpac Contact Center for
repair.
The inlet check-valve or intermediate
valve ball has become stuck.
Dismantle the check valve, free and
clean the valve balls. Contact an
approved Enerpac Contact Center for
repair.
The wedge moves as intended, but
doesn’t seem to be achieving full
pressure when under load.
Intermediate valve not seating / relief
valve leaking.
Check cleanliness of the valve ball.
Re-seat using a hammer and punch.
Contact an approved Enerpac Contact
Center for further instructions.
Hydraulic pressure slowly diminishes
and the pump handle does not rise
The release valve is leaking. Contact an Enerpac Authorized
Service Center for further instructions.
The piston seal is leaking. Inspect for oil leaks, possibly indicative
of a perished seal or loose blanking
plug. Contact an approved Enerpac
Contact Center for further instructions.
Tool actuation feels soft and
unresponsive.
There is air in the hydraulic system. 1. Position the tool vertically with
the spreading wedge end pointed
downward. Close the release
valve (turn release valve knob in
the clockwise direction until hand
tight - DO NOT use tools).
2. Operate the hand pump lever until
the wedge is fully extended. Then,
open the release valve to retract
the wedge. Repeat this process
several times, until all air is
removed and operation is smooth.
Contact an approved Enerpac Contact
Center for further instructions.

31 mm
(1.22")
6 mm
(0.24")
Fig. 14 FSH14
OPENCLOSED
290 mm (11.39”)
when closed
328 mm (12.88”)
when fully open
L4388 .11
OPENCLOSED
31 mm
(1.22")
6 mm
(0.24")
15 mm
(0.59")
36 mm
(1.41")
61 mm
(2.39")
Fig. 15a FSM8
290 mm (11.39”)
when closed
275 mm (10.80”)
when fully open
310 mm
(12.2")
22 mm
18 mm
(0.7")
Fig. 15b SW22, Spanner 22 mm
38 mm (1.49")
28 mm (1.10")
58 mm (2.28")
48 mm (1.88")
78 mm (3.07")
20 mm
(0.79")
100 mm
(3.94")
Fig. 16 SB1, Safety block
9.0 DIMENSIONS/ SPECIFICATIONS
Table A
Model
Number
Max.
Spreading Force
Min. Required
Access Gap
Type Weight Optional
Stepped Blocks / Weight
FSM8 8 ton
(72kN)
0.24 inch
(6mm)
Mechanical 14.3 lbs
(6.5 kg)
FSB1 - 2.4 lbs
1.1 kg
FSH14 14 ton
(118 kN)
0.24 inch
(6mm)
Hydraulic
(Max. 10,000 psi)
Max. 700 bar
15 lbs
(7.1 kg)
FSB1 - 2.4 lbs
1.1 kg
FSC14 14 ton
(118 kN)
0.24 inch
(6mm)
Hydraulic
(Max. 10,000 psi)
Max. 700 bar
21 lbs
(9.5 kg)
FSB1 - 2.4 lbs
1.1 kg

12 L4388
304 mm
(11.9")
12 mm
(0.5")
20 mm
(0.8")
Ø16 mm
(0.6")
Fig. 17b Handle Rod
64 mm
(2.52")
6 mm
(0.24")
37 mm
(1.45")
15 mm
(0.59")
52 mm
(2.05")
33 mm
(1.30")
508 mm (20.0”)
when fully open
468 mm (18.24”)
when closed
Fig. 17a FSC14 OPENCLOSED

NOTES
__________________________________________________________________________
__________________________________________________________________________
__________________________________________________________________________
__________________________________________________________________________
__________________________________________________________________________
__________________________________________________________________________
__________________________________________________________________________
__________________________________________________________________________
__________________________________________________________________________
__________________________________________________________________________
__________________________________________________________________________
__________________________________________________________________________
__________________________________________________________________________
__________________________________________________________________________
__________________________________________________________________________
__________________________________________________________________________
__________________________________________________________________________
__________________________________________________________________________
__________________________________________________________________________
__________________________________________________________________________
__________________________________________________________________________
L4388 .13

NOTES
__________________________________________________________________________
__________________________________________________________________________
__________________________________________________________________________
__________________________________________________________________________
__________________________________________________________________________
__________________________________________________________________________
__________________________________________________________________________
__________________________________________________________________________
__________________________________________________________________________
__________________________________________________________________________
__________________________________________________________________________
__________________________________________________________________________
__________________________________________________________________________
__________________________________________________________________________
__________________________________________________________________________
__________________________________________________________________________
__________________________________________________________________________
__________________________________________________________________________
__________________________________________________________________________
__________________________________________________________________________
__________________________________________________________________________
14 L4388

NOTES
__________________________________________________________________________
__________________________________________________________________________
__________________________________________________________________________
__________________________________________________________________________
__________________________________________________________________________
__________________________________________________________________________
__________________________________________________________________________
__________________________________________________________________________
__________________________________________________________________________
__________________________________________________________________________
__________________________________________________________________________
__________________________________________________________________________
__________________________________________________________________________
__________________________________________________________________________
__________________________________________________________________________
__________________________________________________________________________
__________________________________________________________________________
__________________________________________________________________________
__________________________________________________________________________
__________________________________________________________________________
__________________________________________________________________________
L4388 .15

www.enerpac.com
© 2021 Enerpac, All Rights Reserved.
This manual suits for next models
2
Table of contents
Other Enerpac Spreader manuals
Popular Spreader manuals by other brands

SPYKER
SPYKER BCS25 Operator's manual

Earth Way
Earth Way M80 Operation and assembly manual

Earth Way
Earth Way Polar Tech 90365 Assembly instructions

BOSSCO
BOSSCO TGS 1100 Installation & owner's manual

Earth Way
Earth Way M20 Operation and assembly manual

Earth Way
Earth Way HIGH-OUTPUT 2040Pi-Plus Assembly and operating instructions

Salt Dogg
Salt Dogg WB150BG Assembly instructions

Earth Way
Earth Way 2170 Assembly instructions

Boss Snowplow
Boss Snowplow TGS 800 owner's manual

New Leader
New Leader NL5000G5 AGCO Operator's manual

Gearmore
Gearmore PDC400 Operation, service & parts manual

Fliegl
Fliegl SKATE Assembly & operating instructions