Eonon E646 User manual

OPERATING INSTRUCTIONS
English
Owners Manual
E646

Thank you for purchasing our company multimedia player!
To operate the unit correctly, please read the owner's manual
carefully before using the unit. Keep these instructions and
retain this booklet for future reference.
Welcome!
English
1
Simple Troubleshooting Guide
English
Problem Cause/Solutlon
No power
Some errors occur in the LCD or no function
when pressing the button.
Unable to receive stations.
Poor effect on receiving a station.
ACDs cannot be loaded.
The stereo Indicator" "is flashing.
No picture.
The picture noise appcars.
Check and make sure whether the fuse is blown,
replace with the proper value if necessary.
Press the RESET button.
Check and make sure whether the antenna is
inserted or the antenna is properly connected.
If so. Insert the antenna or connect it properly.
Antenna may not be the proper length . Make
sure the antenna is fully extended or broken.
If broken. Replace the antenna with a new one.
The broadcasting signal is too weak.
The antenna is poorly grounded, check and
make sure the antenna is properly grounded
at its mounting location.
A Cds is loaded in the mechanism.
Tune in the frequency accurately.
The broadcasting signal is too weak.
(Set to the MONO mode) (page 12)
The Video line from main unit to the TV is
not connected properly.
Improper setting of the color system. Set the
color system to" PAL "or" NTSC". According
to the connected television.
The CDs is dirty or damaged.
Note: If any of the problem persist after check list had been made, consult your nearest service dealer.
Never attempt to disassemble your unit by yourself.
30

Notes on installation
English
The unit isdesigned for 12V DC,
negative ground operation system
only. Before installingthe unit,
make sure your vehicle is connected
to DC 12V negative ground electrical
system.
The negative battery terminal
must be disconnected before
making connections, which can
reduce damaging the unit due
to short circuit.
Be sure to connectthe color coded
leads correctly according to the
diagram. Incorrect connections
may cause the unitmalfunction or
damage the vehicle's electrical
system.
Be sure to connect the speaker (-)
leads to the speaker (-)terminal.
Never connect the left and right
channel speaker cables eachother
or to the vehicle body.
Do not block vents or radiator
panels. Blocking them willcause
heat to buildup inside and may
result in fire.
After thecompletion ofthe
installation andbegin to play
the unit(including replacing
the battery),please press the
RESET button on thefront panel
with pointedobjects (such as
ball-point pen)to set the unit to
initial status.
3
English
2
CONTENTS
Notes on Installation
Precautions
Wiring Diagram
Location of the control
Basic Operation
Radio Operation
Bluetooth Operation
DVD VCD MP3 CD Operation
Location of the Remote Control
Remote Control Operation
Playing WMA,MP3 and JPEG discs
Installation
Specification
Simple Troubleshooting Guide
3
4
5
6
7
9
10
11
13
14
26
27
29
30

Wiring Diagram
5
Precautions
English
Do not attempt to modify the unit,
modifying the unit may cause an
accident.
Stop the vehicle before carrying out
any operation that could interfere
with your driving.
Do not work in extreme high or low
temperature inside the vehicle is
between +60 and-20 before
turning your unit on.
To enjoy optimum sound and images
while playing, handle the discs as
follows:
Handle the disc by itsedge to keep the disc
clean, and do not touch thesurface.
Do not use your Cdswith paste residue
or ink attached.
Do not use CDswith labels or stickers
attached, which may leave a sticky
residue while beginning to peel off.
(Shown as picture)
Clean the discs with an optional cleaning
cloth. Wipe each disc from the center out.
(Shown as picture)
This unit can play the following discs only.
Type of disc Label on the disc Recorded material Size of disc
12cm/8cm
12cm/8cm
12cm/8cm
12cm/8cm
12cm/8cm
Sound and moving
Pictures
Sound and moving
Pictures
Sound and moving
Pictures
Sound only
Sound only
MP4
DVD
VCD
MP3
CD
MP4
MP3
Note: The unit is compatible with. DVD. VCD 1.0 / 2.0 / 3.0 VCD, CD-R, PICTURE-CDversion Disc.
The manual conforms to DVD. VCD. MP3 and CD. If no VCD or MP3 on some models you should
ignore them.White enjoying DVD,VCD, Mp3 andCD. The Display will automatically identifythe
discs andindicate the correspondingwords.
VIDEO
VIDEO CD
COMPACT
DIGITAL AUDIO
COMPACT
DIGITAL AUDIO
4
STANDARD CONNECT
YELLOW
BLACK
Memory back-up 12V
Negative Ground
Batting
PURPLE/BLACK
PURPLE
GRAY/BLACK
GRAY
RED
BLUE
GREEN/BLACK
GREEN
Front Lch
Speaker
To Auto
Antenna
To ignition
key
WHITE/BLACK
WHITE
Front Rch
Speaker
Rear Rch
Speaker
Rear Lch
Speaker
P.CONT
ORANGE
SUBWOOFER OUT
AUX IN/R
REAR-R
RCAOUTPUT
AUX IN/L
REAR-L
RCAOUTPUT AV-OUTPUT
FRONT-L
RCAOUTPUT
FRONT-R
RCAOUTPUT
ANTENNA

713 8419 14
31292
11
15 516 10
English
Location of the Control
6
Reset Button
Power Button
Volume Control
1
2
3
4
5
6
7
Setting the sound
Characteristics
Loud button
LED Indicator
Mute Button
Clock Button
Mode Button
8
9
Band Selector
11
13
14
12 Tuning/Selecting
Tacks
P-EQ Button
Release Button
AMS Button
Number Buttons
Eject Button
Disk Slot
LCD Panel
15
16
17
18
19
Remote Control Receptor
10
English
Basic Operation
7
1.Operating the unit for the first time
or after replacing thecar battery,you
Button with a pointed object (such
as aball point pen) to set the unit
to initial procedure.
Initlal System Start-up
Turning The Unit ON/OFF
2. Press (PWR)
button to turn on the
unit, and press it again to turn off
the unit.
2
Note: After the unit isoff, if the volume level
is higher thanit is in initial setting, it
will resume toinitial status; if it is lower
than that ininitial status, it still store
in the statuswhich you set.
Note: When some errors occur in the LCD display,
Display, you can also press RESET button
to resume to normal. And it will erasethe
clock setting and some memorized functions.
must reset the unit.Press (RESET)
1
Can adjust thesound quality to make
it perfect by pressing (EQ) button.
The procedure isas follows:
CLASS mode isselected when
(P-EQ)button is firstpressed and
"CLASS"appears in thedisplay.
(Shown as picture)
13
13
Vol/Bass/Tre/Bal(L-R)
/Fad(F-R) Selector
3. For Volume Control , rotate VOL
knob clockwise to increasethe sound
level, and rotate it anticlock wiseto
decrease the sound level.
3
4. Repeatedly press (SEL) button
to select the desired mode in the
following order:
4
VOL BAS TRE
FAD BAL
Note: After selectingthe desired mode, you can
adjust the currentlevel by rotatingthe
(VOL) knob.
3
Note: If you dont adjust (VOL) knob within
5 seconds afterselecting the desired mode.
The unit willautomatically return to the
current mode being displayed.
3
VOL BAL FAD
Setting EQ
5. While listening to the popular music,
classic music and rock music, you
18 6171
RESET

Radio Operation
English
2.Automatic Tuning: Press
( or ) button continuously
to select a station upward ordownward
respectively.
Manual Tuning: press and hold
( or ) button for more
than 3 seconds, the radioautomatically
searches a station
Manual/Automatlc Tuning
12
12
Press and hold (AMS) button for
more than 3 seconds to activate
automatically memory storing
function. Theradio automatically
selects a station and has it stored
in any one of the number buttons
(1-6).
Note: The unit canbe stored upto 6 stations
for details band. Regarding the function of
unmber buttons, refer to numberbuttons
16
16
upward or down ward respectively
and plays when it finds a staion.
Scanning/Memorizing
Stations Automatically
9
(AMS)
3. Press button to listen each
stored station whic h stor ed i n
(1-6)number buttons.
15
16
Mode Selector
4. Press (MODE)button to select
playback mode. IfUSB/SD card
exist, Mode buttoncan switch
from each other. Press and hold
(Mode) button toselect
AUX IN mode
9
9
English
Basic Operation
8
POP mode is selected when
pressing (P-EQ) button at the
second time, and"POP" appears on
the LCD. (Shownas picture)
6
Rock mode is selected when pressing
(P-EQ) button atthe third time,
and "ROCK" appearsin the display.
(Shown as picture)
6
Rress (P-EQ) button at the fourth
time to turnoff the P-EQ system.
6
Note: Bass mode andTreblemode rerurn to
initial settings when P-EQsystem is on,
"BASS" and "TREBLE" disappear.
Mute Function
7.Receptor forthe card remote
commander.(for remote control
version only)
Note: This windows isused for the unitwith
remote controlfunction. Without this
function you should ignore the operation
contents about remote controlfunction.
Sensor
13
13
13
6.Press (MUTE) button tocut
down thesound output, (Press it
againto revertto previous volume
level).
9
7
During CD mode,press 1 PLAY
button to suspend the playback.
Band Selector
/Pause the playback
(BAND)
1. Press button repeatedly
to select bands in the following
order:
FM1 FM2 FM3
MW2
11
MW1
BAND

There are there keys to operate
Bluetooth module:
1. EQ key for PAIR function
2. SEL key for ANSWER function
3. LOUD key for HANGUP
function
11
English
DVD VCD MP3 CD Operation
1. While listening to (or watching)
DVD VCD CD MP3,just insertaCds
(with labeled side up)into the disk
SLOT the mechanism will
automatically switch on.Ifa Cds is
loaded press (MOD) buttonto
start the playing.
Labeled side up
9
18
While listeningto (orwatching)
MP3,just inserta Cds into the
disk SLOT ,the mechanism
will automaticallyswitch on.
And themenu on the disc will
display toselect playingpictures
or music.
Selecting Tracks/F.F/REW
2. Press to choose
your favorite track upward or
downward respectively.Press and
hold button to
fast forward or rewing the track
upward or downward respectively.
( or )
12
( or )
16
Playing Tracks Repeatedly
3. Press button to perform
repeat playing functionwhen youneed
to repeat playing the trackyou like.
During DVD VCD CD version.
Press buttonat the firsttime
to repeat playing the same track.
Press button-again to stop
repeat.
RPT
3
RPT
3
RPT
3
18
RESET
18
12
Radio Operation
English
5.Number buttons can help you store
your favorite stationby pressing
any one ofthe number buttons. You
can follow thesteps as below:
Press and holdany number button
(1~6) until Number appears
in theLCD display when receiving
a station. And now the station is
already stored in the corresponding
number button.
(See the picture)
16
You can store up to 18 FM stations,
up to 12 AM stations.
10
Bluetooth Operation
Number Buttons Bluetooth function.
1.PAIR function
Power on theunit. You can used
your mobile phoneto search and
fine the Bluetooth module in our
unit named ONTOPPCB. Press
and hold keyEQ for about 2s,it
will display PAIR on theLCD
screen. Then you can use your
phone to bondingour Bluetooth
module with yourmobile phone.
The entrance code of our
Bluetooth module is 8888.
2.ANSWER function andHANGUP
function
After our Bluetooth module
bonded with yourmobile phone.
When you have an incoming phone
call, the unitwill ring and mute
the previous soundto indicate
that you havean incoming call,
at the sametime, incoming phone
number will displayed on the LCD
screen.When you haveanincoming
phone call, youcanpress key SEL
to answer thecallor press key LOUD
to HANGUPyour phone call.

English
Location of the Remote Control
13
12
English
DVD VCD MP3 CD Operation
( )
Eject a Cds
6. Press Eject button to ejectthe
disc.
17
4. During play back, Press
button, one of the number button
to play the first 15 seconds of
each track on the disc,
16
5SCAN
Press button once more
to revert to normal play back.
Note: INT doesn t work during playing
Playing Tracks in
Random Order
5. During playback, press RDM
button, The unit plays any track
at random. Press RDM once more
t o return tonormal playback mode.
4
16
5SCAN
Scanning Tracks
Automatically
Number Button
Audio-Setting
PBC Menu
Subtitle-Setting
EQ Effect
Mode Switch
Stop/Reverse Button
Angle-Setting
Slow-motion play
Setup Menu
Title Display
Zoom-seting
Power Switch
Pause/Play Button
Mute Button
Selecting Menu Button
Local
Enter Button
Volume Control
Tuning/Selecting
Tracks/F.F/REW
Program Playing
Band Select
Loudness
Repeat Playing
Audio Effect
1
2
3
4
5
6
7
8
9
10
11
12
13
14
15
16
17
18
19
20
21
22
23
24
25
1
2
3
4
5
6
7
8
9
10
11
12
13
14 15
16
17
18
19
20
21
22
23
24
25
15 8171
RESET

English
Remote Control Operation
____
____
____
____
Press button to turn
On/Off the power.
button to suspend
Press
of CD MP3 VCD.
theplayback
DVD. Press it again to return to
normal playback mode.
( )
( )
1
2
4( )
( )
6
2
( )
3
Press button to cut down
the soundoutput ,press it once
more to resume the previous
sound level.
Press to select
press
your desired menu,then
(ENTER) play
or the
press
n
butto
to confirm.
Replacing the Batt ery
1.
2. Put the button-type battery(+)mark
upward into the Battery Holder.
3. Insert the Battery Holder into the
Remote Control.
Note: Some models are not equipped with
remote control,you should ignore
the contents about remote control.
When therange ofthe o
peration of
the card r control becomes
emote
while operating.
short or no functions
Replace the battery with a new button
cell.Make sure the battery polayity
before replace.
Pull out the Battery H lder whil e
o
pressing the r
Stoppe
Pause/Play Button
Mute Button
Menu selector
Note: This function works in main menu
mode only. refer to page 13.
Power Button
1
14
During CD MP3 VCD DVD mode,
firstly press (RPT) to repeat
the current track being played;
press it again to cancel the repeating
functional.
Note: In DVD VCD MP3 CD mode. The initial
procedure is repeat playing all the tracks
. press to scan
Note: In radio mode (RPT)
each stored station 10seconds respectively
which stored in Number Buttons.
12
12
English
Remote Control Operation
____
____
____
____
(L
-
VOL + or VO )
Press. ton
but
to increase or decrease the volume
ti ely.
evel re spec v
l
During radio mode, continuously
press
button to
manual s a
ea rch station do wnward
or upwa rd res pect ively; if press and
button for
hold
than 3 secon ds, he
more t radio will
downward
search a station
automatically
r
or upward espectively until it finds
a stat ion
During the playing mode, press
and hold button to fast
rewind or fast forward for you to
track quickly.
your desired
reach
discon tinu ously press
When
button, you can select your
portion downward or upward
desired
respectively
During
CD VCD DVD mode,you
set program
can the order to play,
steps as
you can follow the below:
button, and
Firstly press (PBC)
then press b
(PROG) utton, and the
televis ion display s prog ra mming
P00:00. You can set the prog ram
order to play them by using
(0
~ 10+) bu tton, and then press
play.
to
Volume Increasing/Decreasing
7
8
8( or )
( or )
8
( or )
8
( or )
16
9
14
2
( )
Note:Program doesn't function in playing Mp3.
Tuning/Selecting Tracks
/FastRewind/Forward
Repeat Playing/AMS
During DVD mode, firstly
Press (RPT) to repeat
the current track being played;
press it again to repeat playing all
the tracks. The third press it to
cancel the repeating functional.
12
15
Band Selector
(BAND)
1. Press button repeatedly
to select bands in the following
order:
FM1 FM2 FM3
MW2
10
MW1
BAND

English
Remote Control Operation
17
Note: in VCD MP3and CD Press this key
once to stop.
Press (MODE) button to
switch to playback mode
In DVD mode, press
the playback
to suspend
button
press play to continue shown
and
on again to stop the
TV.Press it
playback.
In DVD playing mode, press
(ANGLE) key, you can watch
the DVD content fromdiferent
angle.
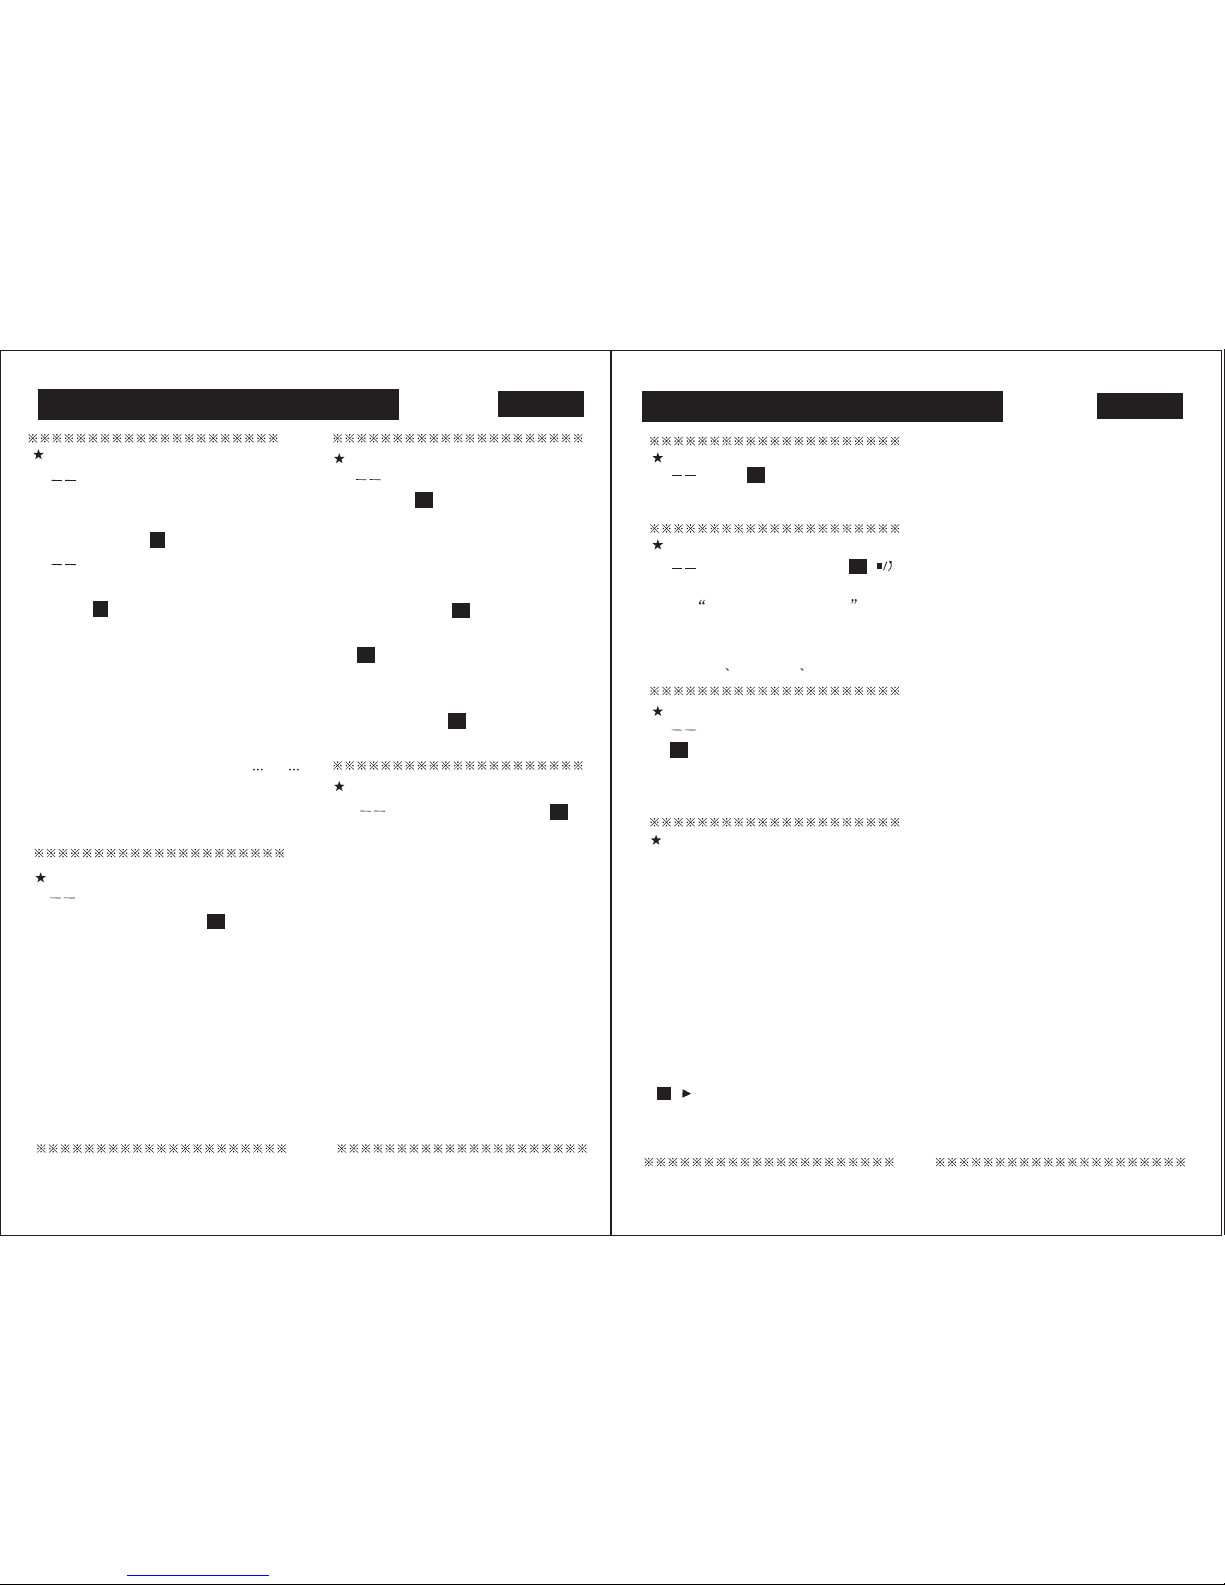
Press Slow button when pictures moving,
you can enter Slow Motion Playback mode.
Press the Slow button on the remote during
playback. Press the button again on the remote
to play at the next speed. Slow. Motion Playback
has six speeds:1/2,1/3,1/4,1/5,1/6,1/7.With
each consecutive press of the button, the play
speed decreases. If you press the button seven
times, Slow Motion Playback cycles back to
Normal playback.
Press Play button to resume normal playback.
key to, cancel slow reverse
/Slow advancefunction.
19
20
21
2
SLOW REVERSE/
SLOW ADVANCE KEY
Nate: In DVD. MP3 and CD. It is not the function
Nate: in Mp3 and CD. Tt ts not thefunction,
( )
=
MULT-ANGLE KEY
Stop the playback
Mode Switch
( )
English
Remote Control Operation
16
In PBC playbackmode, Number Button is
not functional.
During radio mode, you can
select one ofthe 6 stored stations on
each hand bypressing any oneof the
number but ton
14
During the playing mode,
you can select any track directly by
using number button (0~10+).
For example, if youneed the fifteenth
track, you can first press button
10+ and then press button 5 , the
th.
corresponding track (15) Will be
played.
14
Note: When button 10+is first pressed,it works
as10+. It works as20+ when pressed
at the second time, the third time 30+
and the like.
Number Buttons
During DVD mode only, when
pressing (PBC) button at the
first time, PBC play back starts and
the menu of entire disc appears on
the television. And then you can
select your favorite track by using
number button (0~10+) When
a track is playing , you can press
(STOP/RETURN) button to return
to the menu if you want to stop to
select other tracks. To cancel PBC
playing, press (PBC) button
again.
16
20
16
14
17
During DVD mode,press
(SUB-T) button to switch the menu
to Chinese or English.
Subtitle Selector
Playing PBC (menu)
During the playing mode,
continuously press (Audio)
can change the sound to left / right
speaker or stereo mode.
Note: There are Sgrades surrounding effect
in surround mode During VCD mode
you can see the different picturesindicating
different effectson the television.
15
Left/Right/Stereo Selector

18
English
Remote Control Operation
1. General Steps of Setup Menu
1) Press the Setup button, the main setup menu appears. A
When the main menu displayed, the DVD system will auto pause.
2) Press the Left and Right arrow buttons to highlight the icon of the desired page,
the press the Down or Right arrow button to activate that page; For example,if
you want to setup the video page, press Right to highlight the video icon, the video
page will be displayed on the screen.
3) Press the Down arrowbutton to highlight thedesired option. Press Enter or press
Right to select, the choices ofthat option appear onthe right; For example,press
the Down arrow button to highlightthe BRIGHTNESS option, thenpress Enter
to select, the brightness choices choicesappear on the right.
4) Press theArrow buttons to highlight the Exit Setup option, then press Enter or
Setup again to exit Setup Menu.
When setup, the pressingof the following buttonswill turn off the setup menu, while
the choices that have been changed will be saved : P/N,Subtitle,F.F,F.R. Vol+/-.PBC,
PBC, Title,Return, Play, Stop, Resume. Pause / Step, Next, Prev, S.F, S.R, Zoom,
Notes:
Chapter 4 The Setup Menu System
19
English
Remote Control Operation
Preview, Goto, Program, Repeat, A-B, Angle, language, Soundtrack, 3D, Record,
Display, Mute, Setup.
2. Setup Items lntroduction
SYSTEM SETUP
The system setup options are illustrated below:
TV SYSTEM
According to the Color System of the TV, you can choose the TV System.
AUTO: Choose this settings if your DVD player isconnected to a multi-system TV.
NTSC: Choose this settings if yourDVD player is connected to a NTSC TV.
PAL: Choose thissettings if your DVD player is connected to a Pal TV.
PAL60: Choose thissettings if your DVD player is connected to a PAL60TV.
The default setting is NTSC.
SCREEN SAVER
If the screen saver is on, when your DVD player is in Stop, Open, or No Disc state,
or there is a frame frozen for more than 60sec, the screen saver will be displayed.
This feature can protect the screen from damage.
ON: Choose this setting to act to activate the screen saver.
OFF: Choose this setting to cancel the screen saver
The default setting isON.

English
Remote Control Operation
Interlace-YUV: Choose this setting if your DVD playeris connected to aTV with
Y, Cb, Cr video cables.
TV-RGB:Choosethis setting if your DVD player is connected to a TV with an S-
P-SCAN:Choose this setting if your DVD player is connected to a progressive scan
TV withY, Cb, Cr video cables.
PC-VGA:Choose this setting if your DVD player is connected toa progressive scan
TV or a monitor with a VGA video cable.
Notes:
When your DVDplayer output composite video, you can choose the setting randomly.
Choose TV-RGB/P-SCAN if your DVD player is connectedto a progressive scan TV.
The default setting is TV-RGB.
VIDEO
16:9 (WideScreen):Choose this setting if your DVDplayer is connectedto a wide
screen TV. If you Choose this setting and you don t have a wide screen TV, the
images on the screen may appear distorted due to vertical compression.
4:3LB (Letter Box): Choose this setting ifyour DVD player is connected to a
TV TYPE
normal ratio TV. connectorYou ll see themovies in their original aspect ratio
(height-to-width ra tio). You ll see theentire frame of the movie, but it will take
up a smaller portion of the screen vertically. The moviemight appear with black
bars at the top and bottom of the screen.
4:3 PS (Pan& Scan):Choose this setting if your DVD player is connected to a
normal ratio TV. You can fill the movie to the entire screen of your TV. This
might mean that
parts of the picture (the left and right edges) won t be seen.
Notes:
The image display ratio is related to the recordeddisc format.Some disc can not
display images in the aspect ratio you choose.
If you playa disc recorded in 4:3 format on a wide screen TV, black bars will appear
on the left and right side of the screen.
You must adjust the screen setting depending on the type of thetelevision you have.
20
English
Remote Control Operation
The password option is initialized locked, and you cannot sct the ratings limit or
change the password. In order for the Ratings feature work, the password mode
must be turned on. If you want to set the ratings limit, you will need to enter the
default password, which is 0000, then press Enter to confirm. To change the password
you will be prompted for the old password, then be prompted for a new. Enter a 4-digit
number (this is your password).
PASSWORD
The Rating feature is a rating limit system, like movie ratings. It works with DVD
discs that have been assigned a rating. This helps you control the types of DVD s
that your family watches. There are two rating options: NO ADULT and KIDSAFE
Select the VIEWALL option to cancel the rating limit.
The default setting is VIEW ALL.
Notes:
If the password option is locked, you cannot set the ratings limit; the rating
limit doe not work when the password option unlocked.
RATING
Choose this option to resume all the setup options to default settings.
The language setup options are illustrated below:
DEFAULT
LANGUAGE SETUP
Highlight the OSD LANGUAGE option, and press the Arrow buttons to choose the
OSD language you prefer. Press Enter to confirm, and it will display OSD in that
21

English
Remote Control Operation
Ianguage;There are 8 iptional OSD languages: Chinese, English, Japan, French,
Spanish, Portuguese, German and Latin.
Highlight the AUDIOLANG option,and press theArrow buttons to choose the audio
language you prefer. Press Enter to confirm. If the disc you are playing has that
language available, it willoutput audio in that language; There are 8 optional audio
languages: Chinese, English, Japan, French, Spanish, Portuguese, German and Lat in.
Highlight the SUBTITLE LANG option, and press the Arrow buttons to choose the
subtitle language you prefer. Press Enter to confirm. If the disc you are playing has
that language availa ble, it will displays subtitles in that language; There are 8
optional audio languages: Chi8nese, English, Japan, French, Spanish, Portuguese,
German, and Off
Highlight the MENU LANG option, and pressthe Arrowbuttons to choose the menu
language you prefer. Press Enter to confirm. If the disc you are playing has that
language available, it w ill displays menu in the language; There are 8 optional menu
language: Chinese, English, Japan, French, Spanish, Portuguese, German, and Off.
Notes:
If your preferred language isn t available, the disc s default language will be pl ayed.
The default language of your DVD player is Chinese.
The audio setup options are illustrated below:
AUDIO SETUP
22
English
Remote Control Operation
The video setup options are illustrated below:
VIDEO SETUP
BRIGHTNESS
Use the Up and Down arrowbutton to move the scroll and adjust the
brightness.
CON TRAST
Use the Up and Down arrowbutton to move the scroll and adjust the
contrast.
HUE
Use the Up and Down arrowbutton to move the scroll and adjust the hue.
.
SATURATION
Use the Up and Down arrowbutton to move the scroll and adjust the
saturation.
23

English
Remote Control Operation
TITLE KEY
In DVD VCD playing mode,
press (TILE) keyto show all
tracks title on TV screen. Then
press ( 0~10 +) keyor press
( ) keyto choose your
desired track number and press
(ENTER) key or ( ) key to
start.
Note:1. No title display in Mp3 CD mode
2. For choose a desired language
to press title key.
ZOOM KEY
The Functionallows you to enlarge
or zoom out the video image and to pan
though the image. Press Zoom repeatedly
to activate the function and choose the
required zoom factor: Zoom 1, Zoom 2,
Zoom 3, Zoom 1/2, Zoom 1/3, Zoom,
Zoom Off.
Notes: This featuredoes not work when the
Disc Menu appears.
Use theArrow buttons to pan across the
screen when the zoom factor is 1,2 or 3 .
=
24
4
14
7
2
25
REFERENCE:
To protect your DVD player, the interval
between two consecutive power
button operations must beabove 30 seconds.
No using for a period of time, please
pul l out the plug from the electronic outlet.
The play er should be operated only on
condition that the type of power supply
corresponds to the markinglabel.Otherwise,
it doesn t work or even be damaged.
If the player stops playback by accident, please
power it on again.
24
English
Remote Control Operation
25
Place a MP3/ JPEG disc into the tray, and the player will auto search the
directories saved MP3/JPEG files. After searching, it will auto go to the first
directory saved MP3 files (to the disc containing both mp3 and jpeg files; To the
disc containing single type of files,it will auto go to the first directory) and play
the first song in the directory ( 01: is highlighted).The screen displays as the
picture below:
Chapter 3 Playing WMA, MP3 and JPEG discs
Current
Directory
name
Current MP3/JPEG file
name. If a JPEG file
playing, the name should be
.jpg.
*
The playingfile
Is aMP3 music.
The playingfile is
A JPEG picture.
File SwitchRegion: Displays
the filetype of the playing and
The switching.
Use theArrow buttons to enter the Directory Region and highlight the desired
directory, then the first track under it starts playback; Also you can use the
Arrow buttons to enter the File Region and selectthe file youwant to play.
Notes:
Press the Left and Right arrow buttons, you can activate Directory Region,
File Region and File Switch Region separately.
The highlight in Directory Region and File Region is shown as the picture

Installation
English
Parts List
(The number in the list are keyed to those in the instructions)
Mounting Example 1
Put in the mounting sleeve.
Bend these clown outward
for a tight fit, if necessary.
3
Fasten the rear bracket serows
and back side harness, and fix
the unit well.
Remooac, insert key into
the set then pull the set
out trow dash board.
1 2
X2
3 4 5 6 7
5
6
7
8
9
1 2
1
182mm
53mm
27
Playing WMA,MP3and JPEG discs
above; While it appears a transparent rectangle in File Switch Region.
. In File S w itch Region, you can press the Leftand Right arrow buttons to
switch the highlight, then press Enter, the M , P ,and G button is
illustrated in the above picture. For example, if adisc with Mp3 and Jpeg
files but withoutany NES files is loaded, the color of the letter M and
P will appear to white and G black. If a Mp3 file playing, M
turns darker.
Tothe disc with WMA, MP3 and JPEG files, whcnplaying a JPEG picture,
press the Return button toreturn to JPEG list.
You canpress the Numeric buttons to select the file you want to play. For
example, if you desire the 15th track in current list, press the 10+ button
once, then poress 5 ,the 15th starts playback.
Notes: Whenplaying a disc with Mp3files, video cannot be output while only
digital audio can.
When playing JPEG pictures,press the Program button to choose the pictures
Switched mode. Thereare 17 switch modes; Press Program repeatedly to activate
the function and choose the required switch mode: Spread from Up to Down,
Spread from Down to Left, Spread from Left to Right ,Up to Left Down, Spread
Horizontal Shutter, Vertical Shutter, Fold from the Corners to the Center,
Random Play, Off
Spread from Left Up to Right Down, Spread from Right Up to Left Down, Spread
Left Down to Right Up, Spread from Right Down to Left Up, Spread from Center
to Up / Down, Fold from Up / Down toCenter, Fold from Left/ Right to Center,
When a picture playing or pausing, press the Arrow buttons to change the
display angle:
Up: flip vertical
Down: flip horizontal
Left: rotate 908 counter-clockwise
Right:rotate 908 clockwise
When a picture playing or pausing, press the Menu button, the screen disp
lays small pictures. Up to 12 small pictures are displayed per screen. To view the
next 12 pictures, press the Next button to go forward and the prev button to go to
the previous page. You can also select and play a picture in full screen by press
that number on the remote.
English
26

Specification
General
DVD Deck Section
Video Section
Audio Section
AM Tuner Section
FM Tuner Section
Power Requirements
Load Impedance
Max. Power Output
Tone Controls
Dimensions
Mounting Dimensions
Weight
Discs Played
Video System
Mounting Angle
Video System
Video Output level
Horizontal Resolution
Maximum Output level
Frequency Response
Signal-to-noise Ratio
Separation
Frequency Range
IF Range
Usable Sensitivity(-20dB)
Tuning Range
IF Range
Usable sensitivity (-30dB)
Signal-to-noise Ratio
Stereo Separation
Frequency Response
12V DC
4
45W x 4/65W x 4/100W x 4
8dB(Bass 100Hz, Treble 10KHz)
Approx.192x178x50mm(dxwxh)
Approx.169x182x53mm(dxwxh)
Approx. 1.75kg
DVD,VCD1.0/1.1/2.0/3.0/MP3,CD,CD-R,CD-RW,PICTURE-CD
AUTO/PAL/NTSC
0TO+/-30
4:3 Letter Box and 4:3 Pan Scan
1.0Vp-p 75 ohms
500
2Vrms(+/-3dB)
20 to 20Khz
85dB
80dB
522-1620(Europe/China/Japan),530-1710(U.S.A)
450KHz
25dB
87.5-108(Europe/china),87.5-107.9(U.S.A)(Optional)
10.7MHz
15dB
60dB
30dB(1KHz)
30~15000Hz
Note: Due to continuous product improvement, specifications and design are subject to change
without notice.
English
2928
English
Installation
DETACHING THE FRONT PANEL
REPLACING THE FRONT PANEL
PRECAUTIONS
Before detaching the front panel. Be sure to
press . Press , then ture the front panel
to the level, slide it to the left, and pull it off
to wards you.
First, insert the left side of the front panel
into the main unit. Push the right side of the
front panel until it looks firmly into the main
unit, at one time, insert the right side of the
front panel into the main unit.
Do not touch the contacts on the ront panel or
on the unit body, since this may result in poor
electrical contact, If dirt or dust get on the
contacts, wipe them with s clean, dry cloth.
Bulgn
Hollow
Dulge
Hollow
76-90(Japan)
(Optional)
Table of contents
Other Eonon Car Receiver manuals
Popular Car Receiver manuals by other brands

Panasonic
Panasonic CQ-C3401 operating instructions

Sony
Sony CDX-F7000 - Fm/am Compact Disc Player Installation/connections

JVC
JVC CD Receiver KD-G631 Installation & connection manual

jWIN
jWIN JC-CD160 instruction manual

Sony
Sony CDX-M730 Installation/connections

JVC
JVC KV-MRD900A Installation & connection manual