Load Roll Paper
1Slide the black paper stop off the end of
the spindle.
2If the paper has a 2-inch core, remove the adapters
by pressing the four tabs.
Note: Make sure your hands are clean, and avoid touching the printable surface of the paper.
Try to handle paper by the edges. Make sure you don’t rub or scratch the coating or dent the
edges of the paper.
3Position the roll so the paper unwinds as shown,
then slide it onto the spindle.
4Slide the black paper stop back onto the spindle.
Insert it firmly into the end of the roll.
5Open the roll paper cover.
6Place the paper and spindle in the printer as
shown, with the gray end on the right.
7Make sure the printer is powered on and
ready. Press the Paper Source button until
the or roll paper icon appears.
8Release the paper lever.
9Hold both sides of the paper and feed it into the slot until the paper
is aligned with the OTHER mark and the vertical line on the paper tray
cover. Then move the paper lever to the secured position.
10 Raise the roll paper support on top of the
paper tray. Then close the roll paper cover.
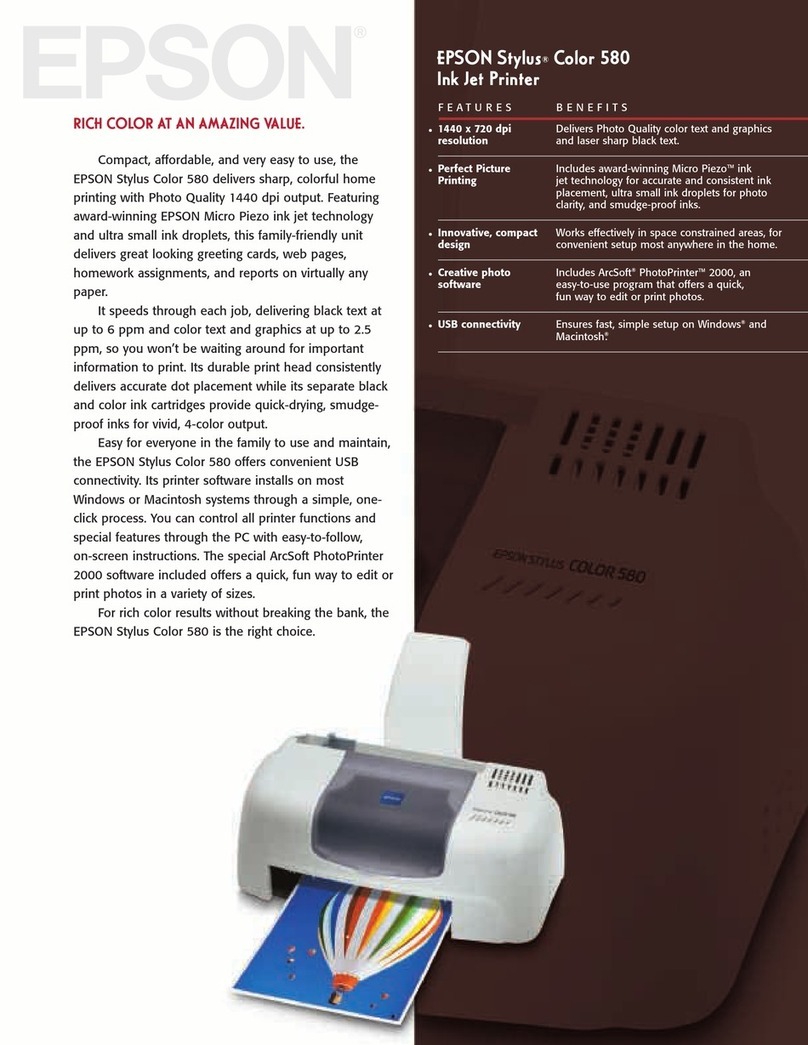
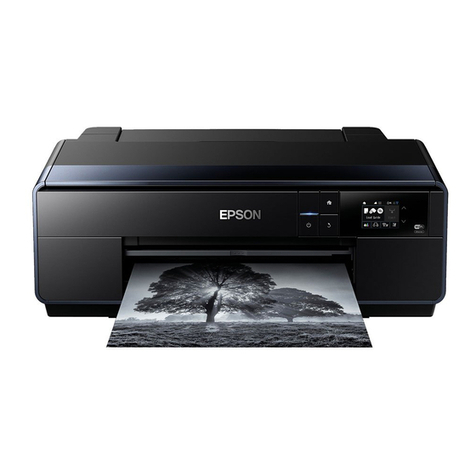
EPSON Stylus®Pro 4000
Unpack
1Make sure you have all the parts shown below for your EPSON Stylus Pro 4000:
Warning: The printer weighs about 85 pounds, and should be lifted by two people.
2Remove all the packing materials and
tape. Save the box and packaging in case
you need to ship the printer.
3Loosen the two screws and remove the
carriage retainer bracket.
4Unlock the print head carriage by
pulling the green tab to the left. Do
not remove the tab.
Note: To lock the print head carriage
for transportation, push the green tab to
the right.
Set Up and Plug In
1Connect the power cord to the AC
inlet on the back of the printer.
2Plug the other end of the power
cord into a properly grounded
electrical outlet.
3Attach the exhaust port cover by sliding it
along the slots on the back of the printer.
4Insert the paper tray into the slots at
the front of the printer.
Install Ink
Use the ink cartridges that came with your printer for initial ink charging. During the initial
installation process, it is normal for up to one-third of the ink in each cartridge to be used.
1Press the Power button to turn on the printer.
2Press both ink compartment covers to open them.
3Raise both ink levers.
4Remove each ink cartridge from its package and
gently shake the cartridge.
5Install the ink cartridges in the printer. Hold
each cartridge with the arrow pointing toward
the printer, then insert it into its slot. Make sure
you insert each cartridge in the correct slot.
6After installing all 8 cartridges, lower the ink levers.
The printer begins charging the ink delivery system
and the Pause light flashes.
7After approximately 2 minutes, ink lever messages
appear on the LCD. follow the instruction to raise
or lower the ink levers.
Caution: Charging takes about 8 minutes. Never turn off the printer,
release the paper lever, or open the cover while the Pause light is flashing,
or you may damage the printer.
8When READY appears on the LCD display, charging is complete. Close the ink
compartment covers.
Caution: Always turn off the printer using the Power button. Then wait until
the LCD display turns off. This ensures that the print head is safely capped.
Paper tray
Printer
Ink cartridges
Power cord
Roll paper spindle Spindle adapters
(attached to spindle)
Start Here
Start Here
Power button
AC inlet
Paper
Source
button
Roll paper cover
Exhaust port cover
vertical line
OTHER mark
CPD17011R1_Isa_SH_E.qxd 9/21/04 5:13 PM Page 1

