300-5620-00 rev. D 11/16
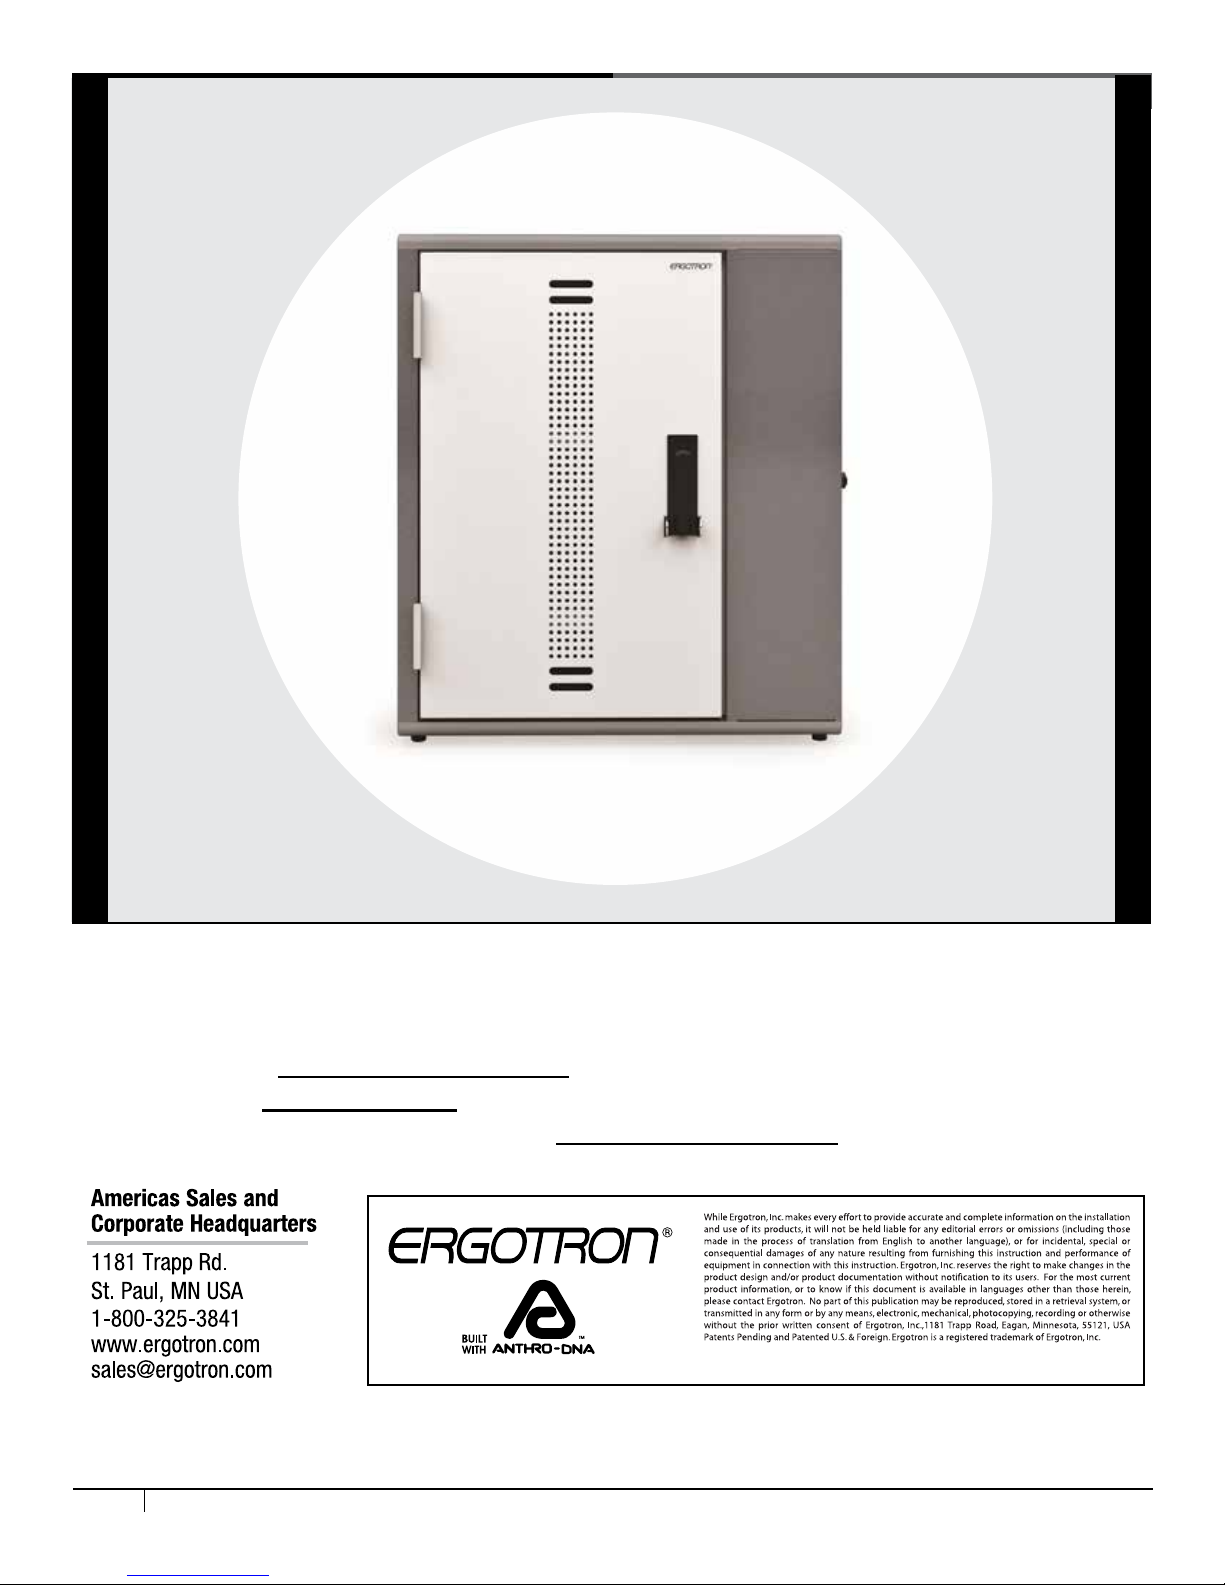
CONGRATULATIONS! YOUR CABINET ASSEMBLY IS COMPLETE!
F
C
D
E
A
B
G
H
6 of 8
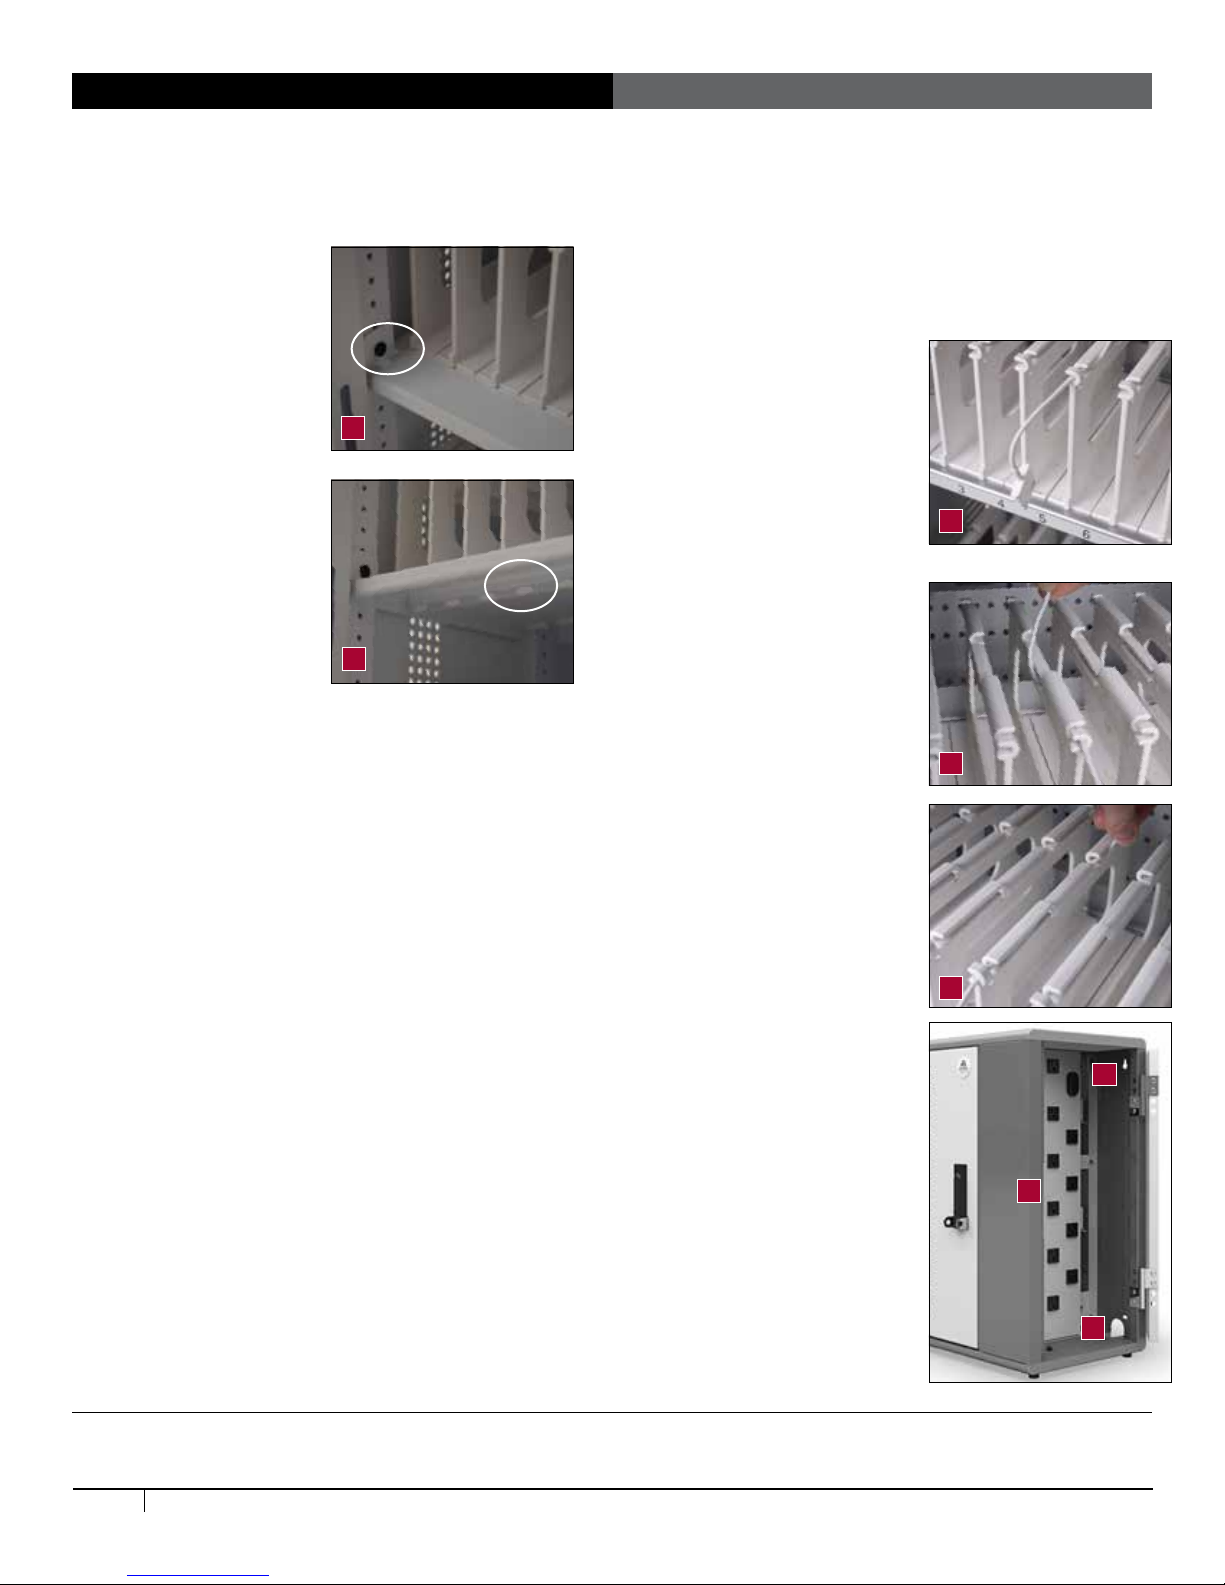
• To route the cords, route one charging cord along the top of each
divider. Make sure that the cord end that goes into the device is
at the front of the bay and the power end goes through the center
panel and into the IT area.
• Leave enough slack in front
(approximately 4.5”; use
the height of the divider as
a measuring stick) so users
can plug in the device without
straining the cord. [Image C]
• Weave the cord around the short
hook at the front of the divider,
then back and forth through the
three long channels along the
top of the divider, including the
center channel that’s lower than
the others, and nally through
the short hook at the back of the
divider. [Image D and E]
In the side IT area of the
cabinet
• Plug in each power adapter,
then use Cable Ties provided
to organize excess cord length.
[Image F]
• A great technique for coiling
cables is to wind them around
two ngers before securing them
in the cable ties. Be sure to leave
enough slack in your cord so it
can plug into the adapter.
• Turn the power switch to the
OFF position before plugging the
cabinet into the wall. [Image G]
• Route the power cable through
the mouse hole on the inside
edge of the cabinet to feed the
cord down to a power outlet
below the cabinet or inside the
wall. [Image H]
Loading Devices, Cable Management
In the front User area of the cabinet
• Check that the vertical
spacing of the shelves
ts your devices. To
adjust shelf height, the
Anthro driver to loosen
(not remove) the 2 screws
that attach the left side of
the shelf. Lift the left side
off the screws and pull
the shelf to the left to free
the tabs on the right. Set
aside the shelf. Remove
and reinstall the screws
and shelf at the desired
height. [Image A]
• Check the position of the
Cable Comb located at
the back of the shelf. Is
it at the right height? If
not, reposition it! Remove the two fasteners on the left side
using the Anthro driver and set them aside. Lift the left side of
the comb and pull the piece to the left to free the tabs on the
right. Reinstall the screws at the desired height, then reinstall
the comb.
• Check that the horizontal spacing of the bay dividers ts
your devices and cases. To move the dividers and adjust the
bay width, press back on the divider tab under the shelf that
connects the divider to the shelf until the divider pops free. If
your ngers don't t, try a at-head screwdriver. To install the
divider, angle the divider into a slot at the back of the shelf,
then tilt the divider into place at the front of the shelf. [Image B]
Number each bay with the provided labels.