Ergotron Yes 20 User manual

This cart is designed to automatically charge and store 1-20 tablet, smart phone, and mini-laptop
devices safely and efciently. Adjustable shelves customize shelf height in 1" increment to t a range
of device heights; adjustable bays slide left to right to t even the largest cases.
Please review this manual before installing your equipment to learn how to use the cart safely.
The cart is listed to UL Information Technology Equipment 60950-1 safety standard.
AC input: 120VAC 60 Hz. Max amps: 12A.
Owner's Manual for
YES 20 Charging Cart
for Mini-Laptops
Model Part #YESMJUGMPW4
Table of Contents
Getting Started .............. 2
Safety Notices ............... 2
Loading Devices ............ 3
Troubleshooting Guide .. 4
Warranty ........................ 4
Components at a Glance
Front of Cart (closed)
1. Top shelf with 1/4"h lip
2. Handle
3. Locking door latch w/padlock
bracket
4. Cord wrap w/power cord
Front of Cart (open)
5. Device bays w/width adjustment
6. Bay dividers w/cable channels
7. Shelves w/height adjustment
8. Two-point locking system
9. 4” total-lock casters
Back of Cart (open)
10. External power receptacles.
11. Power switch w/indicator lights
12. Center panel w/cord pass-
through openings
13. Power adapter storage trays
7
8
5
6
9
10
11
1
3
2
4
12
13
Built with Anthro-DNA™
300-5609-00 rev. G 11/16 1 of 4
For the latest User Installation Guide please visit: www.ergotron.com

Getting Started
Important Safeguards - We want you to be safe!
These carts are electrical devices. Use care with them and follow these
important safeguards:
• Electrical devices are not toys. Children are often unaware of
the hazards associated with electrical devices, so this unit must
always be used by adults or with adult supervision.
• Do not use this unit outdoors.
• Liquids should not be stored in, set on or placed inside this unit.
• Never unplug this product from the outlet when your hands are
wet.
• Set the power switch to the down OFF position before you
unplug the unit from the wall, plug the unit into the wall, or plug in
devices.
• Be careful with the power cord. Do not jam the power cord
against sharp edges. Do not use the unit if the cord appears to be
damaged or if the ground prong is missing. When the unit is not
plugged in, wrap the power cord around cord wraps.
• Do not use an extension cord with this unit.
• Inadequate repair can create signicant hazards to users and is
not covered by the warranty. Repairs should always be performed
by a qualied electrician.
• Special alerts for carts:
º To protect the cart's contents and structural
integrity, latch doors before moving the
cart.
º Do not use power cord to pull the cart.
º Do not roll the cart over the power cord.
º Anthro does not accept any liability for damage if the unit is
misused, incorrectly operated or inadequately repaired. Under
these circumstances the warranty will be void.
• Any modications made to this device that are not approved, may
void the authority granted to the user by the FCC to operate this
equipment.
Electrical Testing
• Before using your new charging cart, have a qualied electrician
verify the current draw does not exceed the rating of the unit
when all the devices are installed.
• Test the contact integrity of the wall outlet using a receptacle
tension tester such as a Woodhead 1760 or a Safeplug 1700.
• Test the branch circuit for ground integrity and branch circuit
protection.
• Do not plug in the unit if the switch, receptacles, or power cord
have been damaged or if the ground prong is missing from the
plug. If repairs are ever needed, they should be performed by a
qualied electrician.
• Note: This equipment has been tested and found to comply with
the limits for a Class A digital device, pursuant to part 15 of the
FCC Rules. These limits are designed to provide reasonable
protection against harmful interference when the equipment
is operated in a commercial environment. This equipment
generates, uses, and can radiate radio frequency energy and, if
not installed and used in accordance with the instruction manual,
may cause harmful interference to radio communications.
Operation of this equipment in a residential area is likely to cause
harmful interference in which case the user will be required to
correct the interference at his own expense.
CAN ICES-3(A)/NMB-3(A).
Changes or modications not expressly approved by Ergotron
could void the user’s authority to operate the equipment.
External Power
The Yes Cart for Mini-laptops, Junior, comes with two power receptacles
on the side of the cart. When the power switch is in the down POWER
TO OUTLETS position, these receptacles receive power.
Internal Power
When the switch is in the up CHARGE DEVICES position, power is
directed to the receptacles in the IT area. When the switch is down
and the internal receptacles receive power, the external receptacles are
disabled and do not receive power.
Doors and Locks
The doors on the cart feature a two-point keyed locking system to protect
your devices. To open a door, lift the bottom of the handle and rotate it to
the inside of the unit. Your cart shipped with 2 keys. Contact Customer
Care for replacements.
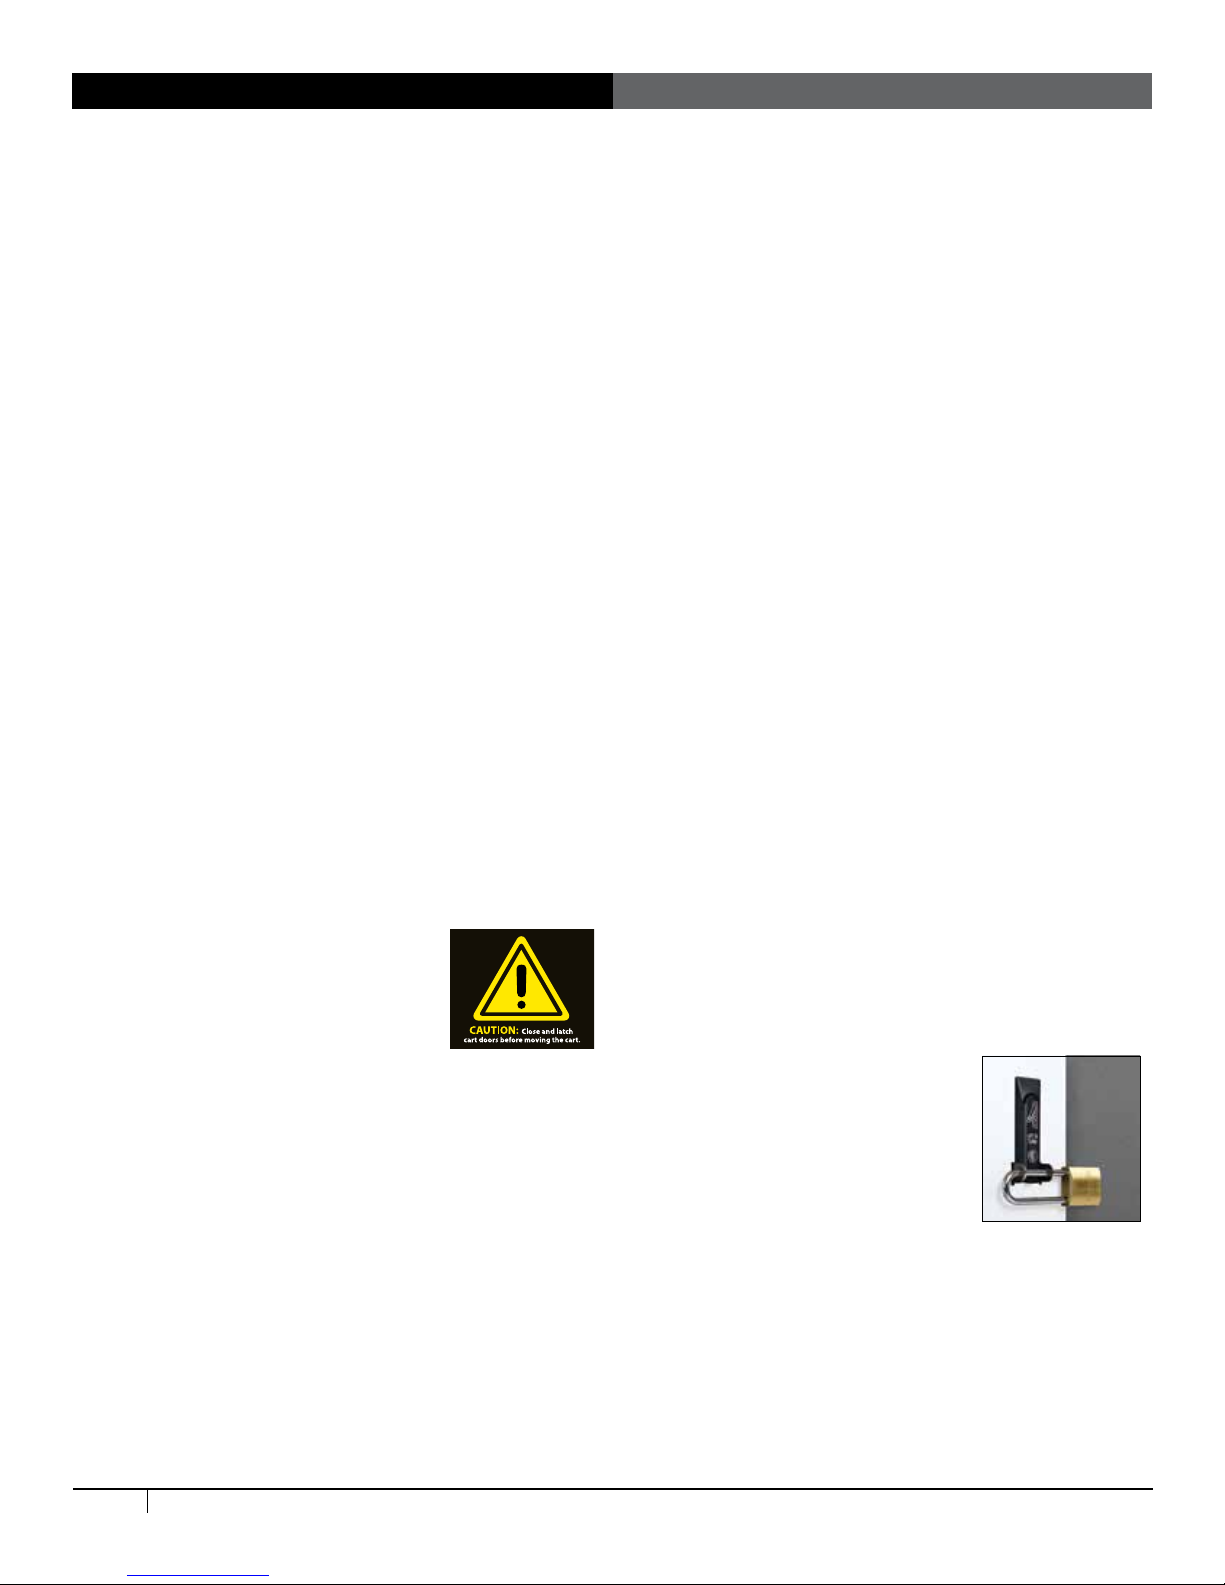
For added security, each front door features
hasps to hold your own padlock (maximum
shackle dia 5/16"; minimum shackle height 2").
When installed, your padlock restricts access
to the handle so the unit can’t be opened.
To protect the cart's contents and structural
integrity, latch doors before moving the cart.
Position Interface Graphics
725-5089-00
Anthro Corporation
10450 SW Manhasset Dr.
Tualatin, OR 97062
Phone: 503.691.2556
Fax: 503.691.2409
PMS Black
PMS Yellow 012 dieline
DOES NOT PRINT
Craftsman Label scaled up
the artwork to match the
quoted size of 2.875” x 3.625”,
3/12/10
2 of 4 300-5609-00 rev. G 11/16

• Weave the cord around the
short hook at the front of
the divider, then back and
forth through the three long
channels along the top of the
divider, including the center
channel that’s lower than the
others, and nally through the
short hook at the back of the
divider and through the center
panel and into the IT area.
[Image D and E]
• Slide devices into bays so the
power inlet is convenient to
the front of the bay.
• Use the adhesive bay label
stickers to number each bay.
In the back IT area of
the cart
• Turn the power switch to the
middle OFF position.
• One at a time, plug each
adapter into the cart and, if
they're separate, connect
the adapter to the device
charging cord. [Image F]
• Use the provided cable straps
to organize each adapter and
cord bundle to save space.
[Image G]
• Place the cord bundle in the
storage tray. [Image H]
• When you're ready to charge
devices, turn the switch to the
down CHARGE DEVICES
position.
Loading Devices, Cable Management
In the front User area of the cart
• Check that the vertical spacing of the shelves ts your devices.
To adjust shelf height, use the Anthro driver provided to loosen
(not remove) the 2 screws that
attach the left side of the shelf.
Lift the left side off the screws
and pull the shelf to the left to
free the tabs on the right. Set
aside the shelf. Remove and
reinstall the screws and shelf at
the desired height. [Image A]
• Check that the horizontal
spacing of the bay dividers ts
your devices and cases. To
move the dividers and adjust
the bay width, press back on
the divider tab under the shelf
that connects the divider to the
shelf until the divider pops free.
If your ngers don't t, try a at-
head screwdriver. To install the
divider, angle the divider into a slot at the back of the shelf, then
tilt the divider into place at the front of the shelf. Label each bay
with the bay numbers. [Image B]
• To route the cords, route one
charging cord along the top of
each divider. Make sure that
the cord end that goes into the
device is at the front of the bay
and the power end goes through
the center panel and into the IT
area.
• Leave enough slack in front (approximately 4.5”; use the height of
the divider as a measuring stick) so users can plug in the device
without straining the cord. [Image C]
C
D
E
F
A
B
G
H
3 of 4300-5609-00 rev. G 11/16

Troubleshooting Guide
How do I know if my devices will draw more
than the allowed current?
Have a qualied electrician verify the unit’s current draw. Perform this
test with devices installed and batteries discharged.
The devices are all plugged in, but they won’t
charge. What do I do?
First, check the cart: With the switch in the center OFF position,
inspect the main power cord and plug to make sure that they’re
undamaged. Plug the cord into a working power outlet. Next, check
the devices: Verify that each device is connected to its power adapter
and is plugged into the power column. Move the switch to the up
CHARGE DEVICES position to direct power to the devices. Contact
Customer Care for further assistance.
Someone tried to break into the unit and
damaged a door. Can it be replaced?
Yes, you can order a replacement. Contact Customer Care. We’ll ask
you for the model number of your cart and whether it’s for the front or
back of the unit.
My power cord/plug is damaged. Is it covered
under warranty?
For warranty information, visit: www.ergotron.com/warranty
4 of 4 300-5609-00 rev. G 11/16
When I plug in the unit it trips the circuit breaker.
What is wrong?
The carts are designed to run on a 15 amp circuit. If you have other
equipment or appliances plugged into the same circuit you may be
overloading it. Have a qualied electrician check that adequate power is
available in the circuit.
My unit was damaged during shipment. What
should I do?
Please contact Customer Care.
How do I nd the unit’s serial number?
The serial number label is inside the IT compartment on the base.
Can I remove a bay divider?
Yes! To move the dividers and adjust the bay width, press back on the at
tab under the shelf that connects the divider to the shelf until the divider
pops free. If your ngers don't t, try a at-head screwdriver. To install the
divider, angle the divider into a slot at the back of the shelf, then tilt the
divider into place at the front of the shelf.
For local customer care phone numbers visit: http://contact.ergotron.com
For Service visit: www.ergotron.com
For Warranty visit: www.ergotron.com/warranty
© 2016 Ergotron, Inc. All rights reserved.
All trademarks are the property of their respective companies. Anthro is a registered trademark and brand of Ergotron Inc.
Anthro-DNA is a trademark of Ergotron Inc.
Other manuals for Yes 20
2
Table of contents
Other Ergotron Batteries Charger manuals

Ergotron
Ergotron LiFeKinnex FBC-1116 User manual

Ergotron
Ergotron PowerShuttle User manual

Ergotron
Ergotron DM12-1006 Instruction Manual

Ergotron
Ergotron Zip40 User manual

Ergotron
Ergotron YES BASIC Series User manual

Ergotron
Ergotron YES BASIC YESBASGMPW4 User manual

Ergotron
Ergotron Tablet Management Cart / Module User manual

Ergotron
Ergotron Zip12 User manual

Ergotron
Ergotron Adjusta YES24 User manual

Ergotron
Ergotron Zip12 User manual