eta EEP 200 User manual

2017-10-04
EN
0000000366
V.002
X.35.4, X.39.1
93531-001 Precipitator
EEP 200
Service manual

ETA Heiztechnik
Gewerbepark 1
A-4716 Hofkirchen an der Trattnach
Tel: +43 (0) 7734 / 22 88 -0
Fax: +43 (0) 7734 / 22 88 -22
www.eta.co.at

General information
3
1 General information
Support for cleaning and maintenance
This document provides support for cleaning and
maintaining the product. The required steps are listed
in detail here.
Take note of the date of the cleaning or maintenance
and any faults that may have occurred. This facilitates
troubleshooting for the expert (system operator,
heating technician...).
For services (such as commissioning, mainte-
nance, fault fixing) provided by ETA customer
service, the service reports are provided in digital form.
For clarity, you should staple these reports to this
document or enclose them.
Commissioning data
Enter the manufacturing number of the product
(printed on the type plate), the date of commissioning
as well as the heating technician who commissioned
the system.
Software Description
The software version described in this documentation
corresponds to the version valid at the time of publica-
tion. The software version installed on your product
may differ from that described in this documentation.
A software update to a more recent version can
always be performed. With the appropriate au-
thorisation, the required files can be found at
"www.eta.co.at".
Copyright
All contents of this document are property of ETA
Heiztechnik GmbH and are protected by copyright.
Any reproduction, transfer to third parties or use for
other purposes is prohibited without written permission
from the owner.
Subject to technical changes
We reserve the right to make technical modifications
without notice. Printing and typesetting errors or
changes of any kind made in the interim are not cause
for claims. Individual configurations depicted or
described here are only available optionally. In the
event of contradictions between individual documents
regarding delivery scope, the informationin our current
price list applies.
Explanation of symbols
Instructions and information
Layout of safety instructions
SIGNAL WORD!
Type and source of danger
Possible effects
• Measures for avoiding the danger
Types of safety instruction
CAUTION!
On non-compliance with this safety instruction, there is
a risk of material damage.
WARNING!
On non-compliance with this safety instruction, there is
a risk of physical injury.
DANGER!
On non-compliance with this safety instruction, there is
a risk of major physical injury.
Commissioning data
Manufacturing number:
________________________________________
Commissioned on:
_________________________________________
Commissioned by (company):
_________________________________________
_________________________________________
_________________________________________

4 www.eta.co.at
Maintenance notes Cleaning and maintenance
2 Cleaning and maintenance
2.1 Maintenance notes
Performing regular cleaning and maintenance
To ensure satisfactory functionality, cleaning and
maintenance must be performed at regular intervals.
You will receive a timely reminder about this from the
ETAtouch control system.
Cleaning of the boiler must be carried out at least
once a year, or when requested by the control
system. Maintenance is necessary at least every
3 years, or when requested by the control system. We
recommend that you perform maintenance annually.
You can also enter into a service agreement for your
heating system. Find out more from your heating
contractor or customer service.
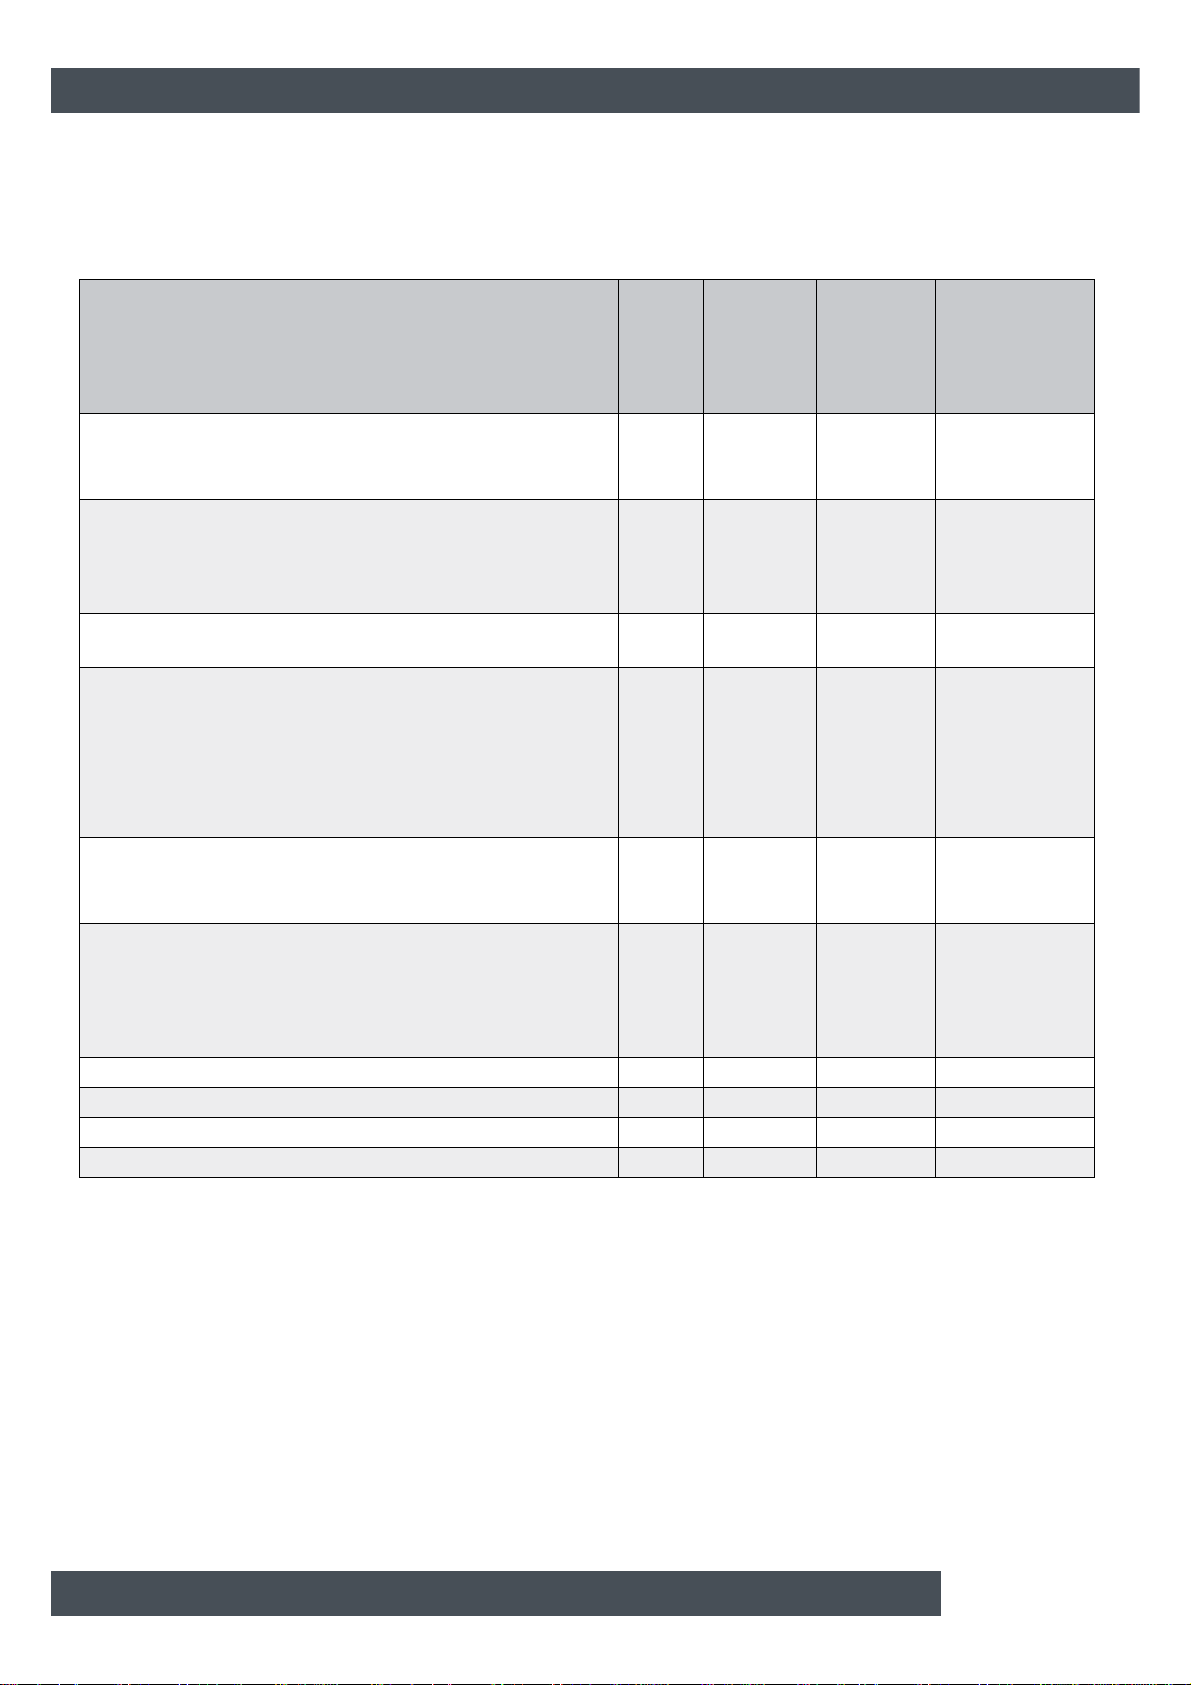
All tasks where the maintenance table reads
"Customer" or "Customer or expert" in the column
"To be carried out by" can be carried out by any trained
adult. Instruction may be provided by the heating
technician or our customer service.
Steps that are marked with "Expert" only can only be
carried out by the heating technician or our customer
service.
Operation only by trained personnel
The product may be operated by trained adults only.
Training may be provided by the heating technician or
our customer service. Please read the associated doc-
umentation carefully in order to avoid errors during
operation and maintenance.
Persons who lack experience and knowledge as well
as children may not operate, clean, or maintain the
product.
Clean and maintain the precipitator together with
the boiler
The intervals for cleaning and maintaining the precipi-
tator correspond to those for the boiler. Therefore,
clean and upkeep the precipitator in the course of
cleaning and upkeeping the boiler.
Clean the precipitator before the emission
measurement
We recommend cleaning the precipitator before an
emission measurement is made. Therefore, empty the
precipitator ash box and clean the piping between
boiler and precipitator. Also clean the flue gas recircu-
lator if one is installed.
Explanation of pictograms
Switch the boiler on/off with the mains
switch.
Perform a visual check of the components.
Clean the components with a soft cloth, for
example.
Remove deposits with a vacuum cleaner or
an ash vacuum.
Remove deposits with the poker.
Remove deposits with the cleaning brush.
Replacethewearparts(e.g.,seals)withnew
items.
Lubricate the components. The lubricant to
use is listed in the respective step.
Mountthecomponents(e.g.,screwsornuts)
by hand only, without tools.
Installthecomponentswithsomeforce(e.g.,
the retaining tube or the Lambda probe).
Handle the components carefully, since they
break very easily.
Measure or check dimensions or clearances
on the components.
Mark the components so that the correct
position can be found, for example, when
mounting.
Wear a protective mask to avoid injuries to
the airways.
Seal the components. The sealant to use is
listed in the respective step.
Use glue to adhere the seals, for example.
Do not use compressed air to clean the
components.

Cleaning and maintenance Maintenance notes
5
Do not use cleaning brushes to clean the
components.

6 www.eta.co.at
Maintenance openings Cleaning and maintenance
2.2 Maintenance openings
Maintenance openings and components
The illustration shows a precipitator for a boiler
with the fuel discharge on the left side.
1 Maintenance cover
2 Position switch for the electrode dedusting
3 Drive chain for the electrode dedusting
4 Draught fan
5 Maintenance cover for the internal flue gas ducts
6 Left drive chain for the sliding rake and ash screw
(as seen from the front side to the back side of the
boiler)
7 Position switch for the sliding rake
8 Right drive chain for the sliding rake and ash screw
9 Ash box seal

Cleaning and maintenance Maintenance openings
7
1 Maintenance cover for optional flue gas recircula-
tion
2 Flue gas temperature sensor
3 Maintenance cover for the piping between boiler
and precipitator

8 www.eta.co.at
Maintenance table Cleaning and maintenance
2.3 Maintenance table
Cleaning must be carried out at least once a year or when requested by the control system. Maintenance is
necessary at least every 3 years or when requested by the control system. We recommend you perform
maintenance annually.
Tasks Regular
ly Cleaning
annually
Maintenan
ce
at least
every 3
years
to be
performed by
Emptying ash bin
• Emptying ash bin
• Check the seals X X X Customer
Clean the piping
• Clean the piping between boiler and precipitator
• Clean the flue tube from the precipitator to the chimney
• Vacuum the internal flue gas ducts
X X Customer or
specialist
Clean flue gas recirculation (if installed) X X Customer or
specialist
Clean the precipitator
• Check and remove ash accumulations
• Clean the flushing air opening
• Clean and inspect the electrode holder
• Check the alignment of the electrodes
• Check maintenance cover seal
X X Customer or
specialist
Check idle position
• Check idle position of the electrode dedusting
• Check the idle position of both sliding rakes XSpecialist
Check de-ashing
• Check the drive chains and position switches of the
electrode dedusting
• Check the drive chains and the position switches of both
sliding rakes
XSpecialist
Clean the draught fan XSpecialist
Clean the temperature sensor XSpecialist
Check the ash bin position switch XSpecialist
Check the safety switch for the maintenance cover XSpecialist

Cleaning and maintenance Regular maintenance
9
2.4 Regular maintenance
2.4.1 Empty ash bin
End heating mode
End the boiler's heating mode with the On/Off switch in
the boiler overview window. The boiler performs an
ember burnout and then changes to the [Switched off]
operating mode. Then start de-ashing, so that the
boiler can perform a final de-ashing.
Empty the ash bin, inspect the seals
If the boiler's ash bins are already empty, also
empty the precipitator's ash bin. This prevents an
additional boiler switch-off.
Open both side fasteners by pressing their locks in the
direction of the arrow.
Fig. 2-1: Ash bin
Remove the ash bin from the precipitator. Open both
fasteners on the cover and empty the ash bin.
Fig. 2-2: Cover
Inspect the integrity of the seal in the cover and
replace, if necessary.
Fig. 2-3: Seal

10 www.eta.co.at
Regular maintenance Cleaning and maintenance
Inspect the ash bin seals on the precipitator to ensure
they are in good order and replace if necessary.
Fig. 2-4: Seals
After emptying the ash bin, close the cover on the ash
bin and attach the ash bin to the precipitator with the
two fasteners.
Fig. 2-5: Ash bin
Once the ash bin is attached, precipitator de-
ashing starts automatically in order to transport
the remaining ash to the ash bin.
Switch the boiler on via the mains switch and start
de-ashing
Restore the boiler's power supply from the mains
switch. Start de-ashing, so that the boiler can perform
de-ashing. Switch the boiler back on with the On/Off
switch.

Cleaning and maintenance Cleaning (customer)
11
2.5 Cleaning (customer)
2.5.1 Preparation
End heating mode
End the boiler's heating mode with the On/Off switch in
the boiler overview window. The boiler performs an
ember burnout and then changes to the [Switched off]
operating mode. Then start de-ashing, so that the
boiler can perform a final de-ashing.
WARNING!
Switch off the electricity to the boiler via the mains
switch
Switch off the electricity to the boiler via the mains
switch. This prevents injuries caused by switching
the boiler on inadvertently.
2.5.2 Clean piping
Clean the piping between boiler and precipitator
Open the maintenance cover in the piping.
Fig. 2-6: Maintenance cover
Only clean out the piping with an ash vacuum.
Fig. 2-7: Clean out piping
WARNING!
Never brush ash into the precipitator
Only clean out the piping with an ash vacuum.
Never sweep ash into the precipitator as this can
block the precipitator's exhaust path. As a result,
the boiler can no longer ignite and this can lead to
deflagrations.

12 www.eta.co.at
Cleaning (customer) Cleaning and maintenance
To clean the top pipe, the heat exchanger cover
can also be removed from the boiler. Then the
pipe from the boiler can be cleaned out with the ash
vacuum.
Re-attach the maintenance cover to the piping.
Fig. 2-8: Maintenance cover
Clean the flue tube from the precipitator to the
chimney
Sweep the flue tube from the precipitator to the
chimney and remove flue ash from the chimney using
a vacuum cleaner.
Fig. 2-9: Flue tube
Brush the ash into the chimney and not the pre-
cipitator.
Clean out the internal flue gas ducts
Remove the covers from the rear of the precipitator.
Fig. 2-10: Covers
Remove the insulation over the maintenance covers.
Then remove the maintenance cover with the seals.
Fig. 2-11: Maintenance cover

Cleaning and maintenance Cleaning (customer)
13
Only clean out the accessible ducts with an ash
vacuum.
Fig. 2-12: Clean out ducts
Re-install the maintenance cover with the seals. Then
put the insulation back over the maintenance cover.
Fig. 2-13: Maintenance cover
Re-install the covers.
Fig. 2-14: Covers

14 www.eta.co.at
Cleaning (customer) Cleaning and maintenance
2.5.3 Clean flue gas recirculator (optional)
Clean flue gas recirculation (if installed)
Remove the flue gas recirculation from the back side
of the maintenance cover.
Fig. 2-15: Maintenance cover
Brush out the pipes with a cleaning brush and remove
the ash with a vacuum.
Fig. 2-16: Pipes
Re-install the maintenance cover.
Fig. 2-17: Maintenance cover

Cleaning and maintenance Cleaning (customer)
15
2.5.4 Clean precipitator
Remove maintenance cover and panels
Remove the panel from the top and remove the
insulating cover.
Fig. 2-18: Panels and insulating cover
Remove the maintenance cover.
Fig. 2-19: Maintenance cover
Check and remove ash accumulations
Inspect the inner walls of the precipitator for ash accu-
mulations. Cleaning is not functioning correctly if there
is too much ash on the inner walls or on the electrodes.
The cause must be found and eliminated.
Fig. 2-20: Ash accumulations
Use the cleaning brush to carefully scrape the ash ac-
cumulations from the inner walls. Especially the area
above the sliding rake.
Fig. 2-21: Clean the inner walls

16 www.eta.co.at
Cleaning (customer) Cleaning and maintenance
Do not damage or bend the electrode during
cleaning.
Fig. 2-22: Electrode
Clean flushing air opening
Vacuum out the opening for the electrode flushing air
on the isolator on the inside of the precipitator.
Fig. 2-23: Flushing air opening on the isolator
Do not clean the opening with compressed air,
because this will stir up the ash,which can end up
in the precipitator control system and cause damage.
Clean and inspect the electrode holder
Clean both electrode holders with a soft cloth.
Fig. 2-24: Electrode holder
Then inspect the status of the electrode holders.
The best way to do this is to check the electrode
holder manually, especially the area around the
flushing air openings. If cracks or small holes can be
"felt" there is damage. In this case, contact ETA
Customer Support.
Check the alignment of the electrodes
The electrodes must be in the centre of the precipitator
so that the flue gas can be optimally cleaned.
Therefore, check the clearance from the electrodes to
the inner walls.
Fig. 2-25: Electrode
If the clearance is uneven, check the electrodes.
They may have been bent during cleaning.

Cleaning and maintenance Cleaning (customer)
17
Check maintenance cover seal
Clean the maintenance cover. Inspect the seal on the
maintenance cover to ensure it is in good order and
replace if necessary.
Fig. 2-26: Maintenance cover
CAUTION!
Avoid operation with damaged seals
Never operate the precipitator with damaged seals.
Otherwise, leak air is sucked in, disturbing the
combustion process and causing increased wear.
Always replace seals immediately when they are
damaged.
Re-attach maintenance cover and panels
Place the maintenance cover and tighten the screws
evenly and cross-wise.
Fig. 2-27: Maintenance cover
Finally, place the insulating cover and re-attach the
panels.
Fig. 2-28: Panels and insulating cover

18 www.eta.co.at
Cleaning (customer) Cleaning and maintenance
2.5.5 Establish operational readiness
Switch the boiler on via the mains switch and start
de-ashing
Restore the boiler's power supply from the mains
switch. Start de-ashing, so that the boiler can perform
de-ashing. Switch the boiler back on with the On/Off
switch.

Cleaning and maintenance Maintenance (expert)
19
2.6 Maintenance (expert)
2.6.1 Preparation
Before this maintenance, perform all steps for the
preceding maintenance intervals
Before this maintenance, all steps for the
preceding maintenance intervals must be
performed.
WARNING!
The following activities may only be performed by
qualified specialist personnel.
If you carry out these activities without the correspond-
ing specialist training, and above all without the
required experience, safe operation is no longer
guaranteed. The resulting defects and consequential
damage are excluded from the guarantee and
warranty.
Equally an incorrect performance of these activities
can lead to serious injuries.
End heating mode
End the boiler's heating mode with the On/Off switch in
the boiler overview window. The boiler performs an
ember burnout and then changes to the [Switched off]
operating mode. Then start de-ashing, so that the
boiler can perform a final de-ashing.
WARNING!
Switch off the electricity to the boiler via the mains
switch
Switch off the electricity to the boiler via the mains
switch. This prevents injuries caused by switching
the boiler on inadvertently.
DANGER!
Caution high voltage!
The electrode inside the precipitator can
still have residual voltage even after
switching off the power supply.
Therefore, switch off the boiler at the
mains switch and ensure that it cannot be switched
back on before starting work. Then establish
additional earthing between the electrode on the
inside and the housing of the precipitator.
2.6.2 Check idle position
Remove maintenance cover and panels
Remove the panel from the top and remove the
insulating cover.
Fig. 2-29: Panels and insulating cover
Remove the maintenance cover.
Fig. 2-30: Maintenance cover
Remove panel
Remove the panel over the electrode dedusting drive.
Fig. 2-31: Panel

20 www.eta.co.at
Maintenance (expert) Cleaning and maintenance
Remove the panel from the bottom.
Fig. 2-32: Panel
Check idle position of the electrode dedusting
There is a mark on the washer on the electrode
dedusting drive wheel which marks the idle position of
the electrode dedusting.
Fig. 2-33: Idle position mark
Through the maintenance opening on the top,
inspect whether the lever gear teeth can support
the striking weight in idle position. The gap must be 3
mm. If not, the delay time (= parameter [Electrode
dedusting delay]) must be adjusted in the control
system.
Fig. 2-34: Idle position
Check the idle position of the sliding rakes
A screw is located on every sliding rake drive wheel
which actuates the position switch for the idle position
of the sliding rakes.
Fig. 2-35: Screw for the position switch
Through the maintenance opening on the top,
check whether the sliding rakes lie flush against
the bottom stop in the idle position.
Fig. 2-36: Idle position
Table of contents
Other eta Industrial Equipment manuals