8
GB 9
GB
Fitting the handle
(Full Glass door only on models S-059V3, V-059V3,
S-259V3,V-259V3)
•Unscrew the three screws placed on the side of the door, using the Allen
wrench, which you will find in the handle's box.
•Position the handle on the specially designed groove on the door frame
(figure 2).
•Insert the handle all the way into the groove using a forward movement
Revissez les trois vis (figure 3).
•Screw the three screws back on (figure 3).
•Take care not to catch the seal when screwing.
Note: adjustment of the handle is possible thanks to the oblong holes.
Note : Un Install the stop (which is located in the accessories bag) at the
back of the cabinet (on models S-259V3,V-259V3) / see diagram).
•This allows a space of 7 cm to be maintained
between the wall and the rear of the cabinet.
This space allows your cabinet’s power
consumption to be optimised.
•Place the 2 caps in the 2 holes at the top of
the cabinet.
•Do not push the caps all the way in, in order
to allow the rear stop to be installed.
•Slide the rear stop between the caps and the
wall of the cabinet, then push the 2 caps all
the way in.
Installation of two cabinets side by side
Caution: In the case of two side by side cabinets installed in extreme
conditions (Temperature >30°C - Relative Humidity > 70%), in order to
prevent condensation of stagnant air between the walls, please leave either
a minimum space of 5 cm between the two cabinets, or fill the space with
a foam sheet to remove the void.
Dimensions for solid, glass or full glass door:
A maxi A mini BC mini
059 834 818 Solid door 555 823
Glass door 555
Full glass 555
259 1794 1778 Solid door 572 1783
Glass door 595
Full glass 595
1. Building in
259 : It is essential that the unit inside which the cabinet will be fitted
has an opening at the top, at the back, measuring at least 540mm in length
and 50mm in width (see technical door diagram).
4/ INSTALLING YOUR WINE CABINET4/ INSTALLING YOUR WINE CABINET
Dimensions for a technical door:
059 259
A maxi 852 1812
A mini 836 1796
B 555 595
C mini 841 1801
Handle Seal
Front Door frame
Figure 1
Figure 2 Figure 3
View from above
Precautions
•Do not place your cabinet in an area likely to be flooded.
•Do not position your cabinet near to a source of heat or expose it to
the effects of direct sunlight.
•Prevent water from splashing on the entire rear section of the appliance.
• Position your appliance so that there is a minimum space of 5 – 10 cm
between the wall and the rear wall of your cabinet.
•If you are positioning your
cabinet under a work
surface, leave a minimum
space of 5 cm all around the
appliance including under
the work surface. Allow for
a ventilation grill on the
work surface
(recommended).
•Install the carbon filter,
which you will find inside
your cabinet's "accessories"
packet, by placing it in the
air circulation hole located inside the cabinet on the top left hand side
(see diagram below).
•Arrange the power lead so that it is accessible and does not come into
contact with any component of the appliance.
•Slightly tilt the cabinet backwards to adjust the front feet (adjusted by
screwing or unscrewing), so that you can level your cabinet (use of a
spirit level is recommended).
•For single-temperature models only:
- If you notice low humidity levels (<55%) a few days after setting your
wine cabinet into operation, we recommend that you use the humidity
cartridge, supplied in a bag with the appliance. Place it at the bottom
of the cabinet, under the rack in the drip tray provided (see diagram
below).
- When using for the first time, completely immerse your cartridge in tap
water for a few minutes to saturate it then allow it to dry. Depending
on external conditions, it may be necessary to add a 10cl glass of water
after several months.
•Never obstruct the front ventilation grid.
Beware: any changing of the control panel LED should only be
carried out by a qualified electrician.
If you leave your wine cabinet closed for long periods (>3 months)
in an environment where the temperature is close to your cabinet's
temperature setting (a difference of about <5°C) this could create
an environment in which mould develops or cause your bottles's
labels to peel off. Lack of dehumidification and air renewal can create
significant humidity inside the cabinet. We strongly recommend that
you regularly monitor your cabinet and clean it once a year.
A Hinge without pin
B Flush fitting hinge
600 min.
560 min.
C
594
B
A
G
F
C
A
B
E
D
50 mini
1801 mini
594
600
595 mini
1796 mini
A
C
B
540 mini
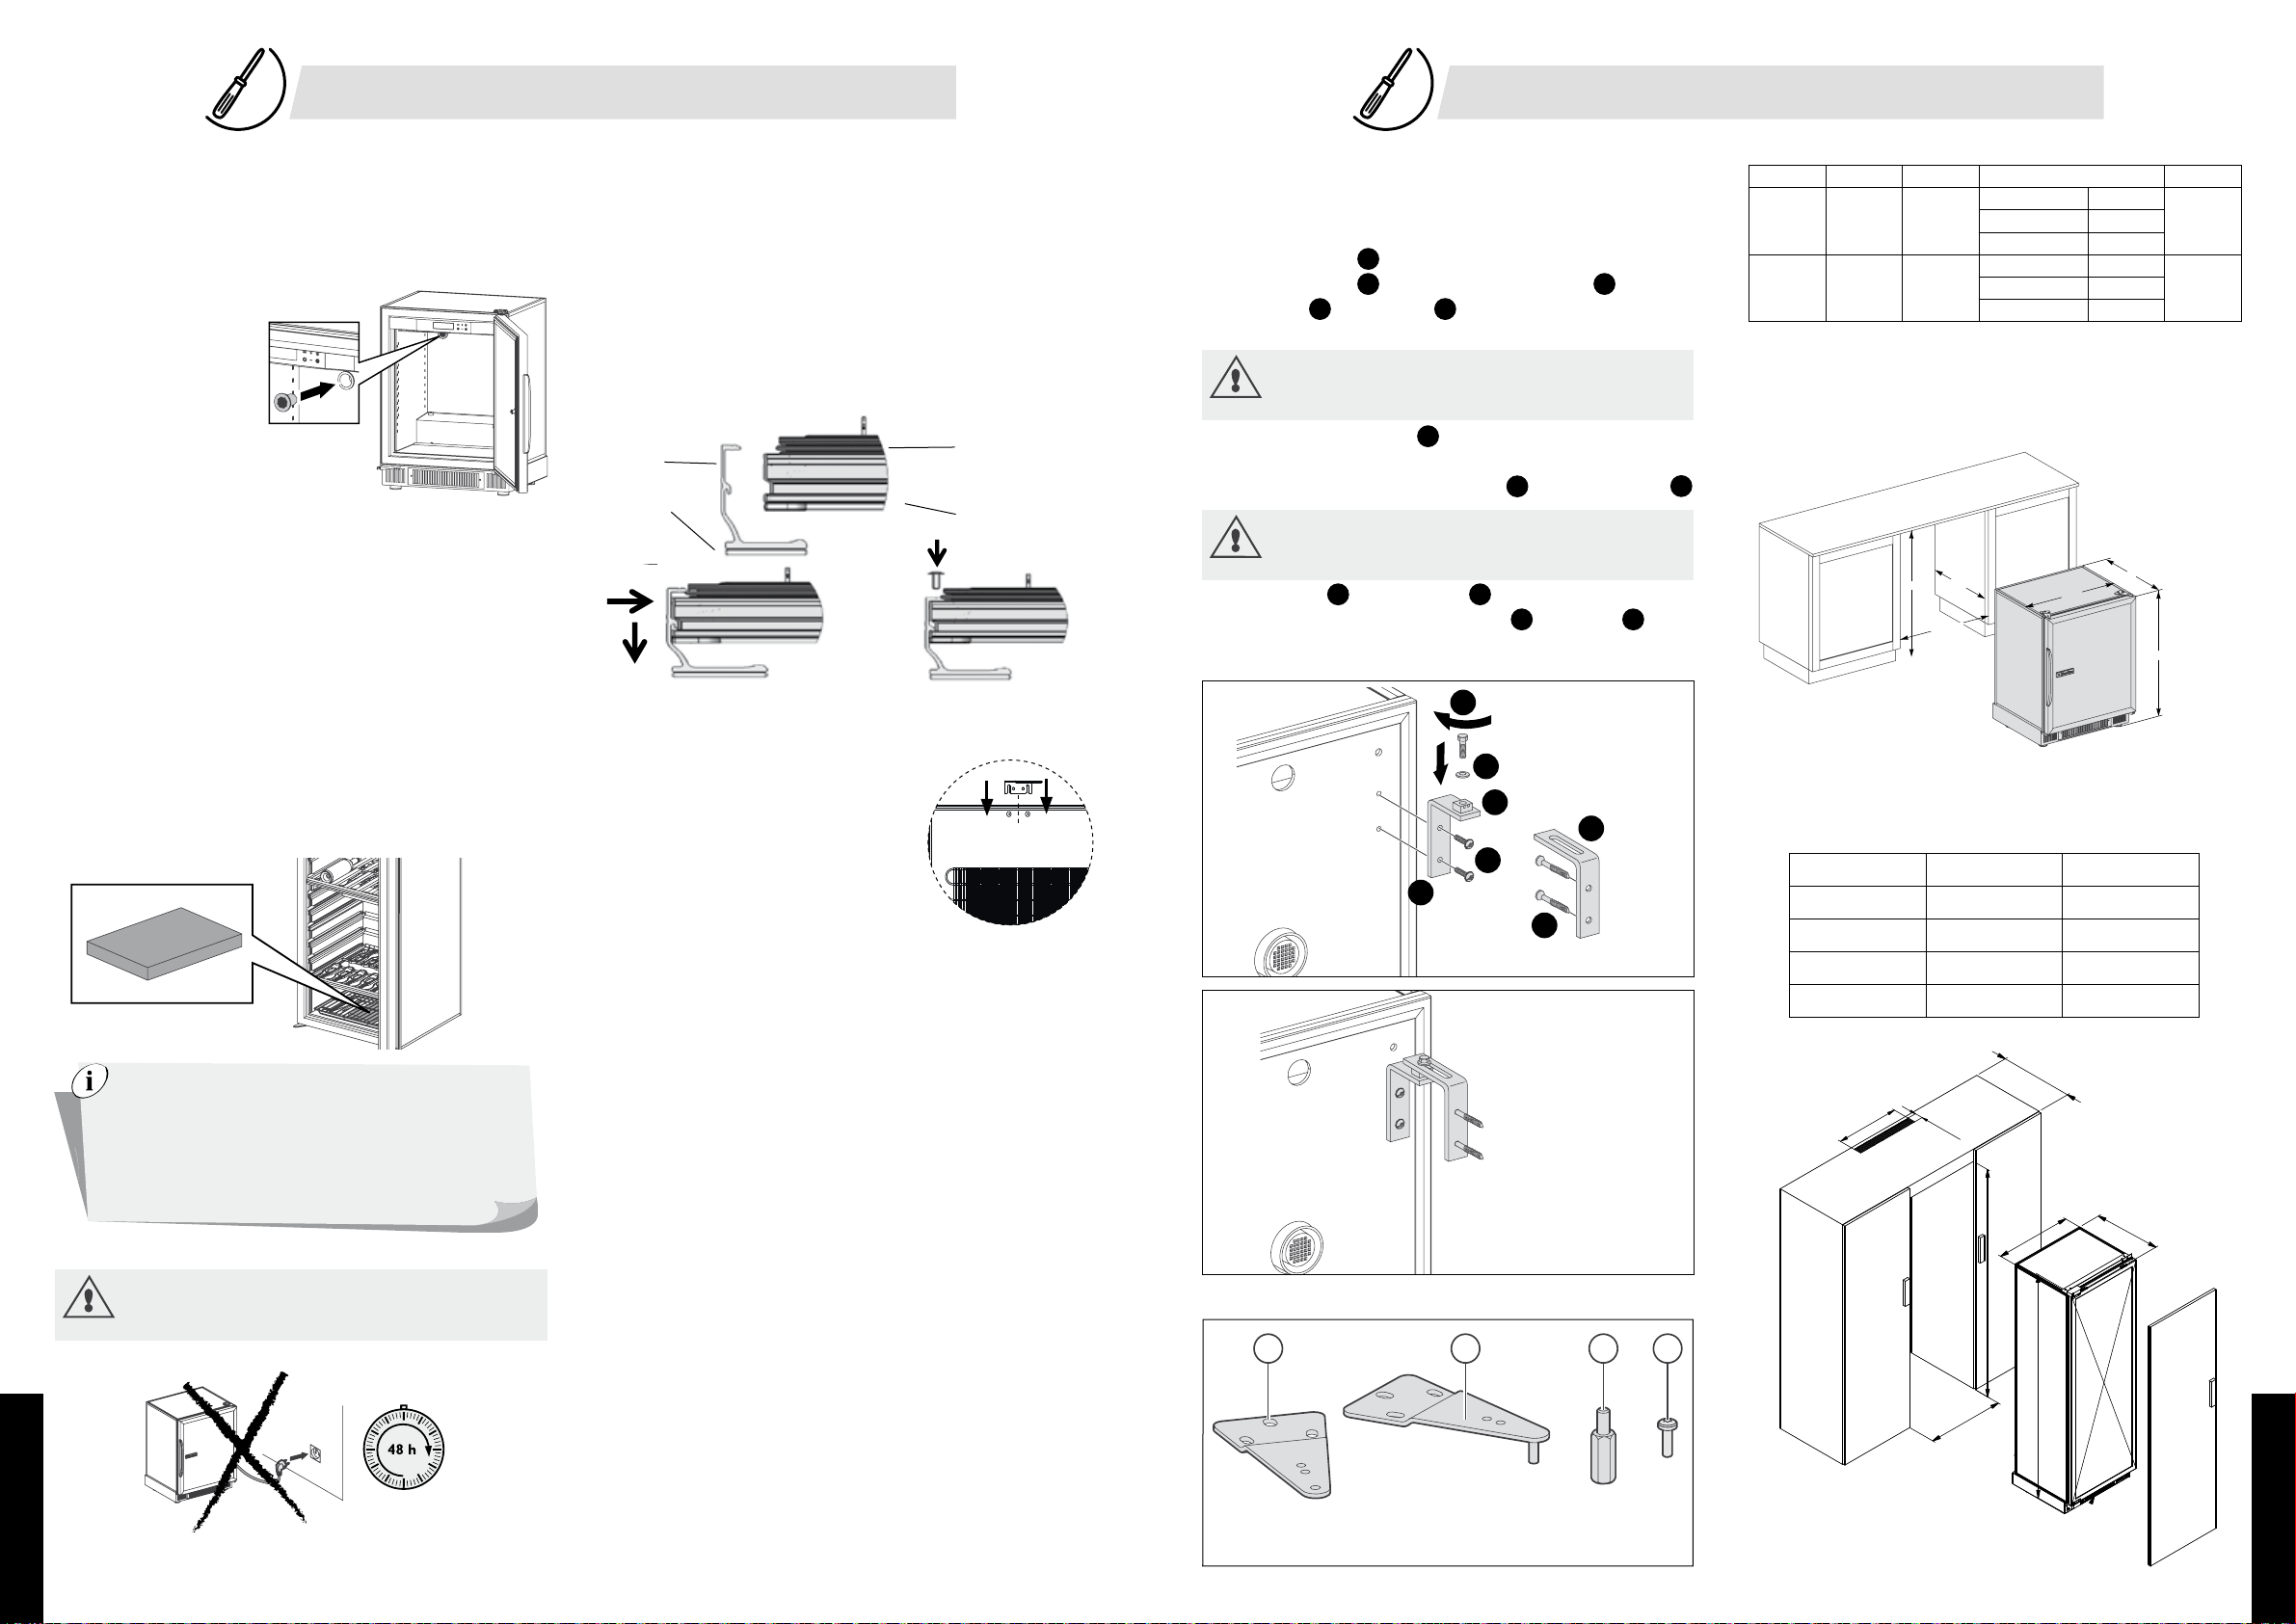
Wall fixing of the cabinet
For large models, if the wine cabinet is not being built in, it is essential
to secure it to the wall to prevent it from tipping forward. You will find
all the necessary parts in the accessories bag supplied with the unit. For
installation (see diagram below):
1 Loosen the screws A.
2 Attach the bracket Bto the cabinet with the screws A.
3 Clip the nut Cto this bracket B(preferably choose the hole nearest
to the cabinet).
Warning: make sure that the part is correctly clipped by
pulling upwards by hand.The clip must not come out.
4 Preposition the wall bracket D(on the nut to determine the position
for drilling the holes for the wall-mounting screws,
5 Drill the holes then attach the wall bracket Dwith suitable screws E.
Warning: ensure that the wall fixing can withstand a tensile
force of 100 kg.
6 Tighten screw Gwith the washer Funtil it is screwed fully in and
there is contact between the wall bracket Dand the nut C.
Only full tightening of the screw will ensure correct fixing of the unit.
Repeat the installation on the other side of the cabinet.
C Pillar (model 059 only)
D No. 25 Torx screw


