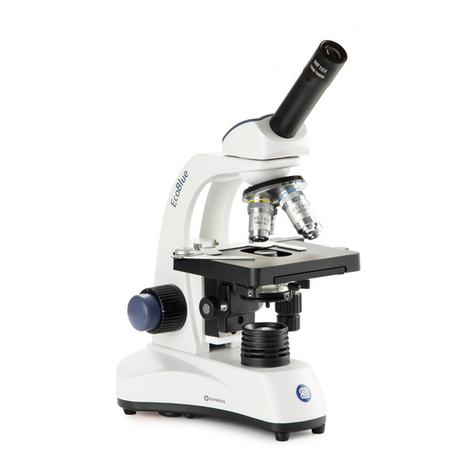
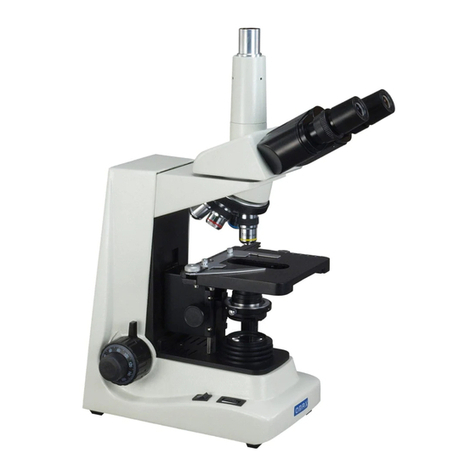
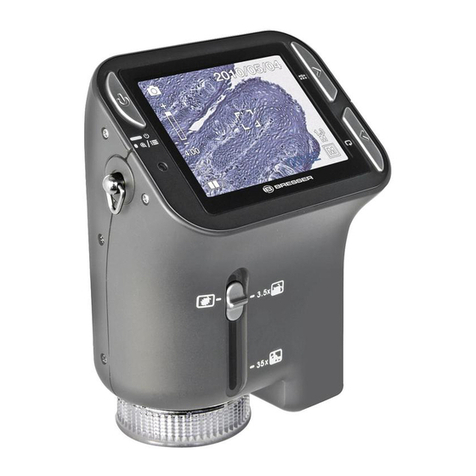
Euromex BioBlue.Lab Installation and user guide

page2/10
Introduction
The Euromex and Novex microscopes have been designed with great durability in mind.
This resulted in a modern, robust and high level microscopes for everyday use, equipped
with excellent optical and mechanical components. Specific attention to production
methods resulted also in an excellent price/performance ratio.
This manual is designed for technical staff that is assigned with maintenance and service
of microscopes.

page3/10
Contents
Introduction .............................................................................................................................. 2
Practical tips for microscope care and maintenance for microscope operators ........................... 4
MICROSCOPE MAINTENANCE .................................................................................................... 5
General .......................................................................................................................................................... 5
Cleaning optical parts .................................................................................................................................... 6
Cleaning Microscope Eyepiece Lenses .......................................................................................................... 7
Cleaning Objectives ....................................................................................................................................... 8
Immersion oil(100x lens) ............................................................................................................................... 9
Mechanical Maintenance ............................................................................................................................ 10

page4/10
Practical tips for microscope care
and maintenance for microscope
operators
When the microscope is not in use, keep it covered
with a cotton dust cover.
Before using the microscope, wipe it with a clean
cloth to remove any dirt and dust, and clean the lens
with lens tissue or a separate piece of clean cotton
cloth if necessary.
At the end of each day’s work, switch off the
microscope and remove the plug from the mains socket.
Cover open tubes with the dust caps.
Use a rubber bulb to blow air over the microscope to remove dust particles.
Remove oil residue from the lens with clean lens paper.
Clean the optics with a special solution. Never use petroleum, benzene, acetone, or
xylene to clean objective lenses.
Never dip the objectives in any cleaning agent because the lenses will become
unstuck.
Special cleaning instructions are available at your supervisor, please note them
before you start to clean.
Do not store the microscope without the eyepieces unless the holes are plugged.
If the microscope is not going to be used for a few days, put it in a sealed, airtight
plastic bag (made from thick polyethylene not PVC) with a packet of silica (silica
absorbs moisture from the air). This will protect the microscope from fungal growth
and corrosion. This remark is mainly for moist conditions.
Clean the microscope thoroughly according to the Euromex instructions periodically
(should be done by an experience technician, or your Euromex Reseller.
Report any problems to your supervisor.
Tip: print out this sheet for daily operators or place by the microscope

page5/10
MICROSCOPE MAINTENANCE
General
Routine optical and mechanical maintenance of compound microscopes can ensure that
your microscope works well for years.
Most microscope problems occur as a result of improper handling. When carrying the
microscope, always hold it by the base and the metal support arm. Do not pick it up by
grabbing the stage, as this can cause mis-alignment for the mechanical stage. If you will
be transporting the microscope frequently from one location to another you might consider
purchasing a microscope carrying case.
When the microscope is not in use keep it covered with the dust cover. This alone will
extend the life of your microscope. Even if the microscope is stored within a cabinet, you
should still cover it with the dust cover. Do not store a microscope without any eyepieces,
even if it is covered. This can allow dust to collect within the eye tubes, which can be
difficult to clean. If the microscope eyepieces must be removed, simply cover the tubes
with caps or a plastic bag with a rubber band around the eye tube.
If you are using immersion oil the high power objective lens (usually 100x) and the lens of
the condenser should be thoroughly cleaned before storing. After using the microscope,
turn off the illuminator and wait for it to cool for several minutes before putting it away. By
allowing the bulb to cool you will extend its life. Also, make sure you do not store your
microscope in an area that has corrosive chemical fumes that can destroy lenses or metal
parts.
Never attempt to disassemble any part of the microscope for repair unless you are a
experience user. If not and there is any problem with the microscope, contact the
microscope reseller in your area or a qualified technician.
Treat the microscope with care! Never expose it to sharp knocks, vibrations, moisture,
dust, or direct sunlight for long periods of time.
Humidity causes fungal growth on the surfaces of lenses and prisms. This can cause
cloudiness of the view field and rusting of metal parts of the microscope. To protect from
fungus, always keep the glass surface as clean as possible and free of dirt and
fingerprints. In very humid areas, keeping the microscope inside a temperature controlled
cabinet, and using silica gel (desiccant) or anti-mold strips may be useful.

page6/10
Cleaning optical parts
Microscope lenses can easily be scratched and should be treated with great care. Never
use sharp instruments or anything abrasive to clean lenses.
What to clean
Front lens of objective
Cover glass of camera sensor
Cover slip and specimen slide
C-mount
Condenser lens
Misc. glass surfaces
What not to clean
Filter cubes
All inside optics of a microscope

page7/10
Cleaning Microscope Eyepiece Lenses
To determine if your microscope eyepieces need cleaning, loosen the small set screw for
the eyepiece (if there is one) and rotate the eyepiece in a circular motion while looking
through the microscope. If there is a dust particle that rotates as you rotate the eyepiece,
remove the eyepiece from the microscope and clean only the outside lens. It is not
recommended that you clean inner lenses or take the eyepiece apart, as there are
generally multiple lenses in the eyepiece and they can be difficult to put back together in
the correct order.
Clean the part using an absorbent tissue such as Kimwipes, not lens paper. Use
enough toweling so that solvents do not dissolve oils from your hands which can make
their way through the toweling onto the coated surface. Wrap the lens tissue around a
stick. The use of powder-free gloves will help to keep fingerprints off the part while
cleaning. Clean the lens by putting a small amount of lens cleaning fluid or cleaning
mixture ( 7 parts ether and 3 parts alcohol (anhydrous reagent grade ethanol or
isopropanol) ) on the tip of a lens tissue. Discard each lens tissue after a single use. When
cleaning a large lens surface, wipe from the centre towards the periphery in a
circular motion. A minimal amount of pressure can be applied while wiping. However, too
much pressure will damage the component.
Remark : the purpose of the solvent is only to dissolve any adhesive contamination that is
holding the debris on the surface. The towel needs to absorb both the excessive solvent
and entrap the debris so that it can be removed from the surface
When cleaning large glass surfaces on both sides of an accessory such as a filter, fold two
or three layers of lens tissue soaked in the cleaning mixture, hold the accessory at its
edges and wipe from the centre towards the periphery in a circular motion as you
slowly rotate it. After cleaning, examine the lens surface with a magnifying glass. Make it
a habit to clean each specimen both before and after observation. For cleaning the
specimen, a soft cloth, gauze or piece of lens tissue may be used without cleaning liquid.
However, if the contamination is difficult to clean, breathe on the specimen before wiping
it.

page8/10
Cleaning Objectives
In order to determine which of your objective lenses need cleaning, take a clean blank
glass slide and put it under your microscope. Once the microscope is focused you should
be able to move the slide and determine if the visible dust is moving with the slide or
staying in the same place (which means the dust is on the objective lens).
Only clean the front lens of objectives! This is the lens that is closest to the object slide.
Clean the part using an absorbent tissue such as Kimwipes, not lens paper. Use
enough toweling so that solvents do not dissolve oils from your hands which can make
their way through the toweling onto the coated surface. Wrap the lens tissue around a
stick. The use of powder-free gloves will help to keep fingerprints off the part while
cleaning. Clean the lens by putting a small amount of lens cleaning fluid or cleaning
mixture ( 7 parts ether and 3 parts alcohol (anhydrous reagent grade ethanol or
isopropanol) ) on the tip of a lens tissue. Discard each lens tissue after a single use. When
cleaning a small lens surface, roll up your wipe to a Sharp point and wipe from the
centre towards the periphery in a circular motion. A minimal amount of pressure can
be applied while wiping. However, too much pressure will damage the component.
Remark : the purpose of the solvent is only to dissolve any adhesive contamination that is
holding the debris on the surface. The towel needs to absorb both the excessive solvent
and entrap the debris so that it can be removed from the surface
When cleaning large glass surfaces on both sides of an accessory such as a filter, fold two
or three layers of lens tissue soaked in the cleaning mixture, hold the accessory at its
edges and wipe from the centre towards the periphery in a circular motion as you
slowly rotate it. After cleaning, examine the lens surface with a magnifying glass. Make it
a habit to clean each specimen both before and after observation. For cleaning the
specimen, a soft cloth, gauze or piece of lens tissue may be used without cleaning liquid.
However, if the contamination is difficult to clean, breathe on the specimen before wiping
it.

page9/10
Immersion oil (100x lens)
When using immersion oil for microscopy, the oil should always be cleaned from
microscope objective lenses immediately after use. This can be done with a kimwipe of
piece of lens paper, no cleaning solutions are needed.
If immersion oil was not cleaned off an objective after use and has hardend on the
objective, moisten a piece of lens paper with a small amount of distilled water and hold it
against the lens for a few seconds to dissolve the oil. If that does not work, try alcohol.
Isopropyl alcohol is one of the best solvents but it must be at least 90%+ pure (do not use
rubbing alcohol, 30% water). If you have something like Balsam stuck on the lens, you
must resort to a stronger solvent like Acetone or Xylene. Acetone should never be put on
plastic parts, as it will dissolve most paints and plastic. After using solvents be sure to
clean the objective again with standard distilled water to ensure that you have removed all
the solvents from the microscope objective.
Never dip the objectives in any cleaning agent, or let any cleaning agent stay on the
lens too long because the lenses will become unstuck.
Practical Considerations for Cleaning Microscope Optics
When starting to clean, don't forget to use a dust blower except when fluids (such as
immersion oil) must be removed.
Never wipe lenses with dry swabs or tissue as this causes scratches!
Do not use abrasive materials like leather wipes, dry linen cloths, or polystyrene sticks as
recommended by some manufacturers.
Do not apply any solvents before trying distilled water (a film of distilled water can be
generated by breathing on the surface), except when grease is to be removed.
Do not use ethanol or acetone for the cleaning of older microscopes.
Do not use any disposable cotton swabs instead of the described cotton or polyester swabs,
as the former are not free from contamination.
Do not use any of the occasionally recommended metal rods instead of the wooden (bamboo)
sticks, as the front lenses may be more easily damaged.
Do not use any of the optical spray cans containing pressurized liquid air. The pressurized air
from these sprays leaves a slight, but difficult to remove, residue.
Never use acids or ammonia to clean objective front lenses.
Never try to clean the internal optical surfaces, cameras or adaptor optics.
Never try to remove dust by blowing into internal areas of the microscope because dust
particles may be dislodged and settle into areas that are inaccessible.

page10/10
Mechanical Maintenance
Each microscope should come with a user's manual. Always consult this user's manual
before making any adjustments to your microscope. Never over-tighten or use force when
performing any maintenance on your microscope. This can damage metal parts in the
microscope.
Mechanical maintenance of your Euromex microscope is very limited.
All moving parts like the height adjustment or the coaxial course and fine adjustment
contain ball bearings that are not dust sensitive. With a drop of sewing-machine oil the
bearing can be lubricated.
This manual suits for next models
1
Table of contents
Other Euromex Microscope manuals

