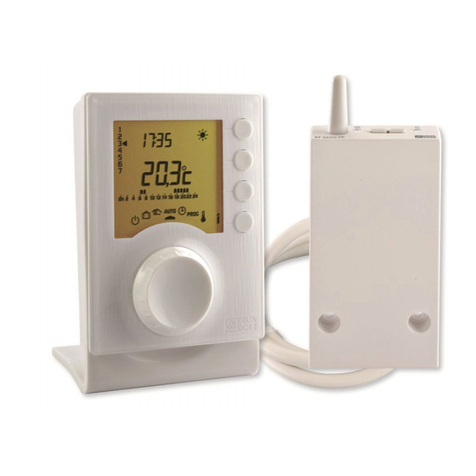
EUROSTER 6060 –INSTALLATION AND OPERATION MANUAL 3
•Prior to mounting or dismantling the thermostat make sure that the heating
system is de-energized.
•Voltages hazardous to life may be present on thermostat output cables (power
supply phase voltage), therefore only qualified technicians may install the
thermostat!
•The electric connections performed and cables used shall be adequate to the
applied loads and must conform to all requirements!
•Do not install the thermostat in rooms with increased humidity; protect it
against water and other liquids!
•Do not install a thermostat showing any signs of mechanical damage!
•The thermostat is not a safety component. Additional protection devices must
be used in systems prone to the risk of damage due to the failure of control
systems!
•The device is not intended for use by children!
•Should there be any problem with proper operation of the thermostat, please
contact your technician or the manufacturer!
4.2. Proper place of installation
The thermostat is designed for indoor mounting at the height of approximately 1.5 m above
the floor. Avoid places with strong sunlight, near heating or cooling devices, situated near
doors, windows and other similar locations, where temperature measurement could be easily
disturbed by external conditions. Avoid places with poor air circulation, e.g. behind furniture.
Avoid moist places due to the negative effect of moisture on the service life of device.
4.3. Opening the thermostat
The thermostat housing consists of two main parts –a base with a connector for cables and a
front panel with an LCD. Thermostat components are joined together with a connector and a
screw.
To open the thermostat loosen the base locking screw. Carefully separate the front panel and
the base while paying attention to the connector.
4.4. Installing the thermostat
Lead all necessary cables prior to mounting the controller. Connect the thermostat using a wire
with a diameter adequate to the switched load. Mounting holes of the thermostat enable
installation in standard Ø60 mm flush-mount back boxes or directly on walls using screw
anchors.
Unscrew the connector compartment cover, put the cables through the opening, fix the
thermostat base on the wall in possibly most horizontal position and tighten the cables. When
the installation is finished check the correct connection of the cables. Retighten the joint cover
and fix the front panel of the thermostat.
4.5. Insertion and replacement of batteries
Open the battery cover and insert batteries while paying attention to their polarity.
There are markings for proper installation in the battery compartment.
ATTENTION! Use only AA batteries to power the thermostat. Do not use rechargeable
batteries because their voltage is lower and their effective time is shorter.
It is recommended to replace batteries before each heating season.


