manuals.online logo
Brands
  1. Home
  2. •
  3. Brands
  4. •
  5. EVERSPRING
  6. •
  7. Security Sensor
  8. •
  9. EVERSPRING ST802 User manual

EVERSPRING ST802 User manual

1
Installation Instructions
General Introduction
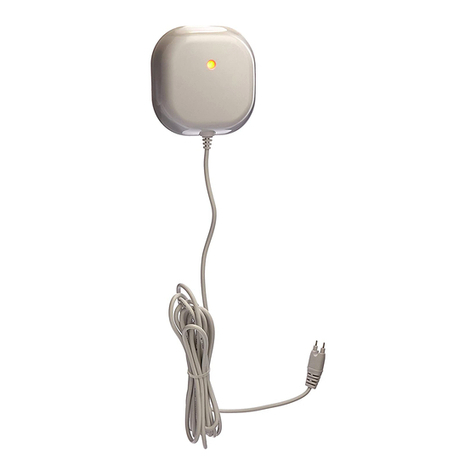
The ST802 Flood Detector is designed to sense the presence of water
inbasements, garage and many others residential and commercial
applications, providing early warning of developing floods. It has great
compatibility with our U-Net family security products for VIAS system.
Product Layout
The Flood Detector consists of a sensor probe connected to a main unit
through a 3m long cable.
Binding with VIAS
1. Unscrew the screw from the bottom edge of the main unit. Then
detach the back mounting plate by sliding it downwards.
Back
mounting
plate
Main unit
LED 2. Remove the battery cover by removing its screw.
Battery
cover
Sensor
probe
Probe tip
Preparethree AA1.5V batteries. Do not insert them into the unit yet.
3. Login to VIAS account from the APP.
4. Enter the panel main page from gateway list, open the left menu list, and
select “System Setup”,then choose “Add Device”.
5. Select “Flood Detector” to start the inclusion. This means the gateway is
entering binding mode.
6. Insert the batteries with correct polarity at this point. The device can be
auto-binding at first inclusion when power on.
Flood Detector
ST802
2
7. The APP wizard will appear if the process is successful.
8. Time-out will occur if the binding process was unsuccessful. Please
refer to the Manual Binding procedure in the Troubleshooting section.
Testing
1. Prepare a glass of water and dip the tip of the sensor probe into
the water.
2. The LED will flash orange and a beep sound will be heard.
3. The gateway will then register a flood event and a notification will
be sent to the smartphone App.
4. If the test is unsuccessful, please refer to the troubleshooting
section.
5. Attach back the battery cover and screw it tight.
Mounting the ST802
A clean smooth surface is required to securely mount the Flood
Detector. The main unit should be placed as high up as possible on
the wall to improve communication and prevent from coming into
contact with water in case of flood.
The tip of the sensor probe should be mounted at a height from the
floor at which the probe is intended to detect the flood level.
As shown below, secure the flood detector in place using the supplied
Back mounting plate
Cable rack
Screws Wall plug
Probe rack
cable racks and probe racks which first are drilled into the wall.
Maintenance
Do not immerse this unit in water or any other liquid, only the sensor
probe can enter in contact with liquids.
Low Battery: When the battery becomes low, the detector will report back
to the gateway and the LED will flash red every 30secs when this
happens. Replace the batteries at once.
Installation location is applicable in wide ranges from basement, water
sink, refrigerator..etc.
Troubleshooting
The troubleshooting table lists some possible causes and solutions.
3
Please contact your original retailer or nearest service center if the below
solutions cannot solve your problem.
Manual binding
1. Repeat steps 5 to 7 of the Binding according to Wizard intstruction.
2. Locate Learn button on the back of the main unit.
Learn button
3. Press and hold the learn button for more than 3 seconds then
release, and a 30-second countdown will start. The detector will
beep rapidly and the LED will flash green.
4. Within 5 secs the detector will emit a long beep indicating the binding
procedure is completed. The screen below will appear indicating the
process is successful.
Reset to factory default:
To reset detector back to factory default state:
1. Press and hold the learn button for more than 3 seconds then
release, the detector will beep rapidly and the green LED will flash
green.
2. Within 30 secs press and hold the learn button again for more than 6
seconds until a long beep is heard. This indicates the detector has
been reset back to factory default settings.
Operation
1. When water is detected, the orange LED of detector will flash one
second every one minute and beep 30 seconds and transmit radio
signal to the Siren & Strobe or Control Panel of alarm system
(option) simultaneously. In normal mode, the detector is allowed to
be activated once in one minute, avoiding false trigger.
2. When water is released, the green LED on the detector will illuminate
once and emit radio signal to the Siren & Strobe (option)or Control
Panel of alarm system.
3. When the battery level on the detector drops to low battery level, the
red LED will flash once every 30 seconds and radio signal will be
transmitted to Control Panel of alarm system.
4. Flood detector can work with advanced feature on automation by
creating the scene/automation scenarios to make warning with voice
alert by siren or sent push together. For advanced settings, please
set by VIAS APP>Scene>Automation>+Add Automation.
Specifications
*
*Specifications are subject to change and improvement without notice.
WARNING:
Do not dispose of electrical appliances as unsorted municipal waste, use
Battery Type
1.5V AA batteries x3
Battery Life
About 1year @25°C
Distance
>300m open space
Operating Frequency
868MHz(EU) / 923MHz(America)
Protection
IP44/Indoor use
Operating Temperature
0°C –40°C (32°F-104°F)
Symptom
Possible Cause
Recommendation
LED not indicating
and detector not
working
Batteries have not
been fitted or
insufficient battery
power
Check out if batteries are
fitted or replace new batteries
Check if the unit is
out of order.
Do not open up the detector
and send it for repair
LED is flashing red
every 30secs
Batteries are
running low
Replace batteries at once.
Gateway does react
when detector
detects a flood
condition
The detector cannot
communicate with
the gateway.
Place the unit closer to the
gateway.
Unsuccessful
binding operation.
Follow “Manual
binding”procedure
4
separate collection facilities.
Contact your local government for information regarding the collection
systems available.
If electrical appliances are disposed of inland fills or dumps, hazardous
substances can leak into the ground water and get into the food chain,
damaging your health and well-being.
When replacing old appliances with new ones, the retailer is legally
obligated to take back your old appliance for disposal at least for free
of charge.
www.everspring.com
3F., No.50, Sec1, ZhonghuaRd.,Tucheng
Dist.,New Taipei City 23666, R.O.C.

Other manuals for ST802

1

Other EVERSPRING Security Sensor manuals

EVERSPRING SE812 User manual

EVERSPRING

EVERSPRING SE812 User manual

EVERSPRING SP817 User manual

EVERSPRING

EVERSPRING SP817 User manual

EVERSPRING HSM02 User manual

EVERSPRING

EVERSPRING HSM02 User manual

EVERSPRING EVRESP816 User manual

EVERSPRING

EVERSPRING EVRESP816 User manual

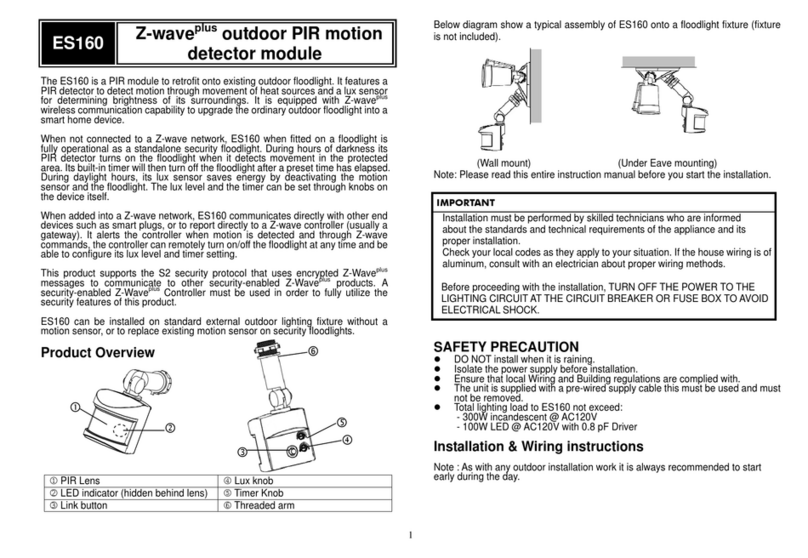
EVERSPRING ES160 User manual

EVERSPRING

EVERSPRING ES160 User manual

EVERSPRING HSP02 User manual

EVERSPRING

EVERSPRING HSP02 User manual

EVERSPRING SP103 User manual

EVERSPRING

EVERSPRING SP103 User manual

EVERSPRING SP815 User manual

EVERSPRING

EVERSPRING SP815 User manual

EVERSPRING ES34T User manual

EVERSPRING

EVERSPRING ES34T User manual

EVERSPRING EVR HSP02 User manual

EVERSPRING

EVERSPRING EVR HSP02 User manual

EVERSPRING SP814 User manual

EVERSPRING

EVERSPRING SP814 User manual

EVERSPRING SP816 User manual

EVERSPRING

EVERSPRING SP816 User manual

EVERSPRING HSM01 User manual

EVERSPRING

EVERSPRING HSM01 User manual

EVERSPRING ST802 User manual

EVERSPRING

EVERSPRING ST802 User manual

EVERSPRING SM201 User manual

EVERSPRING

EVERSPRING SM201 User manual

EVERSPRING ST812 User manual

EVERSPRING

EVERSPRING ST812 User manual

EVERSPRING HSP01-0 User manual

EVERSPRING

EVERSPRING HSP01-0 User manual

EVERSPRING SP819 User manual

EVERSPRING

EVERSPRING SP819 User manual

EVERSPRING SP103 User manual

EVERSPRING

EVERSPRING SP103 User manual

EVERSPRING SM103 User manual

EVERSPRING

EVERSPRING SM103 User manual

Popular Security Sensor manuals by other brands

suprema BioEntry Series installation guide

suprema

suprema BioEntry Series installation guide

System Sensor B110LP Installation and maintenance instructions

System Sensor

System Sensor B110LP Installation and maintenance instructions

Protekt LB100 instruction manual

Protekt

Protekt LB100 instruction manual

Det-Tronics X3301 instructions

Det-Tronics

Det-Tronics X3301 instructions

RDT FloodMaster RS-094 manual

RDT

RDT FloodMaster RS-094 manual

hyfire TAURUS TAU-TH-01-BL quick guide

hyfire

hyfire TAURUS TAU-TH-01-BL quick guide

Meggitt vibro-meter SpeedSys300 ODS301 user manual

Meggitt

Meggitt vibro-meter SpeedSys300 ODS301 user manual

CoinMate MD-8000 Operation instructions

CoinMate

CoinMate MD-8000 Operation instructions

Faraday 8854 Installation/Wiring Instructions

Faraday

Faraday 8854 Installation/Wiring Instructions

Stark ST-324W operating manual

Stark

Stark ST-324W operating manual

Autonics BWP Series quick start guide

Autonics

Autonics BWP Series quick start guide

EMX Industries ULT-V2 instruction manual

EMX Industries

EMX Industries ULT-V2 instruction manual

sewerin Ex-Tec OD 4 operating instructions

sewerin

sewerin Ex-Tec OD 4 operating instructions

Dahua Technology DHI-ARD323-W2 user manual

Dahua Technology

Dahua Technology DHI-ARD323-W2 user manual

Elenco Electronics WJL-6000 Customer's manual

Elenco Electronics

Elenco Electronics WJL-6000 Customer's manual

Sealey VS869 quick start guide

Sealey

Sealey VS869 quick start guide

Tungsram Tung Mariner PR G1 Install Instruction Guide

Tungsram

Tungsram Tung Mariner PR G1 Install Instruction Guide

ParTech 715 Operator's manual

ParTech

ParTech 715 Operator's manual

manuals.online logo
manuals.online logoBrands
  • About & Mission
  • Contact us
  • Privacy Policy
  • Terms and Conditions

Copyright 2025 Manuals.Online. All Rights Reserved.