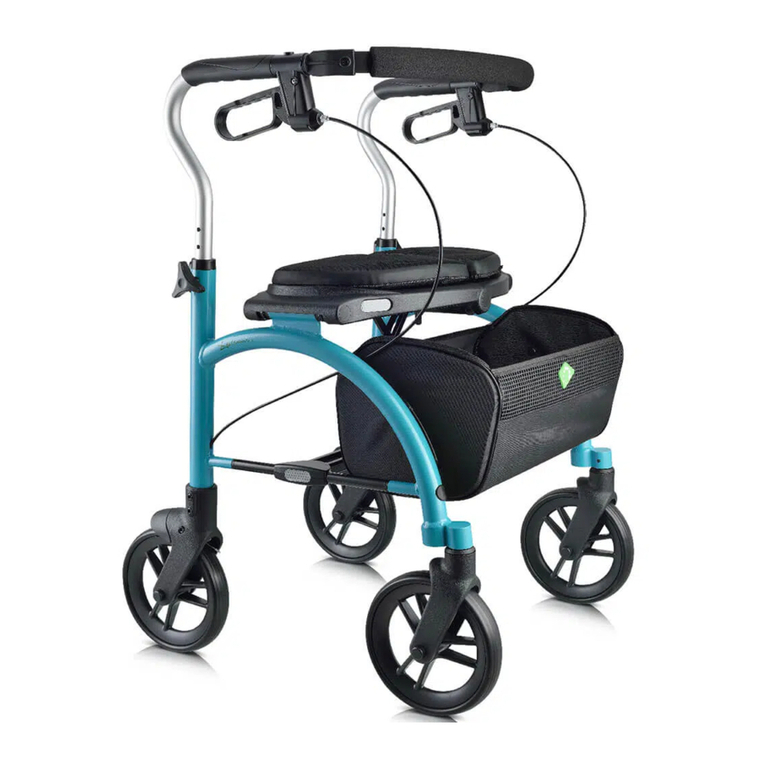
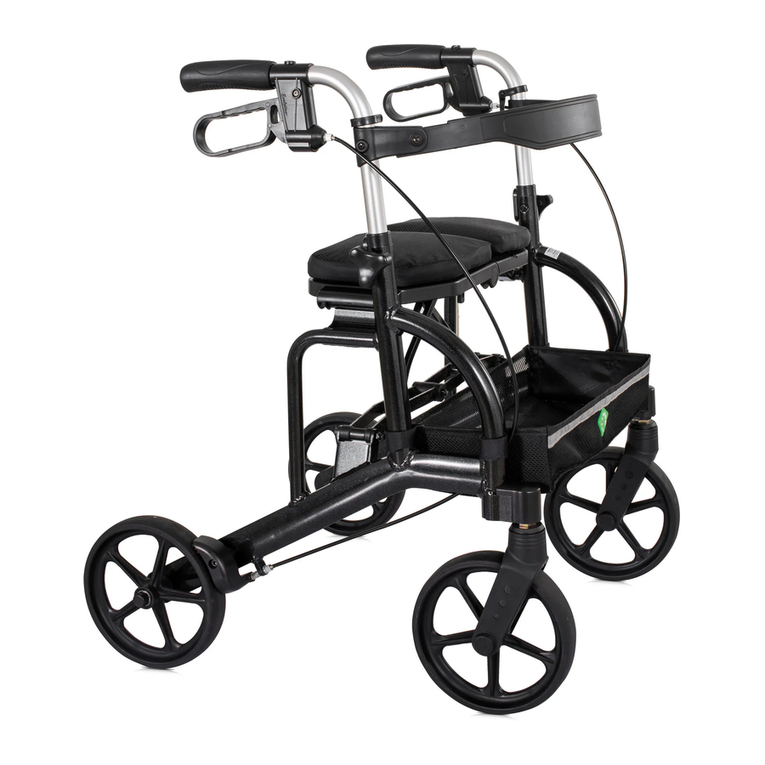
Evolution Technologies Xpresso Lite CF Series User manual

4. Ajustez la hauteur de la poignée. Mettez les boulons de poignée de I’intérieur. Serrez
convenablement. Précaution: Ne serrez pas trop fort.
3. Assemblage du dossier :
a. À l’aide d’un tournevis Philips, retirer les vis, les rondelles et les écrous de leurs
points d’ancrage du support dorsal.
b. Insérer le support dorsal sur un côté et aligner les trous du support dorsal avec le
point d’ancrage (schéma 1).
c. Insérer une vis, une rondelle et un écrou puis bien serrer (schéma 2).
d. Refaire la même opération avec l’autre côté.
ÉTAPE UN>>
Assemblage de votre ambulateur:
ÉTAPE DEUX>>
Vérification des freins et des roues:
1. Le système de freinage d’Evolution est sécuritaire et simple d’utilisation. Tenez
(en tirant) les poignées de frein pour stationner.
2. Vérifiez le système de freinage. Les roues devraient rester verrouillées lorsque les
freins de stationnement sont enclenchés.
3. N’enclenchez pas les freins de stationnement lorsque l’ambulateur est en
mouvement. Ceci pourrait endommager les roues de manière permanente.
4. Enclenchez toujours les freins de stationnement avant d’utiliser le siège.
1. Lorsque vous recevez votre ambulateur, vérifiez soigneusement le contenu. Signalez
immédiatement à votre concessionnaire ou à Evolution tout article manquant:
2. Le contenu de tous les ambulateurs « Evolution » est le suivant:
a. Ambulateur complet replié avec siège et
poignées préinstallés.
b. Un panier souple pliable.
c. Dossier.
d. Carte d’enregistrement de la garantie
e. Manuel d’utilisation
f. Coussin de siège souple
ÉTAPE TROIS>>
Entretien et soins de votre ambulateur Xpresso:
1. Vérifiez l’herméticité de l’écrou et des boulons régulièrement.
2. Vérifiez l'intégrité du cadre et des pneus au moins une fois par mois.
Pliage, dépliage et transport de votre ambulateur:
Pour REPLIER votre ambulateur Evolution, tirez sur la poignée centrale sur siège et l'ambula-
teur restera debout.
Pour DÉPLIER l’ambulateur Xpresso, poussez simplement la poignée vers le bas au milieu du
siège en vous assurant que l’ambulateur est verrouillé complètement en position ouverte.
Précaution: Assurez-vous que la poignée centrale du siège est au même niveau que le
siège avant de vous assoir.
Pour transporter l’ambulateur lorsque celui-ci est replié, prenez simplement la poignée
centrale et soulevez l’ambulateur en le transportant de côté comme une valise.
Freins:
Enclenchez les freins en tirant les deux poignées de frein vers le haut. Ne marchez pas lorsque
les freins sont enclenchés.
Freins de stationnement:
Pressez les deux freins vers le bas jusqu’à ce que vous entendiez un clic. Assurez-vous toujours
que les deux freins sont bien enclenchés. Tirez vers le haut pour relâcher les freins de stationne-
ment. Lorsque vous utilisez le siège, les deux freins DOIVENT être verrouillés pour votre sécurité.
Ajustement des freins:
1. Pour assurer un freinage adéquat, ajustez de
temps en temps les patins de freins situés
au-dessus des roues arrières. Pour régler le
frein, enlevez I’enjoliveur arrière ou le frein
de ralentissement s’il est installé en enlevant
les 2 vis Philips à I’avant de la fourche
arrière. voir A.
2. À l’aide d’une clé hexagonale de 2.5mm
(3/32”), desserrez la vis installée et déplacez le patin
de frein vers le bas afin d’obtenir une meilleure force de freinage. Testez les freins en vous
assurant que lorsque vous enclenchez le frein de stationnement, les roues arrières sont en
position verrouillée, voir B.
Réglage de la hauteur de poignée:
3. Réinstallez I’enjoliveur de fourche arrière ou le frein de ralentissement s’il est installé.
Pour régler les poignées à la hauteur désirée,
placez-vous derrière l’ambulateur à hauteur des
épaules. Les poignées devraient se trouver à la
même hauteur ou légèrement plus haut que le
poignet de l’utilisateur. Un thérapeute pourrait
conseiller une hauteur de poignée différente
selon les besoins particuliers de l’utilisateur.
Pour régler les poignées, enlevez la poignée et
tirez le boulon hexagonal, ajustez la poignée à
la hauteur désirée ou prescrite et insérez le
boulon hexagonal en vous assurant que la partie
hexagonale du boulon soit ajustée adéquatement
au trou hexagonal sur le cadre de l'Xpresso et serrez la poignée convenablement. Précaution:
Ne serrez pas trop fort.
Pour installer le panier souple pliable, repliez la partie de I’Xpresso en tirant sur la poignée
centrale du siège et insérez les supports noirs du panier sur les rails au niveau des deux cadres
intérieurs, poussez au milieu du siège pour ouvrir I’ambulateur. Précaution: Assurez-vous
d’entendre le <clic> pour que le panier soit en position adéquate.
Informations sur les réparations en usine>>
La devise d’Evolution est de « s’engager à fournir une qualité et un service inégalés ». Notre but est
de vous offrir le meilleur service du secteur. Si vous rencontrez des problèmes avec votre ambulateur
Evolution ou que vous avez besoin d’aide, veuillez:
1. Examinez votre documentation: Des documents imprimés seront envoyés avec votre
ambulateur Evolution Xpresso. Ils contiennent les guides d’entretien et les informations d’installation.
2. Appelez ou rendez visite à votre concessionnaire Evolution: II pourra vous aider et
déterminer si la garantie de votre ambulateur est admissible.
Installation du panier:
Assistance:
Votre concessionnaire Evolution le plus proche sera heureux de vous aider pour l'assemblage et
l'entretien de votre ambulateur.
3. Communiquez avec le service à la clientèle d’Evolution au:
1-8000-556-2558 (États-Unis et Canada)
Pour le service de garantie, des réparations ou un remplacement:
Si vous devez présenter votre ambulateur sous garantie à Evolution pour un service, vous aurez
besoin de nous fournir plusieurs choses. Premièrement, l’ambulateur doit comprendre un numéro
d’autorisation de retour de marchandise (ARM). Vous pouvez obtenir un numéro d’ARM en
appelant le service à la clientèle d’Evolution au numéro indiqué ci-dessus. Préparez-vous à fournir
1) le numéro de modèle de l’appareil, 2) le numéro de série et 3) une description du problème.
Pour les services et réparations hors garantie:
Si votre ambulateur n’est plus sous garantie ou si la garantie n’est pas admissible, nous vous
donnerons une estimation par téléphone.
Renvoyez l’ambulateur à:
Demandez l’adresse de l’atelier de réparation le plus proche à votre représentant du
service à la clientèle d’Evolution.
Plusieurs choses à ne pas oublier:
Si les problèmes rencontrés avec votre ambulateur sont considérées comme étant le résultat
d’une utilisation inappropriée, comme heurter les bordures de trottoir, heurter les portes pour les
ouvrir, etc., il ne sera pas couvert par la garantie. Nous nous réservons le droit de déterminer si
votre ambulateur a été utilisé de façon inappropriée. Lorsque vous renvoyez votre ambulateur,
n’oubliez pas d’écrire le numéro d’ARM sur le côté extérieur de la boite. Assurez-vous d’indiquer
l’adresse de retour. Nous savons que vous avez grandement besoin de votre ambulateur, aussi
nous assurerons les réparations de l’ambulateur dans un délai de 2 jours ouvrables suivant sa
réception et nous vous le renverrons. Si nous ne pouvons pas réparer votre ambulateur dans un
délai de 2 jours après sa réception, nous vous enverrons un nouveau!
Accessoires optionnels pour plus de commodité>>
MONTE-
TROTTOIR >
Permet de franchir
les trottoirs et
autres obstacles
plus facilement.
FREIN DE
RALENTISSEMENT >
Sécurité et protection
supplémentaires pour
les pentes, les
descentes et les côtes.

3. Backrest Assembly
a. Using a Phillips screwdriver, remove screws, washers and nylock nut from back
support anchor points.
b. Insert back support on one side and align holes of back support and anchor
point (figure 1).
c. Insert screw, washer and nut and tighten securely (figure 2).
d. Repeat for second side.
1. Upon receiving your walker, please check the contents carefully. Report any missing
items to your dealer or Evolution immediately:
2. Contents of all Evolution Xpresso walkers are as follows:
a. Folded walker complete with main frame, seat,
handles, and wheels already installed.
b. A soft folding basket
c. Back support
STEP ONE >>
Putting your walker together:
1. The Evolution braking system provides safety and ease of operation. Hold (squeeze) to
brake and press down on the brake handle for parking.
2. Check braking system. The wheels should stay locked while parking brake is activated.
STEP TWO >>
Checking the brakes and wheels:
d. Warranty Registration Card
e. Owner’s Manual
f. Soft Seat Cushion
4. Adjust handle height. Put Knob Bolts through from inside. Tighten until it is snug.
Caution: Do Not Overtighten.
3. Do not activate parking brake while walker is moving. This may cause permanent
damage to the wheels.
4. Always activate parking brake before using the seat.
1. Check tightness of nut and bolts regularly.
2. Check frame and tire integrity at least once a month.
To FOLD your Xpresso walker, pull on the seat center handle and the walker will remain standing up.
To UNFOLD the Xpresso, simply push down on the handle in the middle of the seat making sure the
walker locks in the fully open position. Caution: Ensure the center seat handle is level with the
seat before sitting.
To carry the walker while folded, simply pick it up by the center handle and lift the walker carrying it
at your side like a suitcase.
Apply the brakes by pulling both brake handles upwards. Do not walk with brakes on.
Press down on both brake handles until you hear a distinct click sound. Always make sure that both
brakes are engaged. Pull upwards to release the parking brakes. When using the seat, both brakes
MUST be in the locked position for your safety.
STEP THREE >>
Maintenance and care of your Xpresso Walker:
Folding, Unfolding, and Carrying your walker:
Brakes:
Parking Brakes:
1. To ensure proper braking, from time to time
adjust the brake pads located on top of the
rear wheels. To adjust the brake. remove the
rear facing wheel cover or the Slow Down
Brake if installed by removing the 2 Phillips
screws on front of the rear fork, see A.
Brake Adjusting:
Handle height adjustment:
To install the folding soft basket, fold the Xpresso
part way by pulling on the center seat handle and
insert the basket black brackets on the rails on
both inside frames, push on the middle of the seat to open the walker.
Caution: Ensure you hearing the “Click” sound for proper positioned the basket.
To adjust the handles to a suitable height, stand behind the walker with your shoulders level. The
handles should be at the same height or slightly higher than the user’s wrist. A therapist might
suggest a different handle height to accommodate a specific need for the user.
To adjust the handles, remove the knob and pull
the hex bolt out, adjust the handle to the
prescribed or desired handle height and insert
the hex bolt ensuring that the hexagonal part of
the bolt fits properly on the hexagonal cut out on
the frame of the Xpresso and tighten the knob
snugly. Caution: Do Not Over Tighten.
Your nearest Evolution dealer will be pleased to assist you with the assembly and/or maintenance of
your walker.
Evolution’s motto is ‘Committed to Providing Unsurpassed Quality & Service’. Our goal is to provide
you the best service in the industry. If you encounter problems with your Evolution Walker or need
help, please:
1. Review your documentation: You will find printed documentation shipped with your Evolution
Xpresso Walker. They contain maintenance guides and installation information.
Assistance:
Installing Basket:
Factory Repair Information >>
2. Using a 2.5mm (3/32”) hex key, loosen the set screw and move the brake pad down for a higher
braking force. Test the brakes making sure that when applying the parking brake, the rear wheels
stay in the locked position, see B.
3. Reinstall the rear fork cover or Slow Down Brake if installed.
If you have to return your walker to Evolution for warranty service, there are a few things we will need
from you. First, the walker must include a Merchandize Return Authorization (MRA) number. You can
obtain a MRA number by calling the Evolution Customer Service number listed above. Be prepared to
provide 1) the unit model number, 2) the serial number, and 3) a description of the problem.
If your walker is out of warranty or is not eligible for warranty, we will give you an estimate over
the phone.
Obtain the address of the Service Depot nearest to you from your Evolution Customer Service
Representative.
If the problems with your walker are deemed to be the result of improper use, such as hitting curbs,
hit-opening doors, etc., it will not be covered under warranty. We reserve the right to determine if your
walker has been misused. When you return your walker, remember to writer the MRA number on the
outside of the box. Be sure to include the return address. We know that you need the walker badly so
we will service the walker within 2 working days after receiving it and it will be on its way back to you.
If we cannot service your walker within 2 working days after receipt, we will send you a new one!
Makes getting over
curbs and other
obstacles much
less of a challenge
Added security and
protection for travel
on slopes, declines,
and hills.
For Warranty Service, Repair, or Replacement:
A few things to remember:
Ship the walker to:
For Out-of-Warranty Service or Repair:
Optional Accessories for Extra Convenience >>
Curb
Climber >
Slow Down
Brake >
2. Call or visit your Evolution dealer: They will be able to give you the assistance you need and
determine if your walker is eligible for warranty.
3. Contact Evolution Customer Service at: 1-800-556-2558 (U.S. and Canada)
2.0_20180712_SL
Table of contents
Other Evolution Technologies Mobility Aid manuals


