ExecutiveSafe CS-2 User manual

Operation manual for models:
Manuel d'utilisation pour les modèles:
Benutzerhandbuch für Modelle:
Εγχειρίδιο χρήστη για μοντέλα:
Manual de usuario para modelos:
CS-2, CS-3, CS-4, CS-5, CS-6, CS-563

Two Year Limited Warranty
This limited warranty covers all defects in materials only and/or workmanship only.
If a structural or mechanical defect occurs during the warranty period,
ExecutiveSafe Company Limited or its designee (hereafter "ExecutiveSafe") will repair
or replace the defective part(s) of the Product or Product, at its sole option,
at no charge. You may have certain rights under your local law.
Nothing in these terms is intended to affect those rights, if they are applicable.
Warranty Service
To obtain Warranty service contact your local ExecutiveSafe
office with your name address, proof of purchase -
original sales receipt is required with no exception (store your sales receipt in the safe)
and with a brief description of the problem.
DO NOT SEND YOUR DEFECTIVE PRODUCT BACK TO EXECUTIVESAFE.
Limitations of warranty
1. ExecutiveSafe’s responsibility and the
buyer’s exclusive remedy under this warranty are limited to the repair or
replacement of the defective part(s) of the Product or Product, at ExecutiveSafe’s
sole option. In no event shall ExecutiveSafe be liable for loss or damage due to external
events such as theft, fire, water, earthquake, or vandalism or for any incidental or
consequential damages to persons or property (including the contents of the
Product) resulting from the breach of this or any other expressed or implied
warranty applicable to the Product.
2. Except as may be otherwise provided by applicable law, ExecutiveSafe
disclaims any and all other covenants and warranties, whether
written or oral, expressed or implied, including, but not limited to,
the implied warranties of merchantability, satisfactory quality, fitness for a
particular purpose, workmanlike effort, and non-infringement .
3. ExecutiveSafe is not responsible for damage, defects, or malfunction to the
Product caused by shipment.
4. This Limited Warranty does not cover defects, damage, or malfunction
caused by alteration, modification, service or repair of the Product by anyone
other than ExecutiveSafe, or caused by misuse of the product or physical abuse to
the product.
5. This Limited Warranty does not cover normal wear, battery replacement or periodic
maintenance.

PLEASE READ THE MANUAL ENTIRELY BEFORE START USING THE SAFE
Bolt-down instructions
To help provide maximum security, bolt down is strongly recommended.
1. Select a suitable and convenient location for your safe. Set the safe in place
and use the holes provided in the bottom and /or back of the safe to mark the
location of the holes to be drilled in the floor or wall. If bolting to a wall, please ensure
that the safe is resting on a supporting surface, i.e. floor, table, shelf, bracket.
2. Move the safe away and drill holes of the appropriate diameter and depth
for the type of hardware being used and the mounting surface
3. Place the safe back over the holes and install the fasteners as required.
Using the override key to open the safe
Remove the override key cover, located between the knob and the keypad, see Fig. 1, then use the
override key and turn it counter clockwise. Turn the knob clockwise to open the door. To finish
the operation, turn the key clockwise and remove it.
Fig.1
NOTE: DO NOT STORE THE OVERRIDE KEY IN YOUR SAFE!
Please secure your override keys in a safe place. If the override
keys are lost or damaged, contact your local ExecutiveSafe office.
Battery Installation
Four alkaline AA batteries (included) are required.
NOTE: Non-alkaline or rechargeable batteries ARE NOT RECOMMENDED.
To install the batteries, remove the battery cover located on
the inside back side of the door, by sliding it to the right. See Fig. 2. Insert the four
batteries as indicated. Insert back the battery cover.
NOTE: Batteries should be replaced when both the red and green lights come on at the same
time when you enter your combination or the red light LOW BATT indicator is on.
Fig.2

Programming the Master Code
For your safety, please program the master code before start using the safe.
Open the door, press “0” two times and then press once the red push button located at the back of
the door. See Fig. 3.
The yellow LED marked READY will go on followed by 2 short buzzer beeps.
Enter your new Master code (3-8 digits) followed by the “A” or “B” key.
The marked READY yellow LED will go off followed by two short buzzer beeps to indicate that
the new Master code has been accepted and stored.
The previous programmed master code is deleted.
If the yellow LED flushes three times followed by three buzzer beeps then the programming of the
master code needs to be repeated.
Test the master code you just programmed with the door open.
Programming your combination
Open the door, press once the red push button located at the back of the door. See Fig. 3.
The yellow LED marked READY will go on followed by 2 short buzzer beeps.
Enter your new Combination (3-8 digits) followed by the “A” or “B” key.
The marked READY yellow LED will go off followed by two short buzzer beeps to indicate that
the new Combination code has been accepted and stored.
The previous programmed combination code is deleted.
If the yellow Led flushes three times followed by three buzzer beeps then the programming of the
combination code needs to be repeated.
Test the combination you just programmed with the door open.
Fig.3

Lock Out Function
If a wrong code is entered three times in a row, the safe will begin a 20 second secure lockout
period.
If the wrong combination is entered 3 more times after the first lockout period the safe will begin
the 5 minute secure lockout period.
During this secure lockout period the keypad will become disabled, the yellow LED will flash
followed by a buzzer beep for the entire secure lockout period.
Once the secure lockout period has expired, the safe can be unlocked using the correct
combination. You may use the override key to open safe, but the keypad has to complete the
secure full lockout period.
Opening and Closing your Safe
Opening the Safe:
Note: Make sure the knob is completely turned counter clock wise.
Enter your Combination or Master Code followed by the “A” or “B” buttons.
The Green LED light marked PROCEED will come on. While the Green light is on turn the
knob clock wise and open the door.
Closing the Safe:
Close the door and turn the knob counter clockwise.

:
1
2
3
4
5

:
1
2
:
)
AA

AB
AB

AB
: ةنزخلا قغإ
.

Garantie limitée de deux ans
Cette garantie limitée couvre tous les défauts de matériaux et /ou de fabrication uniquement.
Si un défaut structurel ou mécanique survient pendant la période de garantie,
ExecutiveSafeCompany Limited ou son représentant (ci-après "ExecutiveSafe") réparera ou
remplacera la ou les pièces défectueuses du Produit ou le produit, à sa seule discrétion, sans frais.
Vous pouvez avoir certains droits en vertu de votre loi locale.
Rien dans ces termes n’est destiné à affecter ces droits, s’ils sont applicables.
Service de Garantie
Pour obtenir un service de garantie, contactez votre distributeur local ExecutiveSafe
avec votre nom, adresse et preuve d'achat .
Le reçu original est requis sans exception (conservez votre reçu dans le coffre-fort).
et avec une brève description du problème.
NE RENVOYEZ PAS VOTRE PRODUIT DÉFECTUEUX À EXECUTIVESAFE.
Limites de garantie
1. La responsabilité de ExecutiveSafe et le recours exclusif de l’acheteur au titre de cette garantie
est limité à la réparation ou au remplacement de la ou des pièces défectueuses du ou des produits
chez ExecutiveSafe , à sa seule discrétion. ExecutiveSafe ne peut en aucun cas être tenu
responsable des pertes ou des dommages dus à des dommages externes tels que le vol, l’incendie,
l’eau, un tremblement de terre, le vandalisme ou tout autre incident ou événement.
Dommages consécutifs à des personnes ou à des biens (y compris le contenu de la
Produit) résultant de la violation de cette ou de toute autre cause explicite ou implicite
garantie applicable au produit.
2. Sauf disposition contraire des lois applicables, ExecutiveSafe
renonce à toutes autres clauses et garanties, que ce soit
écrit ou oral, explicite ou implicite, y compris, sans toutefois s'y limiter,
les garanties implicites de qualité marchande, de qualité satisfaisante, d’aptitude à
usage particulier, effort d’exécution et non-violation
3. ExecutiveSafe n'est pas responsable des dommages, défauts ou dysfonctionnements du
produit causé par l'expédition.
4. Cette garantie limitée ne couvre pas les défauts, dommages ou dysfonctionnements
causée par une altération, une modification, un service ou une réparation du produit par quiconque
autres que ExecutiveSafe, ou causés par une mauvaise utilisation du produit ou des abus
physiques portés au produit.
5. Cette garantie limitée ne couvre pas l'usure normale, le remplacement de la batterie ou la
maintenance périodique

VEUILLEZ LIRE LE MANUEL ENTIÈREMENT AVANT DE COMMENCER À UTILISER LE COFFRE-FORT
Instructions de boulonnage
Pour aider à assurer la sécurité maximale, boulonner est fortement recommandé.
1.Choisir un endroit pratique et approprié pour votre coffre-fort. Mettez le coffre-fort en place
et utilisez les trous placés dans le fond et/ou à l’arrière du coffre-fort pour marquer
l’emplacement des trous à percer dans le mur ou au sol. Si vous boulonnez à un mur, s’il vous
plait, assurez-vous que le coffre repose sur une surface d’appui, c.-à-d. plancher, table, étagère,
support.
2.Retirez le coffre-fort et percez des trous d’un diamètre et profondeur appropriés
pour le type de matériel utilisé et la surface de montage
3.Placez le coffre au-dessus des trous et installer la visserie comme exigé.
Utilisation de la clé de substitution pour ouvrir le coffre-fort
Retirez le cache de clé override situé entre le pommeau et le clavier, voir Fig. 1, puis utilisez la
clé et tournez-la dans le sens horaire. Tourner le pommeau vers la droite pour ouvrir la porte.
Pour terminer l’opération, tourner la clé dans le sens horaire et l’enlever.
Fig. 1
REMARQUE: NE PAS RANGER LA CLÉ OVERRIDE DANS VOTRE COFFRE !
S’ilvous plait rangez vos clés de substitution dans un endroit sûr. Si les clés de substitution
Sont perdues ou endommagées, communiquez avec votre bureau local de la ExecutiveSafe.
Installation des piles
4 piles alcalines AA batteries (incluses) sont nécessaires.
REMARQUE: Les piles non-alcalines ou rechargeables ne sont pas recommandées.
Pour installer les piles, retirez le couvercle de batterie situé sur l’intérieur du côté arrière
de la porte,en le faisant glisser vers la droite. Voir la Fig. 2 .Insérez les quarte piles comme
indiqué. Réinsérer le couvercle de la batterie.
REMARQUE: Les piles doivent être remplacées lorsque les deux voyants rouges et verts
s’allument en même temps quand vous entrez votre combinaison ou l’indicateur de
LOW BATT voyant rouge estallumé.
Fig. 2

Programmer le Code maître
Pour votre sécurité, veuillez programmer le code maître avant de commencer à utiliser le coffre-
fort.
Ouvrez la porte, appuyez deux fois sur « 0 » et appuyez une fois sur le bouton rouge situé à
l’arrière de la porte. Voir Fig. 3.
Le voyant LED jaune marqué READY s’allume suivi de 2 bips courts buzzer.
Entrez votre nouveau code (3 à 8 chiffres) suivi de la touche « A » ou « B ».
Le voyant LED jaune marqué READY s’éteindra suivi de 2 bips courts buzzer pour indiquer que
le nouveau code maître a été accepté et enregistré.
Le précédent code maître programmé est supprimé.
Si le voyant LED jaune clignote trois fois suivi par 3 bips buzzer , alors la programmation du code
maitre doit être répétée.
Testez le code maître, que vous venez de programmer avec la porte ouverte.
Programmer votre vôtre combinaison
Ouvrez la porte, appuyez une fois sur le bouton rouge situé à l’arrière de la porte. Voir Fig. 3.
Le voyant LED jaune marqué READY s’allume suivi de 2 bips courts buzzer.
Entrez votre nouveau code (3 à 8 chiffres) suivi de la touche « A » ou « B ».
Le voyant LED jaune marqué READY s’éteindra suivi de 2 bips courts buzzer pour indiquer que
le nouveau code a été accepté et enregistré.
Le code précédent de la combinaison programmée est supprimé.
Si le voyant LED jaune clignote trois fois suivi par 3 bips buzzer , alors la programmation du code
maitre doit être répétée.
Tester la combinaison que vous venez de programmer avec la porte ouverte.
Fig. 3

Mode Verrouillé
Si un code incorrect est entré trios fois d’affilée, le coffre-fort commencera une période de
verrouillage sécurisé de 20 secondes.
Si la mauvaise combinaison est entrée 3 fois de plus après la première période de verrouillage,
le coffre-fort commencera la période de verrouillage sécurisé de 5 minutes.
Pendant cette période de verrouillage, le clavier sera désactivé, le LED jaune va flasher et sera
suivi d’un buzzer pour la période entière de verrouillage sécurisé.
Al’expiration de la période de verrouillage sécurisé, le coffre-fort peut être déverrouillé à l’aide de
la combinaison correcte. Vous pouvez utiliser l’aide d’une clé pour ouvrir sans danger, mais le
clavier doit compléter la période de verrouillage complet sécurisé.
Ouverture et fermeture de votre coffre-fort
Ouvrir le coffre-fort:
Remarque : Assurez-vous que le bouton est complètement tourné dans le sens horaire .
Entrez votre combinaison ou Code maître suivie du bouton « A » ou « B.
La lumière LED vert marquée PROCEED s’allumera.
Lorsque le voyant vert est allumé, remonter le bouton dans le sens horaire et ouvrir la porte.
Fermer le coffre-fort :
Fermer la porte et tourner le bouton dans le sens contraire des aiguilles d’une montre.

2 Jahre Beschränkte Garantie
Diese eingeschränkte Garantie gilt nur für Material- und / oder Verarbeitungsfehler.
Wenn während der Garantiezeit ein struktureller oder mechanischer Defekt auftritt, wird
ExecutiveSafe Company Limited oder sein Beauftragter (nachstehend "ExecutiveSafe") die
Reparatur durchführen oder den defekten Teil des Produkts nach eigenem Ermessen kostenlos
austauschen. Sie haben möglicherweise bestimmte Rechte gemäß Ihrem lokalen Recht.
Nichts in diesen Bedingungen soll diese Rechte beeinträchtigen, sofern sie zutreffen.
Garantieleistungen
Um den Garantieservice zu erhalten, wenden Sie sich an Ihr lokales ExecutiveSafe
Büro mit Ihrem Namen, Kaufbeleg - Originaler Kaufbeleg ist ausnahmslos erforderlich
(Bewahren Sie Ihren Verkaufsbeleg im Safe auf) und mit einer kurzen Beschreibung des
Problems.
SENDEN SIE IHR DEFEKTES PRODUKT NICHT ZURÜCK ZU EXECUTIVESAFE.
Beschränkungen der Garantie
1. Die Verantwortung von ExecutiveSafe und der ausschließliche Rechtsschutz des Käufers im
Rahmen dieser Garantie ist auf die Reparatur beschränkt.
Austausch der defekten Teile des Produkts ist nur durch ExecutiveSafe möglich. ExecutiveSafe
haftet in keinem Fall für Schäden oder Beschwerden, die von außen verursacht wurden Ereignisse
wie Diebstahl, Feuer, Wasser, Erdbeben oder Vandalismus oder für zufällige oder Folgeschäden
an Personen oder Sachen (einschließlich des Inhalts des Produkts), das sich aus einem Verstoß
gegen dieses oder ein anderes ausdrückliches oder impliziertes Produkt fallen unter die Garantie
für das Produkt.
2. Vorbehaltlich anders lautender Bestimmungen, lehnt ExecutiveSafe jegliche anderen
Verpflichtungen und Garantien ab, ob schriftlich oder mündlich, ausdrücklich oder
stillschweigend, einschließlich, jedoch nicht beschränkt auf die implizierten Garantien der
Marktgängigkeit, zufriedenstellende Qualität, Eignung für besondere Zwecke, handwerkliche
Anstrengung und Nichtverletzung.
3. ExecutiveSafe übernimmt keine Haftung für Schäden, Mängel oder Fehlfunktionen des
Produkts, durch den Versand verursacht.
4. Diese eingeschränkte Garantie deckt keine Mängel, Schäden oder Fehlfunktionen abverursacht
durch Veränderung, Modifikation, Service oder Reparatur des Produkts durch andere Parteien als
ExecutiveSafe, oder durch Missbrauch des Produkts oder durch körperlichen Missbrauch am
Produkt.
5. Diese eingeschränkte Garantie gilt nicht für normalen Verschleiß, Batteriewechsel oder die
regelmäßige Wartung.

BITTE LESEN SIE DIE ANLEITUNG VOLLSTÄNDIG DURCH, BEVOR SIE ANFANGEN DEN SAFE
ZU BENUTZEN
Anleitung zum Anschrauben
Um ein Maximum an Sicherheit zu gewährleisten, wird dringend empfohlen, das Gerät zu
verriegeln.
1. Wählen Sie einen geeigneten und günstigen Standort für Ihren Safe. Stellen Sie den Safe ein
und benutzen Sie die bereitgestellten Löcher in der Unterseite und/oder Rückseite des Safes, um
die Lage der zu bohrenden Löcher im Boden oder in der Wand. Wenn Sie an eine Wand
schrauben, achten Sie bitte darauf dass der Safe auf einer Auflagefläche, d.h. Boden, Tisch, Regal,
Klammer, ruht.
2. Räumen Sie den Safe weg und bohren Sie Löcher mit entsprechendem Durchmesser und Tiefe
für die Art der verwendeten Hardware und die Montagefläche
3. Legen Sie den Safe wieder über die Löcher und montieren Sie die Befestigungselemente nach
Bedarf.
Mit dem Überbrückungsschlüssel den Safe öffnen
Entfernen Sie die Abdeckung des Überbrückungsschlüssels, die sich zwischen dem Knopf und
dem Tastenfeld befindet, siehe Abb. 1, verwenden Sie dann den Überbrückungsschlüssel und
drehen Sie ihn gegen den Uhrzeigersinn. Drehen Sie den Knopf im Uhrzeigersinn, um die Tür zu
öffnen. Um den Vorgang abzuschließen, drehen Sie den Schlüssel im Uhrzeigersinn und ziehen
Sie ihn ab.
Abb. 1
HINWEIS: BEWAHREN SIE DEN ÜBERBRÜCKUNGSSCHLÜSSEL NICHT IN IHREM SAFE AUF!
Bitte sichern Sie Ihre Überbrückungsschlüssel an einem sicheren Ort. Wenn die
Überbrückungsschlüssel verloren gehen oder beschädigt werden, wenden Sie sich an Ihr
örtliches ExecutiveSafe Büro.
Batterie-Installation
Vier Alkaline AA-Batterien (im Lieferumfang enthalten) sind erforderlich.
HINWEIS: Nichtalkalische oder wiederaufladbare Batterien werden NICHT EMPFOHLEN.
Zum Einlegen der Batterien entfernen Sie die Batterieabdeckung, die sich auf
der inneren Rückseite der Tür befindet, indem Sie sie nach rechts schieben. Siehe Abb. 2. Setzen
Sie die vier Batterien wie angegeben ein. Setzen Sie die Batterieabdeckung wieder ein.
HINWEIS: Die Batterien sollten gewechselt werden, wenn bei der Eingabe Ihrer Kombination
gleichzeitig das rote und das grüne Lämpchen aufleuchten oder das rote Lämpchen LOW
BATT aufleuchtet.
Abb.2

Programmierung des Mastercodes
Zu Ihrer Sicherheit programmieren Sie bitte den Mastercode, bevor Sie den Safe benutzen.
Öffnen Sie die Tür, drücken Sie zweimal die "0" und dann einmal den roten Druckknopf an der
Rückseite der Tür. Siehe Abb. 3.
Die gelbe LED mit der Bezeichnung READY leuchtet auf, gefolgt von 2 kurzen Pieptönen.
Geben Sie Ihren neuen Mastercode ein (3-8 Ziffern), gefolgt von der Taste "A" oder "B".
Das markierte gelbe READY-LED erlischt, gefolgt von zwei kurzen Signaltönen, die anzeigen,
dass der neue Mastercode akzeptiert und gespeichert wurde.
Der zuvor programmierte Mastercode wird gelöscht.
Wenn die gelbe LED dreimal aufleuchtet, gefolgt von drei Signaltönen, muss die Programmierung
des Mastercodes wiederholt werden.
Testen Sie den soeben programmierten Mastercode bei geöffneter Tür.
Programmierung Ihrer Kombination
Öffnen Sie die Tür, drücken Sie einmal den roten Druckknopf, der sich an der Rückseite der Tür
befindet. Siehe Abb. 3.
Der gelbe LED mit der Bezeichnung READY leuchtet auf, gefolgt von 2 kurzen Signaltönen.
Geben Sie Ihre neue Kombination ein (3-8 Ziffern), gefolgt von der Taste "A" oder "B".
Die markierte gelbe READY-LED erlischt, gefolgt von zwei kurzen Signaltönen, um anzuzeigen,
dass der neue Kombinationscode akzeptiert und gespeichert wurde.
Der zuvor programmierte Kombinationscode ist gelöscht.
Wenn die gelbe Led dreimal blinkt, gefolgt von drei Pieptönen, muss die Programmierung des
Kombinations-Codes wiederholt werden.
Testen Sie die soeben programmierte Kombination bei geöffneter Tür.
Abb. 3

Sperrfunktion
Wenn dreimal hintereinander ein falscher Code eingegeben wird, beginnt der Safe eine 20
Sekunden dauernde Sicherheitssperrzeit.
Wenn nach der ersten Sperrzeit noch 3 Mal die falsche Kombination eingegeben wird, beginnt der
Safe die 5-minütige Sicherheitssperrzeit.
Während dieser Sicherheitssperrzeit wird die Tastatur deaktiviert, die gelbe LED blinkt, gefolgt
von einem Piepton für die gesamte Sicherheitssperrzeit.
Ist die Sicherheitssperrzeit abgelaufen, kann der Safe mit der richtigen Kombination entsperrt
werden. Sie können den Überbrückungsschlüssel zum Öffnen des Safes verwenden, aber die
Tastatur muss die sichere vollständige Sperrzeit abschließen.
Öffnen und Schließen des Safes
Öffnen des Safes:
Hinweis: Stellen Sie sicher, dass der Knopf vollständig gegen den Uhrzeigersinn gedreht ist.
Geben Sie Ihren Kombinations- oder Mastercode ein, gefolgt von den Tasten "A" oder "B".
Die grüne LED-Leuchte mit der Bezeichnung PROCEED leuchtet auf. Während das grüne
Licht leuchtet, drehen Sie den Knopf im Uhrzeigersinn und öffnen Sie die Tür.
Schließen des Safes:
Schließen Sie die Tür und drehen Sie den Knopf gegen den Uhrzeigersinn.

Εγγύηση Περιορισμένης Ευθύνης Δύο ετών
Αυτή η εγγύηση περιορισμένης ευθύνης καλύπτει μόνο όλα τα ελαττώματα των δομικών
υλικών ή / και της κατασκευής.
Εάν προκύψει δομικό ή μηχανικό ελάττωμα κατά τη διάρκεια της περιόδου εγγύησης,
η ExecutiveSafe Company Limited ή ο εντολοδόχος της (στο εξής "ExecutiveSafe"), κατά την
αποκλειστική της επιλογή, μπορεί να επισκευάσει ή να αντικαταστήσει το ελαττωματικό μέρος
του Προϊόντος ή ολόκληρο το Προϊόν, χωρίς χρέωση.
Αυτή η εγγύηση δεν επηρεάζει τα νομικά δικαιώματά σας πού ισχύουν υπό τους νόμους της
χώρας που αγοράσατε το προϊόν. Τίποτα από αυτούς τους όρους δεν έχει σκοπό να επηρεάσει τα
δικαιώματα αυτά, εφόσον ισχύουν.
Υπηρεσία εγγύησης
Για να λάβετε την υπηρεσία εγγύησης, επικοινωνήστε με τα τοπικά γραφεία της ExecutiveSafe
παρέχοντας τη διεύθυνσή σας, απόδειξη αγοράς και σύντομη περιγραφή του προβλήματος.
Η αρχική απόδειξη αγοράς απαιτείται χωρίς εξαίρεση (φυλάξτε την απόδειξη αγοράς στο
χρηματοκιβώτιο σας)
ΜΗ ΣΤΕΙΛΕΤΕ ΤΟ ΕΛΑΤΤΩΜΑΤΙΚΟ ΠΡΟΪΟΝ ΣΑΣ ΣΤΗΝ EXECUTIVESAFE.
Περιορισμοί εγγύησης
1. Η μοναδική ευθύνη της ExecutiveSafe και η μοναδική αποζημίωση του αγοραστή βάσει αυτής
της εγγύησης περιορίζεται μόνο στην επισκευή ή αντικατάσταση των ελαττωματικών τμημάτων
του Προϊόντος η αντικατάσταση ολοκλήρου του Προϊόντος κατά την αποκλειστική κρίση της
ExecutiveSafe.
Σε καμία περίπτωση η ExecutiveSafe δεν ευθύνεται για οποιαδήποτε άλλη απώλεια ή ζημία που
οφείλεται σε εξωτερικούς παράγοντες όπως η κλοπή, η πυρκαγιά, η πλημμύρα , ο σεισμός ή ο
βανδαλισμός ή για συμπωματικές ή συνεπαγόμενες ζημίες σε πρόσωπα ή περιουσία
(συμπεριλαμβανομένου του περιεχομένου του Προϊόντος) που προκύπτει από την παραβίαση της
παρούσας η οποιασδήποτε άλλης ρητής η υπονοούμενης εγγύησης που ισχύει για το Προϊόν.
2. Εκτός αν προβλέπεται διαφορετικά από τον ισχύοντα νόμο, η ExecutiveSafe αποποιείται
οποιαδήποτε και όλες τις άλλες συμφωνίες και εγγυήσεις, είτε γραπτές ή προφορικές, ρητές ή
υπονοούμενες, συμπεριλαμβανομένων, μεταξύ άλλων, των υπονοούμενων εγγυήσεων
εμπορευσιμότητας και καταλληλότητας για κάποιον ειδικό σκοπό.
3. Η ExecutiveSafe δεν ευθύνεται για ζημιές, ελαττώματα ή δυσλειτουργίες του
Προϊόντος που προκλήθηκαν κατά την αποστολή.
4. Αυτή η Περιορισμένη Εγγύηση δεν καλύπτει ελαττώματα, ζημιές ή δυσλειτουργίες
που οφείλονται σε αλλοίωση, τροποποίηση, σέρβις ή επισκευή του Προϊόντος από οποιονδήποτε
άλλον εκτός από την ExecutiveSafe, ή που προκλήθηκαν από φυσική κατάχρηση του προϊόντος ή
κακή χρήση του προϊόντος.
5. Αυτή η Περιορισμένη Εγγύηση δεν καλύπτει την κανονική φθορά, την αντικατάσταση των
μπαταριών ή την περιοδική συντήρηση.

ΔΙΑΒΑΣΕΤΕ ΕΞ ΟΛΟΚΛΗΡΟΥ ΠΡΙΝ ΧΡΙΣΗΜΟΠΟΙΗΣΕΤΕ ΤΟ ΧΡHΜΑΤΟΚΙΒΩΤΙΟ
Οδηγίες εγκατάστασης
Για τη μέγιστη δυνατή ασφάλεια, συνιστάται το βίδωμα.
1. Επιλέξτε μια κατάλληλη και βολική θέση για το χρηματοκιβώτιο σας. Τοποθετήστε το
χρηματοκιβώτιο σε αυτή τη θέση και χρησιμοποιήστε τις οπές που βρίσκονται στο κάτω μέρος ή
/και στο πίσω μέρος του χρηματοκιβωτίου για να μαρκάρετε τη θέση των οπών που πρέπει να
τρυπηθούν στο δάπεδο ή /και στον τοίχο. Αν βιδώνετε σε τοίχο, βεβαιωθείτε ότι το
χρηματοκιβώτιο στηρίζεται σε μια επιφάνεια στήριξης, δηλαδή δάπεδο, τραπέζι, ράφι, βραχίονα.
2. Μετακινήστε το χρηματοκιβώτιο και ανοίξτε οπές κατάλληλης διαμέτρου και βάθους
αναλόγως του τύπου βιδών που χρησιμοποιείται για την επιφάνεια τοποθέτησης
3. Τοποθετήστε το χρηματοκιβώτιο πίσω στη θέση του και πάνω από τις οπές που ανοίχτηκαν,
και βιδώστε όπως απαιτείται.
Άνοιγμα χρηματοκιβωτίου με το κλειδί υπέρβασης
Αφαιρέστε το κάλυμμα του κλειδιού υπέρβασης που βρίσκεται ανάμεσα στο μοχλό και το
πληκτρολόγιο, δείτε την εικόνα Fig.1, στη συνέχεια τοποθετήστε το κλειδί υπέρβασης και γυρίστε
το αριστερόστροφα. Περιστρέψτε το μοχλό δεξιόστροφα για να ανοίξετε την πόρτα. Για να
ολοκληρώσετε τη λειτουργία, περιστρέψτε το κλειδί υπέρβασης δεξιόστροφα και αφαιρέστε το.
ΣΗΜΕΙΩΣΗ: ΜΗΝ ΦΥΛΑΓΕΤΕ ΤΟ ΚΛΕΙΔΙ ΥΠΕΡΒΑΣΗΣ ΣΤΟ ΧΡΗΜΑΤΟΚΙΒΩΤΙΟ!
Βεβαιωθείτε ότι έχετε φυλάξει τα κλειδιά υπέρβασης σε ασφαλές μέρος. Εάν τα κλειδιά
υπέρβασης έχουν χαθεί ή έχουν καταστραφεί, επικοινωνήστε με το τοπικό γραφείο της
ExecutiveSafe.
Fig. 1
Εγκατάσταση μπαταριών
Απαιτούνται τέσσερις αλκαλικές μπαταρίες AA (περιλαμβάνονται).
ΣΗΜΕΙΩΣΗ: Οι μη αλκαλικές ή οι επαναφορτιζόμενες μπαταρίες δεν συνιστώνται.
Για να εγκαταστήσετε τις μπαταρίες, αφαιρέστε το κάλυμμα των μπαταριών που βρίσκεται
στην εσωτερική πίσω πλευρά της πόρτας, σύροντάς τον προς τα δεξιά. Δείτε την εικόνα Fig. 2.
Τοποθετήστε τις τέσσερεις μπαταρίες όπως υποδεικνύεται. Επανατοποθετήστε το κάλυμμα των
μπαταριών.
ΣΗΜΕΙΩΣΗ: Οι μπαταρίες πρέπει να αντικαθίστανται όταν η κόκκινη και η πράσινη
λυχνίες ανάβουν ταυτόχρονα όταν πληκτρολογείτε το συνδυασμό ή όταν είναι αναμμένη η
κόκκινη ενδεικτική λυχνία LOW BATT.
Fig.2

Προγραμματισμός του μάστερ συνδυασμού σας
Για την ασφάλειά σας, προγραμματίστε τον κύριο κωδικό, συνδυασμό μάστερ, πριν αρχίσετε να
χρησιμοποιείτε το χρηματοκιβώτιο.
Ανοίξτε την πόρτα, πατήστε δύο φορές "0" και, στη συνέχεια, πατήστε μια φορά το κόκκινο
πιεζόμενο κουμπί που βρίσκεται στο πίσω μέρος της πόρτας. Βλέπε σχήμα Fig.3.
Η κίτρινη λυχνία LED, με την ένδειξη READY θα ανάψει, ακολουθούμενη από 2 ακουστικά
μπιπ.
Πληκτρολογήστε τον νέο μάστερ κωδικό (3-8 ψηφία) και ακολούθως πατήστε το πλήκτρο "A" ή
"B".
Η κίτρινη λυχνία LED, με την ένδειξη READY θα σβήσει, ακολουθούμενη από δύο σύντομα
ακουστικά μπιπ για να δείξει ότι ο νέος κωδικός Μάστερ έχει γίνει αποδεκτός και ότι έχει
αποθηκευτεί.
Ο προηγούμενος προγραμματισμένος κωδικός μάστερ διαγράφεται.
Εάν η κίτρινη λυχνία LED, με την ένδειξη READY αναβοσβήσει τρεις φορές ακολουθούμενη
από τρία ακουστικά μπιπ, τότε πρέπει να επαναληφθεί ο προγραμματισμός του συνδυασμού
μάστερ.
Ελέγξτε τον συνδυασμό μάστερ που μόλις προγραμματίσατε με την πόρτα ανοιχτή.
Προγραμματισμός του συνδυασμού σας
Ανοίξτε την πόρτα, πατήστε το κόκκινο πιεζόμενο κουμπί που βρίσκεται στο πίσω μέρος της
πόρτας. Βλέπε σχήμα Fig.3.
Η κίτρινη λυχνία LED, με την ένδειξη READY θα ανάψει, ακολουθούμενη από 2 ακουστικά
μπιπ.
Πληκτρολογήστε τον νέο κωδικό (3-8 ψηφία) και ακολούθως πατήστε το πλήκτρο "A" ή "B".
Η κίτρινη λυχνία LED, με την ένδειξη READY θα σβήσει, ακολουθούμενη από δύο σύντομα
ακουστικά μπιπ για να δείξει ότι ο νέος κωδικός έχει γίνει αποδεκτός και ότι έχει αποθηκευτεί.
Ο προηγούμενος προγραμματισμένος κωδικός διαγράφεται.
Εάν η κίτρινη λυχνία LED, με την ένδειξη READY αναβοσβήσει τρεις φορές ακολουθούμενη
από τρία ακουστικά μπιπ, τότε πρέπει να επαναληφθεί ο προγραμματισμός του συνδυασμού
Ελέγξτε το συνδυασμό που μόλις προγραμματίσατε με την πόρτα ανοιχτή.
Fig.3
This manual suits for next models
5
Table of contents
Languages:
Other ExecutiveSafe Safe manuals

ExecutiveSafe
ExecutiveSafe P46ER User manual
ExecutiveSafe
ExecutiveSafe ACS-7 User manual
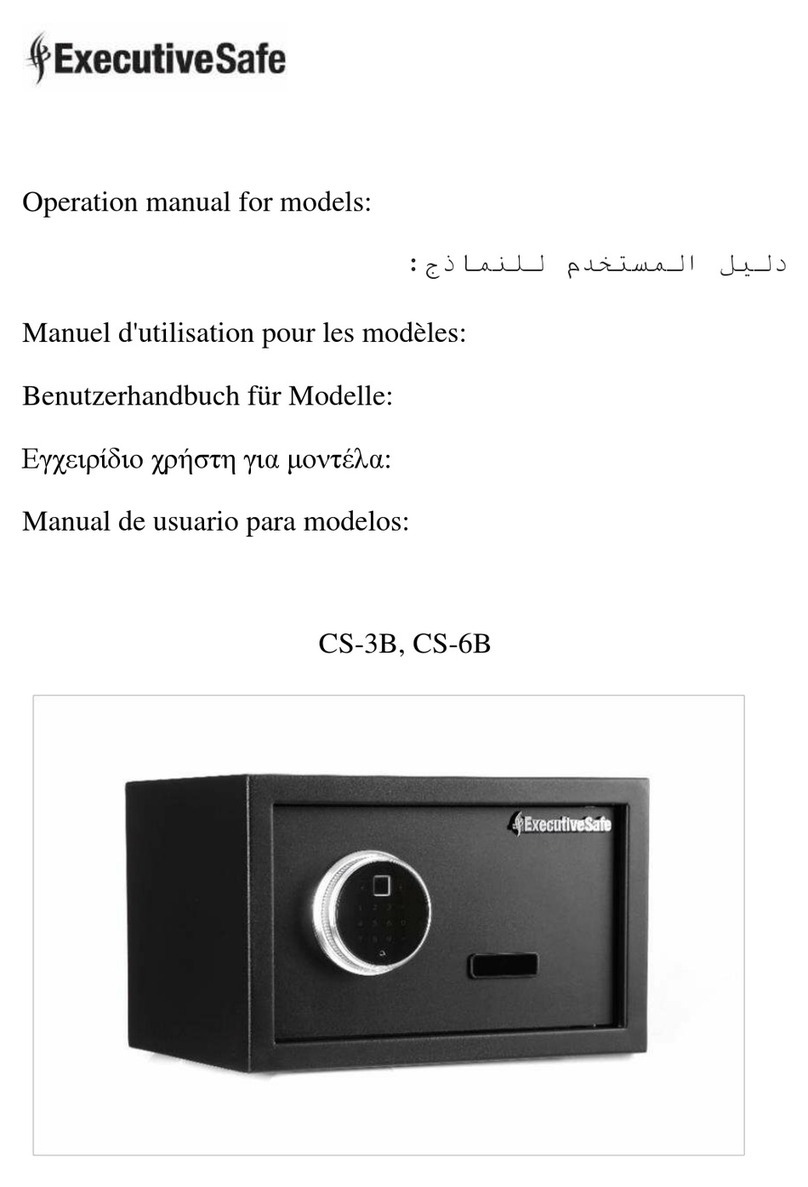
ExecutiveSafe
ExecutiveSafe CS-3B User manual
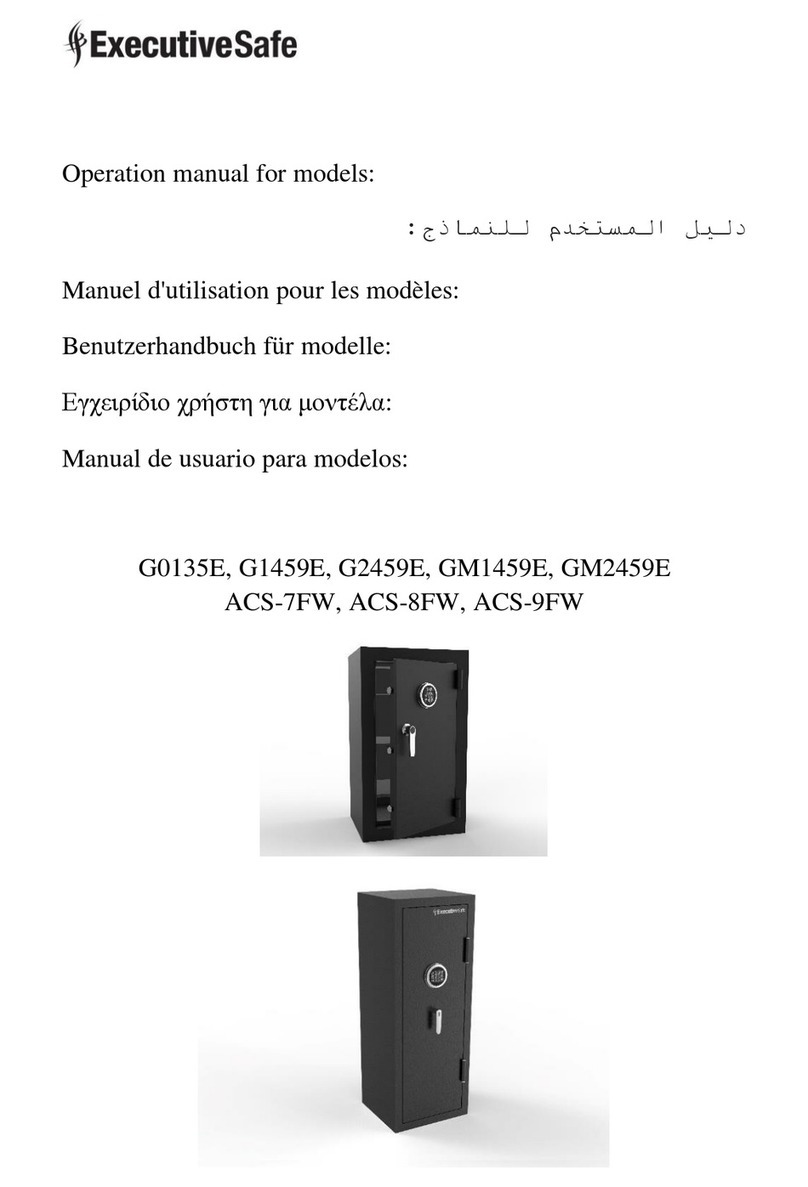
ExecutiveSafe
ExecutiveSafe G0135E User manual
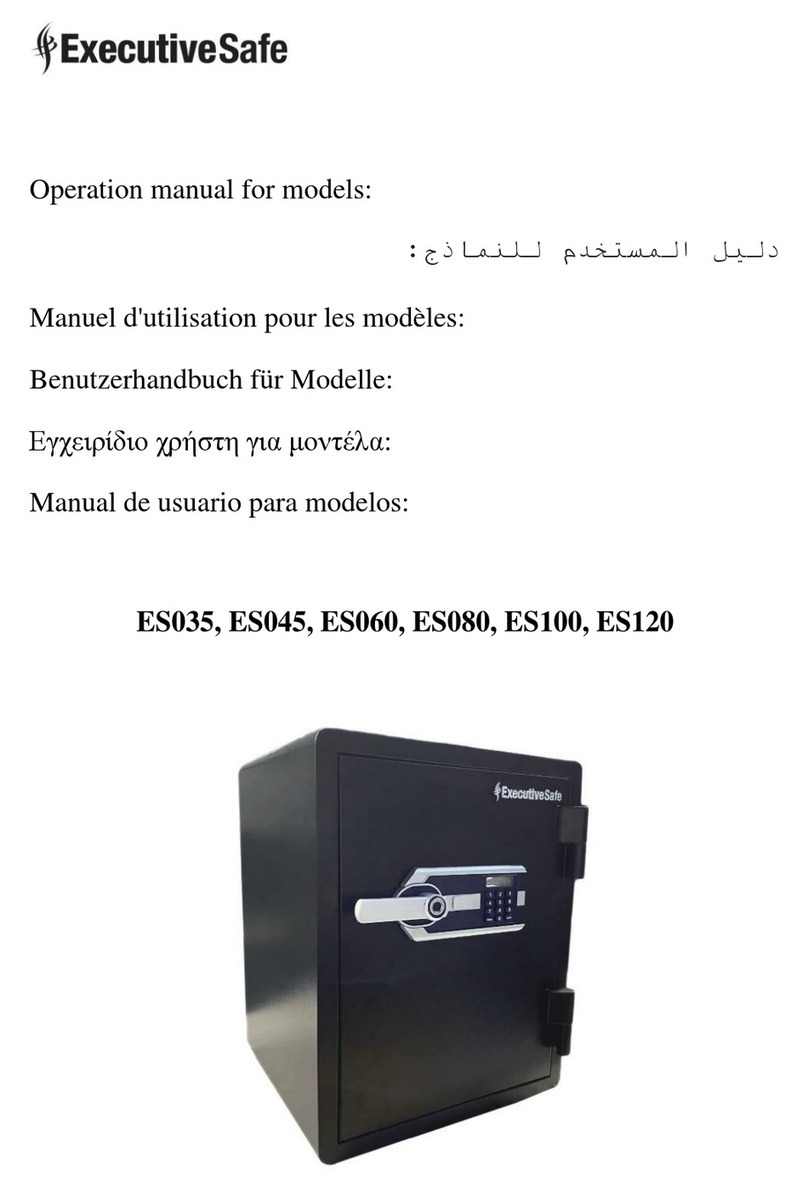
ExecutiveSafe
ExecutiveSafe ES035 User manual
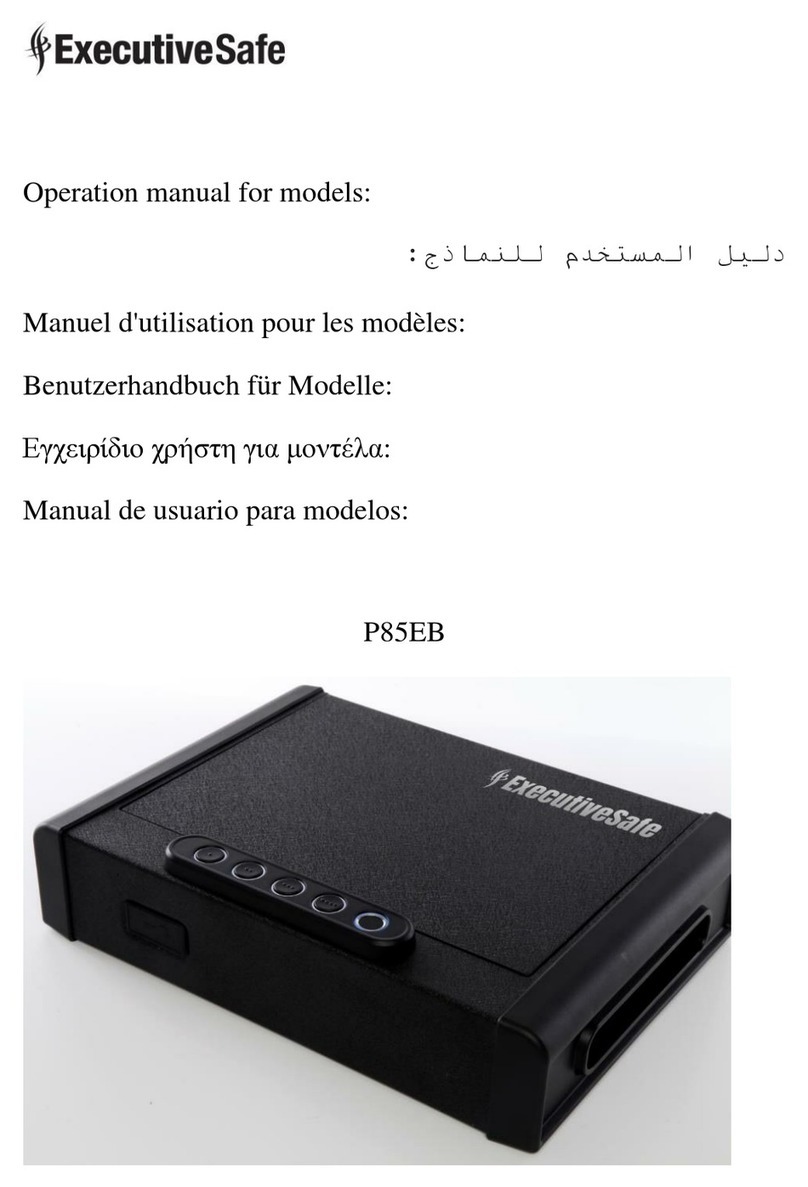
ExecutiveSafe
ExecutiveSafe P85EB User manual
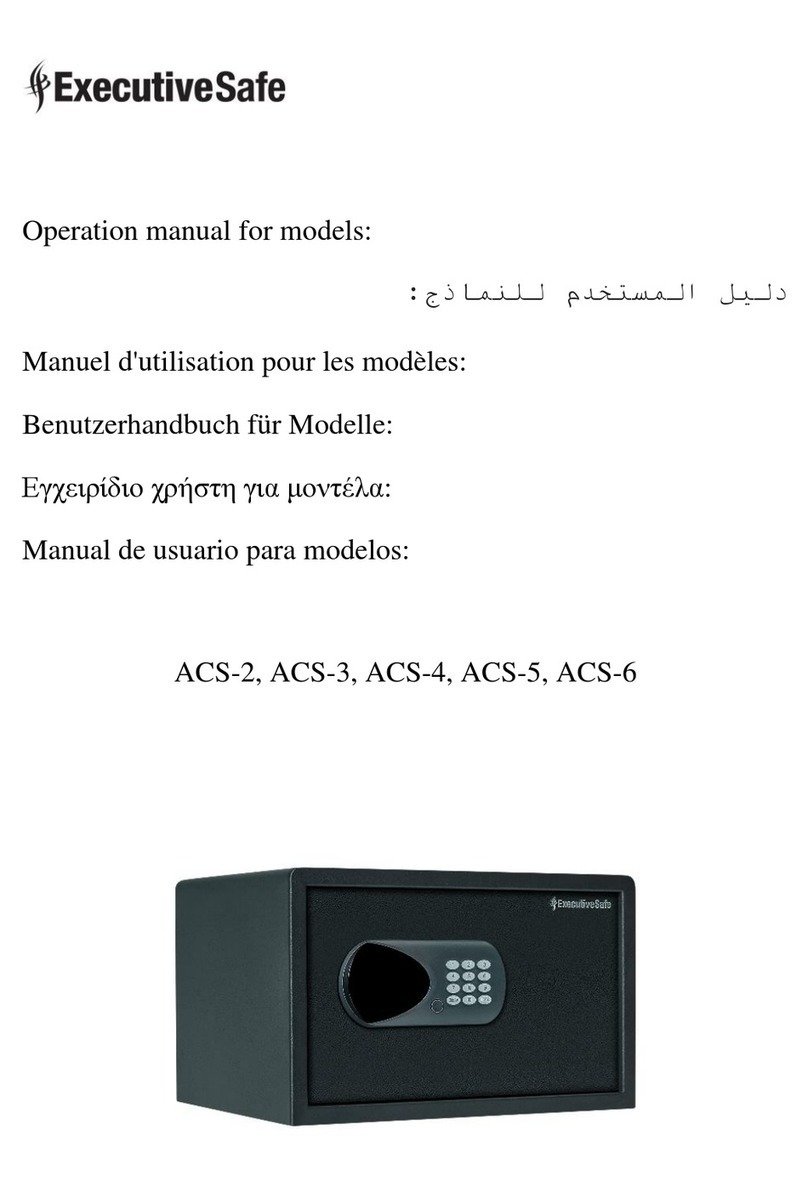
ExecutiveSafe
ExecutiveSafe ACS-2 User manual
Popular Safe manuals by other brands
Indel B
Indel B SAFE 10 SMART Instructions for use

KAPUCI
KAPUCI BGX-X1-45PMAZ product manual
Honeywell
Honeywell 2911 user guide
Homak
Homak First Watch HS30120100 Owner's manual & operating instructions

Indel B
Indel B SAFE 10 E PLUS SMART Instructions for use
RICHTER CZECH
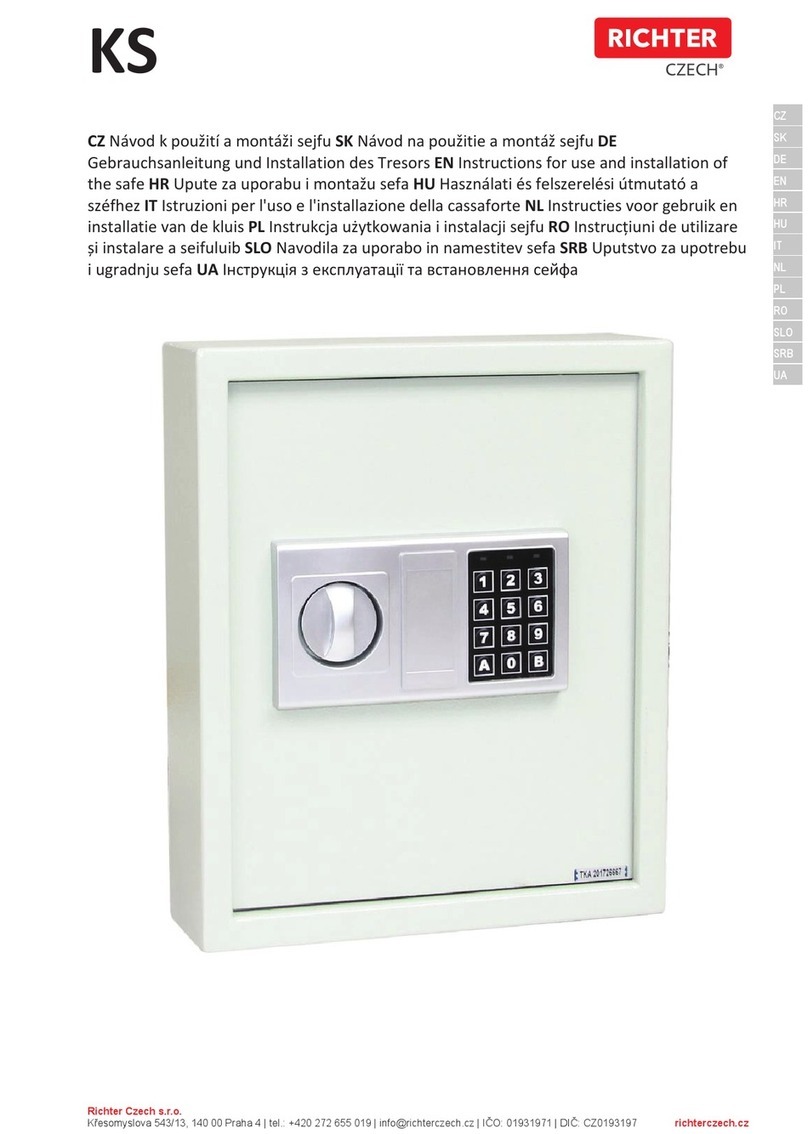
RICHTER CZECH KS Instructions for use and installation
