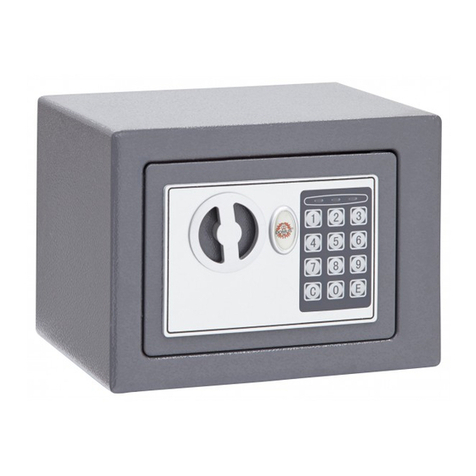
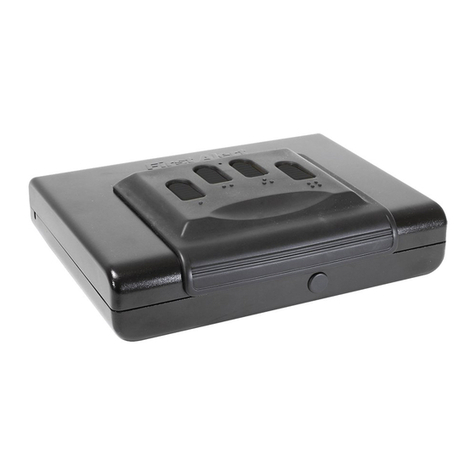
ExecutiveSafe CS-3B User manual

Operation manual for models:
Manuel d'utilisation pour les modèles:
Benutzerhandbuch für Modelle:
Εγχειρίδιο χρήστη για μοντέλα:
Manual de usuario para modelos:
CS-3B, CS-6B

Two Year Limited Warranty
This limited warranty covers all defects in materials only and/or workmanship only.
If a structural or mechanical defect occurs during the warranty period,
ExecutiveSafe Company Limited or its designee (hereafter "ExecutiveSafe") will repair
or replace the defective part(s) of the Product or Product, at its sole option,
at no charge. You may have certain rights under your local law.
Nothing in these terms is intended to affect those rights, if they are applicable.
Warranty Service
To obtain Warranty service contact your local ExecutiveSafe
office with your name address, proof of purchase -
original sales receipt is required with no exception (store your sales receipt in the safe)
and with a brief description of the problem.
DO NOT SEND YOUR DEFECTIVE PRODUCT BACK TO EXECUTIVESAFE.
Limitations of warranty
1. ExecutiveSafe’s responsibility and the
buyer’s exclusive remedy under this warranty are limited to the repair or
replacement of the defective part(s) of the Product or Product, at ExecutiveSafe’s
sole option. In no event shall ExecutiveSafe be liable for loss or damage due to external
events such as theft, fire, water, earthquake, or vandalism or for any incidental or
consequential damages to persons or property (including the contents of the
Product) resulting from the breach of this or any other expressed or implied
warranty applicable to the Product.
2. Except as may be otherwise provided by applicable law, ExecutiveSafe
disclaims any and all other covenants and warranties, whether
written or oral, expressed or implied, including, but not limited to,
the implied warranties of merchantability, satisfactory quality, fitness for a
particular purpose, workmanlike effort, and non-infringement.
3. ExecutiveSafe is not responsible for damage, defects, or malfunction to the
Product caused by shipment.
4. This Limited Warranty does not cover defects, damage, or malfunction
caused by alteration, modification, service or repair of the Product by anyone
other than ExecutiveSafe, or caused by misuse of the product or physical abuse to
the product.
5. This Limited Warranty does not cover normal wear, battery replacement or periodic
maintenance.

PLEASE READ THE MANUAL ENTIRELY BEFORE START USING THE SAFE
Bolt-down instructions
To help provide maximum security, bolt down is strongly recommended.
1. Select a suitable and convenient location for your safe. Set the safe in place
and use the holes provided in the bottom and /or back of the safe to mark the
location of the holes to be drilled in the floor or wall. If bolting to a wall, please ensure
that the safe is resting on a supporting surface, i.e. floor, table, shelf, bracket.
2. Move the safe away and drill holes of the appropriate diameter and depth
for the type of hardware being used and the mounting surface
3. Place the safe back over the holes and install the fasteners as required.
Using the override key to open the safe
Using your finger nail remove the override key cover, located at the front of the door, see Fig. 1,
Insert the override key and turn it counter clockwise. Turn the knob (the knob is the silver frame
of the keypad) clockwise to open the door. To finish the operation, turn the key clockwise and
remove it.
Fig.1
Using the auxiliary battery pack to open the safe
The auxiliary battery pack can be used as a temporary power source.
Install 4 (AA size) batteries in the auxiliary battery pack. Note the polarity (+/-) markings in the
battery compartment to ensure proper installation. Plug the auxiliary battery pack in the socket
located at the lower part of the keypad as indicated in Fig. 2. If you are using the safe for the first
time, touch the screen to light up and then enter the factory default Administrative Password
“123456” followed by “#” or place any finger in the finger recognition scanner, the interactive
voice response will announce “Verified” and the indicator light located at the upper left corner of
the keypad with the open padlock will light up. At the same time turn the knob clockwise to open
the safe. If you already preprogrammed the safe, then open the safe as usual.
Fig.2

NOTE: DO NOT STORE THE OVERRIDE KEY OR THE AUXILIARY BATTERY PACK IN
YOUR SAFE!
Please secure your override keys and the auxiliary battery pack in a safe place. If the
override keys or the auxiliary battery pack are lost or damaged, contact your local
ExecutiveSafe office.
Battery Installation
Four alkaline AA batteries (included) are required.
NOTE: Non-alkaline or rechargeable batteries ARE NOT RECOMMENDED.
To install the batteries, remove the battery cover located on
the inside back side of the door, by sliding it to the right. See Fig. 3. Insert the four
batteries as indicated. Insert back the battery cover.
NOTE: Batteries should be replaced when both the red and green lights come on at the same
time when you enter your combination or you hear the warning "low power, please replace the
battery" from the Interactive Voice Response.
Fig.3
Alarm Function
If a wrong combination or a wrong finger is entered three consecutive times, the alarm will be
activated for 30 seconds. The alarm can be deactivated when the correct combination or finger is
entered.
If the safe experiences vibration, the alarm will be activated for 30 seconds. The alarm can be
deactivated when the correct combination or finger is entered.
Turn the Sound on and off
Touch the screen to light up. Then enter “11#”, the sound will toggle from ON to OFF, enter
“11#” again and the sound will toggle from OFF to ON.
Note: In the set-up mode the sound is always on.

Opening and Closing the Safe
Opening the Safe:
Note: The knob is the frame of the keypad.
Make sure the knob is completely turned counter clock wise.
Place the preprogrammed finger on the finger recognition reader or Touch the screen to light up
and enter your combination or Administrative Password followed by the “#” button.
The interactive voice response will announce “Verified” and the indicator light located at the
upper left corner of the keypad with the open padlock will light up.
While the indicator light is on, turn the knob clock wise and open the door.
If the wrong finger is detected or the wrong combination is entered, then the interactive voice
response will announce “Validation Failed. Please re-enter” and the indicator light located at the
upper right corner of the keypad with the locked padlock will light up.
If the safe was programmed to open in the Security Mode, then both the preprogrammed finger
and the combination should both be entered to be able to open the safe.
First, Insert the finger in the finger recognition reader. The interactive voice response will
announce “Verified”. If the wrong finger is detected, then the interactive voice response will
announce “Validation Failed. Please re-enter” and the indicator light located at the upper right
corner of the keypad with the locked padlock will light up.
Second, Touch the screen to light up the keypad and enter your combination or Administrative
Password followed by the “#” button.
The interactive voice response will announce “Verified” and the indicator light located at the
upper left corner of the keypad with the open padlock will light up.
While the indicator light is on turn the knob clock wise and open the door.
If the wrong combination is entered, then the interactive voice response will announce “Validation
Failed. Please re-enter” and the indicator light located at the upper right corner of the keypad with
the locked padlock will light up.
Closing the Safe:
Close the door and turn the knob counter clockwise.

Programming the Safe
❖For your safety, please program the Administrative Password and at least one
finger before start using the safe.
❖The safe is shipped with a preset Administrative Password: 123456 and opening
with anybody’s finger.
❖The safe is shipped with the preprogrammed setting to be opened either with the
fingerprint or the combination (common mode).
❖To Restore the above factory settings of the safe, press and hold the red push
button located at the back of the door for more than 5 seconds up until a long
beep is heart, or “The factory settings were restored” is announced. See Fig. 4.
❖The Safe is equipped with an Interactive Voice Response, here after called IVR
please follow it.
Fig. 4
Set up Mode
For the safe to be programmed, it is required to enter the set-up mode.
With the door open, press and release the red push button located at the back of the door and
follow the instructions given by interactive voice response. The safe is now in the set-up mode.
See Fig. 3. Enter the Administrative Password (the safe is shipped with an Administrative
password “123456”) followed by the “#” button.
Note: If a mistake is made during the entering of the Administrative Password the “*” button can
be pressed to clear the code entered.

Press 1 to Set the User Password.
IVR: “PLEASE ENTER A NEW PASSWORD” Enter a 3 to 8-digit user password
followed by the “#” button.
IVR: “PLEASE ENTER IT AGAIN” Re-enter the same 3 to 8-digit user password
followed by the “#” button. If a mistake is made in entering the password the second
time, the IVR will announce “Wrong input please re-enter” and the correct user
password must be re-entered.
IVR: “SET UP SUCCESS”
The previously programmed user password is now deleted.
The safe will return to the set-up mode waiting for an input “1” to “5” or a “*” to
exit the set-up menu.
Test the password you just programmed with the door open.
Press 2 to Add a Finger Print.
Place your finger on the finger recognition reader and follow IVR Instructions (4
successful readings are required)
IVR: “A SUCCESSFUL REGISTRATION” the finger is programmed and you
can now use your finger to open the safe.
IVR: “PLEASE ENTER IT AGAIN”. Re-enter your finger on the finger
recognition reader.
The safe will return to the set-up mode waiting for an input “1” to “5” or a “*” to
exit the set-up menu.
Press 3 to Delete all Programmed Finger Prints.
IVR: “DELETE SUCCESSFUL”
The safe will return to the set-up mode waiting for an input “1” to “5” or a “*” to
exit the set-up menu.
Press 4 to Set (Change) the Administrative (Management) Password.
IVR: “PLEASE ENTER THE ADMINISTRATIVE PASSWORD AND
CONFIRM WITH THE HASH KEY” Enter a 3 to 8-digit Administrative Password
followed by the “#” button.
IVR: “PLEASE ENTER IT AGAIN” Re-enter the same 3 to 8-digit Administrative
Password followed by the “#” button. If a mistake is made in entering the code the
second time, the IVR will announce “Wrong input please re-enter” and the correct
Administrative Password must be re-entered.
IVR: “SET UP SUCCESS”
The previously programmed Administrative Password is deleted.
The safe will return to the set-up mode waiting for an input “1” to “5” or a “*” to
exit the set-up menu.
Test the Administrative Password you just programmed with the door open.
Press 5 to Set (Change) the Opening Mode (Method) of the Safe.
IVR: “Press 1 for common Mode and 2 for Security Mode”, Enter 1 for the safe to
open with the common mode or press 2 for the safe to open in the Dual Safe mode.
The safe will return to the set-up mode waiting for an input “1” to “5” or a “*” to
exit the set-up menu.
Press * to Exit the Set-up Mode.

:
1
2
3
4
5

1
2 3
AA
Verified

AA
low power, please replace the battery
ONOFF
OFFON

.
Verified
Validation Failed. Please re-enter
Verified
Validation Failed. Please re-enter

❖
❖
❖
❖
❖
IVR

IVRPLEASE ENTER A NEW PASSWORD
IVRPLEASE ENTER IT AGAIN
IVRWrong input please re- enter
IVRSET UP SUCCESS
4
IVRA SUCCESSFUL REGISTRATION
IVRPLEASE ENTER IT AGAIN
IVRDELETE SUCCESSFUL
IVRPLEASE ENTER THE ADMINISTRATIVE PASSWORD AND CONFIRM
WITH THE HASH KEY
IVRPLEASE ENTER IT AGAIN
IVRWrong input please re-enter
IVRSET UP SUCCESS
IVRPress 1 for common Mode and 2 for Security Mode

Garantie limitée de deux ans
Cette garantie limitée couvre tous les défauts de matériaux et /ou de fabrication uniquement.
Si un défaut structurel ou mécanique survient pendant la période de garantie,
ExecutiveSafe Company Limited ou son représentant (ci-après "ExecutiveSafe") réparera ou
remplacera la ou les pièces défectueuses du Produit ou le produit, à sa seule discrétion, sans frais.
Vous pouvez avoir certains droits en vertu de votre loi locale.
Rien dans ces termes n’est destiné à affecter ces droits, s’ils sont applicables.
Service de Garantie
Pour obtenir un service de garantie, contactez votre distributeur local ExecutiveSafe
avec votre nom, adresse et preuve d'achat .
Le reçu original est requis sans exception (conservez votre reçu dans le coffre-fort).
et avec une brève description du problème.
NE RENVOYEZ PAS VOTRE PRODUIT DÉFECTUEUX À EXECUTIVESAFE.
Limites de garantie
1. La responsabilité de ExecutiveSafe et le recours exclusif de l’acheteur au titre de cette garantie
est limité à la réparation ou au remplacement de la ou des pièces défectueuses du ou des produits
chez ExecutiveSafe , à sa seule discrétion. ExecutiveSafe ne peut en aucun cas être tenu
responsable des pertes ou des dommages dus à des dommages externes tels que le vol, l’incendie,
l’eau, un tremblement de terre, le vandalisme ou tout autre incident ou événement.
Dommages consécutifs à des personnes ou à des biens (y compris le contenu de la
Produit) résultant de la violation de cette ou de toute autre cause explicite ou implicite
garantie applicable au produit.
2. Sauf disposition contraire des lois applicables, ExecutiveSafe
renonce à toutes autres clauses et garanties, que ce soit
écrit ou oral, explicite ou implicite, y compris, sans toutefois s'y limiter,
les garanties implicites de qualité marchande, de qualité satisfaisante, d’aptitude à
usage particulier, effort d’exécution et non-violation
3. ExecutiveSafe n'est pas responsable des dommages, défauts ou dysfonctionnements du
produit causé par l'expédition.
4. Cette garantie limitée ne couvre pas les défauts, dommages ou dysfonctionnements
causée par une altération, une modification, un service ou une réparation du produit par quiconque
autres que ExecutiveSafe, ou causés par une mauvaise utilisation du produit ou des abus
physiques portés au produit.
5. Cette garantie limitée ne couvre pas l'usure normale, le remplacement de la batterie ou la
maintenance périodique

VEUILLEZ LIRE LE MODE D’EMPLOI DANS SON INTÉGRALITÉ AVANT DE
COMMENCER À UTILISER LE COFFRE FORT
Instructions de scellement
En vue d’assurer une sécurité maximale, le scellement est fortement recommandé.
1. Sélectionnez un emplacement approprié et pratique pour votre coffre-fort. Positionnez le coffre-
fort et utilisez les orifices prévus sur la surface inférieure et/ou à l'arrière du coffre-fort pour
marquer l’emplacement des trous à percer dans le sol ou le mur. En cas de scellement dans un
mur, veuillez vous assurer que le coffre-fort repose sur une surface solide, telle qu’un sol, une
table, une étagère, un support.
2. Éloignez le coffre-fort et percez des trous du diamètre et de la profondeur appropriés pour le
type de matériel utilisé et la surface de montage.
3. Replacez le coffre-fort sur les trous et installez les fixations selon les besoins.
Utilisation de la clé d’urgence pour ouvrir le coffre-fort
À l'aide de votre ongle, retirez le couvercle d’insertion de la clé d’urgence situé à l'avant de la
porte, voir Fig.1, insérez la clé d’urgence et tournez-la dans le sens contraire des aiguilles d'une
montre. Tournez le bouton (le bouton désigne le cadre argenté du clavier) dans le sens des
aiguilles d'une montre pour ouvrir la porte. Afin de terminer l'opération, tournez la clé dans le sens
des aiguilles d'une montre et retirez-la.
Fig.1
Utilisation de la batterie auxiliaire pour ouvrir le coffre-fort
La batterie auxiliaire peut être utilisée comme source d'alimentation temporaire.
Insérez 4 piles (format AA) dans la batterie auxiliaire. Vérifiez les marques de polarité (+/-) dans
le compartiment des piles pour assurer une installation correcte. Branchez la batterie auxiliaire
dans la prise située dans la partie inférieure du clavier, comme indiqué sur la figure 2. Si vous
utilisez le coffre-fort pour la première fois, touchez l'écran pour l'allumer, puis entrez le mot de
passe administrateur par défaut, à savoir le «123456 », suivi de la touche « # » ou placez un doigt
- peu importe lequel - sur le lecteur de reconnaissance digitale : la réponse vocale interactive
annoncera « Verified » et le voyant lumineux, situé dans le coin supérieur gauche du clavier avec
le cadenas ouvert, s'allumera. Tournez simultanément le bouton dans le sens des aiguilles d'une
montre pour ouvrir le coffre-fort. Si vous avez déjà préprogrammé le coffre-fort, ouvrez-le comme
de coutume.
Fig.2

REMARQUE : NE CONSERVEZ PAS LA CLÉ D’URGENCE OU LE BLOC DE BATTERIE
AUXILIAIRE DANS VOTRE COFFRE-FORT !
Veuillez garder vos clés d’urgence et la batterie auxiliaire dans un endroit sûr. Si vous
perdez ou endommagez les clés d’urgence ou le bloc de batterie auxiliaire, veuillez contacter
votre bureau local ExecutiveSafe.
Installation des piles
Quatre piles alcalines AA (incluses) sont nécessaires.
REMARQUE : les piles non alcalines ou rechargeables NE SONT PAS RECOMMANDÉES.
Pour installer les piles, retirez le couvercle du compartiment des piles situé sur la face arrière
intérieure de la porte, en le faisant glisser vers la droite. Voir Fig. 3. Insérez les quatre piles
comme indiqué. Replacez le couvercle du compartiment des piles.
REMARQUE : les piles doivent être remplacées lorsque les voyants rouge et vert s'allument en
même temps lors de la saisie de la combinaison ou quand l'avertissement « low power, please
replace the battery » de la réponse vocale interactive se manifeste.
Fig.3
Fonction d'alarme
Si une combinaison incorrecte est saisie ou qu’une empreinte digitale erronée est présentée trois
fois consécutives, l'alarme s’activera pendant 30 secondes. L'alarme peut être désactivée en
saisissant la combinaison ou en présentant l’empreinte digitale correctes.
Si le coffre-fort subit des vibrations, l'alarme s’activera pendant 30 secondes. L'alarme peut être
désactivée en saisissant la combinaison ou en présentant l’empreinte digitale correctes.
Activer et désactiver le son
Touchez l'écran pour l'allumer, puis saisissez «11# » pour désactiver le son. Pour activer le son,
saisissez à nouveau «11# ».
Remarque : en mode configuration, le son est toujours activé

Ouverture et fermeture du coffre-fort
Ouverture du coffre-fort :
Remarque : le bouton désigne le cadre du clavier.
Assurez-vous que le bouton est entièrement tourné dans le sens contraire des aiguilles d’une
montre.
Placez le doigt préprogrammé sur le lecteur de reconnaissance digitale ou touchez l'écran pour
l'allumer et entrez votre combinaison ou votre mot de passe administrateur suivi de la touche « #
».
La réponse vocale interactive annoncera « Verified » et le voyant lumineux, situé dans le coin
supérieur gauche du clavier avec le cadenas ouvert, s'allumera.
Pendant que le voyant est allumé, tournez le bouton dans le sens des aiguilles d'une montre et
ouvrez la porte.
Si une empreinte digitale incorrecte est détectée ou si une combinaison incorrecte est saisie, la
réponse vocale interactive annoncera « Validation Failed. Please re-enter » et le voyant lumineux,
situé dans le coin supérieur droit du clavier avec le cadenas verrouillé, s'allumera.
Si le coffre-fort a été programmé pour s'ouvrir en mode sécurité, alors l’empreinte digitale
préprogrammée et la combinaison doivent toutes deux être présentées afin de pouvoir ouvrir le
coffre-fort.
Insérez d'abord le doigt dans le lecteur de reconnaissance digitale. La réponse vocale interactive
annoncera « Verified ». Si une empreinte digitale incorrecte est détectée, la réponse vocale
interactive annoncera « Validation Failed. Please re-enter » et le voyant lumineux, situé dans le
coin supérieur droit du clavier avec le cadenas verrouillé, s'allumera.
Touchez ensuite l'écran pour allumer le clavier et entrez votre combinaison ou mot de passe
administrateur suivi de la touche « # ».
La réponse vocale interactive annoncera « Verified » et le voyant lumineux, situé dans le coin
supérieur gauche du clavier avec le cadenas ouvert, s'allumera.
Pendant que le voyant est allumé, tournez le bouton dans le sens des aiguilles d'une montre et
ouvrez la porte.
Si une combinaison incorrecte est saisie, la réponse vocale interactive annoncera « Validation
Failed. Please re-enter » et le voyant lumineux, situé dans le coin supérieur droit du clavier avec le
cadenas verrouillé, s'allumera.
Fermeture du coffre-fort :
Fermez la porte et tournez le bouton dans le sens contraire des aiguilles d’une montre.

Programmation du coffre-fort
❖Pour votre sécurité, veuillez programmer le mot de passe administrateur et au
moins une empreinte digitale avant de commencer à utiliser le coffre-fort.
❖Le coffre-fort dispose d’un mot de passe administrateur prédéfini : 123456 et
s’ouvre avec une empreinte digitale, peu importe laquelle.
❖Le coffre-fort dispose d’un réglage préprogrammé qui permet son ouverture par
le biais de l’empreinte digitale ou de la combinaison (mode commun).
❖Afin de restaurer les paramètres d'usine du coffre-fort, indiqués ci-dessus,
appuyez sur le bouton-poussoir rouge situé à l'arrière de la porte et maintenez-le
enfoncé pendant plus de 5 secondes jusqu'à ce qu'un long bip se manifeste ou que
soit annoncé : « The factory settings were restored ». Voir Fig. 4.
❖Le coffre-fort est équipé d'une réponse vocale interactive, ci-après appelée RVI,
veuillez respecter ses consignes.
Fig. 4
Mode de configuration
Pour que le coffre-fort soit programmé, il est nécessaire d'entrer en mode de configuration.
Avec la porte du coffre-fort ouverte, appuyez et relâchez le bouton-poussoir rouge situé à l'arrière
de la porte et suivez les instructions données par la réponse vocale interactive. Le coffre-fort est
maintenant en mode de configuration.
Voir Fig. 4. Entrez le mot de passe administrateur (le coffre-fort dispose du mot de passe
administrateur « 123456 ») suivi de la touche « # ».
Remarque : si une erreur survient lors de la saisie du mot de passe administrateur, vous pouvez
appuyer sur la touche « * » pour effacer le code saisi.
Appuyez sur 1 pour définir le mot de passe utilisateur.

RVI : « PLEASE ENTER A NEW PASSWORD » Entrez un mot de passe
utilisateur composé de 3 à 8 chiffres, suivi de la touche « # ».
RVI : « PLEASE ENTER IT AGAIN » Entrez à nouveau le même mot de passe
utilisateur composé de 3 à 8 chiffres, suivi de la touche « # ». Si une erreur survient
lors de la saisie du mot de passe la deuxième fois, la RVI annoncera « Wrong input
please re-enter » et le mot de passe utilisateur correct doit être ressaisi.
RVI : « SET UP SUCCESS »
Le mot de passe utilisateur précédemment programmé est maintenant supprimé.
Le coffre-fort retournera au mode de configuration en attendant une entrée « 1 »
à « 5 » ou un « * » pour quitter le menu de configuration.
Testez le mot de passe que vous venez de programmer avec la porte ouverte.
Appuyez sur 2 pour ajouter une empreinte digitale.
Placez votre doigt sur le lecteur de reconnaissance digitale et suivez les
instructions de la RVI (4 lectures réussies sont nécessaires)
RVI : « A SUCCESSFUL REGISTRATION » Votre empreinte digitale est
programmée et vous pouvez à présent l’utiliser pour ouvrir le coffre-fort.
RVI : « PLEASE ENTER IT AGAIN ». Présentez à nouveau votre doigt sur le
lecteur de reconnaissance digitale.
Le coffre-fort retournera au mode de configuration en attendant une entrée « 1 »
à « 5 » ou un « * » pour quitter le menu de configuration.
Appuyez sur 3 pour supprimer toutes les empreintes digitales programmées.
RVI : " DELETE SUCCESSFUL "
Le coffre-fort retournera au mode de configuration en attendant une entrée « 1 »
à « 5 » ou un « * » pour quitter le menu de configuration.
Appuyez sur 4 pour définir (modifier) le mot de passe administrateur (gestion).
RVI : « PLEASE ENTER THE ADMINISTRATIVE PASSWORD AND
CONFIRM WITH THE HASH KEY » Entrez un mot de passe administrateur
composé de 3 à 8 chiffres, suivi de la touche « # ».
RVI : « PLEASE ENTER IT AGAIN » Entrez à nouveau le même mot de passe
administrateur composé de 3 à 8 chiffres, suivi de la touche « # ». Si une erreur
survient lors de la saisie du code la deuxième fois, la RVI annoncera « Wrong input
please re-enter » et le mot de passe administrateur correct doit être saisi.
RVI : « SET UP SUCCESS »
Le mot de passe administrateur précédemment programmé est supprimé.
Le coffre-fort retournera au mode de configuration en attendant une entrée « 1 »
à « 5 » ou un « * » pour quitter le menu de configuration.
Testez le mot de passe administrateur que vous venez de programmer avec la
porte ouverte.
Appuyez sur 5 pour définir (modifier) le mode d'ouverture (méthode) du coffre-fort.
RVI : « Press 1 for common Mode and 2 for Security Mode » Appuyez sur 1 pour
ouvrir le coffre-fort en mode commun ou sur 2 pour ouvrir le coffre-fort en mode Dual
Safe.
Le coffre-fort retournera au mode de configuration en attendant une entrée « 1 »
à « 5 » ou un « * » pour quitter le menu de configuration.
Appuyez sur * pour quitter le mode de configuration.

2 Jahre Beschränkte Garantie
Diese eingeschränkte Garantie gilt nur für Material- und / oder Verarbeitungsfehler.
Wenn während der Garantiezeit ein struktureller oder mechanischer Defekt auftritt, wird
ExecutiveSafe Company Limited oder sein Beauftragter (nachstehend "ExecutiveSafe") die
Reparatur durchführen oder den defekten Teil des Produkts nach eigenem Ermessen kostenlos
austauschen. Sie haben möglicherweise bestimmte Rechte gemäß Ihrem lokalen Recht.
Nichts in diesen Bedingungen soll diese Rechte beeinträchtigen, sofern sie zutreffen.
Garantieleistungen
Um den Garantieservice zu erhalten, wenden Sie sich an Ihr lokales ExecutiveSafe
Büro mit Ihrem Namen, Kaufbeleg - Originaler Kaufbeleg ist ausnahmslos erforderlich
(Bewahren Sie Ihren Verkaufsbeleg im Safe auf) und mit einer kurzen Beschreibung des
Problems.
SENDEN SIE IHR DEFEKTES PRODUKT NICHT ZURÜCK ZU EXECUTIVESAFE.
Beschränkungen der Garantie
1. Die Verantwortung von ExecutiveSafe und der ausschließliche Rechtsschutz des Käufers im
Rahmen dieser Garantie ist auf die Reparatur beschränkt.
Austausch der defekten Teile des Produkts ist nur durch ExecutiveSafe möglich. ExecutiveSafe
haftet in keinem Fall für Schäden oder Beschwerden, die von außen verursacht wurden Ereignisse
wie Diebstahl, Feuer, Wasser, Erdbeben oder Vandalismus oder für zufällige oder Folgeschäden
an Personen oder Sachen (einschließlich des Inhalts des Produkts), das sich aus einem Verstoß
gegen dieses oder ein anderes ausdrückliches oder impliziertes Produkt fallen unter die Garantie
für das Produkt.
2. Vorbehaltlich anders lautender Bestimmungen, lehnt ExecutiveSafe jegliche anderen
Verpflichtungen und Garantien ab, ob schriftlich oder mündlich, ausdrücklich oder
stillschweigend, einschließlich, jedoch nicht beschränkt auf die implizierten Garantien der
Marktgängigkeit, zufriedenstellende Qualität, Eignung für besondere Zwecke, handwerkliche
Anstrengung und Nichtverletzung.
3. ExecutiveSafe übernimmt keine Haftung für Schäden, Mängel oder Fehlfunktionen des
Produkts, durch den Versand verursacht.
4. Diese eingeschränkte Garantie deckt keine Mängel, Schäden oder Fehlfunktionen abverursacht
durch Veränderung, Modifikation, Service oder Reparatur des Produkts durch andere Parteien als
ExecutiveSafe, oder durch Missbrauch des Produkts oder durch körperlichen Missbrauch am
Produkt.
5. Diese eingeschränkte Garantie gilt nicht für normalen Verschleiß, Batteriewechsel oder die
regelmäßige Wartung.
This manual suits for next models
1
Table of contents
Languages:
Other ExecutiveSafe Safe manuals
ExecutiveSafe
ExecutiveSafe CS-2 User manual
ExecutiveSafe
ExecutiveSafe ES035 User manual
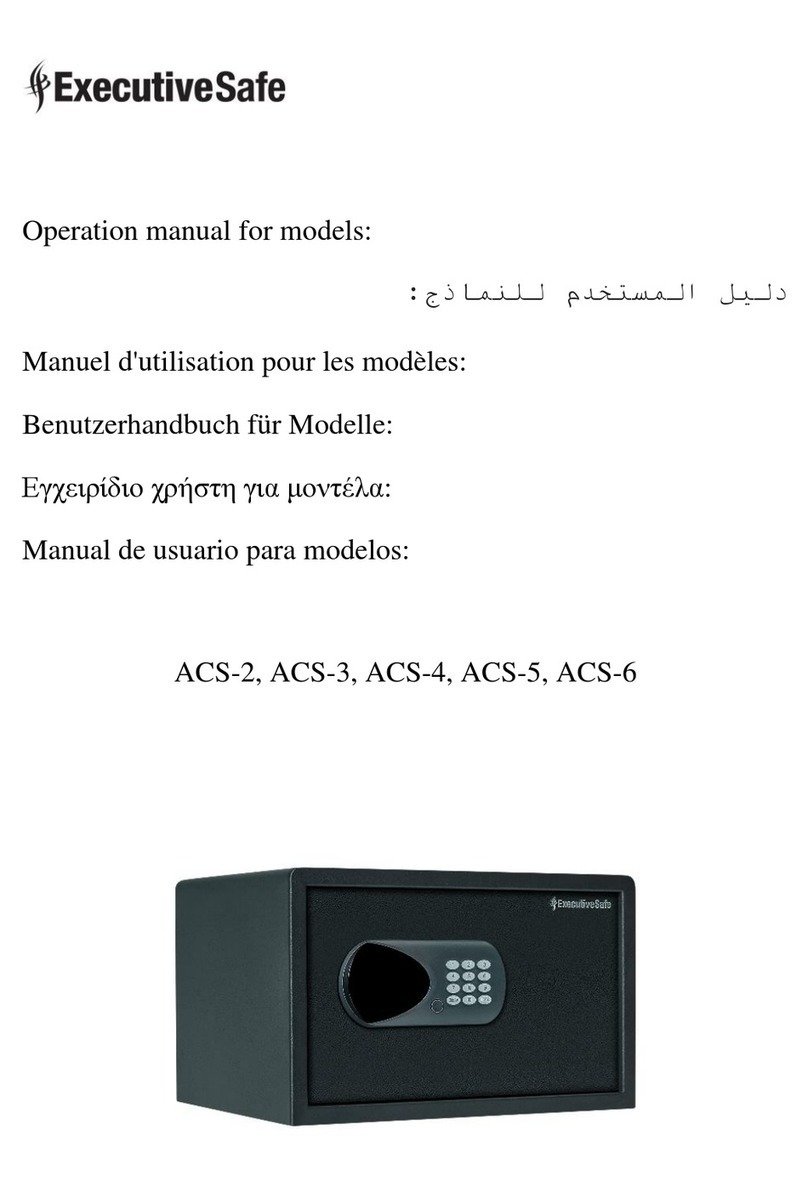
ExecutiveSafe
ExecutiveSafe ACS-2 User manual
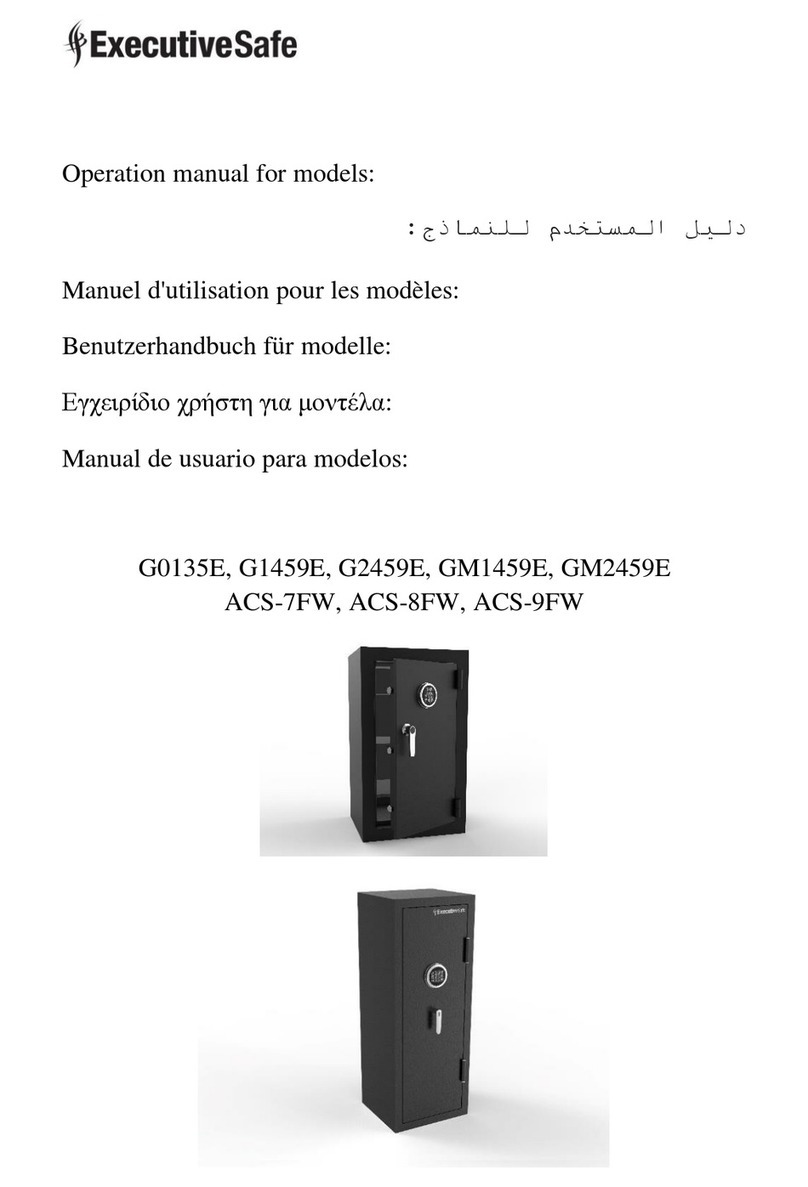
ExecutiveSafe
ExecutiveSafe G0135E User manual
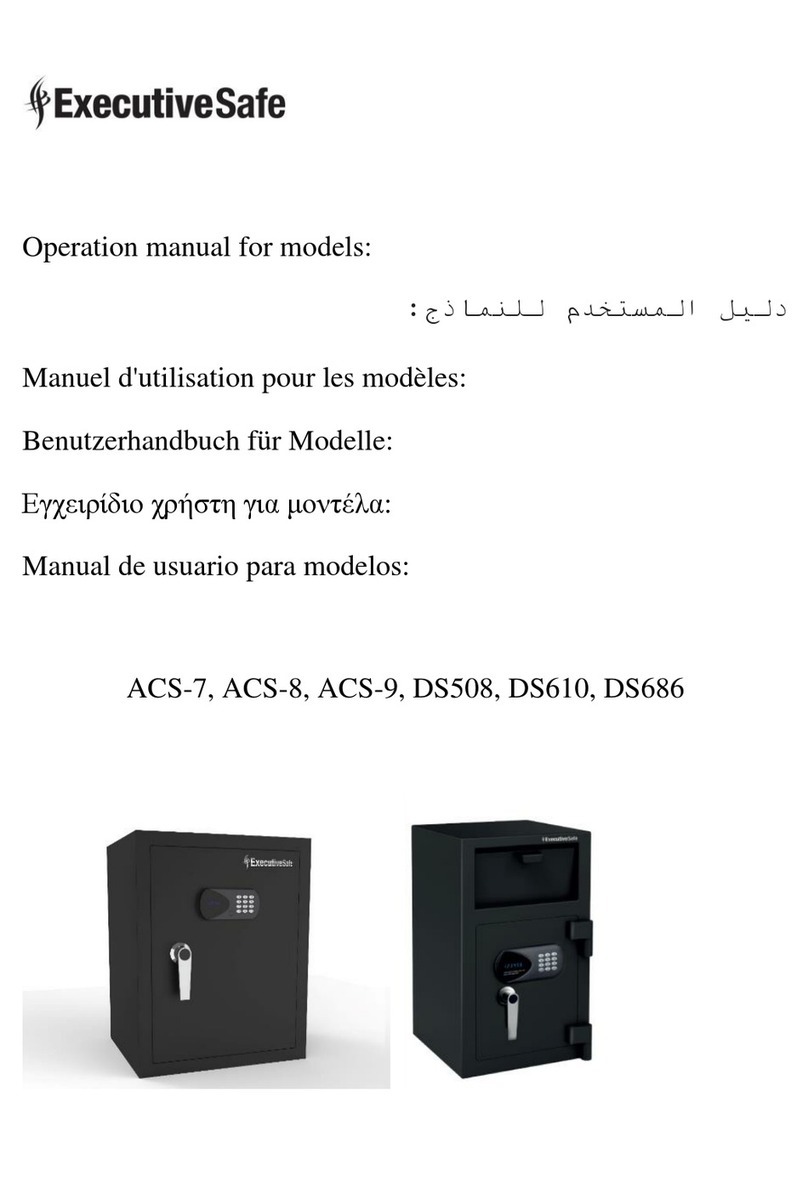
ExecutiveSafe
ExecutiveSafe ACS-7 User manual
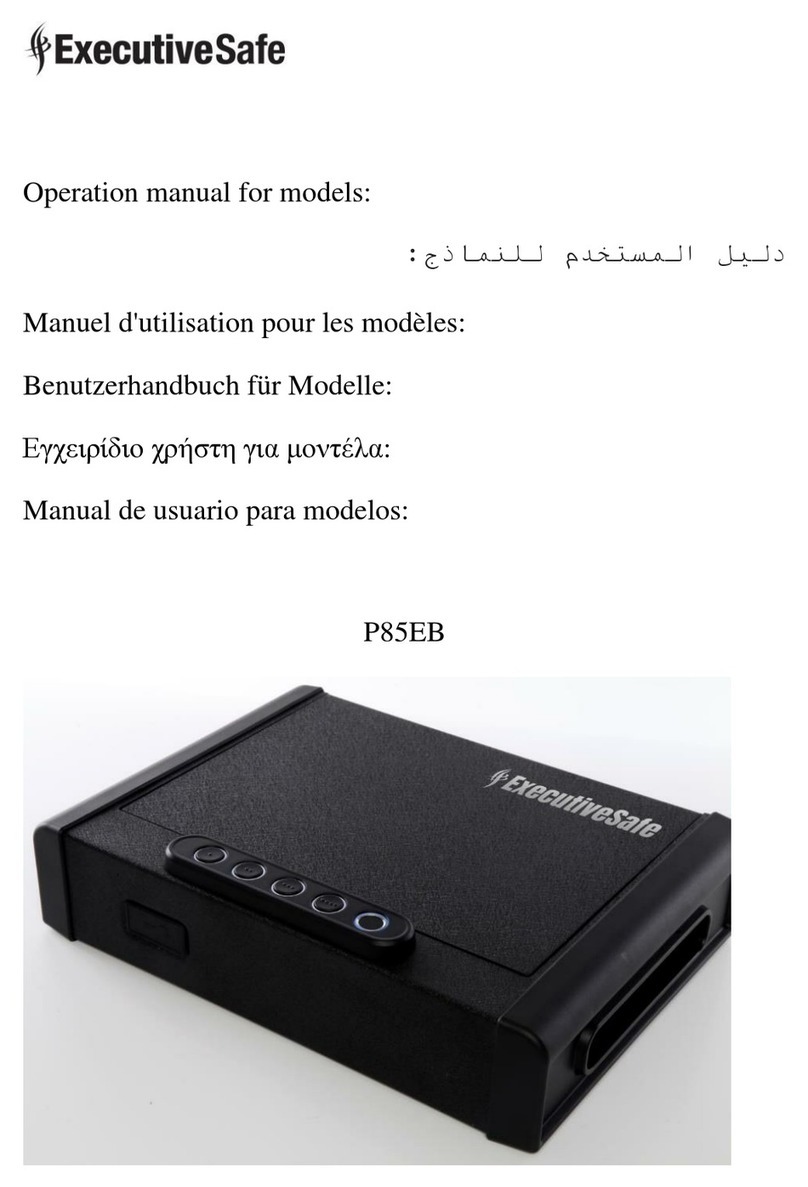
ExecutiveSafe
ExecutiveSafe P85EB User manual

ExecutiveSafe
ExecutiveSafe P46ER User manual
