Exhausto VEX200 series User manual

VEX240/250
Electrical installation guide
for EXact2 control system
Electrical installation........................................Chapter 1 + 2
Original instructions
3005071-2015-02-06 VEX240-250H
EXHAUSTO A/S
Odensevej 76
DK-5550 Langeskov
Tel. +45 65 66 12 34
Fax: +45 65 66 11 10
www.exhausto.com

1. Connection diagram for supply voltage and connection box
1.1. Key to connection diagram ..................................................................................5
1.2. Connection diagram..............................................................................................6
VEX240, 1x230V ......................................................................................................6
VEX250, 3x400V.......................................................................................................7
1.2.3. Termination......................................................................................................8
1.3. Cable plan...............................................................................................................9
2. Installation of the VEX
2.1. Installation............................................................................................................10
2.1.1. Connections in the connection box................................................................10
2.2. Dimensionering og el-installation......................................................................11
2.2.1. Installation requirements and recommendations...........................................11
2.3. Electrical components........................................................................................13
2.3.1. Terminal board on EXact2 main board..........................................................14
2.3.2. Connecting shielded cable to MODBUS........................................................15
2.3.3. Service – connection of additional HMI control panel....................................16
3005071-2015-02-06
2/20

Symbols, terms and warnings
Prohibition symbol Failure to observe instructions marked with a prohibition symbol
may result in serious or fatal injury.
Danger symbol Failure to observe instructions marked with a danger symbol may
result in personal injury and/or damage to the unit.
Scope These instructions apply to the EXHAUSTO EXact2 control system. Please refer to
the product instructions regarding accessories and extra equipment.
The instructions must be fully observed to ensure personal safety and to protect the
equipment and ensure its correct operation. EXHAUSTO A/S accepts no liability for
accidents caused by equipment not used in accordance with the manual’s instruc-
tions and recommendations.
Warnings The work must be performed by an authorised electrician, in ac-
cordancewith locally applicable regulations and legislation.
Warnings:
Opening the unit Do not open the service doors before the supply voltage has been
disconnected at the isolation switch. The isolation switch is posi-
tioned on the left side of the connection box on top of the unit.
Lock the air han-
dling unit during op-
eration
The VEX unit must always be locked
during operation:
●Use the cylinder lock in the handle.
Remember to remove the key from
the lock.
●Or use a padlock. Use the handle’s
built-in padlock fixture.
Lock
Padlock fitting
3005071-2015-02-06
3/20

Rating plate The VEX unit rating plate
shows:
●VEX unit, type (1)
●production number (2)
NB Always have the production number ready when contacting EXHAUSTO A/S.
3005071-2015-02-06
4/20

1. Connection diagram for supply voltage and connection box
1.1 Key to connection diagram
Diagram The diagram on the following page illustrates the connection of the power supply,
HMI display panel and various accessories that can be connected to the connection
box.
Diagram explana-
tion given on the fol-
lowing page Term Description Supplied by
-A1 Connection box EXHAUSTO
-A2 Connection box for heating coil/cooling unit EXHAUSTO
-A3 Connection box for electric heating coil (if fitted) EXHAUSTO
-F1 Distribution board fuses Customer
-Q1 Distribution board group switch Customer
-F2 Connection box control fuses EXHAUSTO
-Q2 Connection box isolation switch EXHAUSTO
NB: Other parts, shown on the front page of the VEX instructions, are supplied by EX-
HAUSTO
Accessories See instructions for the relevant accessories:
●HCW water heating coil
●HCE electrical heating coil
●CCW cold water coil
●MXCU, module for external cooling unit
3005071-2015-02-06 Connection diagram for supply voltage
and connection box
5/20

1.2 Connection diagram
VEX240, 1x230V
* Not supplied by EXHAUSTO
3005071-2015-02-06 Connection diagram for supply voltage
and connection box
6/20

** 120 Ωterminating resistor
*** Terminal block for continuation of 24 VDC
**** Only if IHCW
VEX250, 3x400V
* Not supplied by EXHAUSTO
** 120 Ωterminating resistor
3005071-2015-02-06 Connection diagram for supply voltage
and connection box
7/20

*** Terminal block for continuation of 24 VDC
**** Only if IHCW
1.2.3 Termination
The first and last devices on the bus must be terminated. The diagrams below show
twoterminationexamples.SeepositionofjumperJP2onAHUCinsection"Terminal
board on EXact2 Main board".
If Then See diagram no.
HMI is the only device on
the bus (bus connector
optional)
the jumper must be connected
to JP2, which applies a resist-
ance of 120 Ω
1
both buses are used the jumper must not be con-
nected 2
the bus connectors are
not used the jumper must be connected
toJP2asperdiagram1,which
applies a 120 Ωresistance
1
1.
2.
3005071-2015-02-06 Connection diagram for supply voltage
and connection box
8/20

1.3 Cable plan
The cable plan below shows the accessories that can be connected in the connection box.
3005071-2015-02-06 Connection diagram for supply voltage
and connection box
9/20

2. Installation of the VEX
2.1 Installation
VEX unit The electrical installation for the air handling unit comprises the following connec-
tions:
Connection to VEX unit:
●Connection box
●Optional electrical heating coil HCE
●Optional water heating coil HCW
●Optional MXCU module for external cooling unit
●Optional CCW cold water coil
2.1.1 Connections in the connection box
Wiring configura-
tions Wiring configurations for the terminal board in the connection box are shown in the
table below.
Wiring configurations See section
Supply voltage 2.2
HMI control panel via modbus 1
Modbus components via modbus 1
on termination and instructions for the
component in question
Control box for heating coil (water
heating coil), MHCW module, via
modbus
1
on termination and instructions for water
heating coil HCW
Control box for heating coil (electric
heating coil), MHCE2 module, via
modbus
1
on termination and instructions for elec-
tric heating coil HCE
Control system for external cooling
unit MXCU 1
on termination and instructions for MXCU
module
External start* below
Closing damper in exhaust air LSA/
LSAR 1
Closing damper in outdoor air LSF/
LSFR 1
Fire and AUX IN* 1
and below
* External start, Fire
and AUX IN Note following with regard to jumpers on EXact2 main board.
If Then
Fire is used the jumper between terminals 20 and 21 must be removed
AUX IN used the jumper between terminals 22 and 23 must be removed
EXT start is used the jumper between terminals 24 and 25 must be removed
3005071-2015-02-06 Installation of the VEX
10/20

2.2 Dimensionering og el-installation
●The supply cable must be dimensioned and installed in ac-
cordance with applicable rules and regulations.
●The earth terminal (PE) must always be connected.
Diagram The supply voltage must be connected to the isolation switch as shown in the dia-
gram in the section “Connection diagram for supply voltage and connection box”.
2.2.1 Installation requirements and recommendations
Isolation switch and
control fuses An isolation switch and control fuses are built into the unit to provide overload and
short-circuit protection.
Fuses The fuses must be suitable for:
●Short-circuit protection of the unit
●Short-circuit protection of the supply cable
●Overload protection of the supply cable
Max. rating Maximum fuse rating is 63 A (gG/gL).
Power supply cable When dimensioning the supply cable, the conditions at the installation location, in-
cluding temperature and cable duct layout, must be taken into consideration.
Earth leak circuit
breaker
●The unit must be protected against indirect contact.
If current earth leak circuit breakers are fitted in the installation, they must be
of a type that meets the following requirements:
●PFI type A breaker that breaks the circuit on detection of a
vagrant current with DC content (pulsating DC) in accordance
with EN 61008
●The circuit breakers must be marked with the following sym-
bol:
●Cutout time must be max. 0.3 s.
When there is cur-
rent leakage A leak current of up to 300 mA can be generated.
Electrical connec-
tions VEX type Voltage Dimensioned
power consump-
tion
(max. phase cur-
rent)
Dimensioned
max. neutral cur-
rent
VEX240 1 x 230 V + N + PE 12.5A -
3005071-2015-02-06 Installation of the VEX
11/20

VEX type Voltage Dimensioned
power consump-
tion
(max. phase cur-
rent)
Dimensioned
max. neutral cur-
rent
VEX250 3x400V+N+PE 11.2A 15A
Short-circuit current Maximum short circuit current (lcu), in accordance with EN60947.2 is 10 kA.
Accessories Accessories of type MHCW, MHCE2 and MXCU do not require separate supply
cables and can be directly connected to the VEX control system box.
Circulation pump
(IHCW) If the HCW coil is connected directly to AHUC (IHCW), the circulation pump may be
connected to EXact2 main board. The circulation pump may not draw more than 2.0
A, and its cable must be dimensions for a 10 A fuse.
Equalising connec-
tions Equalising connections must be established between the VEX and HCE-type
accessories.
Isolation switch, in-
side Connect supply volt-
age here!
Remove the red cover when
connecting
3005071-2015-02-06 Installation of the VEX
12/20

2.3 Electrical components
Positioning of elec-
trical components
1
2
RD12513-02
1. Connection box
●Main fuse
●24 V power supply
●Control fuses
●Isolation switch
2. Rotor control
3005071-2015-02-06 Installation of the VEX
13/20

2.3.1 Terminal board on EXact2 main board
The layout drawing below gives an overview of components (standard + accessory) that can be connected to
the terminal blocks.
Component Terminal board
connection Description
BUS 1 - 4 Bus for external parts
BUS 5 - 8 Bus for external parts
TE... + MVM 9 - 19 Taken together, these terminals constitute IHCW, which can be used for
controlling the HCW coil. See also the HCW instructions.
Fire 20 - 21 BT40, BT50, BT70
Smoke detector or other fire detection switch
AUX IN 22 - 23 Same function as Fire
EXT start 24 - 25 If this is connected, the device can be started
If this is interrupted, the unit will stop
LSA 26 - 28 LS, exhaust air closing damper
LSAR, exhaust air closing damper with spring return
LSF 29 - 31 LS, outdoor air closing damper
LSFR, outdoor air closing damper with spring return
Alarm 32 - 34 General alarm
AUX OUT 35 - 36 Fire alarm out for controlling smoke evacuation damper or combustion gas
fan.
3005071-2015-02-06 Installation of the VEX
14/20

Component Terminal board
connection Description
Light/CP 37 - 38 Light or circulation pump (if IHCW has been selected, the CP function is
activated)
USB USB For service use
DI SPARE TIMERBUTTON2/TIMERBUTTONEU2
AI SPARE CO2B/RHB
OUT 24 V supply for MLON/MTCP
Service HMI Service HMI Plug for connecting extra HMI panel, see section "Servicing - connection of
extra HMI control panel"
Jumper
JP1 Option for termination, internal BUS
JP2 Termination option, external BUS, see section 1
JP3 BP2/M1 Configuration BP2/M1 (motor size 1: PWM, motor size 2: REL). Set at the
factory.
JP4 BP3/M2 Configuration BP3/M2 (motor size 1: PWM, motor size 2: REL). Set at the
factory.
Web server (accessory)
Web server CN2 Ethernet
Web server CN3: Connection of BMS
Web server JP2 To be terminated if BMS is connected to CN3 (shown as ON).
2.3.2 Connecting shielded cable to MODBUS
Cable type MODBUS requires shielded cable of type 2 x 2 x 0.25 □twinned pair conductors.
3005071-2015-02-06 Installation of the VEX
15/20

Connection Wires and screen must be connected as shown in the table below
Wires Ste
pAction See
Conductors
Symbol:
Twinned
pair con-
ductors
1 Strip minimum amount of insulation from con-
ductors and ensure they are not damaged/
snapped
2Twist 0V conductor and 24V conductor togeth-
er C
3 Twist conductor A and conductor B together D
The conductors must be twisted as far down to-
wards the terminals as possible. Max. distance
from twists to terminal board: 1.5 cm.
E
Screen 1 Strip insulation from screen from point ahead
of cable clamp (F)
2 Mount the clamp to enclose the screen and
hold the cable in place F
3 Take some of the cable screen and run it into
the terminal board together with the 0V con-
ductor
G
2.3.3 Service – connection of additional HMI control panel
An additional HMI control panel connected during servicing will take control of the unit.
Refer to the EXact basic instructions for further information.
3005071-2015-02-06 Installation of the VEX
16/20

3005071-2015-02-06
17/20

3005071-2015-02-06
18/20

3005071-2015-02-06
19/20

Other manuals for VEX200 series
5
This manual suits for next models
2
Table of contents
Other Exhausto Control Unit manuals

Exhausto
Exhausto VEX260 User manual

Exhausto
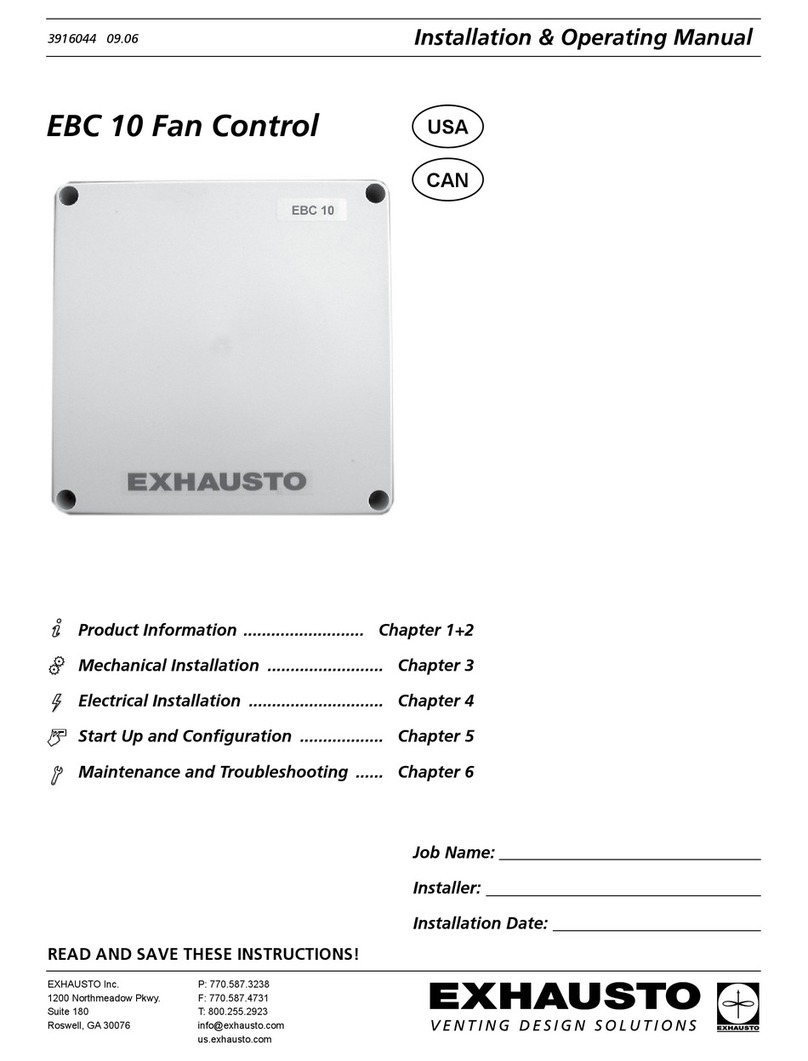
Exhausto OJ GreenZone Module M User manual
Exhausto
Exhausto OJ GreenZone Module A User manual

Exhausto
Exhausto EBC12 Series User manual

Exhausto
Exhausto EBC 10-P Installation instructions
Exhausto
Exhausto OJ GreenZone User manual

Exhausto
Exhausto MCCW User manual