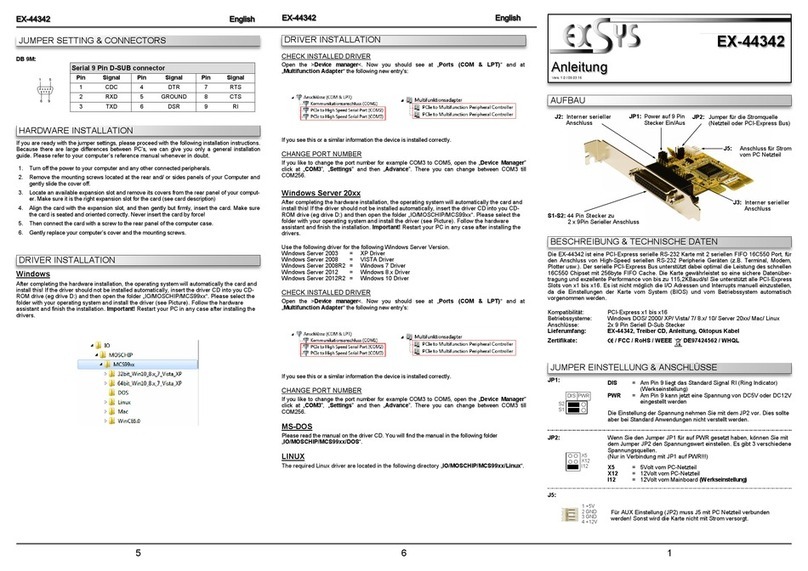
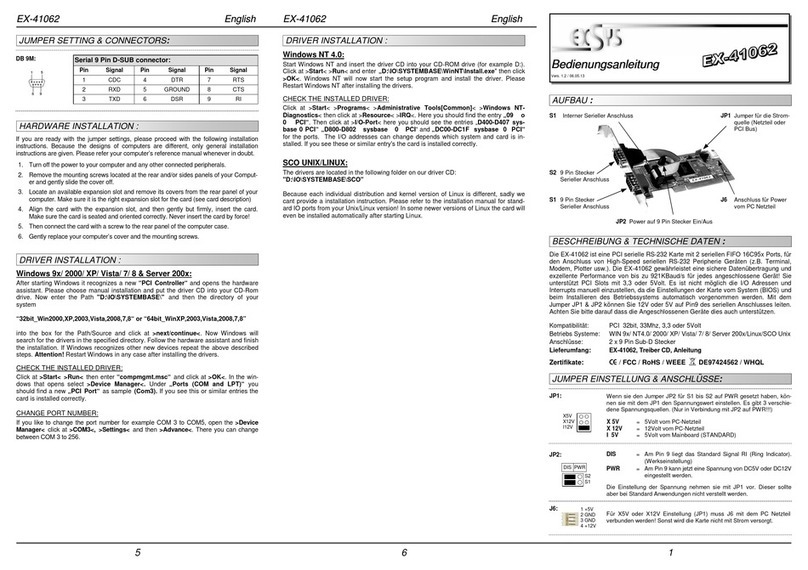
Exsys EX-44352IS-4K User manual

TXD LED
(Gelb)
651
S1: 4KV Isolierter RJ45
Seriell Anschluss
Die EX-44352IS-4KV ist eine PCI-Ex ress serielle RS-232 Karte mit 2 seriellen FIFO 16C550
Ports, für den Anschluss von High-S eed seriellen RS-232 Peri herie Geräten (z.B. Terminal,
Modem, Plotter usw.). Die EX-44352IS-4KV unterstützt 15KV ESD Surge Protection auf allen
Leitungen und O tical Isolation von 4KV. Der serielle PCI-Ex ress Bus unterstützt dabei o timal
die Leistung des schnellen 16C550 Chi set mit 256byte FIFO Cache. Die Karte gewährleistet
so eine sichere Datenübertragung und exzellente Performance von bis zu 115,2KBaud/s! Sie
unterstützt alle PCI-Ex ress Slots von x1 bis x16. Es ist nicht möglich die I/O Adressen und
Interru ts manuell einzustellen, da die Einstellungen der Karte vom System (BIOS) und vom
Betriebssystem automatisch vorgenommen werden.
BESCHREIBUNG & TECHNISCHE DATEN
Kom atibilität: PCI-Ex ress x1 bis x16
Betriebssysteme: Windows DOS/ 2000/ XP/ Vista/ 7/ 8.x/ 10/ Server 20xx/ Mac/ Linux
Anschlüsse: 2x RJ45 auf 9 Pin Seriell Anschluss
Lieferumfang: EX-4352IS-4KV, 2 Cat.6 Netzwerk-Kabel,
2 Adapter RJ45 auf 9 Pin, Treiber CD, Anleitung
Zertifikate: CE / FCC / RoHS / WEEE DE97424562 / WHQL
LED & ANSCHLÜSSE
Anleitung
Vers. 1.0 / 21.12.16
EX-44352IS-4K
AUFBAU
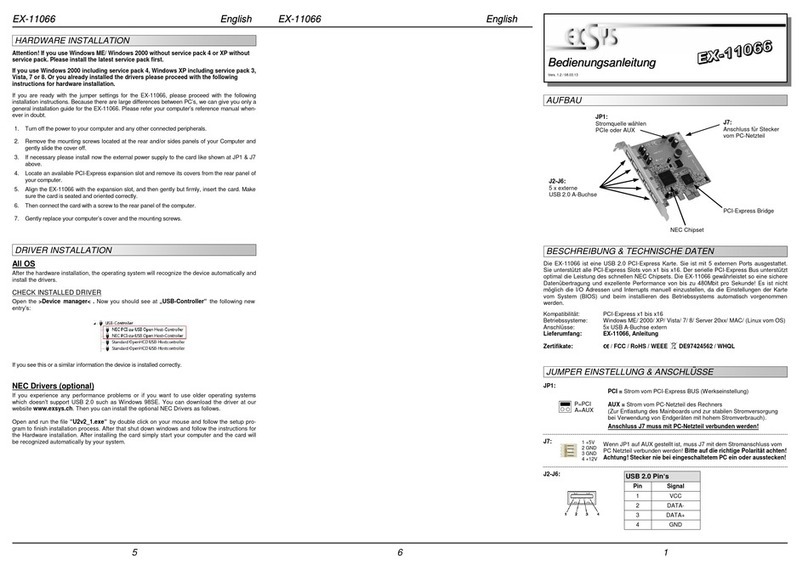
If you are ready with the jum er settings, lease roceed with the following installation instructions.
Because there are large differences between PC’s, we can give you only a general installation
guide. Please refer to your com uter’s reference manual whenever in doubt.
1. Turn off the ower to your com uter and any other connected eri herals.
2. Remove the mounting screws located at the rear and/ or sides anels of your Com uter and
gently slide the cover off.
3. Locate an available ex ansion slot and remove its covers from the rear anel of your com ut-
er. Make sure it is the right ex ansion slot for the card (see card descri tion)
4. Align the card with the ex ansion slot, and then gently but firmly, insert the card. Make sure
the card is seated and oriented correctly. Never insert the card by force!
5. Then connect the card with a screw to the rear anel of the com uter case.
6. Connect now the two Cat.6 Netware cable to the RJ45 connector. Then you connect the
RJ45 to 9 in ada ter.
7. Gently re lace your com uter’s cover and the mounting screws.
HARDWARE INSTALLATION
CONNECTORS
Windows
After com leting the hardware installation, the o erating system will automatically the card and
install this! If the driver should not be installed automatically, insert the driver CD into you CD-
ROM drive (eg drive D:) and then o en the folder „IO/MOSCHIP/MCS99xx“. Please select the
folder with your o erating system and install the driver (see Picture). Follow the hardware
assistant and finish the installation. Important! Restart your PC in any case after installing the
drivers.
DRIVER INSTALLATION
DRIVER INSTALLATION
CHECK INSTALLED DRIVER
O en the >Device manager<. Now you should see at „Ports (COM & LPT)“ and at
„Multifunction Adapter“ the following new entry's:
If you see this or a similar information the device is installed correctly.
CHANGE PORT NUMBER
If you like to change the ort number for exam le COM3 to COM5, o en the „Device Manager”
click at „COM3”, „Settings” and then „Advance”. There you can change between COM3 till
COM256.
Windows Server 20
After com leting the hardware installation, the o erating system will automatically the card and
install this! If the driver should not be installed automatically, insert the driver CD into you CD-
ROM drive (eg drive D:) and then o en the folder „IO/MOSCHIP/MCS99xx“. Please select the
folder with your o erating system and install the driver (see Picture). Follow the hardware
assistant and finish the installation. Important! Restart your PC in any case after installing the
drivers.
Use the following driver for the following Windows Server Version.
Windows Server 2003 =XP Driver
Windows Server 2008 =VISTA Driver
Windows Server 2008R2 =Windows 7 Driver
Windows Server 2012 =Windows 8.x Driver
Windows Server 2012R2 =Windows 10 Driver
CHECK INSTALLED DRIVER
O en the >Device manager<. Now you should see at „Ports (COM & LPT)“ and at
„Multifunction Adapter“ the following new entry's:
If you see this or a similar information the device is installed correctly.
CHANGE PORT NUMBER
If you like to change the ort number for exam le COM3 to COM5, o en the „Device Manager”
click at „COM3”, „Settings” and then „Advance”. There you can change between COM3 till
COM256.
MS-DOS
Please read the manual on the driver CD. You will find the manual in the following folder
„IO/MOSCHIP/MCS99 /DOS“.
LINUX
The required Linux driver are located in the following directory „IO/MOSCHIP/MCS99 /Linu “.
S2: 4KV Isolierter RJ45
Seriell Anschluss
9 Pin Stecker
LED: RXD LED
(Grün)
RJ45: DB 9:
81
RJ45 Pin# Signals DB9M Pin#
1DSR 6
2RTS 7
3GND 5
4TXD 3
5RXD 2
6DCD 1
7CTS 8
8DTR 4
- RI 9

234
HARDWARE INSTALLATION
Wenn Sie die Karte installieren, beachten Sie bitte die folgenden Hinweise. Da es große Unter-
schiede zwischen PC‘s gibt, können wir Ihnen nur eine generelle Anleitung zum Einbau geben. Bei
Unklarheiten halten Sie sich bitte an die Bedienungsanleitung Ihres Com utersystems.
1. Schalten Sie Ihren Rechner und alle angeschlossenen Peri heriegeräte aus und ziehen Sie
bei allen Geräten den Netzstecker.
2. Lösen Sie die Schrauben des Gehäuses auf der Rückseite Ihres Com uters und entfernen
Sie vorsichtig das Gehäuse.
3. Suchen Sie einen freien Steck latz und entfernen Sie das Slot Blech, stecken Sie die Karte
vorsichtig in den ausgewählten Steck latz ein. Stellen Sie sicher das es sich um den richtigen
Steck latz handelt! (siehe Kom atibilität unter technische Daten)
4. Beachten Sie das die Karte korrekt eingesteckt wird und das kein Kurzschluss entsteht.
Wenden Sie bitte keine Gewalt an um die Karte einzustecken!
5. Danach befestigen Sie die Karte bitte mit einer Schraube am Gehäuse.
6. Schliessen Sie jetzt die beiden Cat. 6 Netzwerk-Kabel an die RJ45 Buchsen an. Danach
können Sie noch die Ada ter RJ45 zu 9 Pin einstecken.
7. Jetzt können Sie das Com utergehäuse mit den Schrauben wieder schließen.
ANSCHLÜSSE
TREIBER INSTALLATION
RJ45:
Windows
Nach Abschluss der Hardwareinstallation erkennt das Betriebssystem automatisch die Karte
und installiert diese! Falls die Treiber nicht automatisch installiert werden sollten, legen Sie nun
die Treiber CD in Ihr CD-ROM Laufwerk (z.B. Laufwerk D:) ein und öffnen Sie den Ordner „IO/
MOSCHIP/MCS99xx“. Nun wählen Sie den Ordner Ihres Betriebssystems aus und installieren
Sie die Treiber (siehe Abbildung). Folgen Sie den Installationsanweisungen und schließen Sie
die Installation ab. Wichtig! Starten Sie Ihren PC nach der Installation neu.
TREIBER INSTALLATION
ÜBERPRÜFEN DES INSTALLIERTEN TREIBER
Öffnen Sie den >Geräte-Manager<. Jetzt müssten Sie unter „Anschlüsse (COM & LPT)“
und unter „Multifunktionsadapter“ folgende Einträge sehen:
Sind diese oder ähnliche Einträge vorhanden, ist die Karte richtig installiert.
ÄNDERN DER PORT NUMMER
Sie können auch die Port Nummer ändern, indem Sie im Gerätemanager z.B. „COM3“
„Anschlusseinstellung“ und „Erweitert“ öffnen. Nun können Sie dann zwischen COM3 bis
COM256 wählen!
Windows Server 20
Nach Abschluss der Hardwareinstallation erkennt das Betriebssystem automatisch die Karte
und installiert diese! Falls die Treiber nicht automatisch installiert werden sollten, legen Sie nun
die Treiber CD in Ihr CD-ROM Laufwerk (z.B. Laufwerk D:) ein und öffnen Sie den Ordner „IO/
MOSCHIP/MCS99xx“. Nun wählen Sie den Ordner Ihres Betriebssystems aus und installieren
Sie die Treiber (siehe Abbildung). Folgen Sie den Installationsanweisungen und schließen Sie
die Installation ab. Wichtig! Starten Sie Ihren PC nach der Installation neu.
Es werden folgende Treiber für die Server Betriebssysteme installiert:
Windows Server 2003 =XP Treiber
Windows Server 2008 =VISTA Treiber
Windows Server 2008R2 =Windows 7 Treiber
Windows Server 2012 =Windows 8.x Treiber
Windows Server 2012R2 =Windows 10 Treiber
ÜBERPRÜFEN DER INSTALLIERTEN TREIBER
Öffnen Sie den >Geräte-Manager<. Jetzt müssten Sie unter „Anschlüsse (COM & LPT)“
und unter „Multifunktionsadapter“ folgende Einträge sehen:
Sind diese oder ähnliche Einträge vorhanden, ist die Karte richtig installiert.
ÄNDERN DER PORT NUMMER
Sie können auch die Port Nummer ändern, indem Sie im Gerätemanager z.B. „COM3“
„Anschlusseinstellung“ und „Erweitert“ öffnen. Nun können Sie dann zwischen COM3 bis
COM256 wählen!
MS-DOS
Lesen Sie bitte das mitgelieferte englische Handbuch auf der Treiber CD. Dies finden Sie im
Ordner „IO/MOSCHIP/MCS99 /DOS“.
LINUX
Die benötigten Linux Treiber befinden sich in folgendem Verzeichnis „IO/MOSCHIP/MCS99 /
Linu “.
The EX-44352IS-4K is a lug & lay high-s eed serial RS-232 ex ansion card for the PCI-
Ex ress Bus. It rovides two 15KV ESD Surge Protection and 4KV O tical Isolation high s eed
RS-232 serial orts with RJ45 connector. It uses data transfer rates u to 115.2Kbaud/s. The
card design utilizes the 16C550 UART with 256byte buffer, which incor orates the latest in high
s eed interface technology. In combination with the fast PCI-Ex ress bus it rovides a secure
and very high data transfer on each single ort. It su orts all PCI-Ex ress slots x1 to x16. It is
not ossible to change the address or IRQ settings manually, they will be obtained automatical-
ly by the system (BIOS) and o erating system.
DESCRIPTION & TECNICAL INFORMATION
Com atibility: PCI-Ex ress x1 to x16
O erating system: Windows DOS/ 2000/ XP/ Vista/ 7/ 8.x/ 10/ Server 20xx/ Mac/ Linux
Connections: 2x RJ45 to 9 in serial male connector
E tent of delivery: EX-44352IS-4K, 2 Cat.6 Netware cable,
2 Adapter RJ45 to 9 Pin, Driver CD, Manual
Certificates: CE / FCC / RoHS / WEEE DE97424562 / WHQL
LED & CONNECTORS
Manual
Vers. 1.0 / 21.12.16
EX-44352IS-4K
LAYOUT
DB 9:
81
RJ45 Pin# Signals DB9M Pin#
1DSR 6
2RTS 7
3GND 5
4TXD 3
5RXD 2
6DCD 1
7CTS 8
8DTR 4
- RI 9
TXD LED
(Yellow)
LED: RXD LED
(Green)
S1: 4KV Isolation RJ45
serial connector
S2: 4KV Isolation RJ45
serial connector
9 in female
This manual suits for next models
1
Table of contents
Languages:
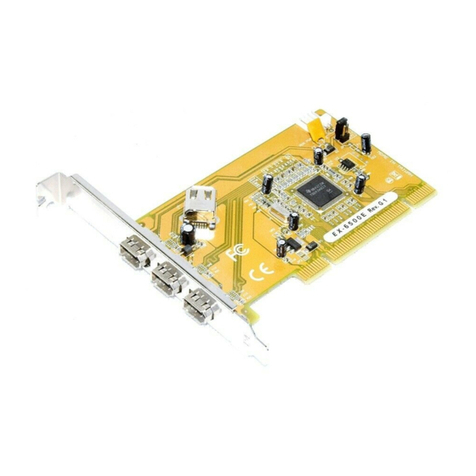
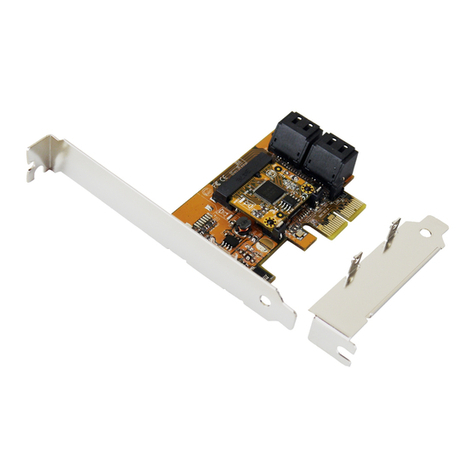
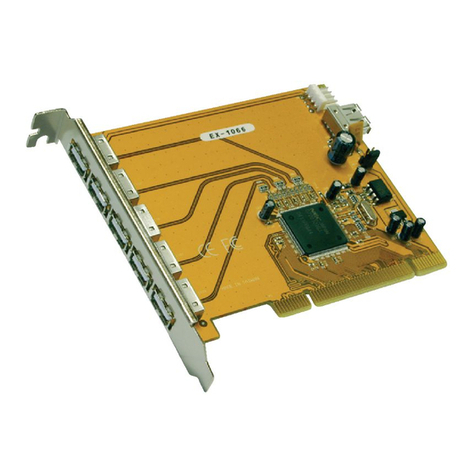
Other Exsys PCI Card manuals

Exsys
Exsys EX-6074PoE User manual

Exsys
Exsys EX-44098-2 User manual

Exsys
Exsys EX-45362 User manual

Exsys
Exsys EX-45034IS User manual

Exsys
Exsys EX-48052 User manual

Exsys
Exsys EX-6072-4K User manual

Exsys
Exsys EX-60102 User manual

Exsys
Exsys EX-3650 User manual

Exsys
Exsys EX-16450 User manual

Exsys
Exsys EX-41016-2 User manual

Exsys
Exsys EX-44044-2 User manual

Exsys
Exsys EX-42062 User manual

Exsys
Exsys EX-41054 User manual

Exsys
Exsys EX-43062 User manual

Exsys
Exsys EX-1062 User manual

Exsys
Exsys EX-41021 User manual

Exsys
Exsys EX-16500E User manual

Exsys
Exsys EX-12005 User manual

Exsys
Exsys EX-11072 User manual

Exsys
Exsys EX-43063 User manual