manuals.online logo
Brands
  1. Home
  2. •
  3. Brands
  4. •
  5. Exsys
  6. •
  7. PCI Card
  8. •
  9. Exsys EX-6500E User manual

Exsys EX-6500E User manual

65
Die EX-6500E ist eine FireWire 1394a PCI Karte. Sie ist extern mit 3 und intern mit 1 FireWire
1394a Port aus estattet. Sie unterstützt den PCI Slot mit 5V und 3,3V. Der serielle PCI Bus
unterstützt optimal die Leistun des schnellen Texas Instruments Chipset. Die EX-6500E
ewährleistet so eine sichere Datenübertra un und exzellente Performance von bis zu 400
Mbit/s! Es ist nicht mö lich die I/O Adressen und Interrupts manuell einzustellen, da die Einstel-
lun en der Karte vom System (BIOS) und beim installieren des Betriebssystems automatisch
vor enommen werden.
Kompatibilität: PCI & PCI-X 32Bit, 5V & 3,3V, 33MHz
Betriebssysteme: Windows ME/ 2000/ XP/ Vista/ 7/ 8.x/ 10/ Server 20xx/ MAC/ Linux
Anschlüsse: 3x 6 Pin 1394a extern, 1x 6 Pin 1394a intern
Lieferumfang: EX-6500E, Anleitung
Zertifikate: CE / FCC / RoHS / WEEE E97424562 / WHQL
1
JUMPER EINSTELLUNG & ANSCHLÜSSE
BESCHREIBUNG & TECHNISCHE DATEN
AUFBAU
Anleitun
Vers. 3.4 / 17.10.17
EX-6500E
HARDWARE INSTALLATION
DRIVER INSTALLATION
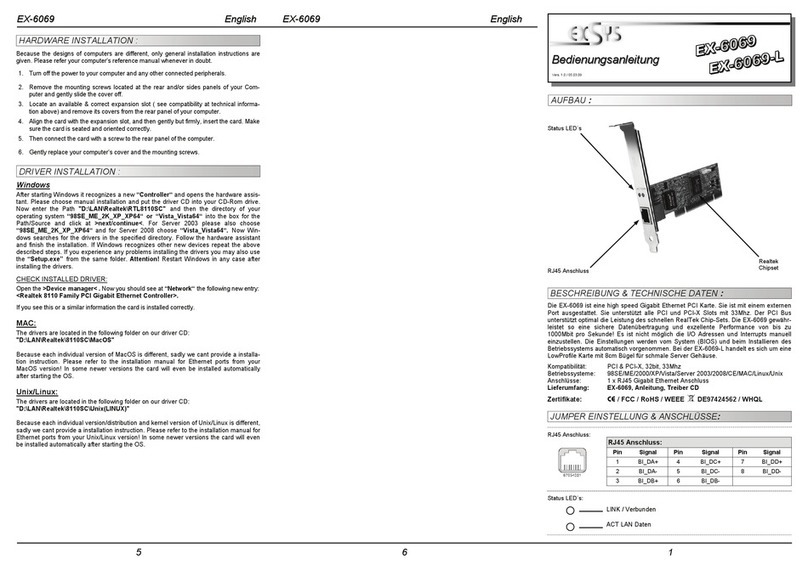
J4: 1 x 6 Pin 1394a Buchse
(wird mit dem externen
Anschluss J1 eteilt)
J3: 1 x 6 Pin 1394a Buchse
J1: 1 x 6 Pin 1394a Buchse
(wird mit dem internen
Anschluss J4 eteilt)
J5: Anschluss für
Stecker vom
PC-Netzteil
JP1: Stromquelle wählen
PCI oder AUX
JP1:
INT = Strom vom PCI BUS (Werkseinstellun )
EXT = Strom vom PC-Netzteil des Rechners
(Zur Entlastun des Mainboards und zur stabilen Stromversor un bei
Verwendun von End eräten mit hohem Stromverbrauch)
Anschluss J5 muss dann mit dem PC-Netzteil verbunden werden!
J5:
Für AUX Einstellun (JP1) muss J5 mit PC-Netzteil verbunden werden!
Sonst wird die Karte nicht mit Strom versor t.
J1 / J2 / J3 / J4:
1 +5V
2 GND
3 GND
4 +12V
Please note the followin installation instructions. Because there are lar e differences between the
PC’s, we can ive you only a eneral installation instructions. Please refer your computer’s refer-
ence manual whenever in doubt.
1. Turn off the power to your computer and any other connected peripherals.
2. Remove the mountin screws located at the rear and/or sides panels of your Computer and
ently slide the cover off.
3. If necessary please install now the external power supply to the card (see at Jumper
Settin s & Connectors at JP1 & J5).
4. Locate an available PCI expansion slot and insert the card. Make sure that the card is plu ed
in correctly.
5. Then attach the card with a screw to the rear panel of the computer.
6. Gently replace your computer’s cover and the mountin screws.
Windows ME/ 2000/ XP/ Vista/ 7/ 8.x/ 10/ Server 20xx
The drivers are already inte rated in Windows and the card will be installed automatically.
CHECK INSTALLED DRIVER
Open the > evice manager<. Now you should see at „IEEE 1394 Bus-Hostcontroller“ the
followin new entry:
If you see this or a similar information the card is installed correctly.
MAC
The drivers are already inte rated in MAC OS and the EX-6500E will be installed automatically.
Only at MAC OS 8.6 it requires an update before the card can be used. You can download the
update on the MAC homepa e. (e. . FireWire Support 2.8.x)
LINUX
Because each individual distribution and kernel version of Linux is different, sadly we cant
provide a installation instruction. Please refer to the installation manual for IEEE1394 ports from
your Linux version! In some newer versions of Linux the card will even be installed automatically
after startin Linux.
6 Pin FireWire 1394a Buchse
Pin Signal Pin Signal
1Power 4TPB+
2GND 5TPA-
3TPB- 6TPA+
J2: 1 x 6 Pin 1394a Buchse
INT
EXT
234
HARDWARE INSTALLATION
TREIBER INSTALLATION
Die EX-6500E is a plu & play hi h-speed FireWire IEEE1394a expansion card for the PCI Bus.
The EX-6500E provides 3 external and 1 internal FireWire 1394a port. It supports PCI slots with
32bit and 5V or 3,3V. The EX-6500E desi n fully utilize the Texas Instruments chipset, which
represents the latest in hi h speed IEEE1394 interface technolo y. In combination with the fast
PCI Bus it provides a secure and very hi h data transfer on each sin le port. It uses data
transfer rates up to 400Mbit/s. It is not possible to chan e the address or IRQ settin s manually,
they will be obtained automatically by the system (BIOS) and operatin system.
Compatibility: PCI & PCI-X 32Bit, 5V & 3,3V, 33MHz
Operatin Systems: Windows ME/ 2000/ XP/ Vista/ 7/ 8.x/ 10/ Server 20xx/ MAC/ Linux
Connectors: 3x extern 6 Pin 1394a, 1x intern 6 Pin 1394a
Extent of delivery: EX-6500E, Manual
Certificates: CE / FCC / RoHS / WEEE E97424562 / WHQL
JUMPER SETTING & CONNECTORS
DESCRIPTION & TECHNICAL INFORMATION
INT = Power from PCI BUS (Factory Settin )
EXT = Power from PC power supply
(Direct power from PC power supply, provide an sufficient power for
devices with hi h power consumption)
Connector J5 must be connected with PC power supply!
JP1:
J5:
For aux power (JP1), J5 must be connected to PC power supply!
If not, the card won’t work.
6 Pin FireWire 1394a Port
Pin Signal Pin Signal
1Power 4TPB+
2GND 5TPA-
3TPB- 6TPA+
1 +5V
2 GND
3 GND
4 +12V
J1 / J2 / J3 / J4:
Beachten Sie bitte die fol enden Installationshinweise. Da es roße Unterschiede zwischen PC‘s
ibt, können wir Ihnen nur eine enerelle Anleitun zum Einbau eben. Bei Unklarheiten halten Sie
sich bitte an die Bedienun sanleitun Ihres Computersystems.
1. Schalten Sie Ihren Rechner und alle an eschlossenen Peripherie eräte aus und ziehen Sie
bei allen Geräten den Netzstecker.
2. Lösen Sie die Schrauben des Gehäuses auf der Rückseite Ihres Computers und entfernen
Sie vorsichti das Gehäuse.
3. Ge ebenenfalls installieren Sie nun die externe Stromversor un zur Entlastun des Main-
boards! (siehe Jumper Einstellun und Anschlüsse JP1 & J5)
4. Suchen Sie jetzt einen freien PCI Steckplatz und stecken Sie die Karte vorsichti in den
aus ewählten PCI Steckplatz ein. Beachten Sie das die Karte korrekt ein esteckt wird und
das kein Kurzschluss entsteht.
5. Danach befesti en Sie die Karte mit einer Schraube am Gehäuse.
6. Jetzt können Sie das Computer ehäuse mit den Schrauben wieder schließen.
Windows ME/ 2000/ XP/ Vista/ 7/ 8.x/ 10/ Server 20xx
Es werden keine Treiber benöti t, da die Treiber im Betriebssystem inte riert sind und die Karte
wird somit automatisch installiert.
ÜBERPRÜFEN DES INSTALLIERTEN TREIBER
Öffnen Sie den >Geräte-Manager<. Jetzt müssten Sie unter „IEEE 1394 Bus-Hostcontroller“
fol enden Eintra sehen:
Ist dieser oder ein ähnlicher Eintra vorhanden, ist die Karte richti installiert.
MAC
Es werden keine Treiber benöti t, da die Treiber im MAC OS inte riert sind und die Karte wird
somit automatisch installiert. Ledi lich unter MAC OS 8.6 ist zuvor ein Update notwendi .
Dieses erhalten Sie auf der MAC Homepa e. (Stichwort FireWire Support 2.8.x)
LINUX
Da sich die einzelnen Distributionen und Kernelversionen sehr voneinander unterscheiden,
können wir Ihnen keine Installationsanweisun zur Verfü un stellen. Bitte halten Sie sich an
die Installationsanweisun für IEEE1394 Anschlüsse Ihrer Linux Version.
LAYOUT
Manual
Vers. 3.4 / 17.10.17
EX-6500E
J4: 1 x 6 Pin 1394a Port
(shared with external J1)
J3: 1 x 6 Pin 1394a Port
J1: 1 x 6 Pin 1394a Port
(shared with internal J4)
J5: Connector for
PC Power
Supply
JP1: Select power source
PCI or AUX
J2: 1 x 6 Pin 1394a Port
INT
EXT
Other Exsys PCI Card manuals

Exsys EX-42032IS User manual

Exsys

Exsys EX-42032IS User manual

Exsys EX-1066 User manual

Exsys

Exsys EX-1066 User manual

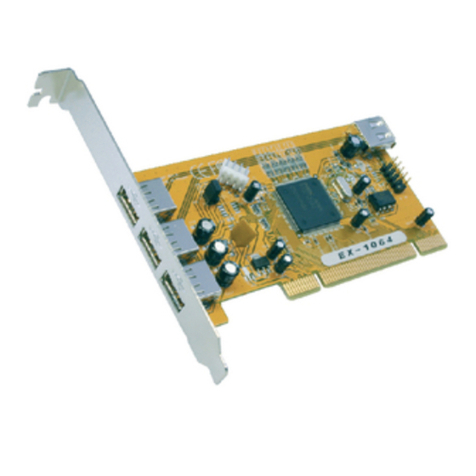
Exsys EX-41016-2 User manual

Exsys

Exsys EX-41016-2 User manual

Exsys EX-45362 User manual

Exsys

Exsys EX-45362 User manual

Exsys EX-1093 User manual

Exsys

Exsys EX-1093 User manual

Exsys EX-6069 User manual

Exsys

Exsys EX-6069 User manual

Exsys EX-44041-2 User manual

Exsys

Exsys EX-44041-2 User manual

Exsys EX-42372 User manual

Exsys

Exsys EX-42372 User manual

Exsys EX-44384 User manual

Exsys

Exsys EX-44384 User manual

Exsys EX-41062 User manual

Exsys

Exsys EX-41062 User manual

Exsys EX-44016 User manual

Exsys

Exsys EX-44016 User manual

Exsys EX-1062 User manual

Exsys

Exsys EX-1062 User manual

Exsys EX-6450 User manual

Exsys

Exsys EX-6450 User manual

Exsys EX-6072-4K User manual

Exsys

Exsys EX-6072-4K User manual

Exsys EX-6072-4K User manual

Exsys

Exsys EX-6072-4K User manual

Exsys EX-6074PoE User manual

Exsys

Exsys EX-6074PoE User manual

Exsys EX-44160 User manual

Exsys

Exsys EX-44160 User manual

Exsys Ex-1083 User manual

Exsys

Exsys Ex-1083 User manual

Exsys EX-11072 User manual

Exsys

Exsys EX-11072 User manual

Exsys EX-44062 User manual

Exsys

Exsys EX-44062 User manual

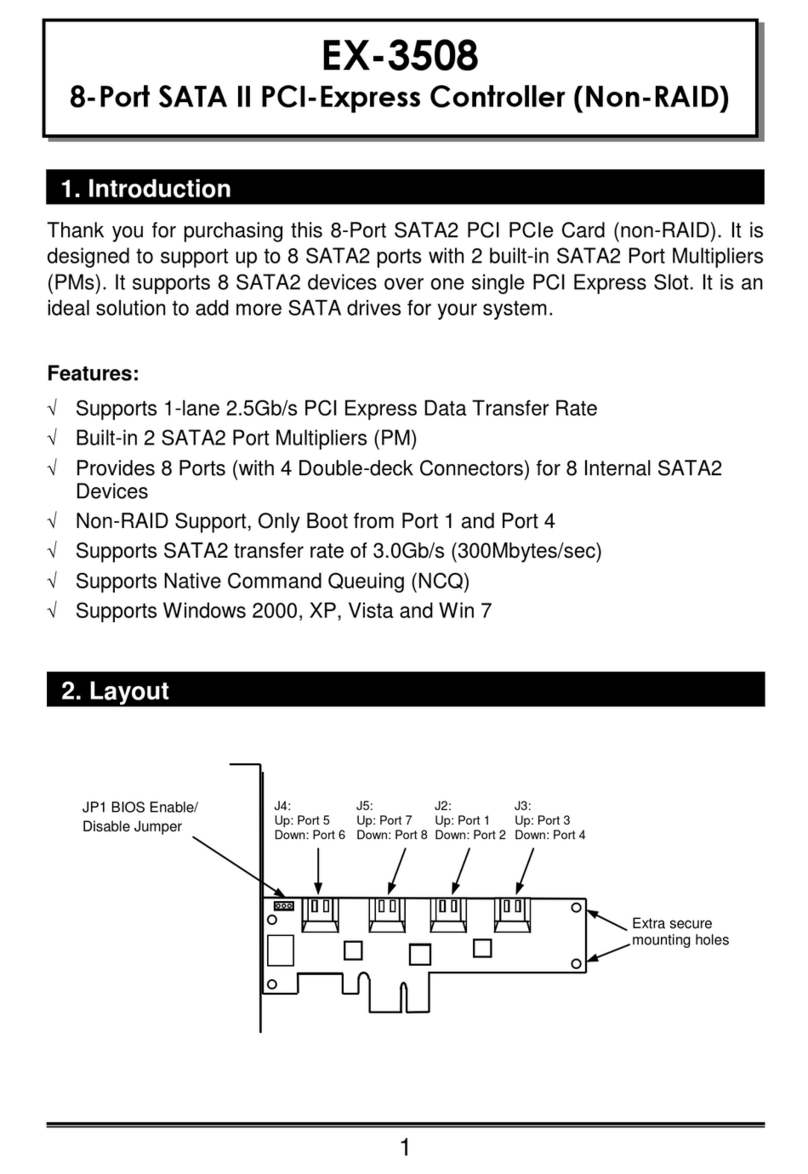
Exsys EX-3508 User manual

Exsys

Exsys EX-3508 User manual

Exsys EX-60102 User manual

Exsys

Exsys EX-60102 User manual

Exsys EX-43063 User manual

Exsys

Exsys EX-43063 User manual

Exsys EX-45034IS User manual

Exsys

Exsys EX-45034IS User manual

Popular PCI Card manuals by other brands

Aaeon PER-T479 user manual

Aaeon

Aaeon PER-T479 user manual

Lynx E22 Setup guide

Lynx

Lynx E22 Setup guide

ORiNG PCard-E1041L-SI-D4 Quick installation guide

ORiNG

ORiNG PCard-E1041L-SI-D4 Quick installation guide

Sonnet TAT-133 Specifications

Sonnet

Sonnet TAT-133 Specifications

Broadcom BCM94321COEX2 user guide

Broadcom

Broadcom BCM94321COEX2 user guide

DeLOCK 89135 user manual

DeLOCK

DeLOCK 89135 user manual

Edimax EW-7325Ig Specifications

Edimax

Edimax EW-7325Ig Specifications

AMX IRIS IRSERIAL DATA CAPTURE DEVICE instruction manual

AMX

AMX IRIS IRSERIAL DATA CAPTURE DEVICE instruction manual

Digium TDM410 user manual

Digium

Digium TDM410 user manual

Steren Com-868 user manual

Steren

Steren Com-868 user manual

Aaeon MBC-2690 user manual

Aaeon

Aaeon MBC-2690 user manual

StarTech.com ST1000SPEXD3 user guide

StarTech.com

StarTech.com ST1000SPEXD3 user guide

GeoVision GV-1120B installation guide

GeoVision

GeoVision GV-1120B installation guide

NETGEAR MA 301 Specifications

NETGEAR

NETGEAR MA 301 Specifications

Moxa Technologies 1802001142326 Quick installation guide

Moxa Technologies

Moxa Technologies 1802001142326 Quick installation guide

Vivanco 14052 user guide

Vivanco

Vivanco 14052 user guide

TRENDnet TEW-423PI Quick installation guide

TRENDnet

TRENDnet TEW-423PI Quick installation guide

Nisuta 1T1R 11n user guide

Nisuta

Nisuta 1T1R 11n user guide

manuals.online logo
manuals.online logoBrands
  • About & Mission
  • Contact us
  • Privacy Policy
  • Terms and Conditions

Copyright 2025 Manuals.Online. All Rights Reserved.