/8
Cooperation of devices from different manufacturers in Z-Wave network
-Wave allows to integrate devices of different manufacturers which can work in different
groups; lighting, heating, domestic automation, etc. -Wave devices operate as repeaters in the
network, thus increasing the range of radio communication. The more devices in the network,
the more reliable and more resistant to interference is performance of the devices within the
network.
Adding device to the network operated by the controller of other manufacturer
Note! Make sure that the device (blackout blind) does not belong to any other network.
Start INCLUDE procedure with the controller of existing network and then press
“programming” button on the blackout blind being added to the network.
Note: Information how to initiate and perform INCLUDE and ASSOCIATE function with the use of
controllers of other manufacturers is to be found in the instructions of these devices.
Special function – ALL ON, ALL OFF
It is possible to define whether the blackout blind has to respect “close all” or “open all”
commands.
Note! Instructions how to define respecting functions “close all” and “open all” are to be found in
instructions of the respective devices.
Manual operating
The “manual operating button” allows operating the ARF -Wave blackout blind directly
after its installation. In order to control the blackout blind manually it is necessary to press
manual operating button. The buttons work sequentially e.g. start, stop, start in another direction,
stop, etc.
1 . Pressing the button for the first time starts the blackout blind to unfold.
2. Second pressing the button stops the blackout blind.
3. Third pressing the button starts the blackout blind in the opposite direction.
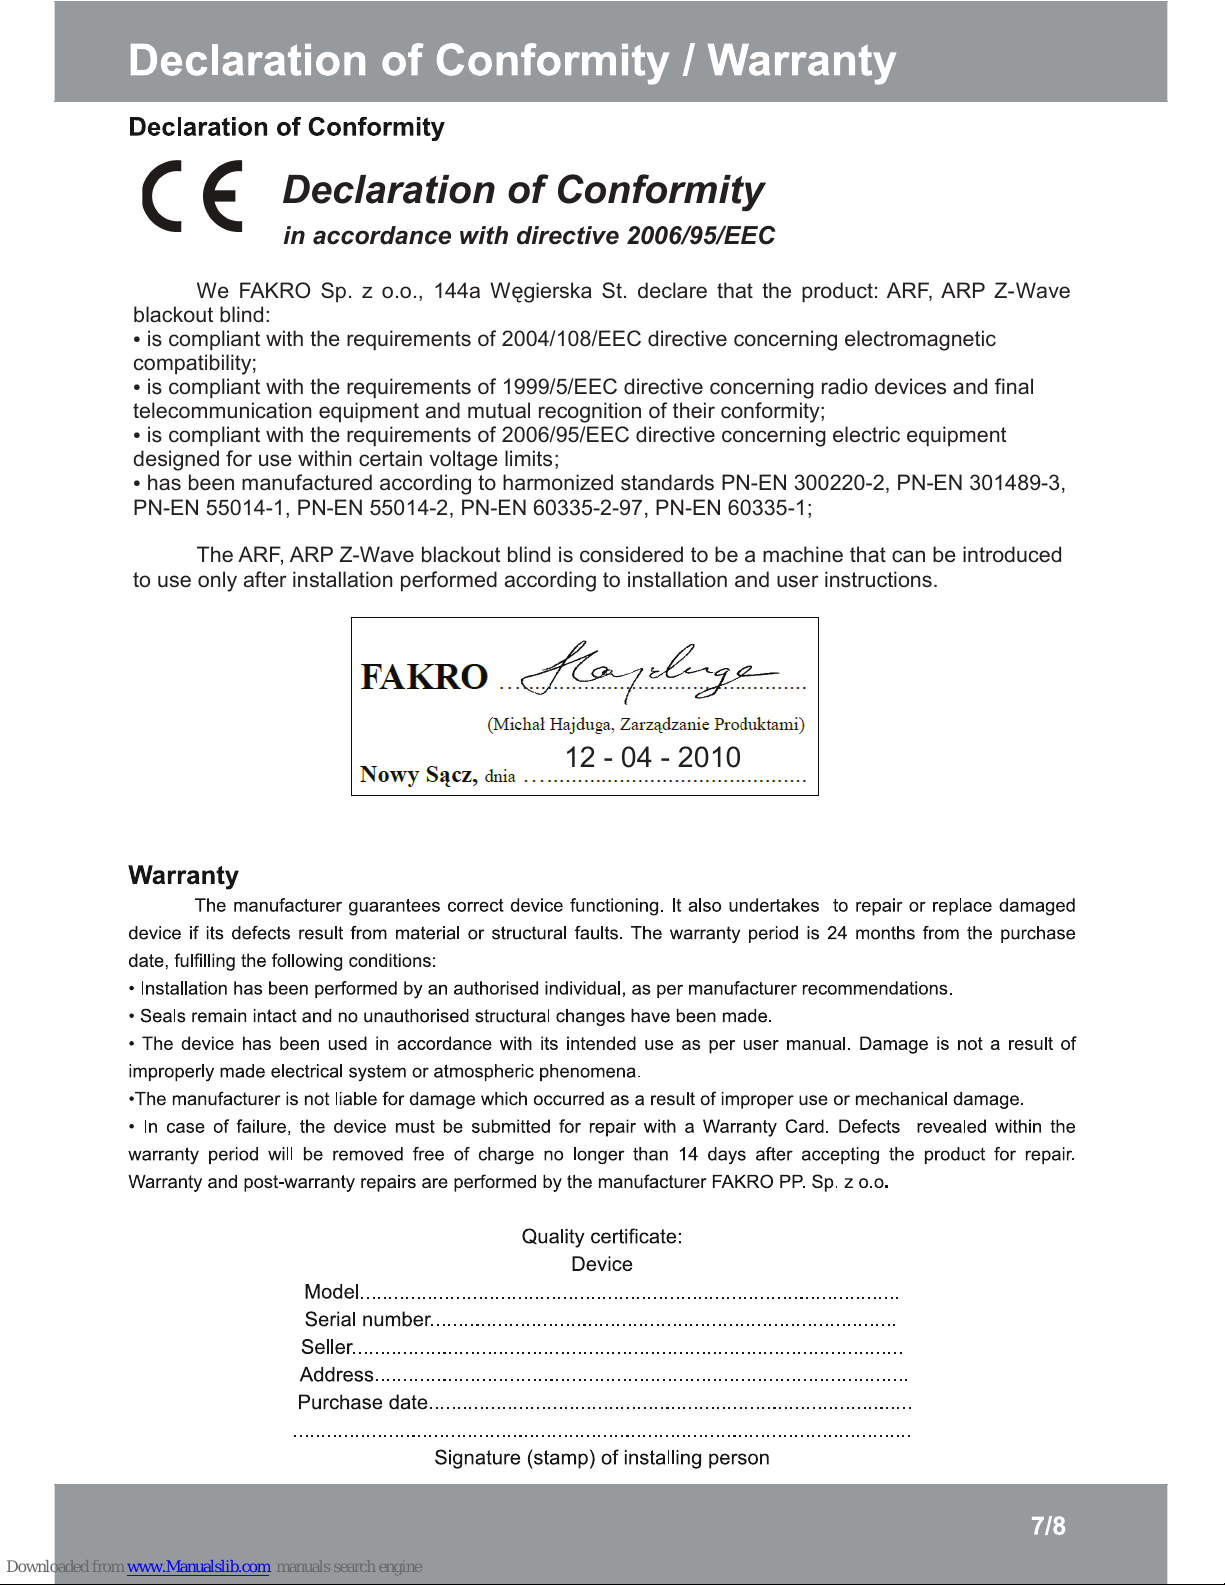
Warranty
The manufacturer guarantees correct device functioning. It also undertakes to repair or replace damaged
device if its defects result from material or structural faults. The warranty period is 24 months from the purchase
date, fulfilling the following conditions:
• Installation has been performed by an authorised individual, as per manufacturer recommendations.
• Seals remain intact and no unauthorised structural changes have been made.
• The device has been used in accordance with its intended use as per user manual. Damage is not a result of
improperly made electrical system or atmospheric phenomena.
•The manufacturer is not liable for damage which occurred as a result of improper use or mechanical damage.
• In case of failure, the device must be submitted for repair with a Warranty Card. Defects revealed within the
warranty period will be removed free of charge no longer than 1 4 days after accepting the product for repair.
Warranty and post-warranty repairs are performed by the manufacturer FAKRO PP. Sp. z o.o
.
Quality certificate:
Device
Model................................................................................................
Serial number...................................................................................
Seller..................................................................................................
Address...............................................................................................
Purchase date......................................................................................
..............................................................................................................
Signature (stamp) of installing person
"#
$$%
&%'(&%)*++,+-,../#%%%&%
&$01
&%'(&%)222,3,../#%%%#%)%
&&%%(&%%&%%)%)&01
&%'(&%)*++4,23,../#%%%(&%
%)'%%#&1
$%&%)%&%% 5".56++**+"* 5".56+-2"6
5".533+" 5".533+"* 5".54+663"*"27 5".54+663"1
8 "#$$%%$&%%$%
%0)%%)&%%%%%%
*"+"*++