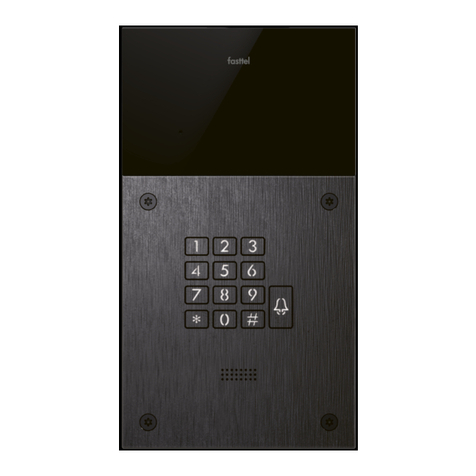
Fasttel FT600VKK User manual

Edition 1.0 pg2
Content
1. Packaging
2. Installation
2.1. Outpost
2.2. Indoor station
2.3. The FT600SW network switch
3. Access control by keypad (Only FT600VKK)
4. Smartphone app
4.1 Installer app
4.2 How to register Fasttel app
4.3 App Features
4.3.1 Home
4.3.2 Activities
4.3.3 Me
5. Web relay configuration
6. Firewall

Edition 1.0 pg3
1) Packaging
When you open the package you will find the following parts:
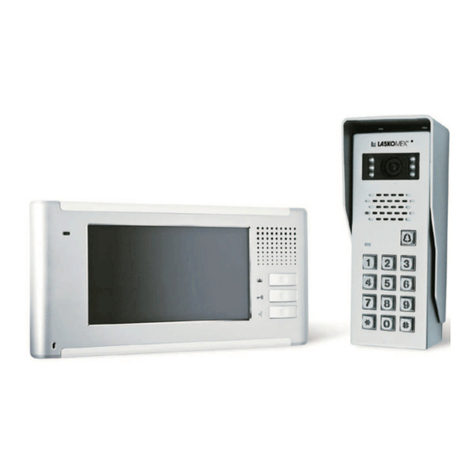
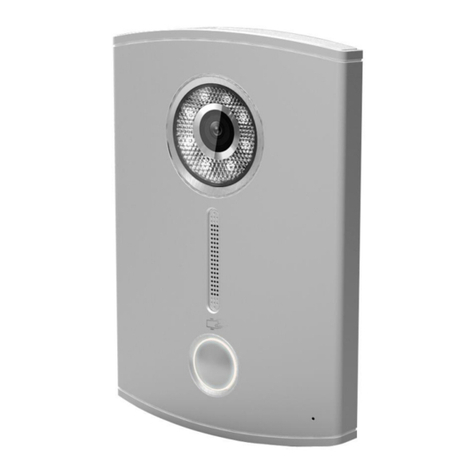
-FT600K Outdoor station with or whitout keypad.
-FT600W 7” Color Monitor
-FT600SW Fasttel Network Switch for Wall or Flush Mount.
-Bag with 4 x Torx
-Bag with watertight seal for the Lan + connectors
Instruction manual
Optional to order: see shop.fasttel.com
-FT600BS Desk Stand for the Monitor
-FT600W Monitor supplementary
-FT600PSW Poe adapter for screen on WiFi
-FT600MB FT600W Monitor wall mount 30mm DEEP
-FT600LIC License smartphone supplement
The FT600K Outpost is equipped with a flush-mounted or surface-mounted housing.
Make sure that the housing is mounted level.
2) The installation
2.1) The FT600K Doorphone Entry Outpost..
-First, mount the housing in the right place on/in the wall. Due to the camera present, we advise you to keep to
the outdoor station measured from the ground to the bottom of the Doorphone Entry 1.40 meters.
-Make sure that the UTP cable for the network without connector is in place and also a cable (minimum 2 cores
hard core) for your electric lock.
-First take the waterproof housing out of the packaging and slide the cover over the UTP cable and the cable for
the lock.
-Mount an RJ45 connector on the UTP cable and insert it into the Doorphone Entry in the socket provided for that
purpose.
-Connect the other cable to relay A or relay B to NO+COM
-Close the cover and use the correct cable grommet to seal the Doorphone Entry watertight. Assemble the whole
with the 6 supplied bolts.
-Now place the outdoor station in the housing and fix it to the housing with the 4 supplied Torx bolts.

Edition 1.0 pg4
2.2) The FT600W 7” color monitor
You will find a number of items in the packaging of the monitor.
-Plastic bag with a wall mounting bracket .
-Plastic bag with 2 plugs and screws for wall mounting and 2 x M4 bolt for mounting in a
different way.
-11-pin connector with wires
-7” white monitor
Place the wall mounting bracket against the wall and make sure that the UTP cable and any extra
cable are inside the bracket. Slide the monitor over the bracket.
The supplied extra connector has 4 extra wires.
-Red-Black / can be used to power the monitor externally if the UTP cable is not going to be
used for that.
-Black-Yellow / can be used to connect a bell push. When using this, the monitor will ring if an
extra bell push is placed somewhere.
-All other connections have no application in this kit.
2.3) The FT600SW network switch
When you open the package you will find the following:
-230 volt network cable
-Fasttel 6 ports 10/100 poe switch
-Bag with 2 wall mounting brackets incl. screws
The network switch has 4 POE connections of which you use 2.
Connection 3-4-5 are capped
Use connection 1 for the Doorphone Entry entrance station
Use connection 2 for the FT600W 7” color monitor
Connect the connection marked with (6) to your internet router
Connect the 230 volt cable after you have properly installed the outdoor and indoor stations.
Both devices will receive an IP address from your router and will boot.
When both devices have started up, they are immediately ready for use.
You do not need to do anything further and your installation is ready for use.

Edition 1.0 pg5
3) Access control via Keypad
Your Doorphone Entry has a Keypad which can be used for access codes.
Surf to the IP address of your Doorphone. If you do not know how to do this, enter the following
combination on the doorphone *3258* and the speaker will tell you the correct IP address
Open the web browser of the IP address and log in with user / user.
In the left column choose Intercom and then Private key
Enter a new code at PCode and choose new. The code has been added
You then enter #code# at the outpost itself to open the gate.
4 ) Smartphone apps (4 pieces)
Paste your QR code sticker here
You will find 4 QR codes on the back of the monitor and also on the back of your outpost (2
extra in the packaging).
You can use this to provide 4 smartphones with an App.
The codes are already fully assigned to your installation and waiting to be downloaded.

Edition 1.0 pg6
4.1) Go to the Appstore of your smartphone and download the app: Fasttelphone.
Make sure that in the settings / App the privacy / notifications and permissions are all released
for your App to work properly.
After the download you can scan the 1st QR code and if this is successful your smartphone has
been added to your installation.
You can do this for 4 devices for free.
Optional: (if you want more than 4 smartphone apps) you can order them via [email protected]
FT600LIC Loose license for FT600 Doorphone entry stating the KIT number (FT600VKK+number)
If you are going to use another smartphone, make sure you read the correct QR code. There are
4 different codes. After downloading, confirm that you will be using another device. The app on
the previous device will be signed out.

Edition 1.0 pg7
4.2) How to register Fasttelphone App
-Select the icon in the App to scan your QR code
Scan 1 of the 4 QR Codes
4.3) Features in the App
4.3.1) Outpost :
1) Open door : If an automatic door is connected, it will open the door.
2) Call : Ring your doorbell to let a visitor know you're looking for contact to
communicate.
3) Camera : View your camera WITHOUT the visitor knowing you are viewing it.
4.3.2) indoor station :
1) Call: You can also call your internal station and you can record here.
2) Arming: does not apply
3) Relay 1/2 : Activate or deactivate the options on your indoor station to close
the door or gate to open..
4.3.3) Functions with the active contact of your outpost
1) Open Door: If an automatic door opener is connected
the door will be opened. If both door and gate (or other function) are active,
they will appear automatically .
2) Cancel: the connection is lost
3) Capture : you can take a picture of that moment.
4) Call: This function can be used if there is no active call yet.

Edition 1.0 pg8
4.3.4) Home / Activities / Me
1) Activities : View your call moments, captured images and a few other actions..
1.1) Doorlogs : Here all action at the outpost is automatically recorded.
These CANNOT be deleted.
1.2) Calls : Here is a follow-up of all calls that have been registered..
1.3) Foto Logs : These are the photos taken by yourself and can be
changed or removed at any time
1.4) Movement logs : Not in use.
4.3.5) Me option

Edition 1.0 pg9
4.3.5.1) Account info : In the Account info it is possible to change your Username
4.3.5.2) Authorization :
1) Temp Keys *: Set temporary codes. In this menu you get the possibility to set manual codes by time and
day. Option ID number is not required. After creation, a code is automatically created
1) NFC Unlock : Does not apply
2) Bleutooth Unlock : Does not apply
3) Face recognition : Does not apply
4.3.5.3) Family Members
In this option you can view the 4 accounts that can be used and call via the app
4.3.5.4) Arming Alarm Logs
This is where critical alerts from the system are stored
4.3.5.5) Notificatie instellingen
1) Premission Settings : Push Notifications Please always leave this on.
2) Do not disturb (If you do not wish to receive calls)
3) Motion alert : Does not apply
5) Configuratie Webrelay FT600 KITT
A Web relay configuration can be done at the outdoor station.
To create this you first give an action in the web relay where the login and password are processed
with the correct IP address reference..
http://login:pasw[email protected]
Web relay key = 4
Web relay key = dtmf 4

Edition 1.0 pg10
Now create a code at the intercom / Private key and state that the Key Web relay is 1 and the name
and password are identical to the created web relay.
Webrelay =1 ➔action ID 01
6) Firewall & Port Forwarding.
If no strict network control is in place, the system will work correctly. If the network is highly secured,
you can always do a test by entering the address 39.108.62.163:9999 in your web browser. In
response you should get “http req route is not define”.
If you do not receive this: please contact Fasttel.
If you have any questions, call Fasttel Smart Doorphones
at the number 0902 00060 for end users
on the number 09/2446520 (choice 2) for installers
Have your outdoor station serial number ready. You can find that on the back of the outpost or on
the back of the monitor and it starts with FT600.
Other Fasttel Intercom System manuals
Fasttel
Fasttel WIZARD ELITE IP User manual
Fasttel
Fasttel FLEXITALK User manual
Fasttel
Fasttel FT600(K)SIP(VC) User manual
Fasttel
Fasttel WIZARD ELEGANCE IP User manual
Fasttel
Fasttel Wizard Classic User manual
Fasttel
Fasttel FT600W User manual
Fasttel
Fasttel Wizard Bronze User manual
Fasttel
Fasttel WIZARD CLASSIC IP User manual
Fasttel
Fasttel FT600KSIP User manual

Fasttel
Fasttel FT20CC User manual

