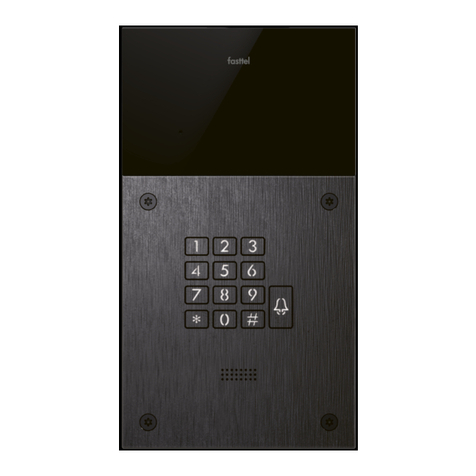
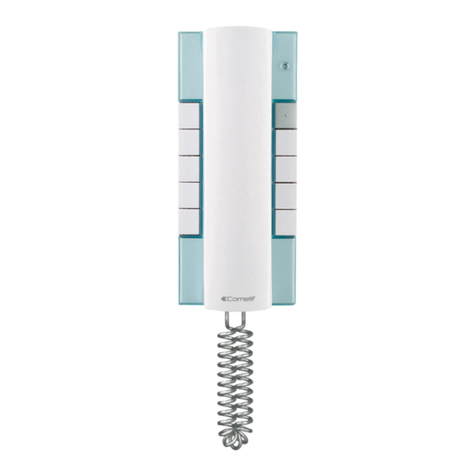
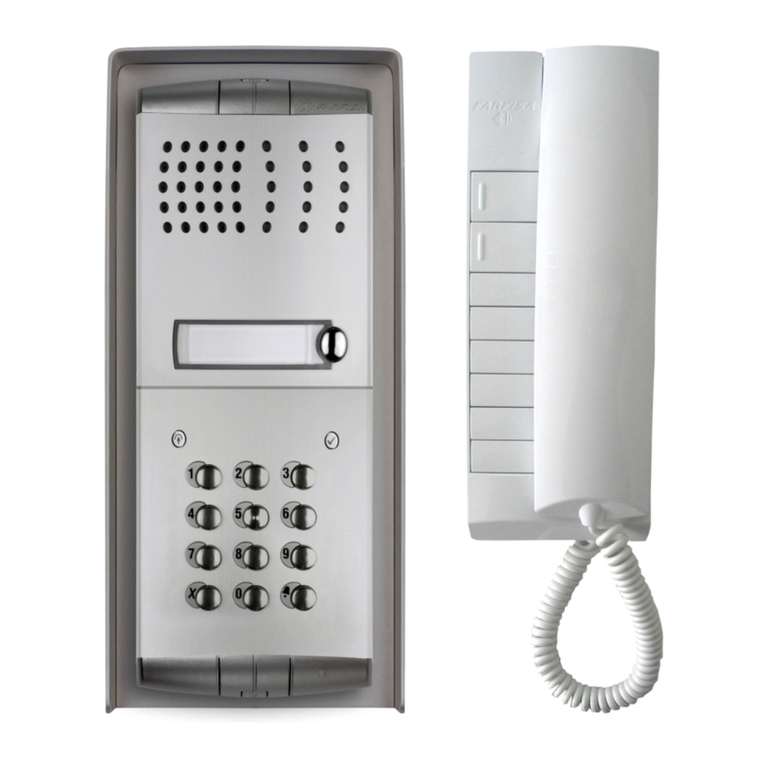
Fasttel WIZARD ELEGANCE IP User manual

Edition 1.4 pg1
instructions
WIZARD ELEGANCE IP
Fasttel reserves the right to change the content without notice.
Fasttel Belgium, Klipsenstraat 18A, 9160 Lokeren. Tel: +32 (0) 9244 65 20 info@fasttel.be
Fasttel Netherlands, Heiligenboom 3, 5066 CB Moergestel. Tel +31 (0) 13 513 65 14 [email protected]

Edition 1.4 pg2
Content
1. Wiring diagram .................................................................................................................................................... 3
2. Wizard found in the network: ............................................................................................................................. 3
3. Configuration ...................................................................................................................................................... 3
3.1 log .................................................................................................................................................................. 4
3.2 Status............................................................................................................................................................. 4
3.3 Date and Time ............................................................................................................................................... 4
3.4 Sip Connection Settings ................................................................................................................................. 4
3.5 directory ........................................................................................................................................................ 6
3.6 Push-button settings ..................................................................................................................................... 8
3.7 Time Profile ................................................................................................................................................... 9
3.8 Access (during a call) ..................................................................................................................................... 9
3.9 Audio and Video Settings ............................................................................................................................ 10
3:10 Device settings .......................................................................................................................................... 11
3:11 Configuration settings ............................................................................................................................... 12
3:12 account settings ........................................................................................................................................ 13
3:13 Camera settings......................................................................................................................................... 13
3:14 Software Update ....................................................................................................................................... 14
3:15 Autoprivisioning ........................................................................................................................................ 14
3:16 logout ........................................................................................................................................................ 14

Edition 1.4 pg3
1. Wiring diagram
The Wizard Elegance IP must be powered from a PoE network connection. If the existing network
switch PoE not available then you order the best Fasttel PoE injector (FTPoE).
7 1 6
PoE LAN
1: common contact REL1
2: normally open contact REL1
3: a normally closed contact REL1
4: common contact REL2
5: normally open contact REL2
6: normally closed contact REL2
7: reset button (5 seconds, push in)
2. Wizard found in the network:
1. DHCP server:
Find the program "Advanced IP Scanner"(Http://www.advanced-ip-scanner.com/nl/) (Or
similar software) to the device. The name is always the size Fasttel0005510xxxx. Then surf
with a browser to the IP address and do the configuration. The MAC address always begins
with 00:05:51
2. Without DHCP server
Connect Wizard using a POE injector to a laptop or desktop and search with the "Advanced IP
Scanner" (or similar software) to the device. The name is always the size Fasttel0005510xxxx.
Then surf with a browser to the IP address and do the configuration.
Please note that when you do a factory reset, the device starts with ipadress 192 168 222
123!
3. Configuration
All settings are configured via one web page.

Edition 1.4 pg4
3.1 log
Surf to the address of the Wizard and enter the default Username and Password. Both are admin.
A second user login is in each case.
If desired, change the language.
You will see links to the configuration menu.
3.2 Status
Here is a list of the values that you will soon need to configure yet. This page can not be amended.
You will also see a preview of the camera here.
3.3 Date and Time
Within Europe you change here basically nothing. Date and time can be entered manually here.
Better, however, to use the default NTP server.
Sip 3.4 Connection Settings

Edition 1.4 pg5
With screen name gives you a logical name for the device. Device location is useful when you have
several door phones in one project.
Phone number is the number of the door phone to the external Sipserver. Auth ID and password
must be consistent with that data in the Sipserver.
Server address and server port: enter the data in the external sipserver which must integrate the
telephone.
Sip outbound proxy address 1 and 2:
SIP outbound proxy port 1 and 2:
Sip stun server:
RTP port:
Enter the above data in cloud services.
Detect DTMF: allows you checked this all for maximum compatibility.
Maximum call duration: enter in seconds how long a call up may / may take.

Edition 1.4 pg6
Stop DTMF call: the call is forcibly terminated this code.
Echo suppression options: this allows you best untouched.
Press Apply to apply the changes.
3.5 directory
Here is created:
1. The recipients who must be called.
2. And the people who need to access the optional keyboard entry.
Nickname:
1. Enter the name of the recipient that will be assigned to a push button via Push Button.
2. If you for example staff texted want to create, you can enter their name here without phone
but with two codes.
Telephone number: this is the number to call the door phone to reach this destination.
Slot 1 code and slot 2 code: these two codes to access optional keyboard can be operated.
You can choose both codes of the two internal relays or 8 relay of up to two optional I / O switches.
(See below 3.8 Access Control)

Edition 1.4 pg7
Time profile: You can assign a time profile of a recipient. Is this recipient rung outside the time
profile of the door phone will launch a call or calls to the next destination that falls within a valid time
profile.
For example, you can program third shift teams among the first button, each with a different time
profile of 8 hours of operation. The right shift team will still be called at the right time. See the
following two paragraphs 3.6 and 3.7 pushbutton settings Time profile.
Call and come in: Here, if one of the up relay 10 is selected, this relay will be activated directly at the
calling this addressee.
Play voice: If unchecked will play a voice message by activating a contact.
Activate Ring and get inside time limit and restrict calls to: here if the square is ticked and a value is
entered, the call during the call and come in only those value ringing phone.
This last feature is useful eg for dentists. The doorbell is concrete door opened immediately and the
phone starts ringing, eg 1 or 2 time notification that someone enters.
The call and come in function can also be used to make contact with ring for example a home
automation system. Is this the case, turn the "Play voice" so off.
Recipients can thus be created twice: first without “Ring and Come in” and then with “Ring and Come
in” activated. By linking to another time profile you can go so as to hours of work for the automatic
opening of the door. The double recipient is then programmed under the same key, and depending
on the hour he is called or not. The call and come in function than follows along with the recipient.
Stop Forwarding with DTMF: When a call arrives on a voice than the Wizard will look like this answer
and no longer call the next recipient. One can solve this by requiring the recipient to return a code
after he has answered the call.
When completed in this field eg * then should the person who answers the call within a preset time
(see section 3.6 pushbutton settingsDTMF cancellation time) * to enter. Then the conversation
remains open. If no * has entered the call is interrupted and formed the following number from
memory.
With the "Call" button simulates the call to the recipient if a song was completed by telephone.
Search: Search for a recipient.
If you want to change an existing contact, select the "Edit button

Edition 1.4 pg8
3.6 Push-button settings
This determines which recipients that you just created in the directory must be called when pushed
by a push button.
This page is license related: here there is only one button visible because a door phone was
purchased with one pushbutton.
Call forward time: indicates the time when the next destination will be called when the previous call
not answered.
DTMF cancellation time: see previous section 3.5 Directories Stop Forwarding with dtmf. This field
determines how much time the person called to the code is to confirm the call.
User name: Please choose the recipient to be called first. It must first be created under Directories.
Optionally, also a second and a third track.
If a recipient does not answer the next recipient is chosen.
When a call is launched outside the time profile that is associated with a recipient will be selected
automatically following the first time that falls within the time profile.
The number of buttons that appears depends on the license was purchased.

Edition 1.4 pg9
3.7 Time Profile
Here, a time profile can be created which can be coupled under Directories to a recipient.
Recipients are only called when the call is within the time profile. If no time profile is linked to a
recipient, the call will always be launched.
There are already preprogrammed second time profiles 4/5 and full-time (full week).
3.8 Access (during a call)

Edition 1.4 pg10
Internal 1 and internal 2:Here the two internal relays Wizard IP configured. They can be turned off
and the time can be adjusted in milliseconds.
Thus, duty cycle: 2000 means a pulse of 2 seconds.
DTMF: This is the code that must be entered to open the relay with the phone.
Lock settings remotely 1-8: If for example the safety relay switches rather than inside you can purchase
up to two pieces FT4SWIP. This is a network module, with 8 inputs and 4 outputs. The outputs can be
activated here by http command.
In this example, the IP Address of the first FT4SWIP = 192.168.10.105 and have been used, the standard
log-in data and admin password. Change this certainly in the FT4SWIP. DOA1 = 50 at the back there is
the command for relay 1 pulse for 5 seconds.
The IP Address of the second FT4SWIP is 192.168.10.176. This command relay 2 for 2 seconds.
3.9 Audio and Video Settings
If the Wizard Ip is equipped with a camera it can be accessed by browsing to http: // IPADDRESS:
8080 / action = stream.jpg? IPADDRESS with its IP address in the network.
Would you like a snapshot then the link http: // IPADDRESS: 8080 / action = snapshot.jpg?
You can enter this link blocking unauthorized by entering a user name and password.
Note: when using the Fasttel FT25CC and some other phones that display picture the password
feature should not be used.
You can also adjust the proportions of the camera here.

Edition 1.4 pg11
The default speaker and microphone are generally good. If you still wish to make adjustments
upwards do it sooner in small steps to prevent oscillation.
Here you can also ring the volume of voice messages to, end call, open door and set wrong code.
For audio codecs and video codecs you can make adjustments according to needs.
3:10 Device settings
The Wizard Elegance IP is equipped with one RGB LED which, by means of a fiber optic technology,
the right-hand portion illumines perfectly smooth. Here you can set the color of the LED and thus
your Elegance.
The intensity of the LED is determined by the rate of 0 to 255.
If you want the lighting to red then turn red to 255 and the others to 0. To dampen the red
brightness creates the instance 255 150 and leave the rest to 0.
255 255 255: white
255 million: red
000 255 000: green
255 050 150: pink
170 000
220: purple
255 050 000: orange
000 000 255: blue
255 150 000: yellow
Furthermore, by varying the values you obtain different intensities.
camera lights: This value determines the intensity of the LEDs that illuminate the visitor.
Auditory feedback: In the ring, opening the door, ending the call and entering an incorrect code may
each together with the animation will play a voice message.
Four languages + neutral tones are preset, but you can also personalize all these texts.

Edition 1.4 pg12
3:11 Configuration settings
On delivery the unit is in DHCP mode. With a progamme as "advanced ip scanner"
(http://www.advanced-ip-scanner.com/nl/) You can scan the network and if there is a DHCP server
running, you will find the device name Fasttel000551XXX and shows the resulting IP Address. (See
point
2. Wizard found in the network:)
You can also give a static IP Address to the unit.

Edition 1.4 pg13
Note: When you do a factory reset, the device starts with ipadress 192 168 222 123
Keypad mode:
As phone keypad: With this option you give on the keypad code # to activate the relay. Call a number
you do with * number #.
Keypad as quick dial number (999 destinations or abbreviated numbering mode): When you choose
this mode, at Directories a field will appear: Speed number. Please enter a three-digit value here in,
for example 105. Then, when the keyboard 105 is formed then the telephone number to be dialed
under which user name. With code * # relay can be activated.
This feature is useful when the Wizard is used eg in an apartment block and directly make calls via a
SIP trunk to mobile of fix/extension numbers. Then this shortened numbering is more convenient
than entering a full mobile number.
With download configuration you can make a backup of the Wizard.
When uploading, you can look for a backup and upload.
Add language: Foreign languages can be added here. Contact Fasttel this.
logThis is meant more for any error diagnosis by the manufacturer.
factory Reset: Unit returns to factory settings.
You can always push with, eg, a pen on the reset button for 5 seconds, which is located to the left of
the black connector. The door phone will do a factory reset.
Auto Reboot: You can automatically restarting the unit at three different points in time.
Or you can reboot the device.
3:12 account settings
Here you can change the default user admin and default password admin. As well as user and user.
3:13 Camera settings
Only to be used when the ambient light is significantly different from normal. After experimenting, you can use
the Default button to return to the default values.

Edition 1.4 pg14
3:14 Software Update
The latest firmware can be found on www.fasttel.com under downloads. Use the first option.
3:15 Autoprivisioning
For use on call connect.
3:16 logout
You will be logged off immediately.
Other manuals for WIZARD ELEGANCE IP
1
Table of contents
Other Fasttel Intercom System manuals
Fasttel
Fasttel FT600W User manual
Fasttel
Fasttel WIZARD ELITE IP User manual
Fasttel
Fasttel FT600VKK User manual
Fasttel
Fasttel Wizard Classic User manual
Fasttel
Fasttel FLEXRING User manual
Fasttel
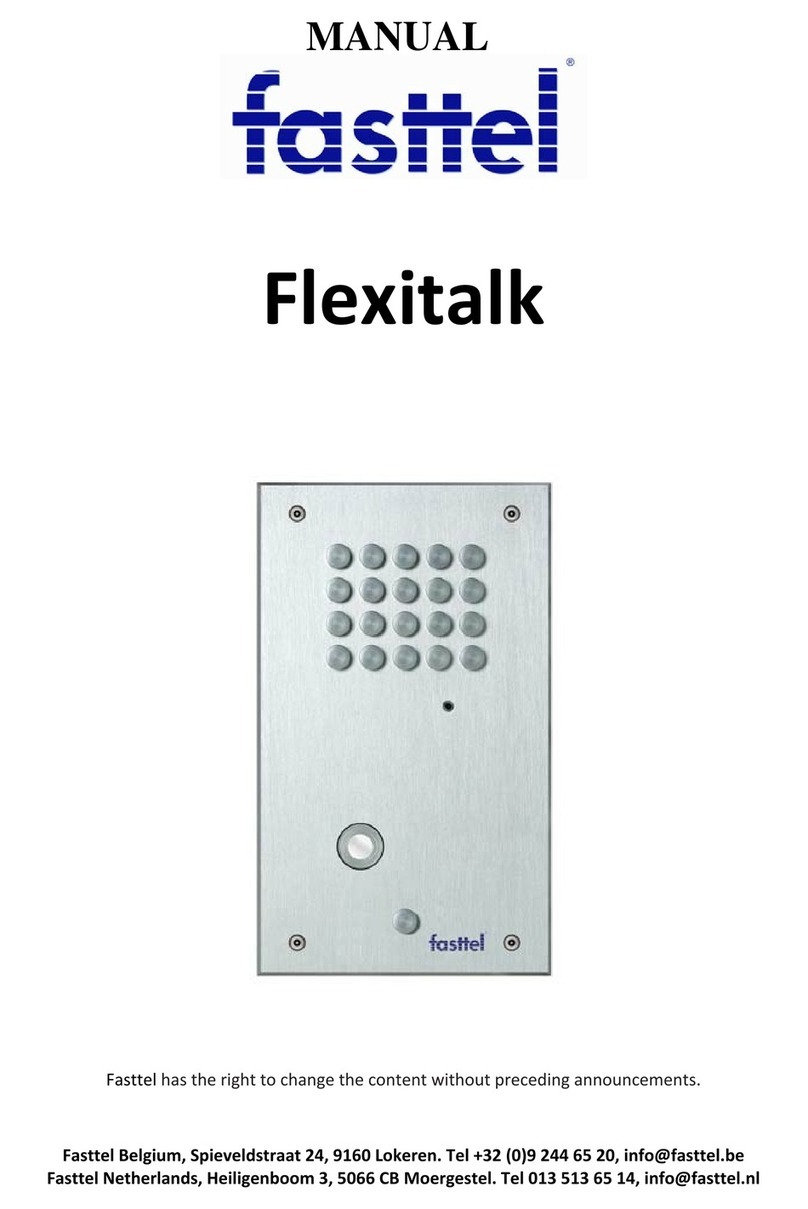
Fasttel FLEXITALK User manual
Fasttel
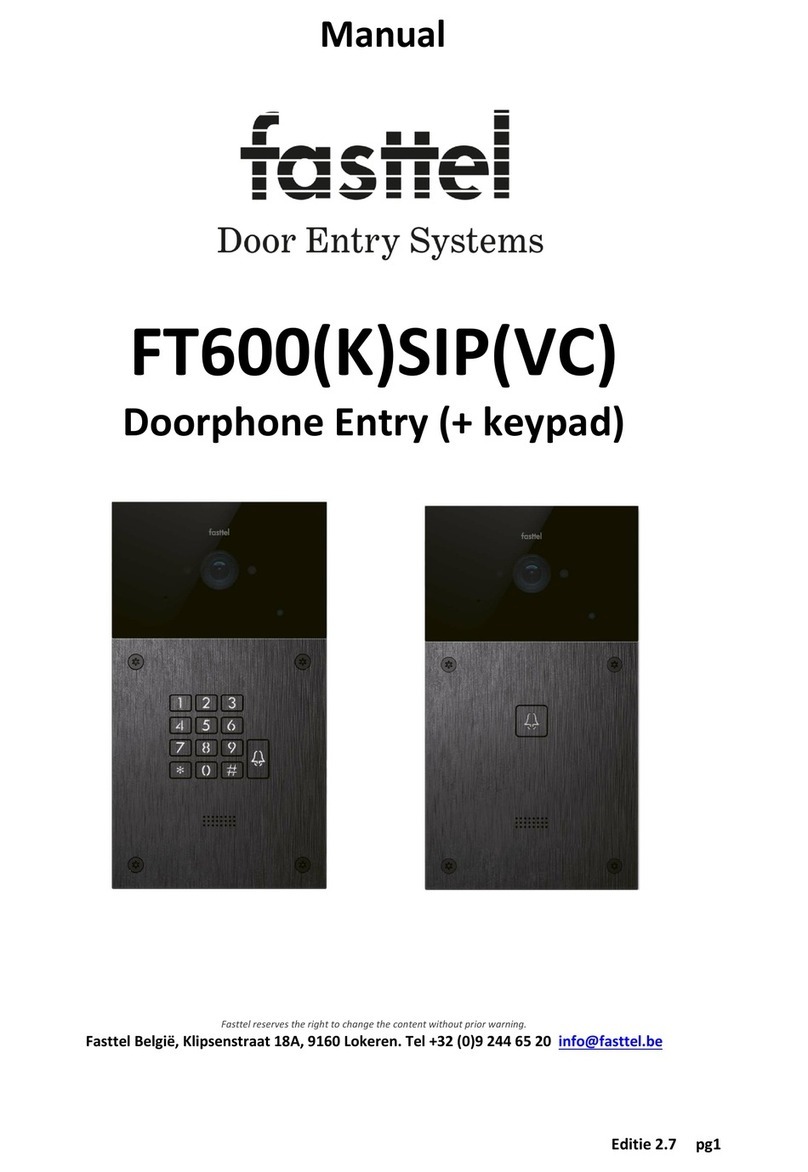
Fasttel FT600(K)SIP(VC) User manual
Fasttel
Fasttel WIZARD CLASSIC IP User manual
Fasttel
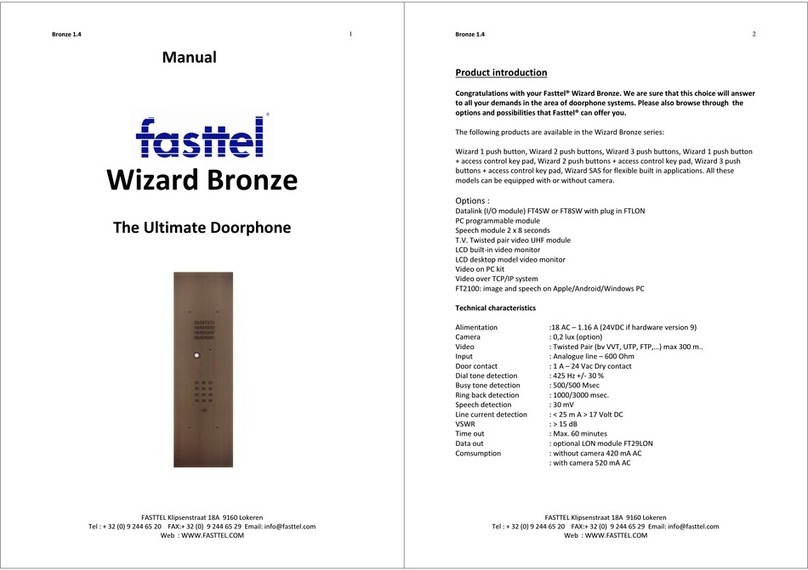
Fasttel Wizard Bronze User manual
Fasttel
Fasttel FT20CC User manual
