FedEx ZP505 User manual

Quick Installation Guide
F
e
d
E
x
S
h
i
p
M
a
n
ag
e
r
®
S
o
ftw
a
r
e
F
e
d
E
x
S
h
i
p
M
a
n
ag
e
r
®
a
t
f
e
d
e
x
.
c
o
m
ZP505
Thermal
Printer

ZP505ThermalPrinter
QuickInstallationGuide 2
Step 1: Confirm Printer Kit Contents
Your printer kit contains:
1.
Thermal Printer
2.
Thermal Labels
3.
Zebra
®
ZP
505
and
Z4Mplus
DT
™
FedEx Shipping System Printers Mini-CD
4.
USB Cable
Note:IfyouprefertousetheserialportinsteadoftheUSBport,
you
must obtain a null modem cable.
5.
Power Cord
6.
The Clean Penn™
With the Clean Penn you can preserve print
quality and extend print head life. You should
use it to clean residue on the thermal print head
whenever you are replacing a roll of labels.

ZP505ThermalPrinter
QuickInstallationGuide 3
Step 2: Install Printer Labels
Install the printer labels as indicated in
the steps below. The instructions can
also be found in the inside of the top of
the printer cover.
1.
Open the printer by
applying pressure to the
release levers located on
the sides of the printer,
toward the front. Remove
any test bar code labels if
present.
4.
Make sure that the core
is resting on the
hangers and that the
roll turns freely.
The roll must not sit
in the bottom of the
media
compartment.
2.
Move the left media
hanger to the side.
3.
Position the media roll so
that the printing surface
faces up as it exits the
printer. Place the roll
between the hangers and
release the left media
hanger to hold the core.
Remove the first 2 to 3
labels from the roll.
5.
Close
the printer cover.
Connect the power cord
to
the printer first and
then to
the power source
(e.g., wall outlet). Ensure that
the
labels are installed correctly.
Note: You can obtain additional labels for the thermal printer by utilizing the Order
Supplies Online application on
fedex.com
or by calling
1.800.GoFedEx
1.800.463.3339
. Label part numbers are preprinted on labels in purple
or orange ink. FedEx Ship Manager Software supports several part numbers.
FedEx Ship Manager at fedex.com supports only non-doc-tab labels (item #
156297-435).
Feed
Button

ZP505ThermalPrinter
QuickInstallationGuide 4
Step 3: Connect the Printer
to Your Computer
Turn off your computer and the printer before
connecting the supplied USB cable to a dedicated USB
port on the printer.
Be sure to thread the USB cable through the strain relief clip
before connecting it to the printer. Then connect the USB
cable from the printer to a dedicated USB port on the
computer.
Step 4: Turn Your Computer On
After connecting the printer, turn your computer
on, but do not turn the printer on yet.

ZP505ThermalPrinter
QuickInstallationGuide 5
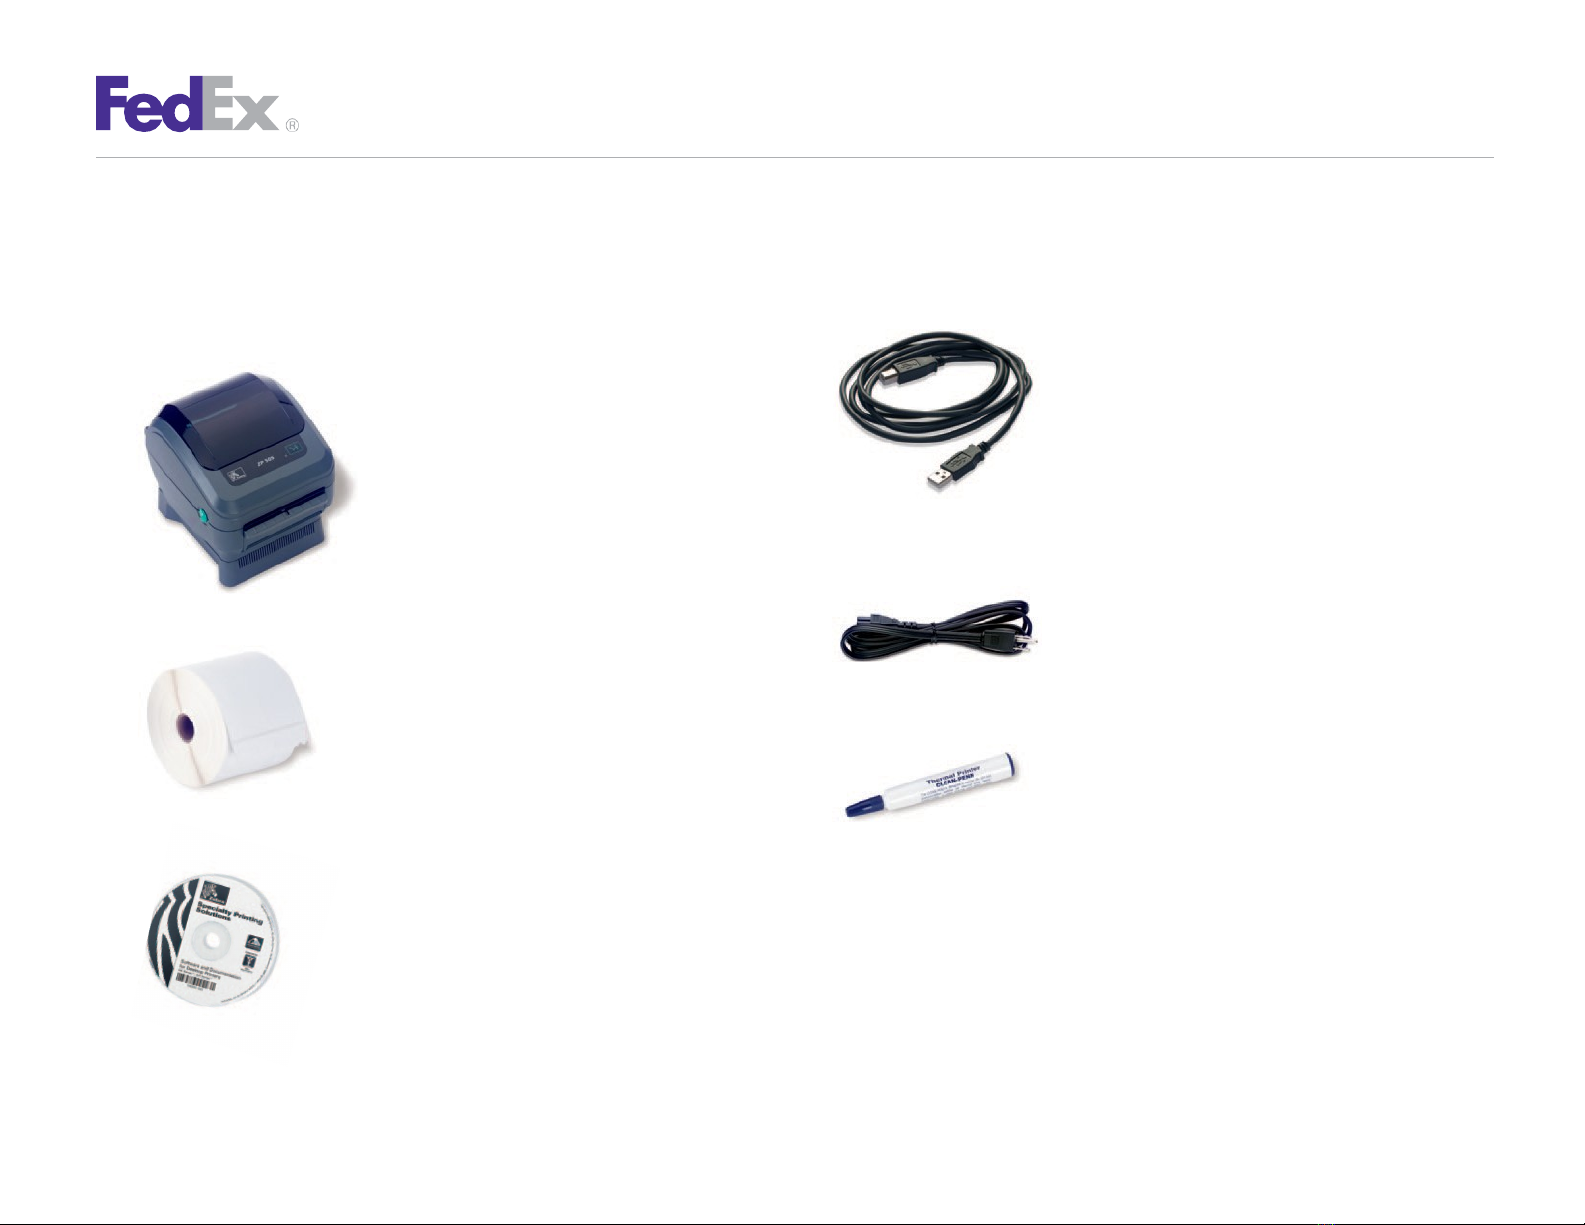
Step 5: Install the Printer Driver
If you previously installed a thermal printer with FedEx Ship
Manager at fedex.com or FedEx Ship Manager Software,
follow the Remove Legacy Zebra Printer Driver procedure
first.
Then follow the appropriate Install ZP 505 Thermal Printer
Driver procedure for plug and play or no plug and play. If you
do not need to remove the legacy Zebra printer driver,
proceed to the appropriate Install ZP 505 Thermal Printer
Driver procedure.
If you are using Microsoft® Windows® 7 (32-bit and 64-
bit) operating systems, you must install the designated
Zebra printer driver designed for those operating
systems. Refer to the Printer Support Guide for current
installation procedures.
Remove Legacy Zebra Printer Driver
1.
Insert
the
Zebra
®
ZP
505
and
Z4Mplus
DT
™
FedEx
Shipping
System Printers Mini-CD into your CD drive. If the Autoplay
screen displays, double-click
Run RunCD.exe
. The Zebra
PrintersforFedExShippingApplicationsscreendisplays.
2.
Click the ZP 505 icon. The ZP 505 installation screen
displays.
3.
In the Software and Maintenance section, click
Install
Windows Driver Suite
. The Chilkat Zip Self-Extractor
popup displays.
4.
Rename the current directory (c:\temp) to
C:\Zebra
.
5.
Click
Unzip
. The Zebra Printer Driver Installation popup
displays.
6.
Click Remove All Zebra Printers and then click OK when
the “Are you sure?” popup displays. This removes all
installed Zebra and Eltron printers.
7.
When the printer removal process finishes, click
Close
to close the
Chilkat Zip Self-Extractor popup.
8.
Close the Zebra Printers for FedEx Shipping Applications screen.
9.
When you have completed this process, reboot your computer.
When it restarts, the Zebra Printers for FedEx Shipping
Applications screen displays, so you can install the ZP 505
thermal printer driver.
Note: If the Zebra Printers for FedEx Shipping Applications screen does not
display, navigate to the CD drive and double-click the
Setup.exe
file.
The
Zebra Printers for FedEx Shipping Applications screen displays.
Install ZP 505 Thermal Printer Driver (for Plug and Play)
1.
Insert the Zebra ZP 505 and Z4Mplus DT FedEx Shipping System
Printers Mini-CD into your CD drive. If the Autoplay screen
displays, double-click Run RunCD.exe. The Zebra Printers for
FedEx Shipping Applications screen displays.
2.
Click the ZP 505 icon. The ZP 505 installation screen displays.
3.
In the Software and Maintenance section, click
Install
Windows Driver Suite
. The Chilkat Zip Self-Extractor
popup displays.

ZP505ThermalPrinter
QuickInstallationGuide 6
Step 5:Install the Printer Driver (cont.)
4.
Rename the current directory (c:\temp) to
C:\Zebra
.
5.
Click
Unzip
. The Zebra Printer Driver Installation popup
displays.
6.
Click
Prep Computer for Plug and Play
. The Preload screen
displays.
Note: If the Program Compatibility Assistant screen displays, click
This Program
Installed Correctly.
Note:Ifyoureceiveamessagethatadriverpackageisalreadyonyoursystem, contact
theFedExShipManagerTechnicalSupportCenterat
1.877.FDXAssist
1.877.339.2774
.Sincethissystemisvoice-activated,say
“
FedExShipManager
Software” when prompted.
7.
ClickClosetoclose theChilkatZipSelf-Extractorpopup.
8.
Close the Zebra Printers for FedEx ShippingApplications
screen.
9.
If the system preparation process completed successfully,
connect the printer cable to your computer and the printer
(printer must be turned off).
10.
Turn on the printer.
11.
To test the printer, click Start> Devices andPrinters.
The connected printer displays. A sample printer model
is
Zebra ZP 500 (ZPL).
Note: Ifthe printer icondisplays inthe Unspecifiedarea oftheDevices and Printers
screen, contact the FedEx Ship Manager Technical Support Center at
1.877.FDX
Assist 1.877.339.2774
. Since this system is voice-activated,
say “FedEx Ship
Manager Software” when prompted.
12.
Right-click the designated printer and select
Printer
properties
. The appropriate Properties screen displays.
A sample Properties screen is Zebra ZP 500 (ZPL) Properties.
13.
Click
PrintTestPage
.The testlabelprints and the appropriate
printerpopupdisplays.AsampleprinterpopupisZebraZP500
(ZPL).
14.
Click Close to close the appropriate printer popup.
15.
Click Close to close the Printer properties screen.
16.
Close the Devices and Printersscreen.
17.
When you have completedthis process, reboot your computer
again.TheZP505thermalprinter driver isnowinstalled on
your system.
Install ZP 505 Thermal Printer Driver (No Plug and Play)
1.
Install the printer labels and close the printer cover. Connect
the power cord to the printer first and then to the power
source (e.g., wall outlet). Ensure that the labels are installed
correctly.
2.
Turn off your computer and the printer before connecting
the supplied parallel cable to a dedicated parallel port on
the printer. Then connect the parallel cable from the
printer to a dedicated parallel port on the computer.
3.
After connecting the printer, turn on your computer.

ZP505ThermalPrinter
QuickInstallationGuide 7
Step 5:Install the Printer Driver (cont.)
4.
Insert the Zebra ZP 505 and Z4Mplus DT FedEx
Shipping System Printers Mini-CD into your CD drive. If
the Autoplay screen displays, double-click
Run
RunCD.exe
. The Zebra Printers for FedEx Shipping
Applications screen displays.
5.
Click the ZP 505 icon. The ZP 505 installation screen displays.
6.
In the Software and Maintenance section, click
Install
Windows
Driver Suite
. The Chilkat Zip Self-Extractor popup
displays.
7.
Rename the currentdirectory (c:\temp) to
C:\Zebra
.
8.
Click
Unzip
.
The Zebra Printer Driver Installation popup
displays.
9.
Click
Install Zebra Printer
. The Selecting the printer screen
displays.
10.
Select the printer model in the Printers section. A sample
printer model is Zebra ZP 500 (ZPL).
11.
Click Next. The Options screen displays.
12.
Select the appropriate communication port that you
are connected to (e.g.,
COM1
).
13.
Click Finish. The Install Printer screen displays.
14.
After the printer driver is installed, the Printer Installation
Complete popup displays. ClickOK.
15.
Close the Chilkat Zip Self-Extractor popup.
16.
Close the Zebra Printers for FedEx Shipping Applications screen.
17.
Turn on the printer.
18.
To test the printer, click Start > Devices and Printers.
19.
Right-click the designated printer and select
Printer properties
.
The appropriate Properties screen displays. A sample Properties
screen is Zebra ZP 500 (ZPL)Properties.
20.
Click
Print Test Page
. The test label prints and the appropriate
printer popup displays. A sample printer popup is Zebra ZP 500
(ZPL).
21.
Click Close to close the appropriate printer popup.
22.
Click Close to close the Printer properties screen.
23.
Close the Devices and Printersscreen.
24.
When you have completed this process, reboot your
computer again. The ZP 505 thermal printer driver is now
installed on your system.
If you have any questions about downloading, installing
or removing a Zebra printer driver, please call the
FedEx Ship Manager Technical Support Center at
1.877.FDX Assist 1.877.339.2774. Since this system is
voice-activated, say “FedEx Ship Manager Software”
when prompted.

ZP505ThermalPrinter
QuickInstallationGuide 8
Step 6: Complete Setup
Now that you have installed the ZP 505 thermal print
driver, follow the procedure below to complete the
setup of your thermal printer driver with the
appropriate FedEx Ship Manager® solution.
If you are using FedEx Ship Manager at fedex.com:
1.
Log in to FedEx Ship Manager at fedex.com. (Go to
fedex.com
,placeyour cursor over the
Ship
taband select
Create Shipment from the drop-down menu.
The fedex.com Login screen displays.)
2.
Click Preferences at the top of the screen.
3.
In the Printer and Scale Options area of the Preferences screen,
click the
Thermal Printer
radio button or click
Set up thermal
printer
. The Thermal printer setup instructions screendisplays.
Note: If theThermal printersetup instructions screen displays for the LP 2844
thermal printer,select
ZP500
fromthe Select thermal printer drop-down menu
in
Step 1.
4.
Click
Done
,andthenclick
Save/Update
onthePreferences
screentosavetheZP500printerasthedefaultprinter.
5.
OnthePreferencesscreen,clickthe
ThermalPrinter
radio
button or click Set Up Thermal Printing.
6.
Click
Print Test Message
in step 5 of the online instructions
to make sure the printer is properly set up.
7.
Once you’ve completed the procedure, click
Done
, and then
click Save/Update on the Preferences screen.
If you intend to use FedEx Ship Manager Software but you
have not installed the software yet, insert the FedEx Ship
Manager Software CD and follow the installation procedure.
If you are using FedEx Ship Manager Software and
have already installed the software:
1.
Launch FedEx Ship ManagerSoftware.
2.
From the tool bar, click Customize and select
System Settings.
3.
Select the appropriate system number and click Modify.
4.
Select the 2— FedEx Customer Admin tab.
5.
AtthebottomofthescreeninthesectionlabeledSetDefault
Printers, click the
Browse
button next to the Label Printer
field. Select the ZP 500 thermal printer you just installed,
such as Zebra ZP 500 (ZPL), and click OK.
6.
Click
OK
to exit System Settings. To verify that the printer is
properly configured, click
Utilities
from the tool bar andselect
Printer Setup
. The label printer you just installed should
display in the Label Printer section. If not, select the label
printer from the drop-down menu. Click
Test Printer
and then
click
OK
.
Now you can begin printing using your ZP 505 Thermal
Printer. Thank you for choosing FedEx.
Table of contents
Other FedEx Printer manuals