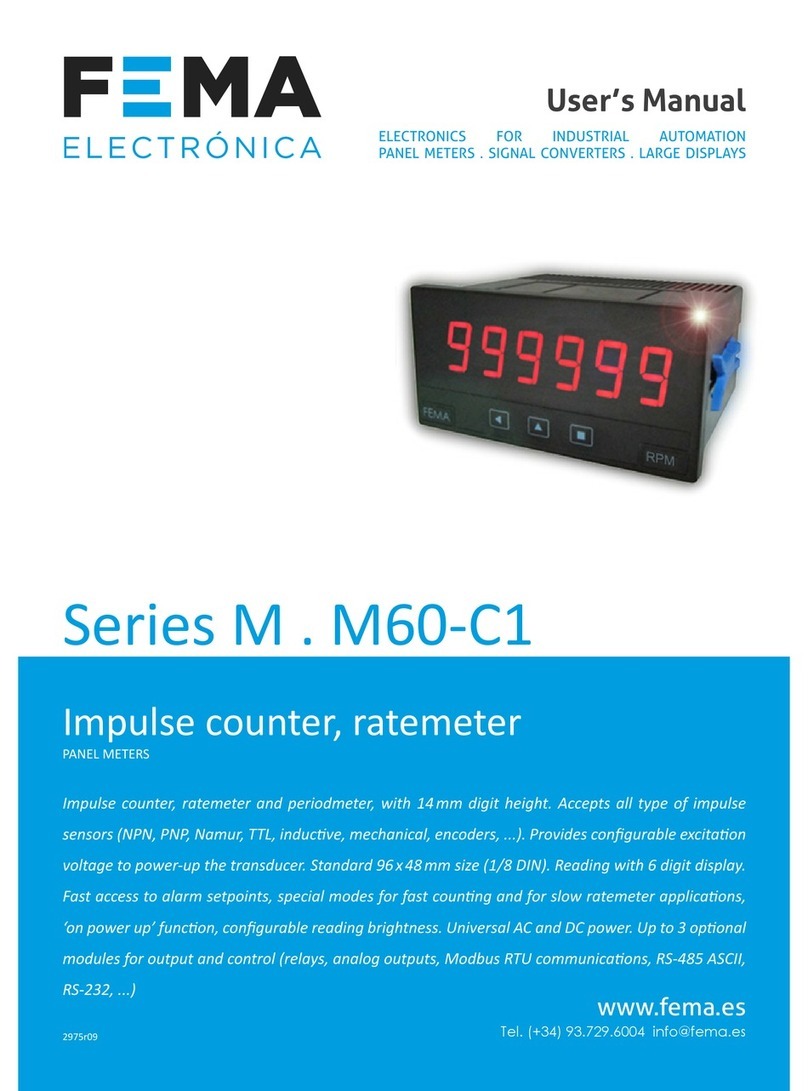
Quick installaon guide C60-FL www.fema.es Series C
How to install the meter in a panel
1. Remove the 2 blue xaon tabs from each side
of the unit.
2. Insert instrument from the front of the panel
into panel cut out.
3. Re-aached the 2 blue xaon tabs by sliding
each one along its rail on each side and push unl
the tabs are ght onto the panel. If needed use a
at screwdriver to push the tabs strongly to the
end.
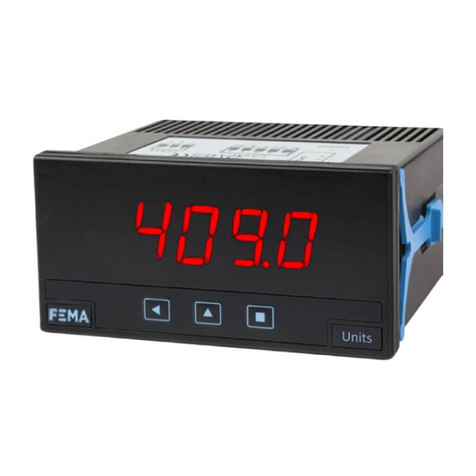
1. Front view
Key ‘LE’Key ‘SQ’
1. Enter into ‘
Conguraon menu
’
2. Validate parameter
1. Exit the menu
Key ‘UP’
1. Enter into ‘Fast access’
2. Next value
Alarm led
1 &2
Units
2. Dimensions and panel cut-out ‘mm’ (in.)
Panel
cut-out
Detail of the female
terminal provided.
(includes terminal)
91 mm
(3.58 in.)
96 mm
(3.78 in.)
48 mm
(1.89 in.)
44 mm
(1.74 in.)
92 mm
(3.63 in.)
16 mm
(0.63 in.)
75 mm
(2.95 in.)
8 mm
(0.31 in.)
3. Panel mount
1. Open the instrument (see secon 3)
2. Connect the signal, the power and the rear controls (see secon 6)
3.
Congure the instrument
from the ‘
Conguraon menu’
(see secon 13)
4. If you need addional informaon, see secon 8.
!
4. Installaon and start-up
C60 FL
Model
- - -
Opon 1
-A1 (1 relay SPDT)
-S1 (Modbus RTU)
-M1 (analog
output 4/20mA)
-(empty)
Power
U
-U
(Universal
power supply
18...265 Vac/dc)
-
Opon 2
-A2 (1 relay SPDT)
-(empty)
Customizaon
-XXXX
(customized
execution under request)
-(empty)
.
Series
-
-NBT (no front
keypad)
-65 (front IP65)
-(empty)
Others
5. How to order
Module A2 (relay)
NC
Com.
NO
G IH
Opon 2
Module S1 (Modbus RTU)
ABC
Common
B
A
Module A1 (relay)
ABC
NC
Com.
NO
Module M1 (4/20 mA)
ABC
4/20 mA
+15 Vexc.
Acve output
ABC
Common
4/20 mA
Passive output
Opon 1
excitaon voltage (+15 Vdc @50 mA)
common
reads the background instrument
Vexc
0 Vdc
Signal
Control 2
Control 1 resets the total ow value
input signal (impulses)
1 2 3 4 5
fuse
Protecon fuse values:
250 mA me-lag for power voltage > 50 Vac/dc
400 mA me-lag for power voltage < 50 Vac/dc
Opon 2 Opon 1
12345 890
ABC
G IH
-Vdc/Neutral
+Vdc/Phase
(not connected)
Power supply 18...265 Vac/dc
(50 / 60 Hz) (<2.5 W) (isolated)
6. Connecons
Key ‘SQ’ (<) - press the ‘SQ’ (<) key for 1 second to access the ‘conguraon menu’.
Inside the menu, the ‘SQ’ (<) key funcons as a ‘ENTER’ key. It selects and accesses
the menu opon currently displayed. At menus with numerical value entries, it vali-
dates the number displayed.
Key ‘UP’ (5) - the ‘UP’ (5) key gives access to the ‘fast access’ menu. Inside the
menus, it moves vercally through the dierent menu opons. At menus with numeri-
cal value entries, it modies the digit selected by increasing its value to 0, 1, 2, 3, 4,
5, 6, 7, 8, 9.
Key ‘LE’ (3) - inside the menus, the ‘LE’ (3) key funcons as the ‘ESCAPE’ key. It
leaves the selected menu, and eventually, will leave the whole menu. When leaving
the ‘conguraon menu’ with the ‘LE’ (3) key, the changed parameters are acvated.
At menus with numerical value entries, the ‘LE’ (3) key allows to select the acve
digit. To modify the value of the selected digit use the ‘UP’ (5) key.
Menu ‘Rollback’
Aer 30 seconds without interacon from the operator, the instrument will rollback
and leave the ‘conguraon menu’ or the ‘fast access’ menu. All changes will be dis-
carded.
Example
The menu example indicated below is for informaon purposes only, and may not
match the actual menu of the instrument.
Input
Example of operaon inside the ‘congu-
raon menu’.
1. The ‘SQ’ (<) key enters into the ‘con-
guraon menu’.
2. The ‘SQ’ (<) key enters into the ‘InP’
opon menu.
3. The ‘UP’ (5) key moves through the
menu opons.
4. The ‘SQ’ (<) key selects the desired
range and returns to the ‘InP’ menu.
5. The ‘LE’ (3) key leaves the actual menu
level and moves to the previous menu
level.
6. The ‘LE’ (3) key leaves the ‘congu-
raon menu’. Changes are applied and
saved at this moment.
(2)
(3)
(3)
(3)
(3)
(3)
(4)
(4)
(4)
(4)
(5)
(5)
(5)
(5)
(3)
(3)
(6)
(6)
(1)
7. How to operate the menu
User’s manual C60-FL www.fema.es/docs/5046_C60-FL_manual_en.pdf
Datasheet C60-FL www.fema.es/docs/5058_C60-FL_datasheet_en.pdf
Quick installaon guide C60-FL www.fema.es/docs/5060_C60-FL_installaon_en.pdf
CE declaraon of conformity www.fema.es/docs/5047_CE-Declaraon_C60-FL_en.pdf
Warranty www.fema.es/docs/4153_Warranty1_en.pdf
8. Addional documentaon
If you need addional informaon, see secon 8
to download the full User’s Manual or check the
QR code for a direct download.
!User’s Manual C60-FL
9. User’s manual
10. Conguraon example
A ow sensor provides ‘NPN’ impulses, with a frequency proporonal to the instant
ow, with a ‘K factor’ value of ‘1.241804’ [impulses / liter].
Congure the instrument to read the instant ow in [m3/hour] with 1 decimal point,
and the total ow accumulated in [gallons] with 2 decimal points.
By default instant ow must be on display, and access to the total ow value will be
done by acvang the rear connector terminal.
Reset of the total ow will be performed by pressing the front key le ‘LE’ (3).
1. Instrument main conguraon
At the ‘Instrument conguraon’ (‘c.InS’) secon :
• at ‘Main instrument’ (‘MAIn’) select ‘rAtE’
• at ‘Sensor’ (‘SnSr’) select ‘NPN’
• at ‘‘K’ Decimal point’ (‘K.dP’) select ‘X.xxxxx’
• at ‘‘K’ Factor’ (‘K.Ftr’) congure ‘1.24180’ (the last digit ‘4’ of the ‘K factor’ can not
be introduced)
Validate changes and exit the ‘conguraon menu’. At this moment, the instrument is
congured and reads instant ow meter, in [liters/second].
3. Scale the instant ow value to the desired units [m3/hour]
At the ‘Instant ow conguraon’ (‘c.rAt’) secon :
• at ‘Time Base (Mulplier)’ (‘tIME’) congure ‘3600’ (3600 seconds in 1 hour)
• at ‘Divider’ (‘dIV’) congure ‘1000’ (1000 liters in 1 m3)
• at ‘Resoluon’ (‘rESL’) select ‘XXXXX.x’
Validate changes and exit the ‘conguraon menu’. At this moment, the instrument is
congured and reads instant ow, in [m3/hour], with 1 decimal.
4. Scale the total ow value to the desired units [gallons]
Relaon between liters and gallons is 1 liter = 0.2642 gallons.
At the ‘Total ow conguraon’ (‘c.tot’) secon :
• at ‘Mulplier’ (‘MuLt’) congure ‘2642’
• at ‘Divider’ (‘dIV’) congure ‘10000’
The total scaling factor is ‘2642’ / ‘10000’ = ‘0.2642’
• at ‘Resoluon’ (‘rESL’) select ‘XXXX.xx’
Validate changes and exit the ‘conguraon menu’. At this moment, the instrument
is congured and reads total ow in [gallons], with 2 decimals. To read the total ac-
cumulated ow on display, close the rear contact ‘contact 1’.
5. Congure ‘Key Le’ (3) to reset the total ow value
At the ‘Key Le’ (‘K.LE’) secon :
• at ‘Reset ‘total’’ (‘rSt.t’) select ‘on’
Validate changes and exit the conguraon menu. At this moment, the total ow val-
ue will reset to ‘0’ when the key ‘LE’ (3) is pressed.
This instrument conforms to the actual CE regulaons. For a copy of the ‘CE declaraon
of conformity’ see secon 8. Applicable regulaons are :
Security regulaons EN-61010-1 (‘Fixed’ equipment, ‘Permanently connected’. ‘Dou-
ble’ isolaon.)
Electromagnec compability regulaons EN-61326-1
This instrument does not provide a general mains switch and will start operaon as
soon as power is connected. The instrument does not provide protecon fuse, and the
fuse must be added during installaon.
According to direcve 2012/19/EU, electronic equipment must be re-
cycled in a selecve and controlled way at the end of its useful life.
Risk of electrical shock. Instrument terminals can be connected to dan-
gerous voltage.
Instrument protected with double isolaon. No earth connecon
required.
Instrument conforms to CE rules and regulaons.
Standard warranty of 2 years according to actual european legislaon.
Free of cost warranty extension of 5 years, available at: hp://www.
fema.es/garana.asp
11. Regulaons
FEMA ELE
CTRÓNICA, S.A.
| Manufacturing for Industrial Automaon | www.fema.es . inf[email protected] 50
1969-2019
YEARS
5
Extended Warranty
YEARS
Electromagnetic C.
EN-61326-1
Security
EN-61010-1
Q
Certified Quality
ISO 9001
5060r01
Q
Certified Quality
ISO 9001
Electromagnetic C.
EN-61326-1
50
1969-2019
YEARS
Counter
Flow


