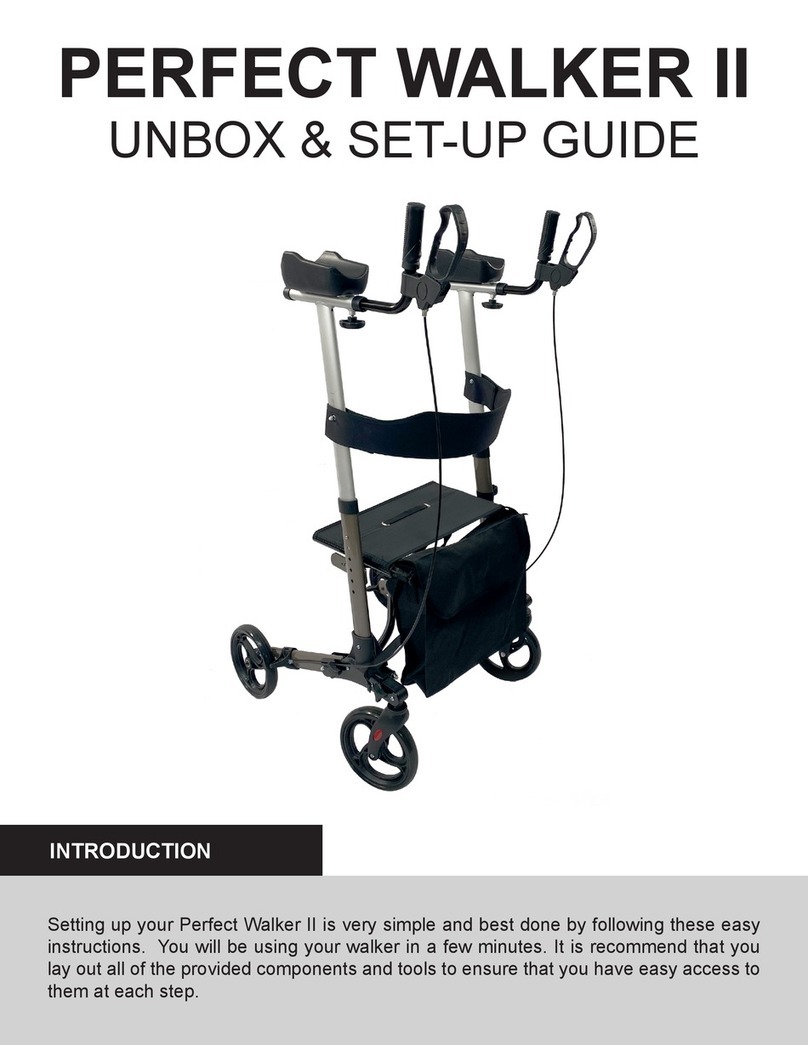
You have been provided a set of tools along with 2 bolts, 4 washers,
and 2 nuts for the attachment of the seat back.
Identify the holes in each of the upper arms. This is where the
seat back is attached to the arms.
It is recommended that you start each side before firmly tightening.
This provides some flex in the seat back and allows for an easier
Note: The curve of the seat back is positioned to the front of the
walker. Also, the bolts that attach the seat strap come in from the
outside of the arms so that the securing nut is on the inside of
the arms (the seat side of each arm).
Line up the seat back hole to the hole in arm. Place a washer on
seat strap, through the arm and then through the other side of the
seat strap. Place another washer on the bolt outside of the seat
Use the open ended wrench and the hex wrench to tighten the
nut to the bolt. Leave it a little loose on the first side. Repeat this
step for the opposite side. Now tighten both sides firmly.
Your Perfect Walker II is now ready for use. Please use it only
according to the directions and instructed use guidelines.
If you have ANY questions, please don't hesitate to ask - you can
contact our Customer Service Agents Monday - Friday between
9am and 8pm eastern time. Our toll free number is 800-958-8324.


