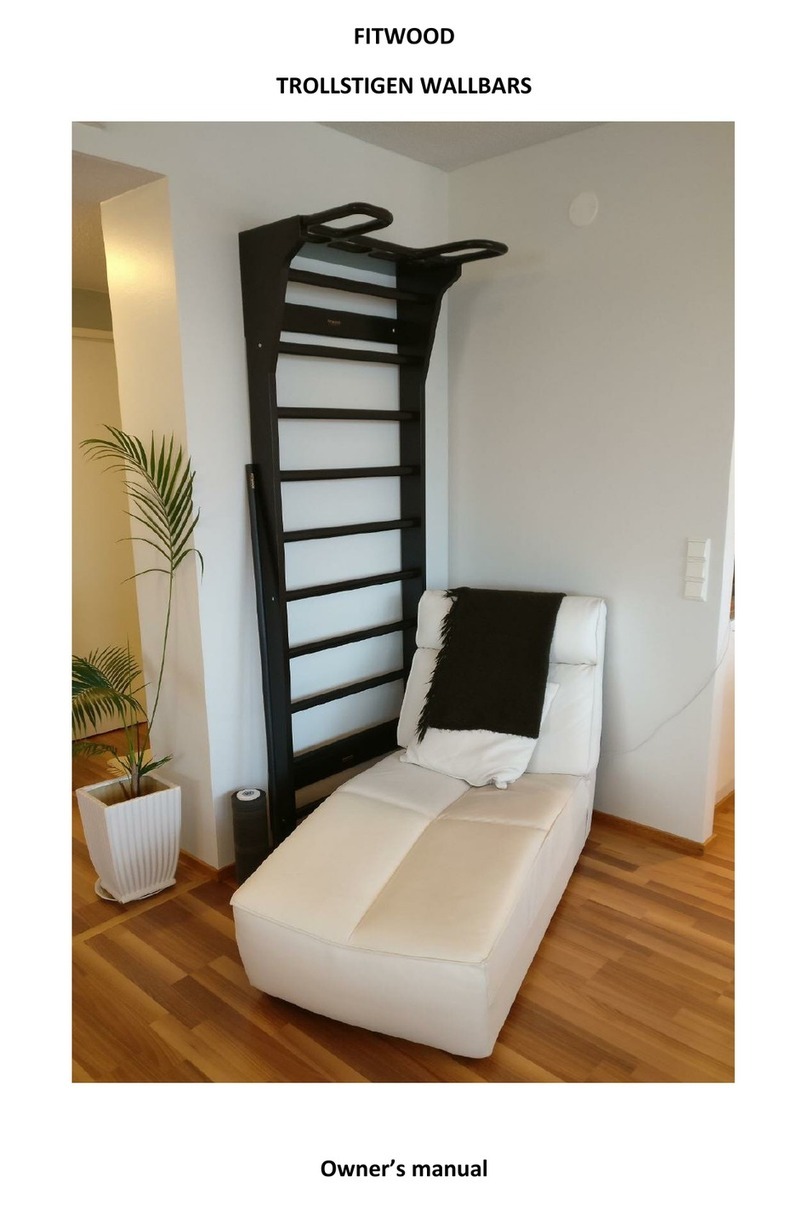
Fitwood TROLLSTIGEN WALLBARS User manual

TROLLSTIGEN
WALLBARS
INSTRUCTION MANUAL

Contents
Foreword.......................................................................................................................... 3
Product Information......................................................................................................... 4
Warranty........................................................................................................................... 5
Recommended Tools........................................................................................................ 5
Assembly instructions for fixed mounting of wall bars..................................................... 5
What's in the box?............................................................................................................ 6
Assembly instructions....................................................................................................... 6
Maintenance and care instructions................................................................................. 10
Cleaning.......................................................................................................................... 10
Training instructions and limitations................................................................................ 10

Foreword
Thank you very much for choosing the FitWood TROLLSTIGEN Wall Bars. Please read this
guide thoroughly before assembly and follow each process step by step so you can enjoy
the product safely.
Note: Some steps may require two people.
Please keep this guide for future reference. Should you need assistance with assembly,
contact us directly. Do not return to place of purchase.
FitWood Ltd
Kohmankaari 3
33310 Tampere
Finland
Made in FINLAND
Disclaimer
As with any fitness or exercise equipment, use of this equipment should only be used by
persons who are physically able to use the equipment as it is designed for. We cannot be
held responsible in any way for any loss or injury, howsoever caused, as a result of
information contained on this document or our website.
Proper safety gear such as padded mats, shoes, clothing and the like should
always be used. This equipment should not be used alone. Always have
someone nearby in case of an emergency.
FitWood Ltd will not be liable for any injury or death resulting from improper, assembly,
maintenance use of this equipment.

Product information
Model:
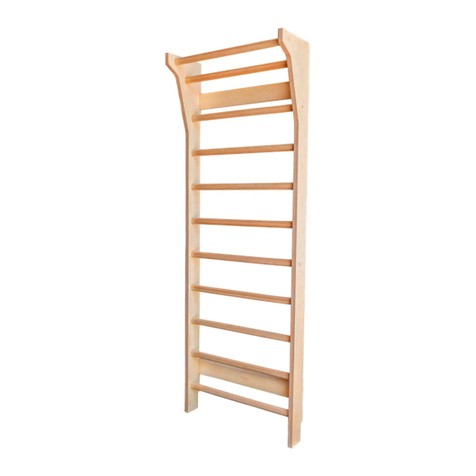
TROLLSTIGEN Wallbars
Dimensions:
Width: 78cm (30.7'')
Height: 220cm (86.6'')
Depth (Body): 12cm (4.7'')
Depth (Upper section): 54cm (21.3'')
Weight: 24kg (53 lbs)
Materials:
Bars: massive birch wood
Legs: glued massive birch wood
Upper section: birch plywood
Delivery:
Delivery in 2 boxes
Weight limit:
150kg (330lbs) total, or 100kg (220lbs) per side

Warranty
Your FitWood product has 2 years warranty for home use and 1 year warranty for
commercial use.
Recommended Tools
-
Power Drill with Torx TX30 Drill Bit
- Stud Finder
- Tape Measure
- Level
- Pen
- Rubber Mallet
- Wooden block
Assembly instructions for fixed mounting of wall bars
FitWood Ltd recommends that a qualified person install your TROLLSTIGEN Wall Bars to
assure proper and safe connection to studs or other type of wall structure. TROLLSTIGEN
Wall Bars can be connected to concrete walls as well using concrete anchors. The package
includes fastening screws which, for example, can be used for fastening TROLLSTIGEN Wall
Bars to:
- Plasterboard which has wooden studs
- Concrete walls
Kindly note that FitWood cannot know what the customer’s wall material is, their wall
thickness, etc. Therefore, FitWood only provides sample screws. FitWood can not
guarantee that the provided screws will serve every customer’s need, so you may be
required to find suitable screws yourself.
For commercial buildings or structures with metal studs, your qualified installer should
determine with anchors to use to properly secure your TROLLSTIGEN Wall Bars. Materials to
fasten Wall Bars to metal stud are not included in the package.
FitWood Ltd is not responsible for improper installation or damage to any structure incurred
during the installation on of any Wall Bars, nor for any damage or injuries incurred
subsequent to installation.

What's in the box?
- Wooden side rails, 2 pcs
- Wooden oval bars, 10 pcs
- Wooden mounting rails, 2 pcs
- Chin bar, 1 pc
- Screws 6 x 100 TX30, 4 pcs for fastening the Chin Bar to the side rails
- Screws, 6 x 60 TX30, 14 pcs for fastening the mounting rails and the bars
- Wooden screws 6 x 100 TX30, 4 pcs
- Screw anchor, 4 pcs
Prepare for mounting wall
PLEASE NOTE:
The mounting rails are 78 cm (30.7in) wide in order to accommodate studs that are 60 cm
(23.6 in), or for unusual spacing. Before the assembly kindly check with the qualified person
if Wooden screws 6 x 100, 4 pcs (included in the package) are suitable for your wall
material.
Step 1
Use a stud finder to locate the studs in your wall where you want to mount your
TROLLSTIGEN Wall Bars. Once studs are located, measure the distance between the two
studs.
Step 2
From the center of each mounting board, measure half of the distance between your studs.
For example, if your studs are 60 cm (23.6 in) in apart, use 30 cm (11.8 in). Take the thickness
of the stud into account once marking the distances to the mounting rails. Mark these
distances as this is where you will pre-drill holes for mounting.
Check with your qualified person for advice on which are the correctly sized screws and
other materials needed to fasten TROLLSTIGEN Wall Bars to your wall’s studs.
Step 3
Pre-drill holes in each mounting rails. We recommend to check with your qualified person
what are the correct drilling holes for the screws selected. Also, make sure that you do not
drill the hole in the seam area of mounting rail. This is to ensure that mounting rails do not
crack.

Assembly instructions for TROLLSTIGEN Wall Bars
GENERAL:
Always fasten the screws slowly and firm. However, do not mount the screws too
deep and tight. Remember, that the material is wood, and may crack if you are
using too much power. Once the Wall Bars are fully assembled, check that all
the screws are fully fastened.
Step 1
Cover the floor so that the
floor or Wall Bars will not
get scratches. Lay the first
long wooden side rail on the
floor.
Fit all the oval bars into the
long side rail. Use a rubber
mallet and carefully tap the
oval bars in place if it is
necessary. Bars are meant
to be tight.

Fit the second rail on the top
of the oval bars. Start at one
end and progressively insert
oval bars until all are seated.
Use wooden block and
rubber mallet if necessary
to fully seat oval bars. Be
careful not to damage or
scratch the surface. Screw
three oval bars to the
wooden side boards with
three (3 pcs) 6 x 60 TX30
screws on the one side.
Turn the Wall bars on the
other side and screw the
oval bars with the next
three (3 pcs) 6x60 TX30
screws.
Step 3
Turn the Wall Bars front side downwards. Screw the mounting boards into a place with eight (8
pcs) 6 x 60 TX 30 screws (same screws as for the long side rails). Assemble the mounting rail with
FITWOOD logo to the upper section, and the board with TROLLSTIGEN logo to the lower section.
Step 2

Turn the Wall Bars on the
back side. Fit the chin bar
between the rails. Screw the
chin bar with four (4 pcs)
6x100 TX30 screws.
Lift the Wall Bars to its correct
place. Ensure that you
have marked the correct
location for the fastening
wooden mounting rails. Also,
make sure to use proper and
safe connection to studs or
other type of wall structure.
If the package has covers to
hide the screw ends, fasten
them to the top of the screws.
Step 4
Step 5

Maintenance and care instructions:
Carry out a visual check for possible damages at regular intervals. Also remember to check
that the screw connections are tight. Due to our continuous quality control of the products,
technical changes may occur which may lead to slight deviations in the instructions. Visual
damages can often be repaired by grinding and painting.
Cleaning
Wall bars can be cleaned with a wet cloth and with mild soap. Do not use strong detergents
as they may damage the product.
Training instructions and limitations
We keep on updating training instructions on our website. Feel free to visit our website at
www.fitwood.com to learn more. You will also see how to combine other FitWood products,
such as Gym Rings, to TROLLSTIGEN Wall Bars for more effective training.
The TROLLSTIGEN Wall Bar’s Weight limit is 150 kg.
Other manuals for TROLLSTIGEN WALLBARS
1
Other Fitwood Fitness Equipment manuals
