manuals.online logo
Brands
  1. Home
  2. •
  3. Brands
  4. •
  5. Flexco
  6. •
  7. Industrial Equipment
  8. •
  9. Flexco BR10 Instruction Manual

Flexco BR10 Instruction Manual

Installing Flexco®BR10 Fasteners with the
Flexco®Electric Powered Rivet Driver
and the Standard MBRTA Installation Tool
Warning: Follow all maintenance and safety precautions that
are noted in the Hitachi H455R manual included in this kit.
We recommend a trial drive prior to production installation. Use of this driv-
er will vary with the length of the rivet and the type of belt you are using.
A: Aligning Bar
B: Clamp Bars
C: Cam Rods
D: Channel Base
Handle
E: Guide Blocks
F: Anvil Plates
G: SR759
H: SR-50
1. For belts with a top cover of 3/16” (4.8
mm) or more, skiving is recommended.
Refer to FSK™Belt Skiver instructions.
2. Remove aligning bar (A), clamp bars (B)
and cam rods (C). Do not remove guide
blocks (E) from aligning bar.
NOTE: MBRTA cannot be used to install
single or double-plate BR-10 or BR-14
fasteners. Refer to RSP310.
4. Insert a clip between rst and second plates
at each end of the fastener strips. Insert clips on
both sides of center plate of each fastener strip.
3. Starting at the right side of the tool, place
proper number of fasteners on anvil plates
(F) with Flexco®facing up.
F
H
G
C
D
A
E
B
B
X2066
5. Insert cam rods (C) through holes in clips
across bottom of tool.
6. Turn cam rods (C) to lock fasteners in
place. Secure cam rods (C) to channel base
handle (D) with pin.
7. Turn over aligning bar (A) and align guide
blocks with bottom plates. Place top plates
on guide blocks, Flexco®facing up.
www.flexco.com
Installing Flexco®BR10 Fasteners with the Electric Powered Rivet Driver
—2—
9. Attach clamp bar (B) to the tool so that
one edge of the clamp bar is over the center
of the fastener strips. Tighten clamp bar.
10. Place belt against clamp bar (B). Center
belt over bottom plates. Clamp belt to tool
with the other clamp bar (B), do not over-
tighten.
12. Remove center clamp bar. Position loose
belt end against other belt end, aligning cen-
ter lines. Clamp belt and nail in place.
13. Insert aligning bar in ends of MBRTA.
Tighten top knurled nut. Tighten lower
knurled nut to lower fasteners to belt surface.
11. Secure belt by driving double headed
nails through holes in clamp bar and into
the belt.
8. Insert black retainers between every plate
and tap with hammer.
14A. Load guide
block with individual
rivets. Reduce
installation time by
adding guide blocks
across tool.
Reduce installation
time using Rapid
Loader™Collated
Rivet Strips.
14B. If a shorter
strip is needed, break
o extra plates by
bending strip at
checkpoints.
Individual
Rivets
Rapid Loader™
Collated Rivets
Note: Spray guide blocks with SL5 silicone.
Installing Flexco®BR10 Fasteners with the Electric Powered Rivet Driver
—3——2—
15. Adjust setting dial for rivet size – see chart below.
Insert the punch directly into the BR500 Guide Block.
Keeping the tool perpendicular to the base, pull the
trigger to re the driver. Push down on the driver slightly
and maintain force on the driver until you feel the rivet
set. is should take approximately 1 to 2 seconds per
rivet depending on the length of the rivet and the type of
belt.
17. For easier troughing on belts up to 35°
trough, remove bridges between plates in
troughing area using the BR151 Bridge
Removal Tool.
16. If all plates are not covered by guide
blocks (E), move a guide block (E) to install
remaining rivets.
18. Unlock and remove cam rods (C).
Remove nails and clamp bars (B).
19. Remove MBRTA. Remove pilot nails
and clips with a hammer. If fasteners are 1”
(25mm) or more from edge of belt, notch
belt. Remove nails from MBRTA.
Tool Setting Guidelines
Tool Setting Rivet size range
2 A, B
3 A, B, C
4 C, C/D, D
5 D, E, F
Note: Tool settings will require adjustment for
variations in belt thickness and construction.
2525 Wisconsin Avenue • Downers Grove, IL 60515-4200 U.S.A.
Tel: (630)-971-0150 • Fax: (630)-971-1180 • E-mail: info@exco.com
Visit www.flexco.com for other Flexco locations and products.
©2010 Flexible Steel Lacing Company. Flexco® is a registered trademark.12-13. For Reorder: X2066

Other Flexco Industrial Equipment manuals

Flexco EZP1T Series User manual

Flexco

Flexco EZP1T Series User manual

Flexco Clipper Pro 200 User manual

Flexco

Flexco Clipper Pro 200 User manual

Flexco DRX3000 User manual

Flexco

Flexco DRX3000 User manual

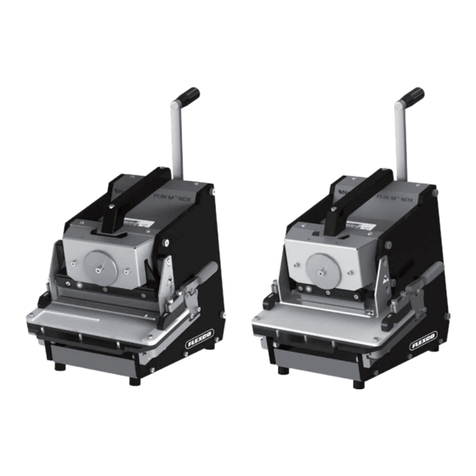
Flexco Novitool PUN M NDX Series Guide

Flexco

Flexco Novitool PUN M NDX Series Guide

Flexco Standard-Duty PTEZ User manual

Flexco

Flexco Standard-Duty PTEZ User manual

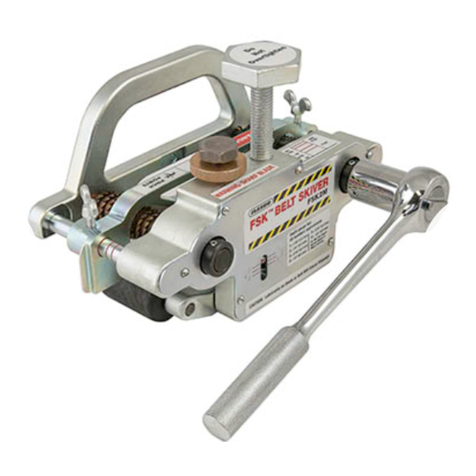
Flexco FSK User manual

Flexco

Flexco FSK User manual

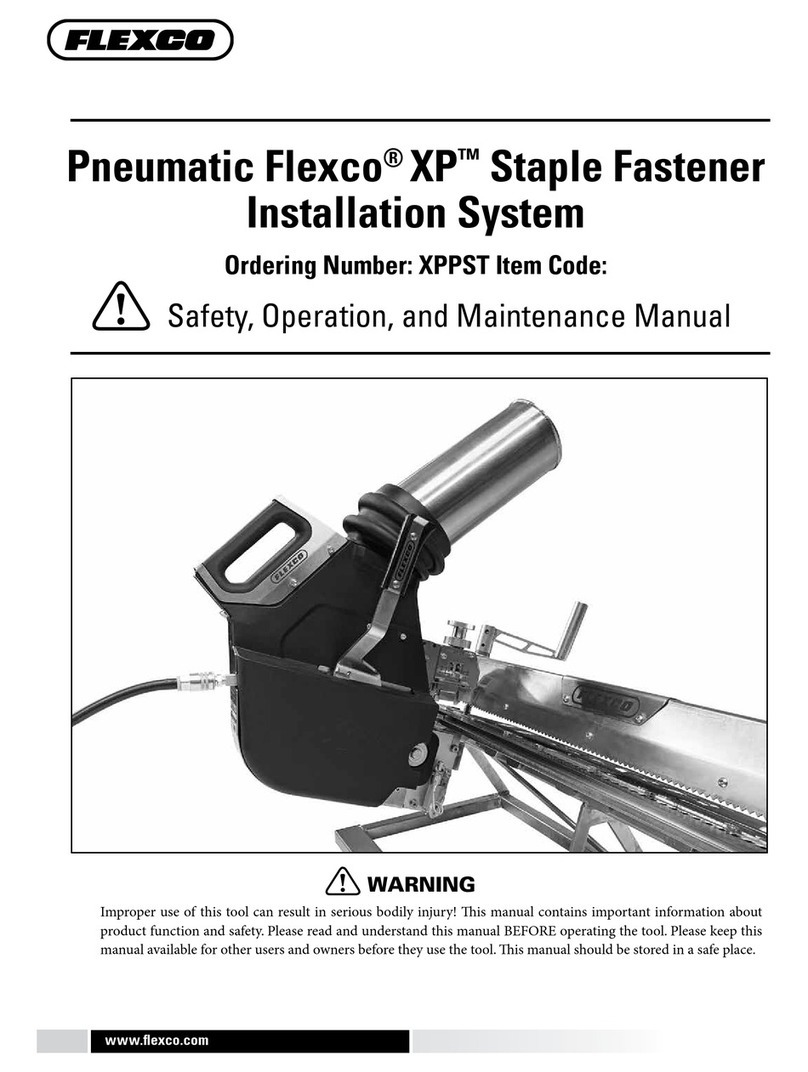
Flexco XP Series Guide

Flexco

Flexco XP Series Guide

Popular Industrial Equipment manuals by other brands

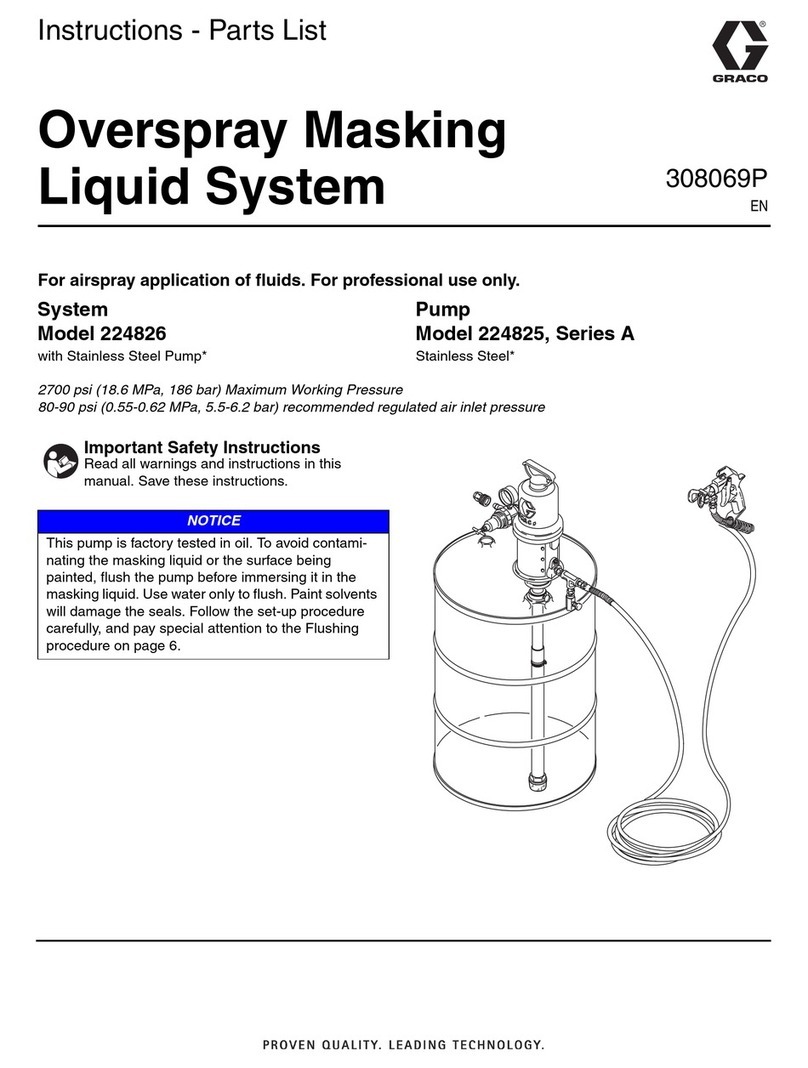
Graco Series A Instructions-parts list

Graco

Graco Series A Instructions-parts list

FlexiForce Frequenz 400-100 instruction manual

FlexiForce

FlexiForce Frequenz 400-100 instruction manual

cytiva Whatman operating instructions

cytiva

cytiva Whatman operating instructions

Afag CS 6/20-ED Assembly and operating instructions

Afag

Afag CS 6/20-ED Assembly and operating instructions

Festo 152962 operating instructions

Festo

Festo 152962 operating instructions

ABB ArTu L Instruction handbook

ABB

ABB ArTu L Instruction handbook

Lissmac CDR 162 operating manual

Lissmac

Lissmac CDR 162 operating manual

BOW MHDD-N quick start guide

BOW

BOW MHDD-N quick start guide

ABB HT604384 Operation manual

ABB

ABB HT604384 Operation manual

SEW-Eurodrive MAXOLUTION MAXO-MTS-T005-P-00-B04 operating instructions

SEW-Eurodrive

SEW-Eurodrive MAXOLUTION MAXO-MTS-T005-P-00-B04 operating instructions

CALEFACTIO CONDENSAFE CS2 instructions

CALEFACTIO

CALEFACTIO CONDENSAFE CS2 instructions

Pepperl+Fuchs DAD10-8P Series manual

Pepperl+Fuchs

Pepperl+Fuchs DAD10-8P Series manual

Pacmac 2015 Operator's manual

Pacmac

Pacmac 2015 Operator's manual

battistella GEA Instruction and maintenance

battistella

battistella GEA Instruction and maintenance

Wacker Neuson ET12 02 Operator's manual

Wacker Neuson

Wacker Neuson ET12 02 Operator's manual

Siemens 3NX1013 operating instructions

Siemens

Siemens 3NX1013 operating instructions

Siemens Energy SpecTRON 10 Installation & operation manual

Siemens Energy

Siemens Energy SpecTRON 10 Installation & operation manual

Premier Manufacturing Co. 2200ELL COUPLING Installation, Inspection, Operation & Maintenance Guide

Premier Manufacturing Co.

Premier Manufacturing Co. 2200ELL COUPLING Installation, Inspection, Operation & Maintenance Guide

manuals.online logo
manuals.online logoBrands
  • About & Mission
  • Contact us
  • Privacy Policy
  • Terms and Conditions

Copyright 2025 Manuals.Online. All Rights Reserved.