FLIR Ariel CM-3202-11-I User manual
Other FLIR Digital Camera manuals
FLIR
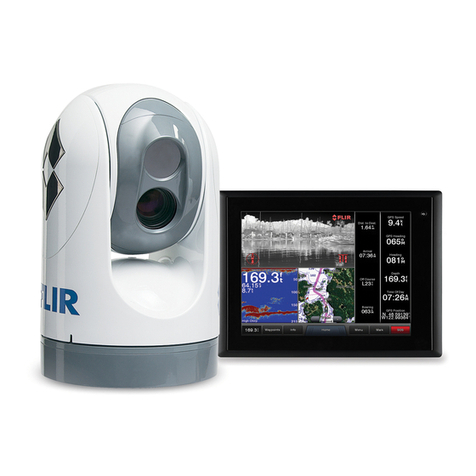
FLIR M-Series User manual
FLIR
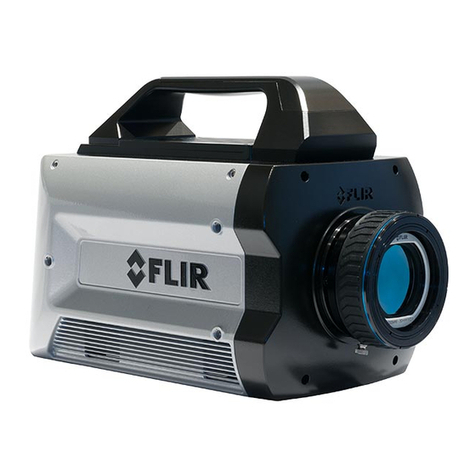
FLIR X-Series User manual
FLIR
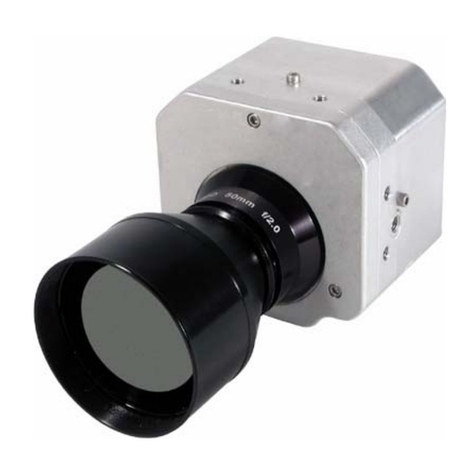
FLIR Photon Block 2 User manual
FLIR
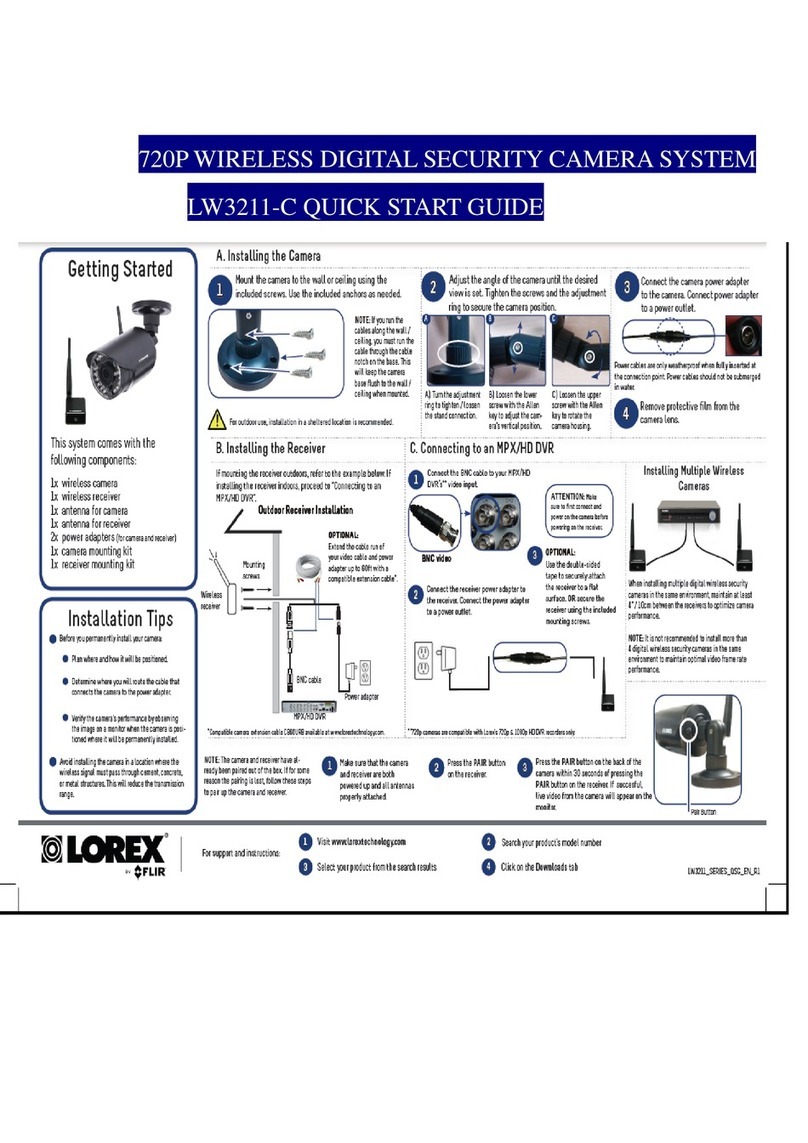
FLIR Lorex LW3211-C User manual
FLIR
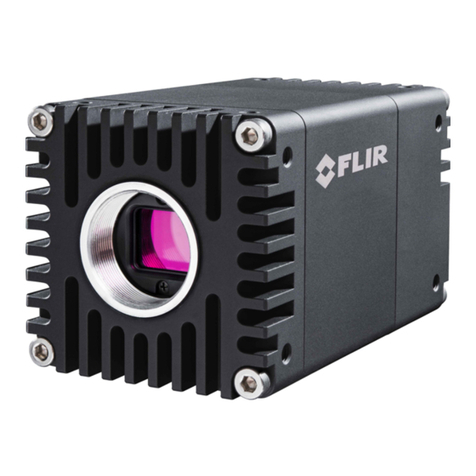
FLIR ORYX R User manual

FLIR
FLIR A3 PT series User manual
FLIR
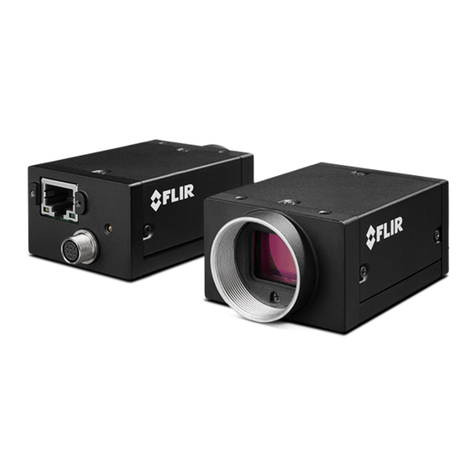
FLIR GRASSHOPPER 3 Series Use and care manual
FLIR
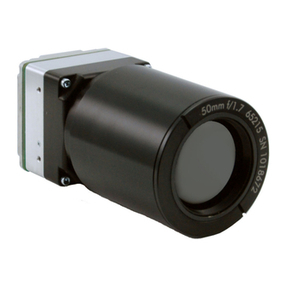
FLIR Tau Camera TAU-0035-00-10 User manual
FLIR
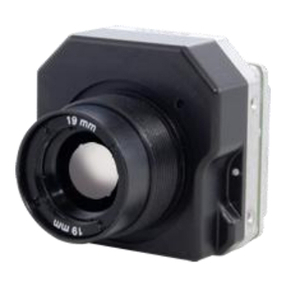
FLIR Tau User manual
FLIR
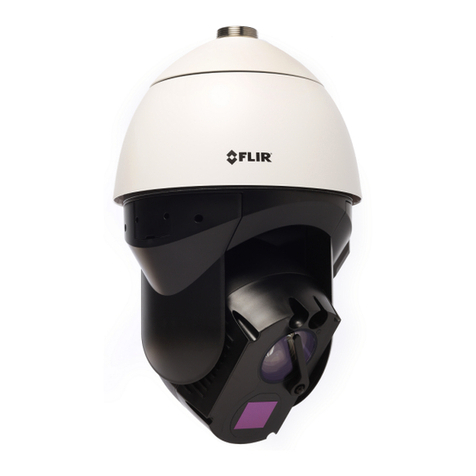
FLIR Elara DX Series User manual
FLIR
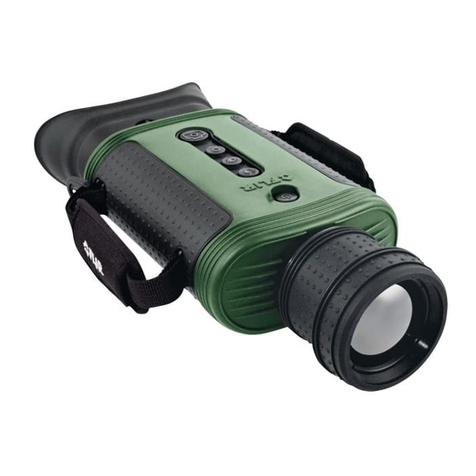
FLIR Scout Bi-Ocular User manual
FLIR
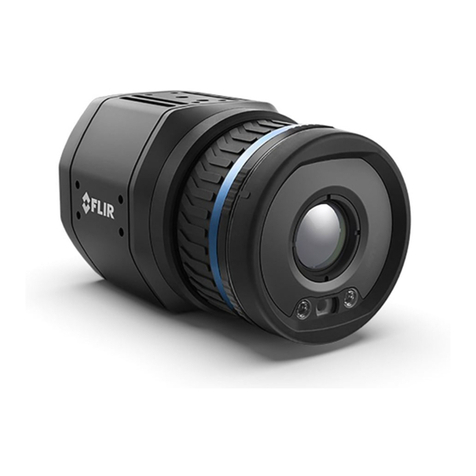
FLIR A400 Series User manual
FLIR
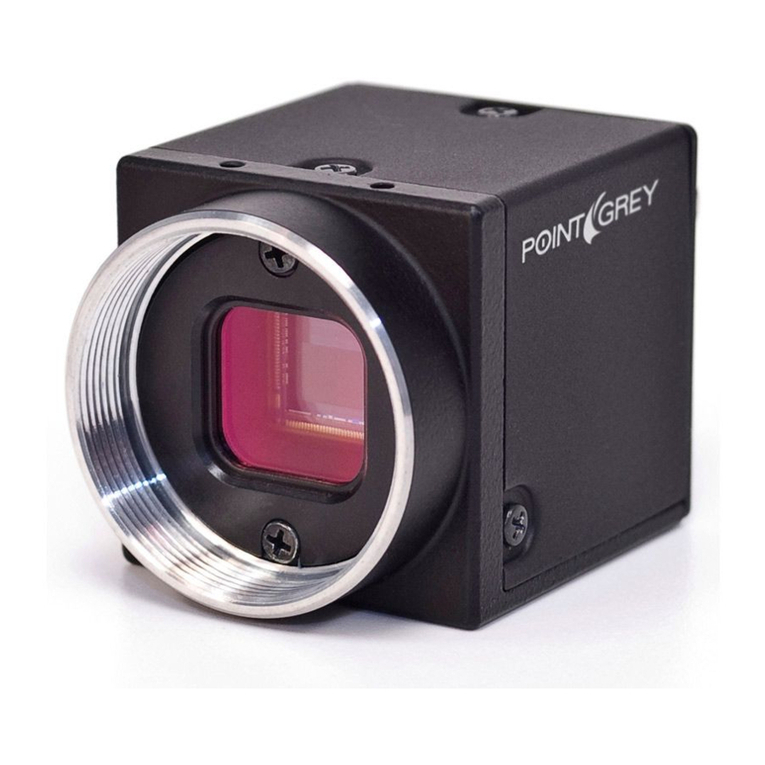
FLIR USB3 Vision Flea3 User manual

FLIR
FLIR M500 User manual
FLIR
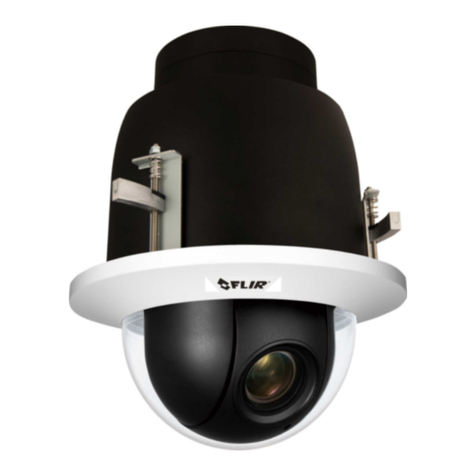
FLIR Quasar Gen III CP-6302 Series User manual
FLIR
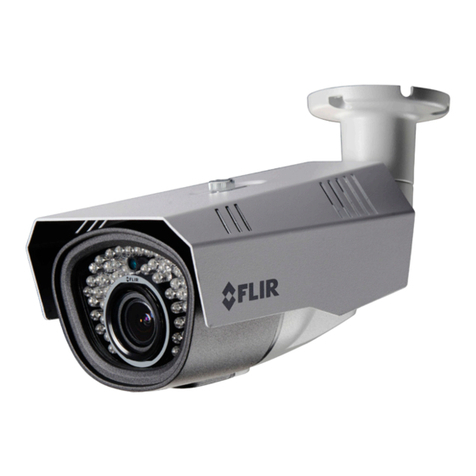
FLIR C237BD User manual

FLIR
FLIR A400 Series User manual
FLIR
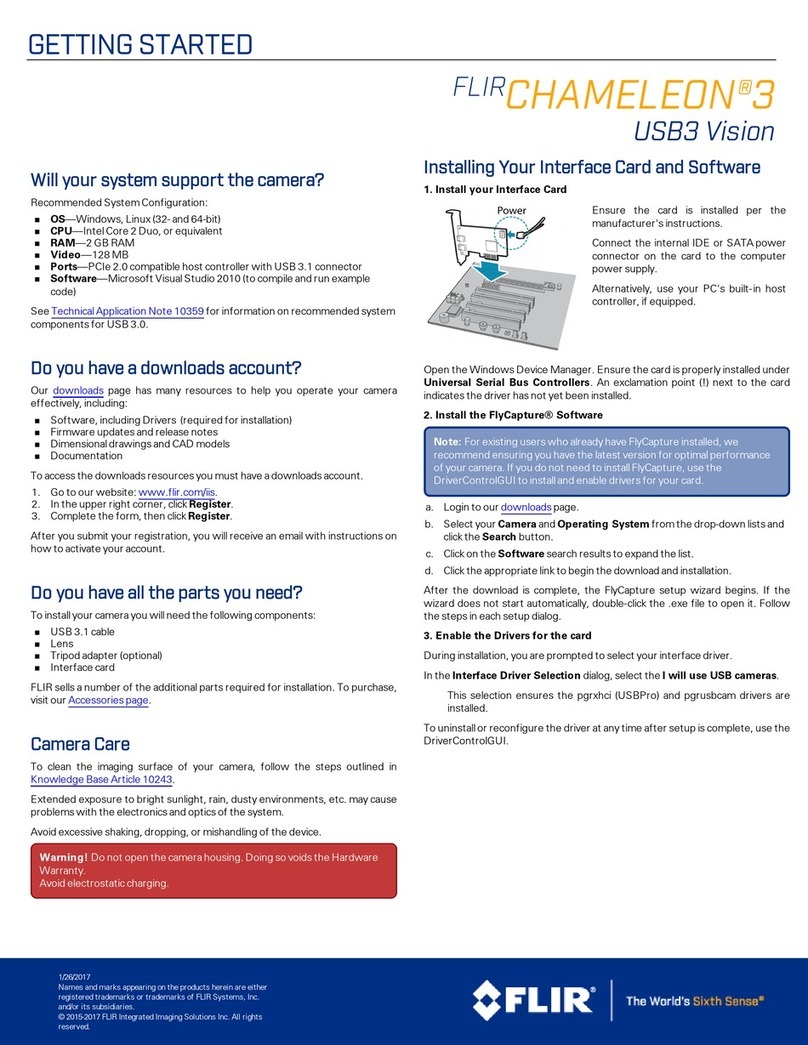
FLIR USB3 Vision CHAMELEON 3 User manual
FLIR
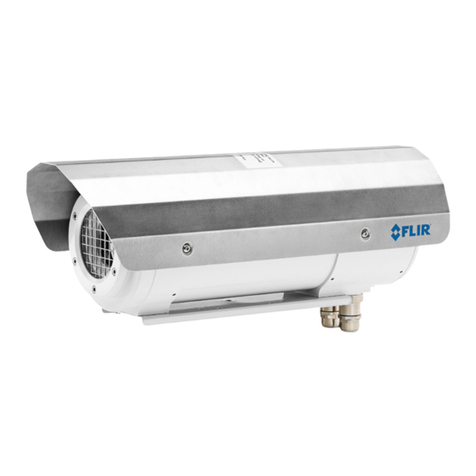
FLIR A310 ex Series User manual

FLIR
FLIR Quasar CM-6405 User manual

