manuals.online logo
Brands
  1. Home
  2. •
  3. Brands
  4. •
  5. FLO-DYNAMICS
  6. •
  7. Service Equipment
  8. •
  9. FLO-DYNAMICS TTCF-8 Manual

FLO-DYNAMICS TTCF-8 Manual

TTCF-8 Cleaning Procedure
This machine uses hot ATF under pressure.
Check the security of all hoses and connections before operation.
Always wear safety glasses, gloves, and protective clothing.
If you get ATF in your eyes or on your skin,
rinse with water immediately.
1. Plug the flusher’s motor and heater cords into a 110 V (20
amp) grounded electrical outlet.
ATTENTION
Make sure there is nothing else
plugged into the outlet. NEV-
ER plug the flusher into an extension cord or
drop light cord; you would damage the
unit.
2. Cycle on the heater toggle. Allow 15 minutes for the flusher
to reach an operating temperature of above 120° F.
3. Install the appropriate adapters to the cooler inlet and outlet
lines. Refer to Return Line Guide, if needed.
4. Connect the blue return hose to the cooler inlet line.
Connect the red pressure hose to the cooler outlet line.
Connect a shop air hose to the air injection valve. *Set shop
air between 100-125 psi.
ATTENTION
The quick connect fitting on the air injection valve has a one-way
check ball to keep ATF from entering your shop’s air system. Do
NOT remove or replace this fitting. Attach the coupler provided
with the flusher to your shop air if YOUR coupler is not compatible.
Ensure ALL adapters are secure.
5. Secure the end of the fluid purge hose into an EPA-approved
oil waste container. *Be sure the hose is adequately secure in
the container to prevent spills. The fluid purges out very
quickly.
6. Turn the fluid purge handle to the Purge position (needle
pointing toward the short purge hose). Turn on the motor and
purge the initial very dirty fluid (typically between 1 pint and 1
quart). ALWAYS return the fluid purge handle to the Flush
position (needle pointing away from the short purge hose).
ATTENTION
If the low fluid indicator (red) light comes on after the initial purge,
replenish ATF to the flusher tank. Red Light=Low Fluid=No Heat
7. Turn the reverser handle to the ‘2’ position (connected to the
vehicle’s return line) to back-flush. *The best method for clean
ing the cooler lines is first back-flushing. Some vehicles cannot
be back-flushed due to a directional check ball. In some cases,
it is possible to temporarily remove the check valve allowing
you to back-flush the system. If back-flushing is not possible,
set the handle to the ‘1’ position to forward-flush.
8. Turn on the motor toggle and back-flush for 15 minutes. Peri-
odically open the air injection valve to cause agitation and
improve cleaning.
9. Turn the reverser to the ‘1’ position to forward-flush for 5
minutes.
10.Turn the reverser back to the ‘2’ position to back-flush for an-
other 15 minutes. Monitor the flowmeter. Anything below 2 ½
gpm indicates a restriction.
11.Turn off the motor leaving the air injection valve open for 15
seconds to purge the lines of residual ATF, and then close the
valve.
12.Use an 11/16 wrench to loosen the nut on the Oberg filter.
Gently remove the screen for inspection.
 If the screen is clean, turn off the heater, and flushing is
complete.
 If debris is present on the screen, repeat the cleaning cycle of
15 back/5 forward/15 back-flushing and step 13 until the
screen shows no debris.
Continued on Back
Improper use of this machine can result in burns and other
serious injuries.
Always wear eye protection and protective clothing and
follow all these instructions.
WARNING
WARNING
WARNING
Vehicle Pressure Line
Vehicle Return Line
ATTENTION
If you feel that you have flushed the vehicle completely and
properly but still see debris on the screen, check these areas:
 Spin On Filters - Changing filters is integral to the flusher’s
cleaning effectiveness. Filters should be changed every 100
flushes.
 Severe contamination of the holding tank and/or the flusher
hoses.
13.Make sure the motor and heater are off. NEVER leave the
heater on overnight.
14.Disconnect the red pressure and blue return hoses from the
vehicle’s cooler lines.
15.Install the male/male test coupling (provided in your
domestic adapter kit) to connect the flusher hoses to prevent
spills.
16.Unplug the flusher from the wall outlet.
Maintenance
After Every Cleaning Cycle:
 Clean Oberg filter screen with a degreaser. Trying to
run the flusher with a filter screen full of debris can
damage your pump and motor.
Daily:
 Make sure the there is enough ATF in the tank. The
ATF should be 3-4” from the top of the fill neck. Do
not overfill. If your heater is not working and the red
light is on, the ATF level in the tank is the first thing
you should check.
Monthly/Every 100 Flushes:
 Replace the spin on filters. This is the most important
maintenance you can do on your Heated Cooler Line
Flusher. Change the filters every 100 flushes
(approximately once a month).
Quarterly:
 Replace the ATF - sooner if it’s black. You can see the
color of the ATF as it flows through the flowmeter.
Yearly:
 Unplug the heater from the electrical box, unscrew
heater, and clean the heater’s coils. Oven cleaner
works very well for this.
Refer to the Maintenance guide or Maintenance video for
more complete instructions on these procedures.
Tips & Troubleshooting
 Do not plug the heater and motor cords into a
wall outlet with anything else plugged into it.
 Do not plug the heater and/or motor cord into
an extension cord or a drop light.
 The ATF in the tank needs to reach 120° F before
starting the motor.
 Never raise the psi higher than 100.
 Do not use mineral spirits, solvents, or any other
volatile liquid in the flusher.
 Never leave the reverse valve in the neutral (N)
position.
 If the temperature of the fluid in the tank ever
exceeds 198° F, there is a safety float switch that
is designed to melt causing loss of power to the
heater until the float is replaced.
 If the red light is on, the fluid level is too low in
the tank and the heater will not heat. Refill the
tank.
 If the heater is not functioning, the first thing to
check is your fluid level. If the level is too low,
the heater will not function. This is a safety
feature.
If you have any questions or need customer
service, please call G-TEC at 800.725.6499.
Visit www.g-tec.com/videos for a video
of how to maintain and extend the life of
the Heated Cooler Line Flusher.

Other FLO-DYNAMICS Service Equipment manuals

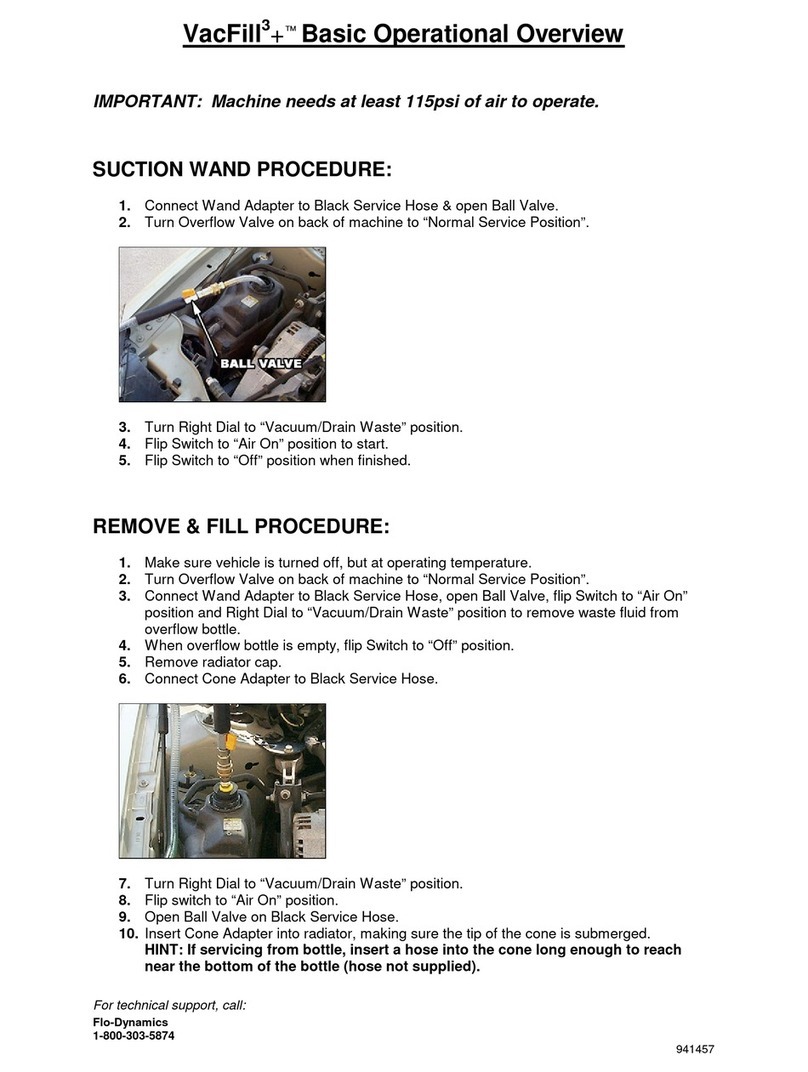
FLO-DYNAMICS VacFill3 User manual

FLO-DYNAMICS

FLO-DYNAMICS VacFill3 User manual

FLO-DYNAMICS RADCVAC3 User manual

FLO-DYNAMICS

FLO-DYNAMICS RADCVAC3 User manual

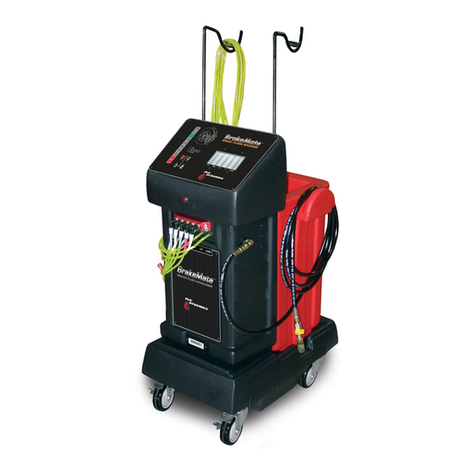
FLO-DYNAMICS BrakeMate User manual

FLO-DYNAMICS

FLO-DYNAMICS BrakeMate User manual

FLO-DYNAMICS TS650M User manual

FLO-DYNAMICS

FLO-DYNAMICS TS650M User manual

FLO-DYNAMICS TSD440 Programming manual

FLO-DYNAMICS

FLO-DYNAMICS TSD440 Programming manual

FLO-DYNAMICS BrakeMate Jr Programming manual

FLO-DYNAMICS

FLO-DYNAMICS BrakeMate Jr Programming manual

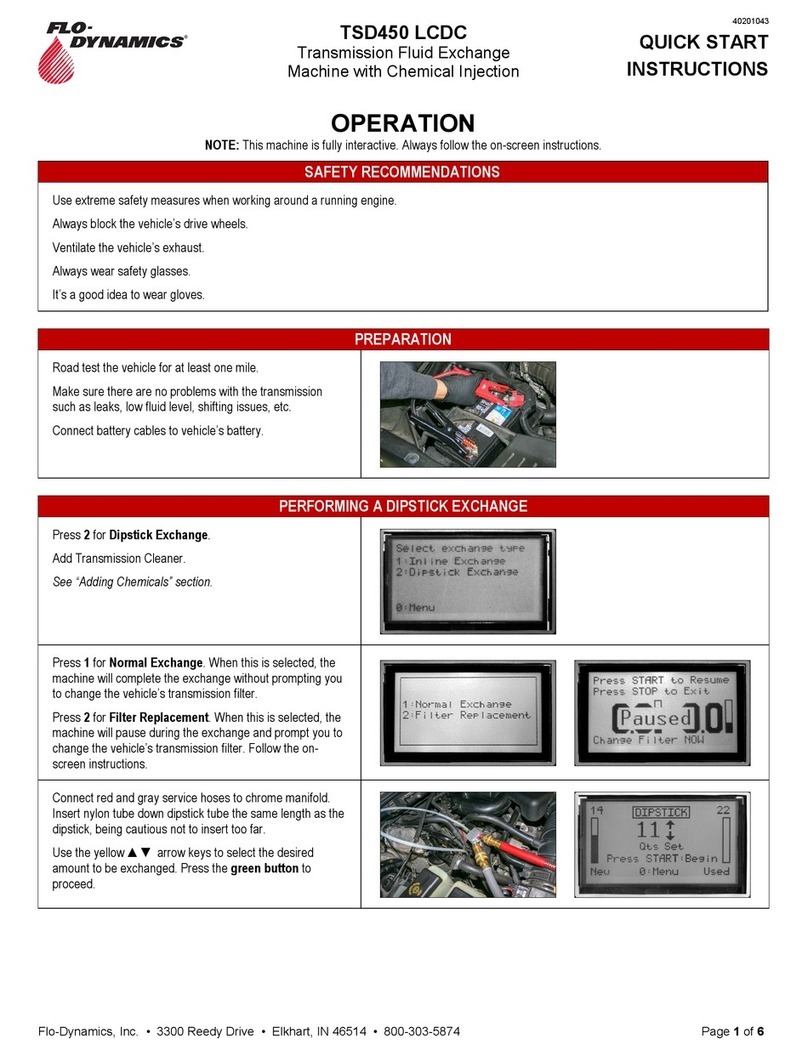
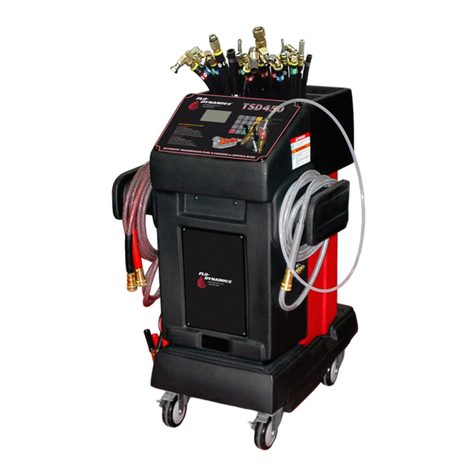
FLO-DYNAMICS TSD450 User manual

FLO-DYNAMICS

FLO-DYNAMICS TSD450 User manual

FLO-DYNAMICS HEAVY DUTY DCF-35 User manual

FLO-DYNAMICS

FLO-DYNAMICS HEAVY DUTY DCF-35 User manual

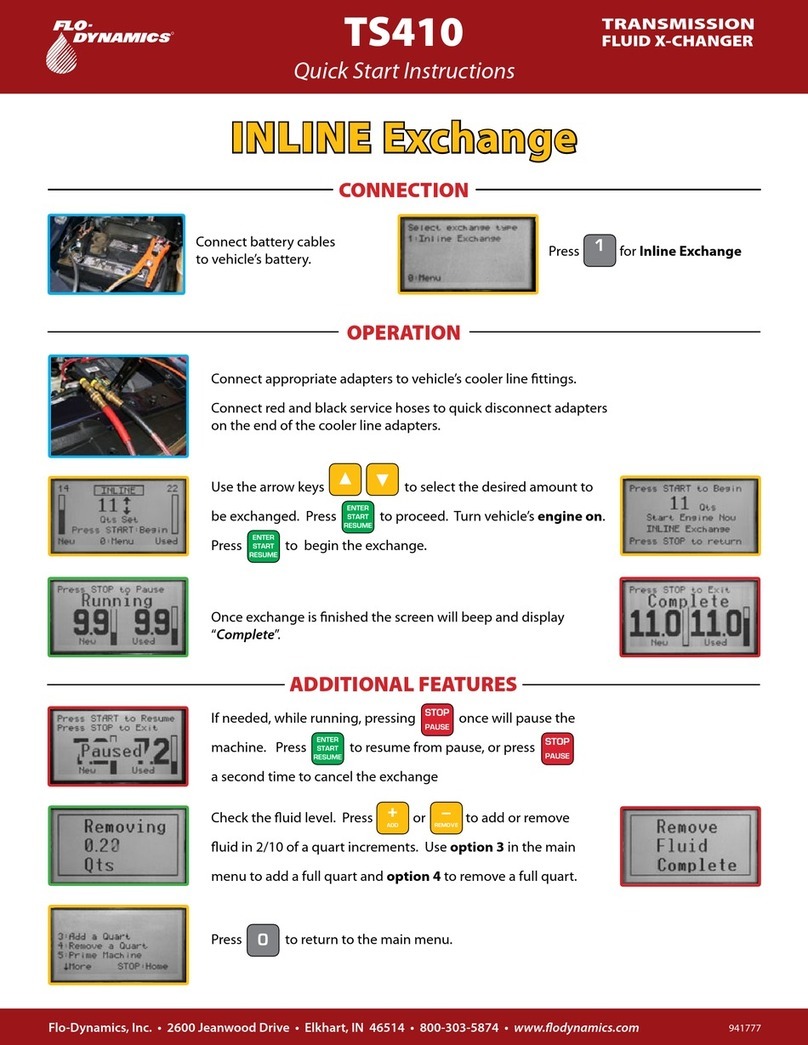
FLO-DYNAMICS TS410 Programming manual

FLO-DYNAMICS

FLO-DYNAMICS TS410 Programming manual

FLO-DYNAMICS VacFill3+ Installation guide

FLO-DYNAMICS

FLO-DYNAMICS VacFill3+ Installation guide

FLO-DYNAMICS PSX3000 User manual

FLO-DYNAMICS

FLO-DYNAMICS PSX3000 User manual

FLO-DYNAMICS DEF-8000 User manual

FLO-DYNAMICS

FLO-DYNAMICS DEF-8000 User manual

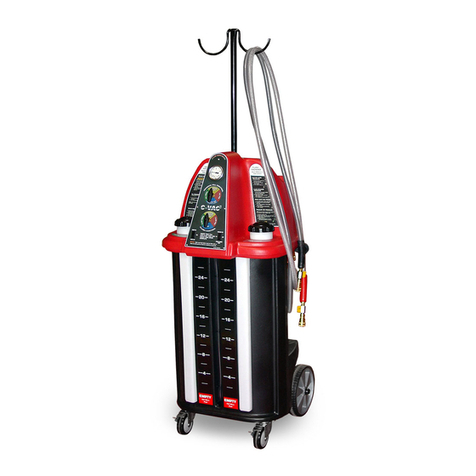
FLO-DYNAMICS C-VAC3 Installation and user guide

FLO-DYNAMICS

FLO-DYNAMICS C-VAC3 Installation and user guide

FLO-DYNAMICS TSD450 Programming manual

FLO-DYNAMICS

FLO-DYNAMICS TSD450 Programming manual

Popular Service Equipment manuals by other brands

Witschi Teslascope II quick start guide

Witschi

Witschi Teslascope II quick start guide

ariazone 601HD Operator's manual

ariazone

ariazone 601HD Operator's manual

TECO LR400 instruction manual

TECO

TECO LR400 instruction manual

HealTech Electronics Maintenance Mate MM-T01 user manual

HealTech Electronics

HealTech Electronics Maintenance Mate MM-T01 user manual

Bosch rexroth ctrlX SAFETY SafeMotion Applications manual

Bosch

Bosch rexroth ctrlX SAFETY SafeMotion Applications manual

Hakko Electronics C5045 manual

Hakko Electronics

Hakko Electronics C5045 manual

Sealey AK467D instructions

Sealey

Sealey AK467D instructions

CLAS HU 0139 manual

CLAS

CLAS HU 0139 manual

Maddox M5GABS Owner's manual & safety instructions

Maddox

Maddox M5GABS Owner's manual & safety instructions

Corghi DV 120 Operator's manual

Corghi

Corghi DV 120 Operator's manual

Torin BIG RED T70401 owner's manual

Torin BIG RED

Torin BIG RED T70401 owner's manual

Mityvac MVA6832 user manual

Mityvac

Mityvac MVA6832 user manual

Oshkosh Corporation JERR-DAN 20NGADF6T-LP Operation and safety manual

Oshkosh Corporation

Oshkosh Corporation JERR-DAN 20NGADF6T-LP Operation and safety manual

Sealey ES300.V3 instructions

Sealey

Sealey ES300.V3 instructions

Fieldpiece MR45INT Operator's manual

Fieldpiece

Fieldpiece MR45INT Operator's manual

Sealey RE012 instructions

Sealey

Sealey RE012 instructions

Montezuma 41" TOOL CHEST AND CABINET instruction manual

Montezuma

Montezuma 41" TOOL CHEST AND CABINET instruction manual

Snap-On POLARTEK YF EEAC333 manual

Snap-On

Snap-On POLARTEK YF EEAC333 manual

manuals.online logo
manuals.online logoBrands
  • About & Mission
  • Contact us
  • Privacy Policy
  • Terms and Conditions

Copyright 2025 Manuals.Online. All Rights Reserved.